How to Remove Grease From Painted Walls Easily
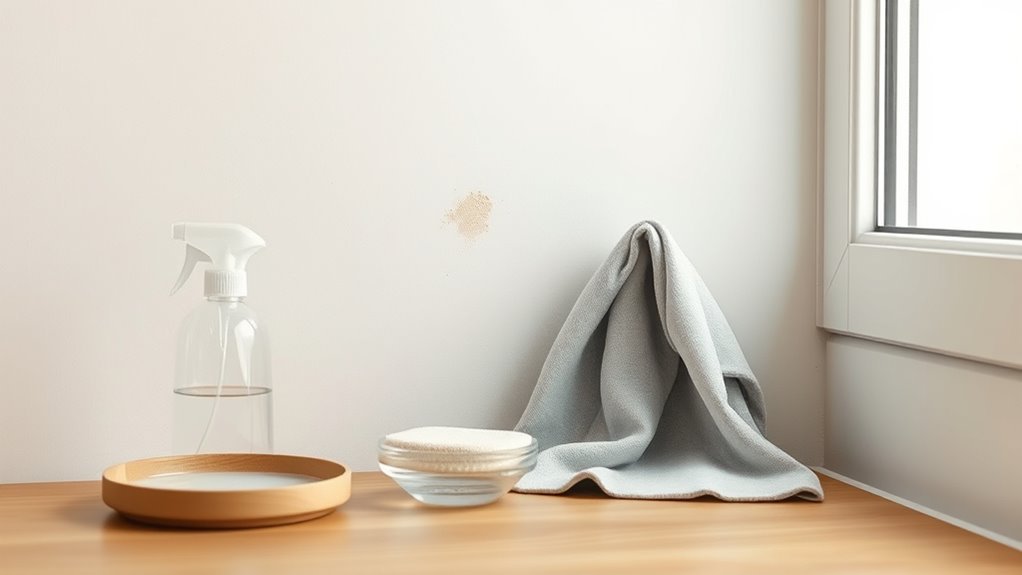
You can remove grease from painted walls fast using household items and a little care: protect outlets, tape trim, and turn off power if you’re near fixtures; mix mild dish soap or a baking soda paste with warm water; gently scrub with a microfiber cloth or soft sponge from top to bottom; rinse with clean water and dry to avoid streaks; test a hidden spot first to protect the finish. Keep going to find tips for stubborn stains and repainting.
Quick Method to Remove Grease From Painted Walls
If grease’s left a film on your painted wall, act quickly: grab a soft sponge, warm water, and a mild dish soap, then gently work from the edges of the stain toward the center to avoid spreading it.
You’ll blot excess with a clean cloth, rinse the sponge often, and finish by patting the area dry.
For sensitive or antique paint, choose eco-friendly options like plant-based soaps to protect the finish and contribute to historical preservation when working on older homes.
If residue persists, repeat once; avoid scrubbing hard to prevent damage or paint removal.
When and How to Test a Cleaner First
After you’ve tried the gentle soap-and-water method and before reaching for stronger cleaners, test any new product on an inconspicuous spot to make sure it won’t harm the paint. Choose a hidden corner or behind furniture, apply a tiny amount, wait 15–30 minutes, then check for color loss, sheen change, or softening.
Note results and try an eco-friendly cleaning solution first to minimize chemical risk. If safe, proceed to treat the grease, working outward from the stain edge.
Testing helps with stain prevention by avoiding repeated damage and ensuring your chosen cleaner actually works.
Identify Grease Type and Stain Age
Start by noting whether the grease is fresh or has set into the paint, because recent spills lift much more easily than old, baked-on residue.
Check what caused the stain—cooking oil, motor oil, or greasy hands—as different oils respond to different cleaners. That quick identification helps you choose the right method and avoid damaging the finish.
Fresh Versus Old Stains
When you’re tackling grease on painted walls, the first thing to do is determine whether the stain is fresh or old and what kind of grease caused it—cooking oil, motor oil, or something else—because that affects how it responds to cleaners and how deeply it’s set into the paint.
Fresh stains look wet, darker, and wipe off more easily with mild soap; act quickly to avoid soaking. Old stains have a matte, ingrained look and may resist cleaning, risking paint peeling if you scrub too hard.
Test a small area first; consider wallpaper removal if backing is compromised or stains persist.
Oil Type Identification
How can you tell what kind of grease you’re dealing with and how long it’s been on the wall? You’ll inspect color, texture, and aroma: kitchen oils are yellow and slick, motor oil is dark and viscous, and food splatters may be sticky.
Press a clean paper towel—fresh oil transfers easily; older stains set and smear less.
Test a hidden spot with mild cleaner to gauge removal difficulty and check paint durability: glossy finishes resist penetration, flat paints absorb more and may need repainting.
Note date of discovery and record test results so you choose the right cleaner and protect paint integrity.
How Paint Finish Affects Cleaning Choices
Although the finish may seem like a small detail, it actually determines what cleaners and methods you can safely use on painted walls. You’ll check paint sheen first: flat absorbs, satin and semi-gloss resist moisture better. Test a hidden spot before scrubbing so you don’t ruin color matching. Use mild detergent and soft cloth for eggshell/satin; non-abrasive cleaner for semi-gloss. Avoid heavy solvents on flat or matte finishes.
| Finish | Cleaning Ease | Recommended Cleaner |
|---|---|---|
| Flat/Matte | Low | Mild detergent |
| Eggshell | Medium | Gentle cleanser |
| Satin | Medium-High | Soft cloth, mild cleaner |
| Semi-gloss | High | Non-abrasive cleaner |
Safety: Protect Outlets, Switches, and Trim
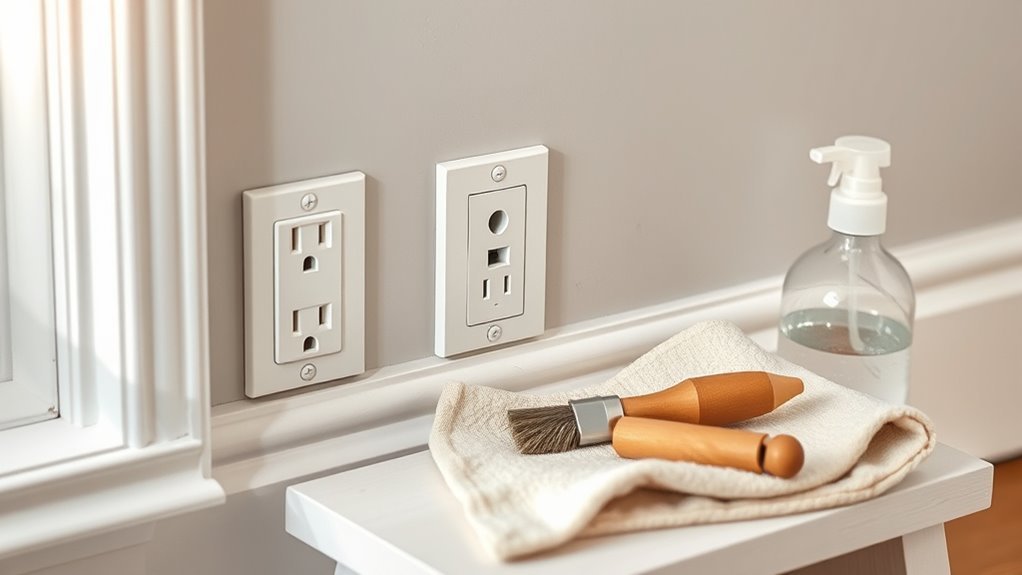
Before you start scrubbing, protect electrical outlets, switches, and trim to prevent water damage and accidental shocks. Turn off power at the breaker when you’re working near outlets or switches, then remove faceplates or cover them with painter’s tape and plastic sheeting for outlet protection and switch safety.
Tape trim edges or use low-tack masking to avoid moisture seeping under paint. Keep a dry microfiber cloth nearby to immediately blot drips.
Use minimal liquid and wring sponges well to prevent runoff. Double-check covers are secure before restoring power, and ventilate the room while cleaning.
Tools: Best Cloths, Sponges, and Brushes
When you’re ready to tackle greasy spots, pick the right cloths, sponges, and brushes so you don’t spread grime or damage paint. You’ll want soft microfiber for lifts, a non-abrasive sponge for gentle scrubbing, and a natural-bristle brush for crevices. Match tool choice to finish and follow basic painting techniques to avoid sheen changes. Test a hidden patch first.
| Tool | Use | Tip |
|---|---|---|
| Microfiber cloth | Wipe light grease | Rinse frequently |
| Non-abrasive sponge | Moderate stains | Squeeze excess water |
| Natural-bristle brush | Corners | Dry gently |
Four Safe Household Cleaners for Fresh Grease
Now that you’ve picked the right cloths and brushes, you can choose cleaners that remove fresh grease without harming paint.
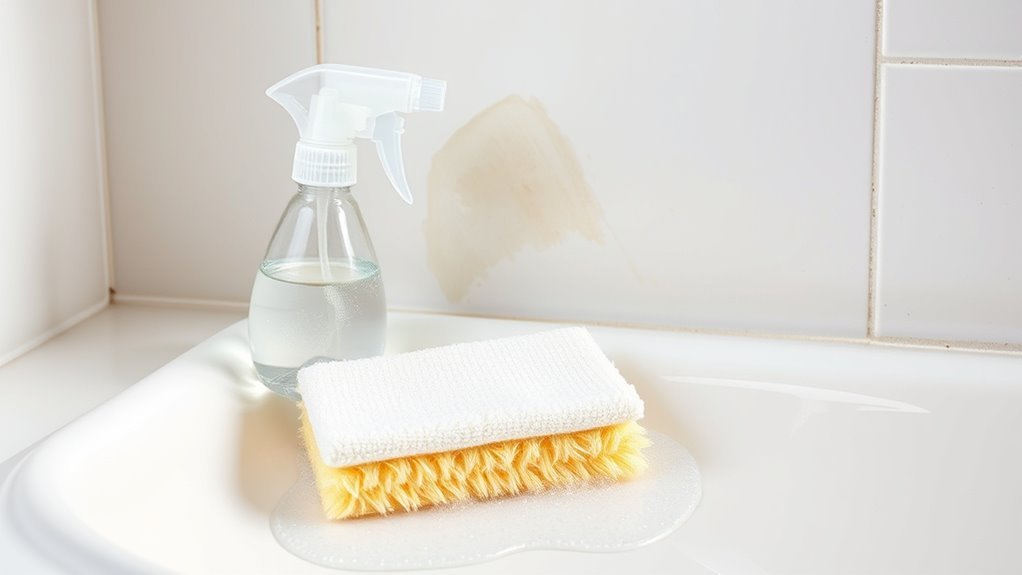
Use diluted white vinegar (1:1 with water) for mild spots; it’s gentle and won’t cause paint peeling when rinsed.
Rubbing alcohol works on small smudges—dab, don’t soak, to avoid wall discoloration.
Baking soda paste lifts grease gently; apply, wait a few minutes, then wipe.
Commercial, paint-safe degreasers labeled non-abrasive are effective for stubborn areas—test a hidden spot first.
Always blot, rinse with clean water, and dry to protect the finish.
Use Dish Soap to Break Down Grease
Pick a mild dish soap so you don’t strip the paint, and mix a few drops into warm water.
Dip a soft cloth or sponge, wring it well, and gently scrub the greasy spots in circular motions.
Rinse with clean water and pat dry to remove residue.
Choose Mild Dish Soap
Why not reach for a mild dish soap first? You’ll pick a gentle formula that cuts grease without harming paint near kitchen appliances or altering wall texture. Mix a small amount in a spray bottle to test a hidden patch; if paint stays intact, proceed. Apply sparingly, wipe with a soft cloth, and rinse residue to prevent streaks. Avoid abrasives or concentrated degreasers that strip sheen. Below is a quick guide to match soap type with task.
| Soap Type | Best Use |
|---|---|
| Mild gel | Light cooking splatters |
| Baby-safe | Sensitive paint |
| Fragrance-free | Visible areas |
| Plant-based | Eco-conscious needs |
| Unscented | Test patches only |
Prepare Warm Water
Before you start scrubbing, warm up some water so the dish soap can do its job—warm water helps break down grease more effectively than cold, but don’t use scalding hot water that could damage paint.
Measure a basinful at a comfortably warm temperature and add a few drops of mild dish soap, mixing until suds form.
Test a hidden spot to guarantee the mix won’t affect finish; this small check aids paint preservation and helps avoid discoloration.
Keep a clean cloth or sponge ready, wrung to damp, to control moisture and support stain prevention without overwetting the wall.
Gently Scrub And Rinse
Once you’ve mixed your warm, soapy water and tested a hidden spot, dampen a soft cloth or non-abrasive sponge and gently scrub the greasy area in small circles, working from the edges toward the center to avoid spreading the stain. Use gentle scrubbing pressure so paint isn’t damaged; repeat until grease breaks down. Rinse the cloth frequently. After scrubbing, rinse the wall with a clean damp cloth and mild rinsing techniques to remove soap residue, then pat dry. If film remains, repeat briefly. Let the area air-dry fully before evaluating touch-up needs.
| Tool | Action |
|---|---|
| Cloth | Dab |
| Sponge | Scrub |
| Water | Rinse |
| Soap | Break |
| Dry | Inspect |
Apply a Baking-Soda Paste for Stubborn Spots
If a greasy spot won’t budge with detergent, mix baking soda with a little water to form a spreadable paste and apply it directly to the stain; let it sit for 10–15 minutes. You’ll use baking soda to lift oils without harsh chemicals.
Gently rub the paste with a soft cloth or sponge in circular motions, testing an inconspicuous area first. Wipe away residue with a damp cloth, then dry the wall to prevent marks.
Repeat once if needed, but don’t scrub aggressively—you can damage paint. For persistent stubborn spots, consider professional cleaning to avoid harming the finish.
Use Diluted Vinegar Safely on Painted Walls
Although vinegar’s acidity can cut through grease, you should always dilute it to protect paint and test a hidden spot first.
Mix one part white vinegar with three parts water in a spray bottle, and wear gloves to avoid skin irritation.
Mix one part white vinegar with three parts water in a spray bottle, and wear gloves to protect your skin
For Vinegar safety, avoid strong concentrations and never mix vinegar with bleach.
Do Wall preparation by wiping dust and loose grime with a dry cloth before applying the solution.
Lightly mist the stained area, wait 1–2 minutes, then blot with a soft microfiber cloth.
Rinse with plain water, dry the surface, and repeat only if needed to prevent paint damage.
Use Rubbing Alcohol on Small Greasy Marks
When you spot small greasy marks, rubbing alcohol cuts through oil without soaking the paint, so it’s ideal for targeted touch-ups.
Dab a cotton ball with rubbing alcohol, wring slightly, and test an inconspicuous spot first. Gently blot the mark—don’t rub hard—to lift grease without damaging the finish.
Work from the edges inward to prevent spreading, replacing the cotton as it collects oil.
After the stain fades, wipe the area with a damp cloth to remove residue, then dry.
Use this method sparingly; frequent abrasion can dull paint.
This technique offers quick, precise grease removal for minor blemishes.
Use Commercial Degreasers Safely on Paint
When grease won’t budge with mild cleaners, pick a commercial degreaser formulated for painted surfaces and low-VOC formulas when possible.
Test it on a hidden spot first to make sure it won’t strip or discolor the paint.
Always follow the label instructions, wear gloves and ensure proper ventilation, and rinse as directed.
Choose The Right Degreaser
Pick a degreaser that’s formulated for painted surfaces and you’ll protect your finish while removing grime effectively. Choose products labeled safe for latex or oil-based paints and consider eco friendly solutions when possible to reduce fumes and residues. Look for stain prevention claims if you’re treating older or porous paint.
- Check label for “paint-safe” or specific paint types.
- Prefer biodegradable, low-VOC formulas for indoor use.
- Avoid abrasive or solvent-heavy cleaners on delicate finishes.
- Keep a mild neutralizer (like diluted dish soap) handy to rinse thoroughly.
Use as directed, wearing gloves and ventilating the room.
Test On Hidden Area
Before you apply a commercial degreaser to a visible wall, test it on an inconspicuous spot—behind a light switch plate, inside a closet, or near a baseboard—to make sure it won’t discolor or soften the paint.
Pick a hidden area and clean a small Test patch with the product diluted as you’ll use it. Wait the recommended drying time and inspect for fading, tackiness, or film.
If the finish looks unchanged, proceed cautiously on the visible surface. If it alters the paint, don’t use that degreaser; try a gentler formula or a different method to avoid damage.
Follow Safety And Labeling
How will you safely use a commercial degreaser on painted walls? You’ll follow label reading and basic safety precautions before starting. Read directions, warnings, and dilution ratios; wear gloves and goggles; verify ventilation. Test a small, hidden area first.
- Check the product’s paint-compatibility and recommended dwell time.
- Note required PPE and first-aid steps from the label.
- Mix only as directed; never combine chemicals.
- Rinse thoroughly and dry to prevent residue or damage.
If anything seems unclear or the paint softens, stop immediately and consult the manufacturer for guidance.
Spot-Cleaning: Step-by-Step Technique
When you spot-clean a greasy patch, work quickly and deliberately: blot excess grease with a paper towel, then apply a gentle cleaning solution with a soft cloth, moving from the edges toward the center to prevent spreading.
Test the solution on an inconspicuous area first.
Gently dab stains, alternating with clean water to lift residue.
For tougher stain removal, use a diluted degreaser sparingly and rinse promptly.
Pat dry with a microfiber towel.
Inspect for wall discoloration after drying; repeat only if necessary.
Finish by airing the room to fully dry the spot and restore the paint’s appearance.
Blot vs. Rub: Avoid Removing Paint
When you clean grease, blot the spot with a soft cloth instead of rubbing to avoid lifting paint.
Always test your cleaner on a hidden area first to make sure it won’t damage the finish.
If the test looks good, continue blotting gently until the stain lifts.
Blot, Don’t Rub
Although it’s tempting to scrub, blotting grease with a clean cloth or paper towel prevents you from lifting paint or spreading the stain. Use the Blot technique: press gently, absorb excess, and repeat with fresh cloths. Avoid Rubbing risks like smeared rings, thin spots, or removed finish.
- Start at the edge, move inward to contain the grease.
- Use a soft, lint-free cloth or paper towel to absorb.
- Change cloths frequently to avoid redepositing oil.
- If residue remains, dampen the cloth with mild soapy water and blot until the stain lightens, then pat dry.
Test Hidden Area
Want to be sure your cleaning won’t strip the finish? Before treating a visible stain, pick a hidden area—behind furniture or inside a closet—and try your test method there.
Dampen a soft cloth with the cleaner you’ll use, blot gently, then let it dry completely. Inspect for discoloration, softening, or sheen loss.
If the paint looks unchanged, proceed to the grease spot using the same gentle blotting approach. If you notice damage, stop and choose a milder solution or consult the paint manufacturer.
Testing first protects your wall and preserves the finish while you remove grease.
Removing Greasy Fingerprints From Trim and Doors
If you notice greasy fingerprints on trim or doors, tackle them quickly to prevent buildup and finish damage. Use a mild detergent solution and soft cloth, rinsing and drying thoroughly.
For stubborn spots, try a magic eraser gently to avoid stripping paint. Keep in mind wallpaper removal techniques if trim adjoins wallpapered areas, protecting seams from moisture.
If cleaning reveals scuffs or bare spots, plan a small paint touch up to restore appearance.
- Test cleaner in hidden spot.
- Use gentle circular motions.
- Rinse residue fully.
- Finish with a dry microfiber cloth.
Clean Textured and Popcorn Walls Without Damage
After handling trim and doors, you’ll want to approach textured and popcorn walls with extra care since their uneven surfaces trap dust and grime differently than flat paint.
Work top-to-bottom using a soft-bristle brush or vacuum with a brush attachment to remove loose particles without harming texture preservation.
Test a mild, pH-neutral cleaner on an inconspicuous spot to check paint compatibility and avoid soaking.
Lightly dab stains with a microfiber cloth; don’t scrub aggressively.
For stubborn grease, use a diluted degreaser applied sparingly, then rinse gently.
Pat dry and allow full drying before evaluating if repeat treatment is needed.
Removing Range Grease From Ceilings and High Walls
When you tackle range grease on ceilings and high walls, start by gathering the right tools and wearing safety gear so you can reach and work without risk.
Use an effective cleaning solution—mild degreaser or diluted dish soap—and test it on a small spot first to protect the paint.
Then follow a step-by-step technique: work top to bottom, use gentle strokes with a soft brush or sponge, and rinse as you go.
Tools And Safety
Because you’ll be working overhead and handling cleaning solutions, gather the right tools and take simple safety steps before you start. You’ll need basic cleaning tools and protective gear to work safely on ceilings and high walls.
Choose a stable ladder or step stool, soft microfiber cloths, a long-handled scrubber, and a bucket with warm water.
Wear gloves, eye protection, and a mask if you’re sensitive to fumes.
Follow these steps:
- Inspect your ladder placement for stability.
- Test protective gear for fit and comfort.
- Keep a spotter nearby when using tall ladders.
- Position tools within easy reach.
Effective Cleaning Solutions
Now that you’ve set up your ladder and safety gear, pick the right cleaner for range grease on ceilings and high walls.
Choose mild, non-abrasive cleaners that lift oil without harming paint.
For eco-friendly solutions, mix warm water with a few drops of dish soap or a baking soda paste; both cut grease and rinse clean.
For tougher spots, use a vinegar-water spray or a citrus-based degreaser labeled safe for painted surfaces.
Test any cleaner in an inconspicuous area first.
With the right product and cautious application, you’ll handle greasy build-up efficiently during DIY removal without damaging paint.
Step-By-Step Technique
Before you start scrubbing, set up a stable ladder and gather your tools—microfiber cloths, a soft-bristle brush, your chosen cleaner in a spray bottle, a bucket of warm water, and drop cloths to protect floors and furniture.
Work top-down, testing a hidden spot for paint peeling and respecting different wall textures.
Use gentle circular motions, avoid soaking the ceiling, and rinse cloths often.
Address stubborn grease with light detergent solution, then wipe with clean water.
Finish by drying to prevent streaks.
- Test paint adhesion
- Apply cleaner lightly
- Agitate gently
- Rinse and dry
Treating Old, Set-In Grease Stains
When grease has had time to bake into paint, you’ll need stronger methods than a quick wipe. Start by testing a hidden spot with a mild degreaser or trisodium phosphate solution to check stain resistance and colorfastness.
Use a soft-bristle brush and work gently in circular motions, reapplying cleaner sparingly. For persistent rings, try a poultice of baking soda and water, let it sit thirty minutes, then rinse.
Gently scrub with a soft brush in circular motions; reapply cleaner lightly. For stubborn rings, try a baking soda poultice.
Rinse thoroughly to avoid residue. Improve future prevention with better kitchen ventilation and routine wipe-downs after cooking.
If stains persist, consider professional cleaning before repainting.
Fixes When Paint Comes Off After Cleaning
If aggressive cleaning lifts paint, don’t panic—you can repair the damage without redoing the whole wall. First, stop cleaning and let the area dry.
Assess paint texture and adhesion; gently scrape loose flakes and sand edges smooth. Focus on wall preparation to guarantee repairs bond.
- Clean residue with mild detergent and rinse.
- Sand feathered edges, then prime exposed substrate.
- Use a compatible filler for gouges; sand when dry.
- Apply touch-up paint in thin layers, matching texture by stippling or rolling.
Keep tools clean and test a small patch before finishing.
How to Repaint or Touch Up Grease-Damaged Areas
Before you repaint, you’ll need to clean and sand the area so the surface is smooth and free of residue.
Make sure you match the original paint’s color and finish exactly to avoid noticeable patches.
When applying paint, feather the edges into the surrounding wall so the repair blends seamlessly.
Prep Surface Properly
Although a fresh coat can hide stains, you’ve got to prep the surface right so paint will adhere and the grease won’t bleed through.
For effective wall preparation and paint protection, follow these steps before you repaint or touch up grease-damaged areas:
- Clean: degrease with TSP or a citrus cleaner, rinse, and dry thoroughly.
- Sand: scuff glossy spots and feather edges of damaged paint for better adhesion.
- Prime: use a stain-blocking primer labeled for grease to seal residues.
- Protect: mask trim, floors, and appliances to prevent splatter and guarantee a clean finish.
Match Paint Exactly
When you’re ready to repaint or touch up grease-damaged areas, matching the original paint exactly is key to a seamless repair. You’ll want to confirm Paint matching and color consistency before you start: take a chip, note finish (eggshell, satin), and bring it to a store for a custom mix. Test the matched sample on a small, cleaned spot and let it fully dry to verify under your room’s lighting. Keep records of brand and formula for future touch-ups.
| Step | What to bring | Why it matters |
|---|---|---|
| 1 | Paint chip | Accurate match |
| 2 | Finish type | Consistent sheen |
| 3 | Photo in lighting | True color |
| 4 | Formula info | Future touch-ups |
Blend And Feather
If you want your touch-up to disappear into the surrounding wall, blend and feather the new paint so the edges soften into the existing finish; you’ll avoid obvious patches by using careful blend feathering and paint blending techniques.
Prep the area, thin the paint slightly, and work outward from the repaired spot. Follow this concise sequence:
- Clean and sand edges lightly.
- Thin paint and load a small brush or roller.
- Apply paint, stroking outward to feather edges.
- Let dry, then inspect and repeat minimal blending if needed.
You’ll achieve an invisible repair with patience and precise paint blending.
Prevent Grease Splatters in Cooking Zones
To keep your painted walls grease-free, take simple steps at the stove: use splatter screens, lid pans while cooking, and position burners and pots so oil sprays away from walls.
You’ll reduce splatters by trimming excess fat, patting ingredients dry, and heating oil to the right temperature so it won’t spit. Keep a small towel or wipe nearby to catch stray splashes immediately.
Choose cookware with higher rims and place frequently used pans away from vulnerable wall areas to protect wall durability. These actions improve cooking safety and cut cleaning time, helping painted surfaces stay cleaner longer.
Best Ventilation and Extractor Fan Tips
Good ventilation is your next line of defense against grease that still manages to reach painted walls despite careful cooking habits.
Good ventilation is your next line of defense against grease that reaches painted walls despite careful cooking.
You should optimize Ventilation systems and follow extractor maintenance to catch fumes and reduce deposits.
Focus on practical steps:
- Run the extractor at full power during and 10 minutes after cooking.
- Clean or replace filters monthly to keep airflow strong and effective.
- Check ductwork for blockages and seal leaks to prevent recirculation.
- Supplement with a window fan or HVAC boost when frying to dilute airborne grease.
These habits cut airborne residue, making wall cleaning easier and less frequent.
Weekly Quick-Clean Routine to Stop Buildup
When you set aside ten minutes each week for a quick wipe-down, you’ll stop grease from turning into stubborn buildup—and it’s much easier than tackling a big, greasy job later. You’ll keep paint looking fresh, improve air quality, and reduce stain longevity. Use a microfiber cloth and mild cleaner; work top-to-bottom in small sections. Quick checks prevent greasy fingerprints and splatter from setting.
| Task | Time | Frequency |
|---|---|---|
| Wipe high spots | 3 min | Weekly |
| Clean mid-walls | 4 min | Weekly |
| Touch doors/trim | 2 min | Weekly |
| Inspect finish | 1 min | Weekly |
Protect Nearby Surfaces While Cleaning Walls
Before you start scrubbing, lay down drop cloths or old sheets to protect floors and move or cover nearby furniture so cleaning solutions don’t stain them.
Use painter’s tape to seal off trim and seams for a neat edge that keeps cleaner off baseboards and adjacent walls.
Switch off power and tape over outlets or cover light fixtures to prevent moisture from reaching electrical components.
Cover Floors And Furniture
Want to avoid ruining your floors or getting furniture greasy while you clean the walls? Lay down drop cloths or plastic sheeting to protect flooring and move lightweight pieces away; cover larger items with fitted sheets to avoid slipping. Consider wall textures when choosing soft coverings so the cloth won’t snag paint.
Keep an easy-to-wipe bucket nearby and plan cleaning schedules to limit drying time and traffic. Use a small stool or step ladder on a stable cover to reach high spots.
- Use heavyweight drop cloths
- Secure edges with weights
- Wrap electronics in plastic
- Clear high-traffic paths
Tape Off Adjacent Trim
If you’re cleaning grease off painted walls, tape off adjacent trim to keep baseboards, doorframes, and window sills spotless. Use painter’s tape rated for delicate surfaces so you won’t peel paint when removing it.
Press tape edges firmly to seal against cleaning solution seepage, protecting trim finish and any trim color matching you’ve done. For textured trim, follow grooves to maintain texture preservation and avoid flattening edges.
Cover corners and overlaps with extra tape strips, and remove tape while the wall is slightly damp to reduce lifting. Proper taping saves touch-ups and keeps adjacent surfaces pristine during grease removal.
Protect Electrical Fixtures
Where do you start when the oil splatters reach light switches, outlets, and fixtures? First, cut power at the breaker to prioritize electrical safety. Remove switch plates if you can and tape exposed screws. If not, cover fixtures with plastic wrap or painter’s tape, keeping protection flush with the wall texture to avoid gaps.
Clean around protected areas gently to prevent paint damage.
- Turn off power.
- Remove or cover plates.
- Use low-abrasion cleaners.
- Check for drips and seams.
Finish by reinstalling plates and restoring power, inspecting for any leftover grease.
Cleaning Painted Walls With Wallpaper Borders
When tackling grease on painted walls that have wallpaper borders, start by protecting the border so you don’t damage its adhesive or finish. Lay painter’s tape along the edge, pressing gently to avoid lifting.
Test your cleaner on a small painted area to confirm it won’t affect wall texture or cause colors to run.
Use a soft sponge, wrung nearly dry, and work from the painted area toward the tape to prevent seepage.
If grease is stubborn, steam carefully near the paint—not the border—to loosen grime for safe wallpaper removal later.
Rinse with a damp cloth and dry promptly.
Natural Cleaners vs. Chemical Degreasers: Pros and Cons
You can often remove light grease with natural cleaners like vinegar or baking soda, which are gentler on paint but may need more elbow grease.
Chemical degreasers pack more punch and cut heavy buildup quickly, though they can strip or dull delicate finishes if misused.
We’ll compare effectiveness, strength, and surface-safety so you can choose the right option for your walls.
Natural Cleaners Effectiveness
1 clear advantage of natural cleaners is their gentler chemistry, but they won’t always match the fast, heavy-duty power of chemical degreasers. You can use eco-friendly solutions and organic cleaning agents to lift light grease without harming paint or indoor air quality. Choose methods based on stain severity, paint type, and time.
- Mild soap and water — safe for most paints.
- Vinegar solution — cuts light grease, test first.
- Baking soda paste — gentle abrasive for spots.
- Citrus-based cleaners — effective, low-toxicity.
You’ll trade speed for safety; repeat treatments often beat one harsh application.
Chemical Degreasers Strengths
Although they’re harsher than eco-friendly options, chemical degreasers deliver fast, heavy-duty results that you’ll notice after a single application. You’ll break down stubborn oil, smoke residue, and baked-on grime more quickly than with many eco-friendly solutions, saving time and effort.
They work on multiple surfaces and often require only dilution and a short dwell time. You should still balance effectiveness with responsibility: use sparingly, ventilate, and follow label directions.
If you prefer gentler approaches, remember historical cleaning methods inform modern choices, but chemical degreasers remain the go-to for tough, immediate results.
Surface Safety Considerations
Chemical degreasers clear heavy buildup fast, but when you’re choosing between natural cleaners and stronger chemicals, think about how each will affect painted surfaces. You want to protect surface durability and verify paint compatibility before scrubbing.
Compare pros and cons:
- Natural cleaners: gentler, lower risk to finish, but may need more effort.
- Chemical degreasers: effective on stubborn grease, can harm delicate paints if misused.
- Test first: spot-check an inconspicuous area to observe reactions and sheen loss.
- Rinse and neutralize: remove residue to preserve surface durability and ensure long-term paint compatibility.
How to Remove Greasy Residue Without Streaks
When you remove greasy residue from painted walls, work methodically and use the right cleaning solution so you won’t leave streaks behind.
Start by dusting and testing a small hidden area.
Mix eco-friendly solutions like mild dish soap with warm water or a vinegar-and-water DIY cleaning tips blend for tougher spots.
Use a soft microfiber cloth dampened — not soaked — and wipe in consistent vertical strokes, rinsing the cloth frequently.
Follow with a clean, dry microfiber pad to buff away moisture.
Allow the wall to air-dry fully before inspecting, repeating gently only if necessary to avoid paint damage.
Cost-Effective Supplies for Wall Maintenance
If you want to keep painted walls looking good without spending much, focus on a few versatile, low-cost supplies you’ll use again and again. You’ll protect paint durability and respect wall texture by choosing gentle, effective tools. Keep these basics on hand:
- Microfiber cloths for dusting and gentle wipe-downs.
- Mild degreaser (diluted) that won’t strip finish.
- Soft-bristled brush to reach textured surfaces.
- Protective sponges that won’t scuff paint.
Rotate cloths, rinse sponges often, and test cleaners on a hidden patch. That routine preserves finish, avoids damage, and saves you money over time.
When to Call a Professional Cleaner or Painter
Keeping a small kit of affordable supplies handles most greasy spots, but call in a pro when stains cover large areas, penetrate deeply, or repeat despite your best efforts.
Keep a small, affordable kit for grease — but call a pro for large, deep, or recurring stains.
If cleaning lifts paint, you see shadowing, or odors persist, a professional cleaner or painter can assess adhesion, recommend eco friendly solutions, and decide whether repainting or deep-cleaning is best.
Hire someone when kitchens, high-traffic zones, or rental turnover demand quick, durable results you can’t achieve alone.
A pro also advises on stain prevention—sealants, finishes, or paint types—to reduce future problems and save time and money long-term.
Quick Troubleshooting: Stubborn Grease Still Visible
Although you’ve tried the usual fixes, stubborn grease can still cling to painted walls — and that doesn’t mean you’ve failed. Check these steps to tackle stubborn stains without harming paint or falling for cleaning myths.
- Test a mild degreaser in an inconspicuous spot; wait to confirm no finish dulling.
- Use a soft sponge and circular motions; avoid scrubbing that strips paint.
- Apply a paste of baking soda and water for gentle abrasion; rinse thoroughly.
- If residue remains, repeat with a dedicated wall cleaner rated for painted surfaces and ventilate the room.
FAQs: Common Grease-On-Wall Questions and Quick Answers
You’ve covered the main fixes, but you probably still have specific questions — here are quick answers to the most common grease-on-wall problems so you can act fast and avoid mistakes.
| Question | Quick Answer | When to Call Pro |
|---|---|---|
| Will soap remove grease? | Yes, mild detergent often works; rinse well. | If paint softens. |
| Can I repaint? | Prep, prime oil stains, then repaint. | For severe staining. |
| Will cleaning harm decor? | Test area first; protect trim and art. | If antiques or delicate finishes. |
Use these Decorating tips and basic Wall repair steps to keep results safe and neat.
Frequently Asked Questions
Can Grease Transfer From Painted Walls to Furniture or Curtains?
Yes — grease stains on painted walls can transfer to furniture or curtains, causing wall discoloration to spread. You’ll notice smudging when fabrics touch oily areas, so clean promptly and avoid contact until treated.
Will Cleaning Remove Antimicrobial Paint Properties?
Yes — aggressive scrubbing or harsh solvents can reduce antimicrobial coatings’ effectiveness; you should use mild cleaners and gentle wiping to preserve surface protection, and avoid abrasive tools to maintain the coating’s antimicrobial performance.
Can I Use a Steam Cleaner on Painted Walls With Grease?
You can use a steam cleaner cautiously; steam cleaning can remove grease but risks paint safety on some finishes. Test a hidden spot, use low steam, keep nozzle moving, and avoid prolonged exposure to prevent damage.
How Do I Prevent Grease Odors After Cleaning Walls?
Like a cool breeze, you’ll ventilate thoroughly, wipe residue, then use odor absorbers and air freshening sprays; you’ll launder nearby fabrics, keep humidity low with a dehumidifier, and repeat spot-cleaning to prevent lingering smells.
Are There Child- and Pet-Safe Commercial Degreasers?
Yes — you can buy child- and pet-safe commercial degreasers; you’ll want eco friendly solutions that advertise non-toxic ingredients. Pair them with natural cleaning methods like vinegar or citrus-based sprays for safer, effective grease removal around kids and pets.
Conclusion
You’ve got this—start with a gentle test, pick the right cleaner for your paint finish, and work from the edges in so you don’t make a bigger mess. Protect switches and trim, use cheap supplies like microfiber cloths and gentle degreasers, and call a pro if the stain’s ancient or the paint’s delicate. With a little elbow grease (and not literally hours—more like seconds in hero mode), your walls will look fresh again.