How to Remove Paint From Plaster Walls Easily
Start by identifying your plaster and paint type so you can pick gentle methods that won’t damage the substrate. Work small test areas, scrape loose paint with plastic scrapers and fine sanding where needed, then spot‑treat stubborn areas with a low‑VOC stripper or low‑heat gun while wearing PPE. Repair chips with premixed patch, prime with a breathable or acrylic primer as appropriate, then finish; keep going below for step‑by‑step tips and safety notes.
Remove Paint From Plaster Walls: Quick Safe Method
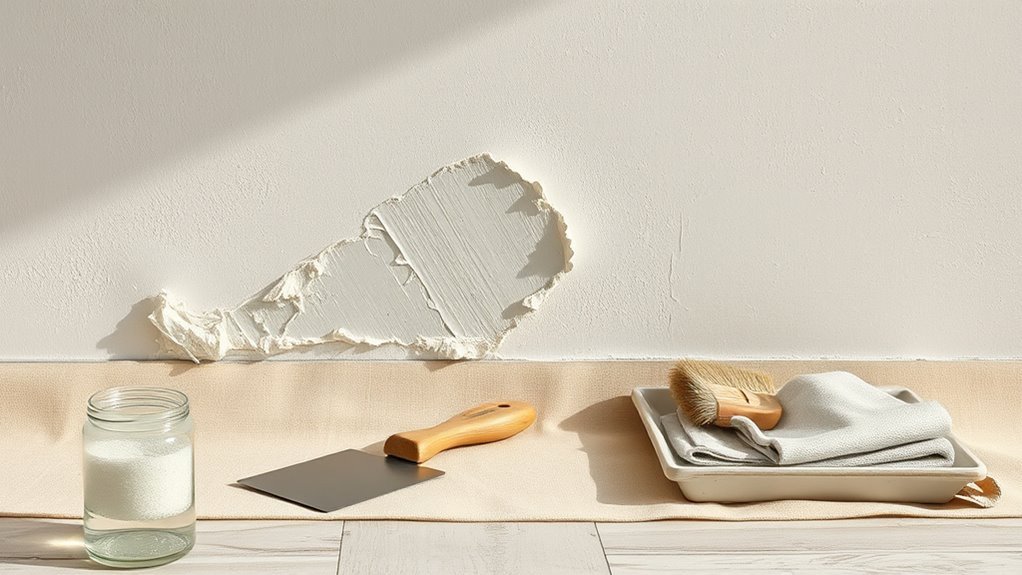
If your plaster’s in good shape, you can strip paint quickly without damaging the surface by using the right tools and technique. Start by testing a small area with eco friendly solvents designed for plaster; they remove paint without harsh fumes and support historical preservation goals.
Work in thin layers with a plastic scraper and soft bristle brush, keeping pressure light to avoid gouging. Use a solvent-soaked rag to lift stubborn spots, then neutralize and rinse per product instructions.
Wear gloves and ventilate the room. Finish by sanding lightly only where needed, preserving original texture and detail.
Identify Your Plaster and Paint Type First
Before you start stripping, check how old the plaster is—older plaster can be more fragile and may need gentler methods.
Figure out whether the paint is latex or oil-based since that changes which removers and tools will work.
Always test a small, inconspicuous area first to see how the surface reacts.
Determine Plaster Age
Because older plaster and newer drywall take different approaches, you’ll want to identify the plaster’s age and the paint type before you start stripping paint.
Check construction features: horsehair fiber, lime plaster, and multiple skim coats suggest early 20th century work. Thin gypsum over lath points to mid-century updates.
Look behind switch plates or in closets for exposed edges and note any cloth-backed wallpaper or boxing for historical preservation concerns.
Older plaster may tolerate wet methods less well. Newer walls with modern insulation or drywall backing handle mechanical or chemical removal differently.
Record findings to choose the safest removal technique.
Identify Paint Type
When you’re ready to strip paint, identifying the paint type on your plaster tells you which removal methods will work and which could damage the wall.
First, look for finish and age cues: glossy coats or thick layers often mean oil-based paint; matte, newer surfaces usually indicate latex. Scrape a tiny edge to see if paint flakes cleanly or shows paint peeling in brittle sheets.
Smell and sheen help: oil smells stronger and polishes slightly; latex dries flat. Knowing the type aids color matching if you plan to repaint and avoids using harsh solvents that harm plaster.
Test A Small Area
Now that you know what type of paint and plaster you’re dealing with, test a small, inconspicuous area to confirm how the surface reacts to your chosen removal method. Choose a spot near trim or behind furniture where color matching won’t be obvious.
Apply your stripper, heat, or sanding briefly, then wait for the recommended dwell time. Check for damage to the plaster, changes in wall texture, and residue that affects adhesion.
If the plaster crumbles, stop and try a gentler approach. If it releases cleanly and the texture stays intact, proceed, noting any adjustments needed for larger sections.
Choose Gentle Scraping and Sanding (When to Use)
If the paint is flaking or coming off in small patches, you’ll want to hand-scrape with a putty knife to avoid gouging the plaster.
For stubborn, thinly bonded paint or slight texture smoothing, use fine-grit sanding by hand or with a sanding block rather than a power sander.
Both methods are gentle options when the plaster is intact and you need careful, controlled removal.
When To Hand-Scrape
Because plaster is softer and more delicate than drywall, you’ll want to hand-scrape or lightly sand in situations where the paint is peeling, bubbled, or flaking but the plaster underneath is intact.
You should hand-scrape when layers lift in localized patches, near trim, or around decorative moldings to avoid gouging. Hand tools let you follow contours, reveal underlying substrate, and assess for plaster restoration needs.
Consider paint chemistry—oil over latex or multiple coats may flake in sheets—and test small areas first.
Work slowly, using a sharp scraper at a low angle, and stop if you expose loose plaster.
When To Lightly Sand
When paint is mostly adhered but shows rough edges, brush marks, or minor drips, lightly sanding is the right next step—you’ll smooth shifts without risking the plaster beneath. You’ll use fine-grit sandpaper, gentle pressure, and a light touch to remove imperfections while preserving Wall texture. Sanding helps with Color matching later by creating a uniform surface for primer and touch-up paint. Work in small areas, wipe dust, and inspect often. If paint flakes or soft spots appear, stop and consider scraping or spot priming. Choose sanding only when adhesion is good and you need subtle smoothing.
| Task | Tip |
|---|---|
| Grit | 220–320 |
| Pressure | Light |
| Dusting | Damp cloth |
| Check | Adhesion test |
| Finish | Prime before match |
Use Chemical Paint Strippers Safely on Plaster
Though chemical strippers can quickly remove multiple paint layers, you should handle them carefully on plaster to avoid damage and health risks. You’ll test a small area, choose a stripper labeled safe for plaster, and consider environmental impact and historical preservation before proceeding.
Wear PPE, ventilate, and use plastic sheeting to protect floors. Neutralize and dispose of residues per local rules to avoid contamination.
- Test area first
- Use low-VOC or biodegradable formulas
- Work with appropriate respirator and gloves
- Protect ornamental plaster and trim
- Follow manufacturer disposal instructions
Use Heat and Infrared Tools Safely
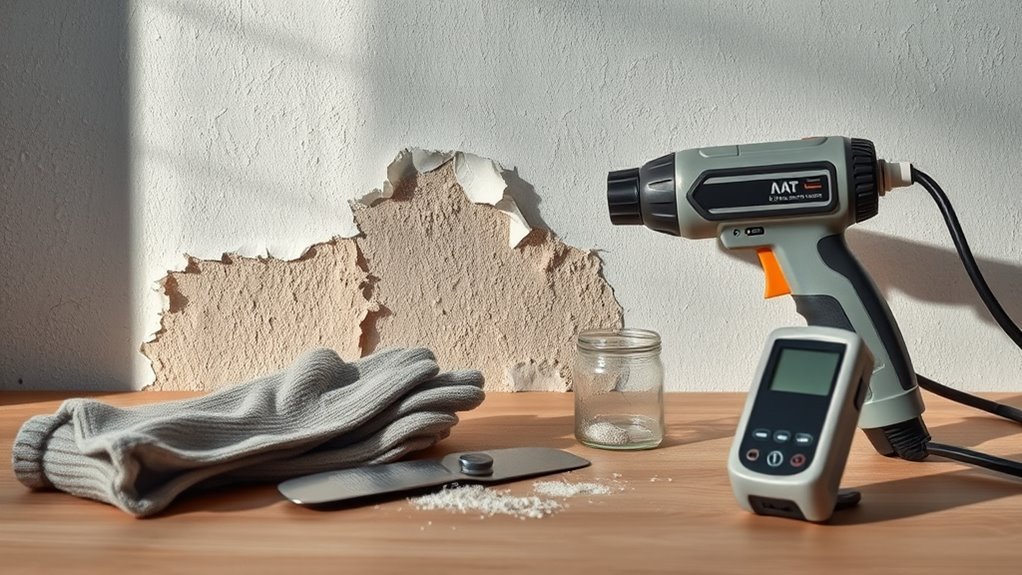
If chemical strippers aren’t suitable or you prefer a dry method, you can use heat guns or infrared panels to soften paint on plaster so it scrapes away more easily.
You’ll wear goggles, a respirator, and heat-resistant gloves, and keep a fire extinguisher handy.
Follow heat gun safety: keep the nozzle moving, hold it several inches away, and never point at wiring or baseboards.
Infrared therapy-style panels heat evenly and reduce blistering risk, but monitor surface temperature and ventilation.
Work in small sections, avoid overheating plaster, and let painted areas cool before scraping to prevent gouging or cracking.
Remove Loose Flakes and Spot-Damaged Patches
Check the flaking areas first to see how extensive the damage is and whether the plaster beneath is sound.
Gently scrape away loose paint with a putty knife or scraper, taking care not to gouge the plaster.
Smooth the edges of each patch, then prime before repainting to guarantee a durable finish.
Assess Flaking Areas
Before you start scraping, walk the room and pinpoint every flaking or bubbled patch so you know what needs attention; mark those spots with painter’s tape or a light pencil dot to make them easy to find as you work.
You’ll assess each area for cause and scope, balancing historical preservation with practical repair. Look for moisture damage, hairline cracks, and paint layers that won’t adhere. Note patterns that suggest leaks or ventilation issues.
Decide whether patches are isolated or widespread before proceeding.
- Location and size
- Surface firmness
- Underlying plaster condition
- Moisture indicators
- Surrounding finishes
Gently Scrape Loose Paint
Once you’ve marked the trouble spots, gently scrape away loose flakes and failing paint with a flat putty knife or paint scraper held at a shallow angle so you lift pieces without gouging the plaster. Work small areas, clearing to firm edges where paint adhesion remains solid. Use light, steady strokes and change blades if they snag.
Collect debris on a drop cloth and inspect for hairline lifts. For stubborn spots, tap with a stiff brush to dislodge crumbs, then use targeted brush techniques to clean residue before any repair. Keep pressure even; aggressive scraping risks pitting plaster that you’ll later have to fix.
Smooth And Prime Patches
After you’ve removed loose flakes and cleaned the area, smooth the spot-damaged plaster with a fine-grit sanding block or sanding sponge held flat to blend edges into the surrounding surface. Once smooth, dust thoroughly and apply a thin coat of plaster primer to seal and improve paint adhesion.
When patching, follow these steps:
- Use a feathering technique to blend filler into the wall.
- Sand between coats for a seamless finish.
- Choose a primer that enhances paint durability.
- Test color matching under natural light before final coat.
- Allow full cure time to prevent future flaking and guarantee longevity.
Tools and Supplies: Checklist by Method
When you’re ready to strip paint from plaster, gather the right tools for the method you’ll use so the job goes faster and safer.
For scraping: assorted putty knives, flexible scrapers, wire brush, drop cloths, and plastic sheeting.
For chemical strippers: quality stripper, natural-bristle brushes, plastic scraper, solvent-rinse rags, and disposable gloves.
For heat methods: a low-temp heat gun, wide metal scraper, heat-resistant gloves, and respirator filters.
For preservation projects like historical restoration or decorative finishes, add soft bristle brushes, cotton swabs, conservation-grade solvents, magnifier, and detailed documentation supplies.
Have spare sandpaper and patching plaster ready.
Safety, Ventilation, and Lead‑Paint Precautions
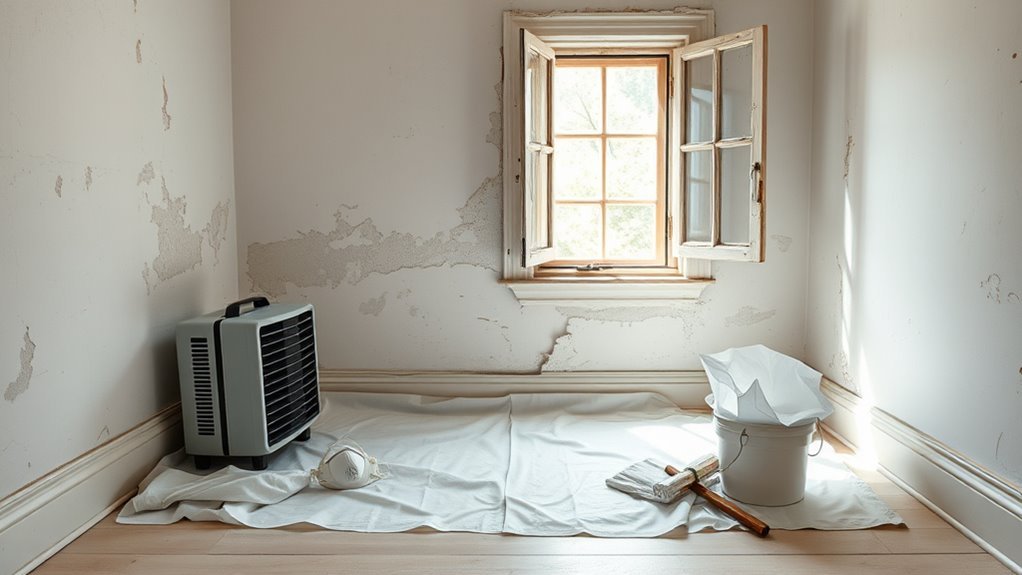
Because paint removal can release hazardous dust and fumes, prioritize safety and plan ventilation before you start. You’ll work near surfaces where paint color and wall texture vary, so assume risk if the home predates 1978. Wear a respirator rated for lead, disposable coveralls, gloves, and eye protection. Keep windows open and use fans to direct air outside; avoid creating dust clouds.
- Test for lead with a certified kit or hire a pro.
- Use wet methods or HEPA vacuuming to minimize dust.
- Seal doorways and vents with plastic.
- Label and dispose of waste properly.
- Don’t eat or smoke in the area.
Repair Minor Plaster Damage After Stripping
Now that you’ve stripped paint safely and minimized dust, inspect the plaster for small cracks, chips, or thin spots before repainting. Clean loose debris, then apply a thin bonding primer to edges.
For hairline cracks, push in acrylic caulk and smooth. For small chips, use a premixed plaster patch, press it level, and texture-match quickly to preserve plaster texture. Sand lightly when dry, avoiding deep gouges.
If thin areas reveal underlying lath, add a skim coat rather than filling deeply. Check that repair work hasn’t compromised wall insulation or created cold spots before finishing.
Clean tools and allow full cure.
Prep Stripped Plaster for Repainting or Limewash
Before you repaint or limewash, make the stripped plaster a clean, stable surface: remove dust with a soft brush and vacuum. Wipe remaining grime with a slightly damp sponge and pH-neutral cleaner, and let the wall dry completely.
You’ll assess porosity and absorbency, then choose primer or limewash mix to suit original surfaces and Historical restoration goals.
Follow these steps:
- Test a small patch for adhesion and color.
- Fill hairline cracks with compatible filler, sand lightly.
- Apply breathable primer for limewash or acrylic primer for paint.
- Use natural bristle brushes and Artistic techniques for texture.
- Allow full cure before finishing.
When to Call a Pro or Consider Replastering
If the plaster keeps crumbling, large sections are loose, or damp and mold persist after basic repairs, call a professional—these problems often need a tradesperson’s diagnosis and tools that go beyond DIY methods. You should consider replastering when structural damage, pervasive moisture, or compromised lath make patching futile. A pro will assess historical preservation concerns, recommend eco friendly materials, and estimate cost versus salvage. Trust them to match texture, breathability, and period accuracy.
| Fear | Relief | Hope |
|---|---|---|
| Loss of character | Expert care | Sustainable choice |
| Overwhelmed | Accurate quote | Lasting finish |
Common Problems (Lead, Gouges, Stains) and Fixes
Having called a pro for major issues, you’ll still face common surface problems yourself: old lead-based paint, gouges from furniture or plaster repair, and stubborn stains from smoke or water. You can handle most fixes safely and preserve paint color and wall texture.
- Test for lead with a kit; hire pros if positive.
- Sand small gouges; use patching plaster for deeper damage.
- Use stain-blocking primer before repainting.
- Match paint color by swatching in similar light.
- Feather new texture to blend patched areas.
Work methodically, wear protection, and retest finished areas as needed.
Frequently Asked Questions
Can I Remove Paint From Plaster in a Rented Property Without Landlord Permission?
You can’t legally alter plaster without landlord approval; Renting restrictions usually forbid changes. If you want paint removed, ask permission, offer to restore or hire a pro, and get written Landlord approval before proceeding.
Will Home Remedies Like Vinegar Dissolve Old Oil-Based Paint?
No, vinegar effectiveness is limited; you won’t dissolve old oil-based paint with household vinegar. For oil based paint removal, you’ll need stronger solvents, chemical strippers, or mechanical methods to remove it effectively and safely.
Can I Use a Pressure Washer on Exterior Plaster Walls?
Yes, you can use a pressure washer on exterior plaster walls, but you’ll use low pressure and wide nozzle for exterior cleaning; pressure washing can damage plaster if too strong, so test a small area first and proceed carefully.
How Long Does It Take Stripped Plaster to Fully Dry Before Repainting?
Straight away: you’ll usually wait 7–14 days for stripping and plaster to reach full drying time, though thicker coats or humidity extend it; stick to that repainting schedule, and don’t rush—measure moisture before you paint.
Are There Eco-Friendly Paint Strippers Safe for Indoor Use?
Yes — you can use eco-friendly solvents and biodegradable removers indoors; you’ll choose low-VOC, water-based gels or soy‑/citrus‑based strippers, ventilate well, wear gloves, and test a small area before full application.
Conclusion
You’ve got the basics to strip paint from plaster without wrecking the wall: identify materials, start gently with scraping/sanding, use chemical strippers or heat cautiously, and patch any nicks before repainting or limewashing. If unsure, call a pro. For example, a homeowner in Bristol removed decades-old emulsion by spot-testing a citrus stripper, repaired small gouges with plaster, and limewashed for a fresh, breathable finish—saving time and preserving the original mouldings.