How Warm for Exterior Painting? Temperature Guide
You should only paint exterior surfaces when both the air and substrate are within the paint’s recommended range—typically 50–85°F for latex and 45–80°F for oil/alkyd—so coatings can bond and cure properly. Check surface temperature with an infrared thermometer, avoid painting near dew point or before rain, and schedule work in stable daytime conditions or mild evenings. Follow product instructions for primers and recoats; keep tools and backup supplies ready if conditions change and you want more guidance.
Can I Paint Today? Quick Decision
If it’s dry, above the minimum temperature, and the forecast stays clear for at least 24 hours, you can probably paint today.
Check the surface temperature (not just the air), wind speed, and recent humidity to be sure the paint will dry properly.
You’ll consult the weather forecast, confirm surfaces aren’t cold or damp, and plan around gusts that can blow debris onto wet paint.
Verify paint storage hasn’t exposed cans to freezing or extreme heat before opening.
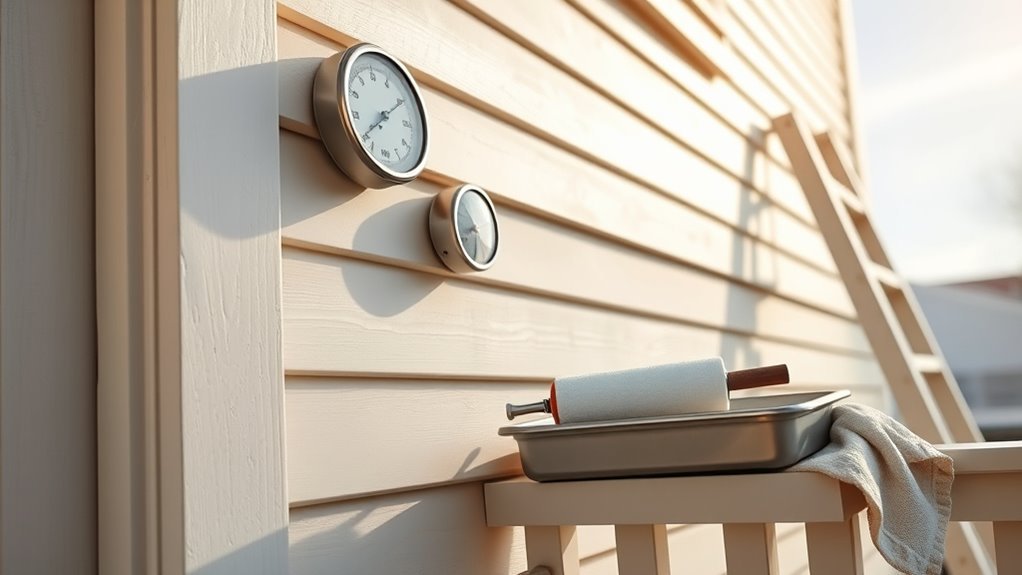
Grab a thermometer for siding, schedule work during stable conditions, and don’t start if dew or rapid temperature drops are expected overnight.
Ideal Exterior Paint Temperatures (By Type)
Now that you know when to paint today, you’ll want to match the paint type to the right temperature range to get proper drying and adhesion.
For latex, stick to 50–85°F; it tolerates brief dips but needs warmth to film.
For alkyds/oils, aim for 45–80°F and avoid cold nights that slow curing.
For primers and specialty coatings, check labels—some need 60°F minimum.
Choose color schemes knowing darker hues heat and dry faster in sun.
Plan tool maintenance: clean brushes immediately and store unused materials at proper temps to preserve performance and prevent waste.
Why Temperature Changes Adhesion, Curing, and Durability
When you paint in cold weather, the coating may not stick well because adhesion weakens as the substrate and paint get too cool.
Lower temperatures also slow solvent evaporation and chemical reactions, which lengthens drying and curing times.
Those slower processes can leave a softer film that reduces long-term strength and durability.
Adhesion At Low Temperatures
How low temperatures affect paint adhesion might surprise you: colder air and substrates slow the chemical reactions that let coatings bond, so paint won’t form as strong or as durable a film as it does at recommended temperatures.
You’ll notice poorer adhesion, increased risk of peeling, and weaker long-term durability when you paint in the cold.
Adjust your prep and application: use proper brush techniques to guarantee even contact, avoid overworking edges, and select formulations rated for low temps.
Consider color psychology when choosing darker hues that retain heat versus light tones, but don’t rely on color to overcome inadequate curing conditions.
Solvent Evaporation Rates
Cold conditions don’t just slow the chemistry that bonds paint to a surface—they also change how fast solvents leave the coating. That rate directly shapes adhesion, curing, and durability.
When solvents evaporate too slowly in cold, tacky films attract dirt and sag. Too fast in heat, they can skin over and trap solvents beneath, causing blisters.
You’ll adjust thinning and choose formulations based on predicted evaporation: heavier solvents help in cold, fast-evaporating solvents suit warmth.
That affects color options—some pigments need different carriers—and dictates wet-edge timing and brush techniques, so plan work windows for proper film formation.
Long-Term Film Strength
Because temperature governs the physical and chemical steps that turn wet coating into a durable film, it directly influences adhesion, cure kinetics, and long-term performance. You’ll see low temperatures slow crosslinking, leaving softer films that pick up dirt and lose paint sheen.
High heat can make binders skin over before proper flow, trapping solvents and weakening adhesion. Rapid temperature swings stress the film, causing microcracks and reduced durability over time.
Choose products rated for your climate and account for color options—darker colors heat faster and cure differently. Proper timing and temperature control guarantee a tougher, longer-lasting exterior finish.
Surface vs. Air Temperature: Which Matters More?
When you’re planning an exterior paint job, the temperature of the surface you’ll coat often matters more than the air temperature because paint must bond and cure on that specific substrate.
That said, the air temperature still affects drying time and solvent evaporation, so extreme air temps can cause issues even if the surface is within range.
We’ll compare how each one influences adhesion and curing so you can prioritize which to monitor.
Surface Temperature Importance
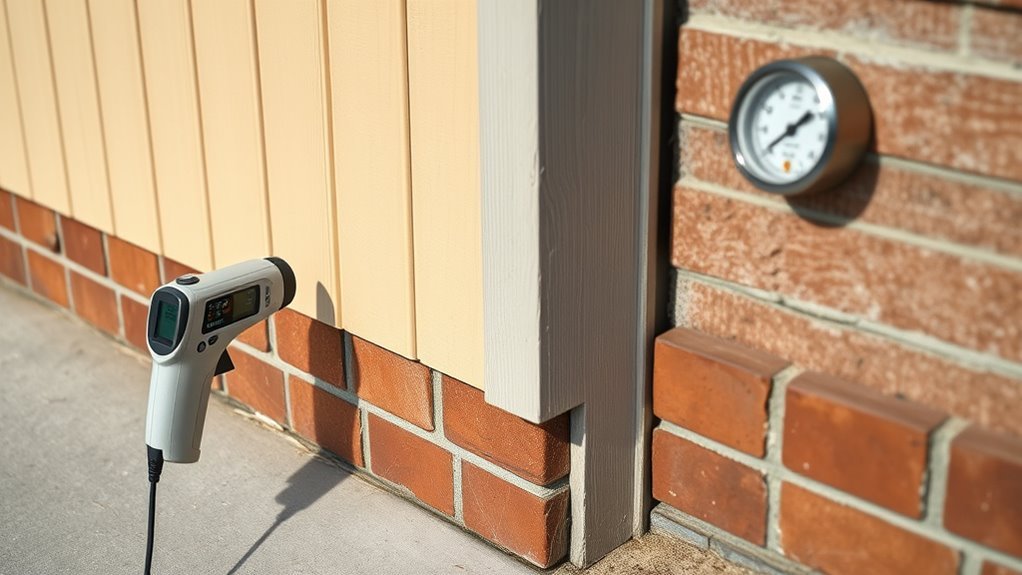
Although air temperature sets the overall conditions, the surface temperature is what actually controls how paint cures and adheres; you’ll need to measure the surface itself rather than rely on the ambient reading to know if it’s safe to paint.
You should check surfaces after shade or sun exposure, since moisture, substrate type and recent cleaning alter temperature.
Proper surface preparation removes contaminants that change heat transfer and bonding.
Match your paint formulation to expected surface temps—some resins cure poorly on cold siding or hot metal.
Use an infrared thermometer, test small areas, and only proceed when the surface falls within the product’s specified temperature range.
Air Temperature Effects
You’ve learned that the surface temperature directly governs curing and adhesion, but air temperature still plays an important role in how paint behaves before it even reaches the substrate.
You’ll notice thinner or thicker application, faster skinning, and altered spray patterns when air is very hot or cold. Air temperature affects drying time, solvent evaporation, and how pigments settle, so your color options may shift slightly in appearance during application.
It also influences how gloss develops, so pick paint sheen with that in mind. Always monitor both temperatures: surface controls cure, air controls handling, appearance, and workability.
Measure Substrate Temperature: Simple Tools & Steps
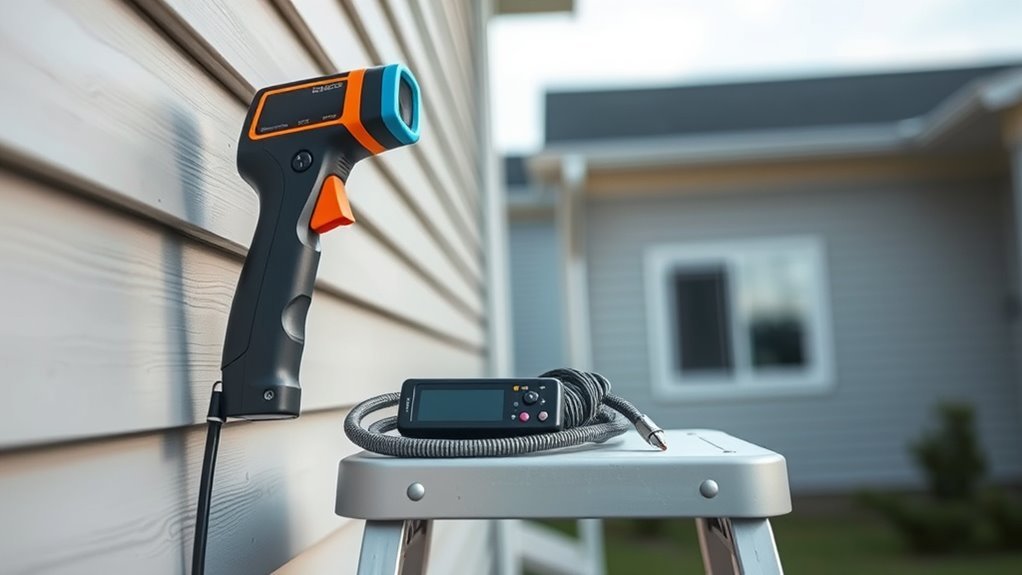
If the surface temperature’s off, your paint won’t adhere or cure properly, so measure the substrate before you mix or roll. Use an infrared thermometer for quick reads across boards, siding, or trim—scan multiple spots to note variability in surface texture and shadowed areas.
For more accuracy, press a contact probe against metal or masonry, letting it stabilize before recording. Log readings, compare them to the paint’s recommended substrate prep range, and wait or reschedule if temperatures fall outside limits.
Don’t assume air temperature equals substrate temperature; direct sun, wind, and material type change readings considerably.
Best Daytime and Nighttime Windows to Paint
When planning exterior painting, pick daytime and nighttime windows based on steady temperatures and low humidity so your paint can dry and cure predictably.
Choose daytime hours after dew lifts and before peak heat; you’ll get reliable adhesion and accurate Color coordination under natural light.
Choose daytime hours after dew lifts and before peak heat for best adhesion and true color under natural light
For nighttime, paint shortly after the air has cooled but stayed above the paint’s minimum temperature, avoiding rapid drops.
Monitor forecasts and substrate temps so Texture options perform as expected—smooth surfaces need steady conditions, rough ones tolerate slight variance.
Plan short sessions that let coatings set before temperature swings, and adjust schedule for shade and exposure.
How Humidity Slows Curing : Recommended Ranges
Because moisture in the air slows solvent evaporation and the chemical reactions that harden most exterior paints, high humidity can noticeably extend drying and curing times—sometimes doubling them at levels above about 70%.
You should monitor humidity impact before you paint; aim for 40–60% relative humidity for predictable results.
Below 40% you risk too-quick surface drying and poor flow; above 60–70% expect prolonged tackiness and weaker film formation as the curing process stalls.
If humidity rises during overnight cooling, delay work or choose a sheltered spot.
Track forecasts and use dehumidifiers or fans when feasible to protect your finish.
Latex Paint: Exterior Temperature Guidelines
Humidity also interacts with temperature, so you’ll want to match both factors when working with exterior latex. You should paint when surface temps stay between 50–85°F and nighttime lows won’t dip below 40°F for 24 hours after.
Match humidity and temperature: paint when surfaces are 50–85°F and nights stay above 40°F for 24 hours.
Check the weather forecast and consider sun exposure, since hot surfaces and rapid cooling affect sheen and adhesion. Choose a paint color with light reflectance in mind; darker tones heat faster.
Follow these quick tips:
- Paint in the morning or late afternoon to avoid peak heat
- Avoid painting before rain is predicted
- Maintain 40–70% relative humidity when possible
- Stir and test a small area first
Oil/Alkyd Paint: Exterior Temperature Guidelines
How warm should the surface be before you roll on oil or alkyd exterior paint? Aim for surfaces between 50°F and 85°F (10°C–29°C); below that, drying slows and film formation can suffer.
Apply when temperatures will stay in range for 24–48 hours after painting. Consider color selection: darker tones absorb heat and may alter drying, while light colors reflect it.
Store cans in moderate, stable conditions—proper paint storage preserves viscosity and additives so your finish behaves predictably.
Avoid painting in direct midday heat or when dew or rain are expected. Follow manufacturer directions for best adhesion and curing.
Cold‑Weather Exterior Painting: Additives & Tips
When you paint in cold weather, use manufacturer‑recommended cold‑weather additives to keep coatings flexible and help them cure.
Prep surfaces thoroughly—remove frost, dirt, and loose paint so coatings bond correctly.
Work in small sections and use heaters or warm additives to maintain minimal dry times and prevent rewetting.
Use Cold‑Weather Additives
If temperatures are dipping below your paint’s recommended range, using cold‑weather additives can keep the job moving without sacrificing adhesion or finish. You’ll want additives labeled for low temps; they shorten dry time and improve flow so paint bonds before cold stalls curing.
Mind color selection — some pigments respond differently in cool conditions — and keep paint storage at stable, above‑freezing temps until use.
- Choose manufacturer‑approved additives for your paint type
- Follow dosage directions; more isn’t better
- Mix additive thoroughly into each can
- Test a small area to confirm appearance and performance
Prep Surfaces Thoroughly
Because cold magnifies every surface flaw, prep becomes more critical than usual for exterior painting—remove loose paint, scrape and sand rough edges, and clean off mildew, dirt, and chalk before you add any additives or paint.
You’ll inspect for cracks, rot, and blistering, filling and sealing defects so primers and cold‑weather additives bond properly.
Consider color selection early: darker hues absorb heat but can reveal imperfections, so match prep quality to finish choice.
Restore consistent surface texture with sanding and scraping to avoid telegraphing flaws.
Tape and mask carefully, and let cleaned areas dry to the touch before proceeding.
Maintain Minimal Dry Times
Now that surfaces are prepped, focus on keeping dry times as short as possible so primers and topcoats cure before cold recontaminates them. You’ll speed curing and avoid tacky finishes by choosing faster-drying formulas, using additives, and managing microclimate around the work.
- Use approved cold-weather additives to promote film formation and faster set.
- Work with higher-temperature windows during the day; protect painted areas overnight.
- Adjust color choices and paint sheen: lighter colors and satin sheens often dry faster than deep, flat pigments.
- Thin sparingly per manufacturer guidance to avoid longer recoat intervals and reduced film integrity.
Hot‑Weather Exterior Painting: Flash‑Dry Prevention
When paint dries too quickly in hot weather, you risk flash drying—where the surface skins over before the underlying paint levels out—leaving visible lap marks, brush strokes, and poor adhesion. To prevent this, you’ll need to adjust your timing, materials, and technique to slow evaporation and keep a workable film.
Work during cooler morning or evening windows, and keep paint storage shaded and cool to preserve consistency and color matching. Use slower‑evaporating solvents or additives designed for heat, maintain thin, even coats, and avoid reworking edges once they begin to film.
Monitor surface temperature rather than ambient heat alone.
Prep and Application Tweaks for Temperature Extremes
If temperatures swing to extremes, adjust your prep and application so paint adheres and cures properly. You’ll protect surfaces and get consistent results by planning for heat or cold. Consider substrate temperature, use appropriate primers, and pick a paint finish suited to climate and exposure. Color psychology matters too—darker hues absorb heat; lighter ones reflect it.
- Work during milder hours to avoid rapid drying or freezing.
- Use slow‑evaporation additives in hot weather; pick fast‑tack products when cold threatens.
- Mask and prime small sections if conditions vary across walls.
- Keep tools warm or cool as needed to maintain viscosity.
How Temperature Alters Dry Times, Recoats, and Warranties
When it’s cold, your paint takes much longer to dry and may not cure properly, increasing the risk of adhesion problems.
You should wait for the ideal recoat window specified by the manufacturer rather than guessing, because reapplying too soon or too late can ruin the finish.
Also check warranty temperature limits—many warranties exclude work done outside their recommended temperature and humidity range.
Cold Weather Effects
Although colder air and surfaces slow paint chemistry, you’ll see the most noticeable impacts in longer dry times, delayed recoat windows, and stricter warranty conditions. You must monitor temperature fluctuations and confirm paint compatibility with low temps before starting.
Cold slows solvent release and film formation, raising risk of tacky finishes, blushing, and poor adhesion. Protect work with heaters and verify surfaces stay above minimums overnight. If you ignore guidelines, manufacturers may void warranties.
- Expect extended cure and tacky feel
- Watch humidity plus cold for condensation
- Use cold-rated primers and paints
- Keep substrate and paint warm while drying
Optimal Recoat Window
Because temperature directly controls how fast paint solvents evaporate and binders cure, you’ll need to adjust recoat timing and expect warranty terms to hinge on those limits.
In warm conditions, films set faster so you can recoat sooner but risk lap marks if you rush; in cool or damp air, wait longer to avoid trapping moisture. Check product tech sheets for recommended recoat windows, and factor in color coordination to prevent visible seams when blending new coats.
Match brush selection to paint type and temperature—synthetic bristles for waterborne in warm weather, natural for oil in stable cool—so finish and adhesion meet specs.
Warranty Temperature Limits
How will temperature limits in your paint warranty affect project timing and liability? You’ll need to follow manufacturer temperature ranges because they change dry times, recoat windows, and warranty validity. Ignore limits and you risk failures not covered.
- Check label for minimum/maximum temperatures before starting.
- Account for overnight lows and direct sun when scheduling recoats.
- Choose paint formulations suited to your climate to reduce environmental concerns.
- Document conditions and photos to protect liability and claims.
You should plan workdays that fit specified ranges, communicate limits to clients, and verify that chosen products match site conditions.
Common Temperature‑Related Painting Mistakes to Avoid
If you ignore temperature limits, you’ll quickly run into problems like poor adhesion, bubbling, or paint that never fully cures. Don’t paint in extremes; cold slows curing and traps moisture, while heat causes flashing and poor leveling.
Avoid applying thick coats to speed work — they sag or crack. Don’t skip dew‑point checks or painting at night when temperatures drop.
Choose products suited to conditions; consider color psychology when picking hues because darker colors absorb heat and dry differently.
Finally, opt for eco friendly options that tolerate wider temperature ranges and follow manufacturer temperature windows to protect your finish.
Final Go/No‑Go Checklist: Paint Today or Wait?
You’ve covered the temperature pitfalls and product choices; now make a quick, practical call before you open the cans. Check conditions and readiness with this simple checklist so you know whether to paint today or wait.
- Confirm temperature and dew point are within the paint’s recommended range.
- Inspect surface dryness and masking; consider Color selection in bright sunlight to avoid surprises.
- Verify tool maintenance: clean brushes, rollers, and sprayers; have backup supplies.
- Review forecast for at least 24 hours to prevent rain or rapid cooling.
If any item fails, wait—proper timing protects finish and lifespan.
Frequently Asked Questions
How Does Temperature Affect Paint Color Fading Over Years?
Temperature speeds chemical breakdown, so you’ll see faster color fading with higher heat and intense UV exposure; pigments lose vibrancy sooner, reducing color longevity, but proper UV-resistant coatings and cool-shade choices will slow that deterioration.
Do Temperature Extremes Influence Mildew or Mold Growth on Painted Siding?
Yes — extremes boost mold growth risk: studies show humidity spikes raise fungal spores by 40%. You’ll need mildew prevention strategies like proper ventilation, breathable paint, and moisture control, or mold growth will thrive on damp, shaded siding.
Can Temperature Swings Cause Paint to Crack or Peel Weeks Later?
Yes — if temps swing wildly after painting, you’ll see paint crack or peel weeks later because poor paint adhesion from inadequate surface prep and curing gets stressed, so you should guarantee proper prep and stable conditions.
Should I Adjust Primer Choice Based on Expected Seasonal Temperatures?
Yes — you should. Think of primer adhesion as roots and the paint drying process as weather; choose a primer rated for your seasonal temps so roots grip firmly and the finish won’t crack or peel when conditions swing.
How Do Temperature Variations Impact VOC Emissions and Indoor Air Quality?
Temperature shifts change VOC emissions and indoor air quality because warmer conditions boost off-gassing, increasing VOC emissions and harming indoor air quality; you should ventilate, choose low-VOC products, and avoid painting during heat spikes.
Conclusion
You’ve learned the temp rules, measured the surface, and prepped for extremes—so are you ready to paint today or smartly wait? Trust your tools and the paint’s label: aim for substrate and air temps within the manufacturer’s range, avoid rapid swings, and allow proper cure and recoat windows. If conditions fall outside those limits, pause—patience now prevents peeling, poor adhesion, and voided warranties later. Make the safe choice.