How to Paint Kitchen Wall Tiles
You can refresh kitchen wall tiles without tearing them out by cleaning grease and grime, sanding glossy surfaces, and repairing loose or cracked tiles. Mask cabinets, counters, and grout, then prime with a high-adhesion tile primer. Paint with a durable, kitchen-rated enamel or epoxy using a sash brush for edges and a short-nap roller for flats, apply a second coat, and finish with a water-resistant sealer. Follow these steps for longer-lasting results, and more tips will help you get professional-looking results.
Quick Decision: Can You Paint Kitchen Tiles and What to Expect?
If you’re weighing whether to paint kitchen wall tiles, the short answer is yes—you can, but results depend on tile condition, surface type, and prep.
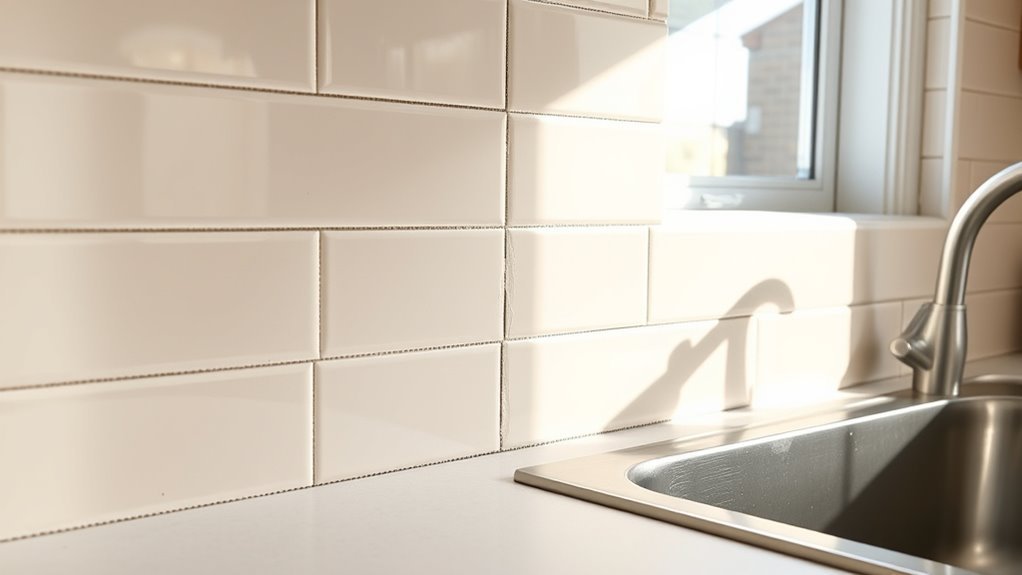
You’ll assess whether tiles are glossy, cracked, or loose; smooth, intact tiles take paint better. Expect modest savings versus replacement, but shorter lifespan than new tile—proper primer and paint matter.
Decide if you’ll preserve grout lines or cover them; tile patterns influence visual impact and masking.
Think about color coordination with cabinets and countertops so the finished look feels intentional.
Be realistic about durability and plan for touch-ups or replacement down the line.
Prepare Tiles and Nearby Surfaces for Durable Paint
Now that you’ve decided painting is the right route, get the tiles and surrounding areas ready so the finish lasts. Start with thorough tile cleaning: use a degreasing cleaner, scrub grout lines, then rinse and dry completely.
Now that you’re painting, thoroughly clean tiles and grout—degrease, rinse, and dry completely before proceeding
Protect countertops, cabinets, and appliances with drop cloths and painter’s tape; remove outlet covers.
Inspect for loose or cracked tiles and repair or replace them before painting.
Lightly roughen glossy surfaces with fine-grit surface sanding to improve adhesion, then vacuum and wipe with a tack cloth.
Allow everything to dry fully and avoid dust before moving on to priming and painting.
Choose Primers, Paints, and Sealers for Kitchen Tiles
Because tile surfaces demand products made for adhesion and moisture resistance, choose a high-adhesion primer formulated for glossy surfaces or specifically labeled for ceramic or porcelain. Then pair it with a durable, washable paint—typically a latex enamel or epoxy-based formula—and finish with a clear sealer or polyurethane rated for kitchens to protect against steam, grease, and frequent cleaning.
You’ll consider Tile texture and Color matching when selecting finishes. Pick products labeled kitchen-safe, test adhesion, and match sheen to the room.
Use:
- Primer for glossy/porcelain tiles
- Latex enamel or epoxy paint
- Kitchen-rated clear sealer
- Small test patch
- Matching trim or grout touch-ups
Set Up Tools, Workspace, and Protect Cabinets and Grout
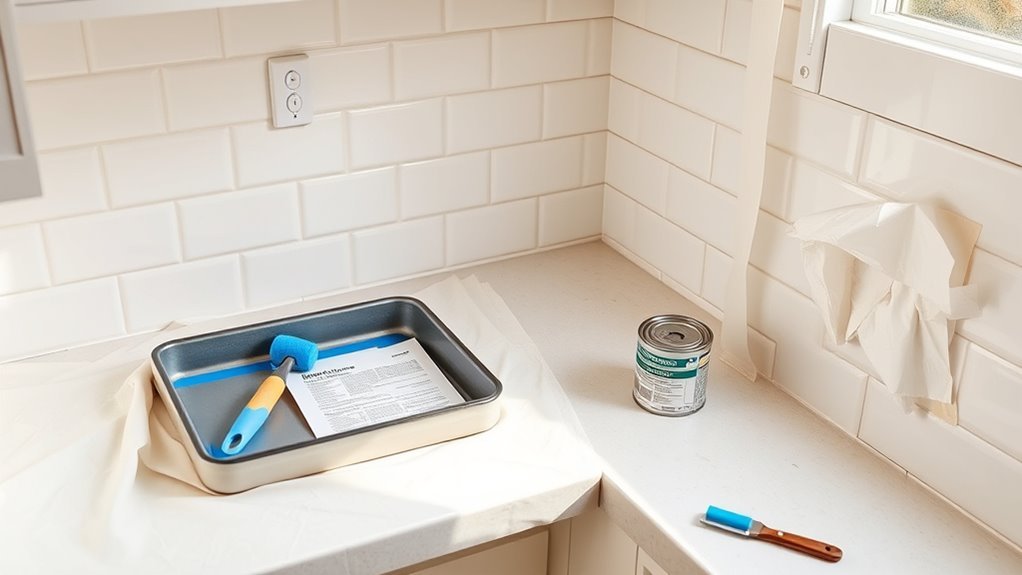
Once you’ve confirmed primer and paint compatibility, gather and arrange your tools and protect surrounding surfaces before any coating goes on the tiles. Lay drop cloths over floors and counters, and use painter’s tape to mask edges, outlets, and cabinet faces. Remove hardware or cover knobs; tape along grout lines to avoid buildup, or use grout guards for precision.
Organize brushes, rollers, trays, sandpaper, and a respirator within easy reach. Consider the room’s color schemes and how painted tiles will interact with existing tile patterns. Test a small section to guarantee coverage and visual harmony before proceeding.
Paint Kitchen Tiles Step-by-Step (Prime, Cut In, Roll) + Maintenance
Before you pick up a brush, prime the tiles to guarantee the paint bonds and lasts—use a high-adhesion primer formulated for glazed surfaces and apply it in thin, even coats.
Prime tiles first so paint bonds and endures—use a high-adhesion primer for glazed surfaces, applied in thin, even coats.
Start with thorough Tile cleaning, then follow these steps for smooth coverage and easy maintenance.
- Tape edges and cover countertops.
- Cut in with a sash brush along grout and corners.
- Roll with a short-nap roller in overlapping strokes.
- Apply a second coat after primer dries for durability.
- Seal with a water-resistant topcoat for easy cleaning and long life.
Consider Paint color selection for light-reflecting choices that hide wear.
Frequently Asked Questions
Will Painted Tiles Withstand High Humidity From Boiling Pots and Pans?
Yes — if you use a quality tile primer and durable paint, your painted tiles can resist humidity from boiling pots. You’ll need proper surface prep, multiple coats, and durable paint for long-lasting paint durability and moisture resistance.
Can You Change Tile Color Again Without Stripping Previous Paint?
Yes — you can change tile color again without stripping previous paint. 72% of DIYers repaint surfaces; choose proper prep, primer, and topcoat to expand tile color options and maintain paint durability for lasting results.
Are Painted Tiles Safe for Food Prep Surfaces Like Countertops?
No, painted tiles aren’t ideal for food prep surfaces unless you use food-safe coatings and sealants; you’ll need to guarantee paint durability and certified food safety, recoat as needed, and avoid damage to prevent contamination risks.
How Long Before You Can Hang Decor or Shelves on Painted Tiles?
You can hang decor or shelves after 7–14 days once paint durability’s reached recommended cure times; use proper anchors, test adhesion, and plan for easy decor removal later so painted surfaces stay intact and durable.
Do Warranties on Appliances or Cabinets Get Voided by Tile Painting?
Like peeling an onion, no—painting tiles usually won’t void appliance warranties or cabinet protections unless you damage or alter them; still, you shouldn’t tamper with seals, vents, or manufacturer labels, and always check warranty terms first.
Conclusion
You can definitely refresh your kitchen by painting tiles — it’s quicker and cheaper than ripping them out. Prep is key: degrease, sand, and prime so paint lasts. Use a bonded primer, epoxy or acrylic latex paint, then topcoat with a sealer. If you worry it won’t hold up, know that properly prepped and sealed tile withstands normal kitchen use for years. With the right steps, you’ll get a durable, attractive finish.