Does a Dehumidifier Remove Moisture From Walls
Yes — but only in some cases. If your damp walls come from humid air or surface condensation, a dehumidifier will lower indoor RH, speed evaporation, and help dry surfaces and reduce mold risk. It won’t pull water from saturated plaster, soaked insulation, rising damp, or active leaks, and you’ll need extraction or repairs for those. Use moisture meters and monitor RH; keep going below about 50% until stable to see if the problem clears, and keep reading for when to escalate.
TL;DR: When a Dehumidifier Helps
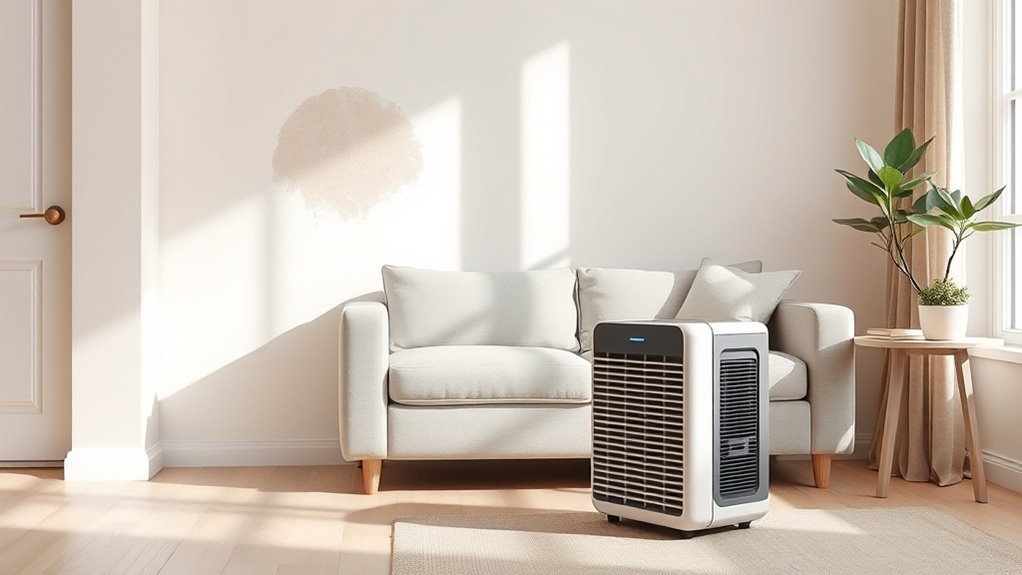
If your walls feel damp from high indoor humidity rather than from leaks, a dehumidifier can help by lowering the air’s moisture so wall materials dry out faster.
You’ll notice benefits when condensation forms on windows, musty odors persist, or paint peeling appears on interior surfaces.
Use a dehumidifier in basements, bathrooms, and poorly ventilated rooms with inadequate wall insulation to prevent ongoing moisture buildup.
You’ll reduce mold risk and slow material deterioration while monitoring humidity levels to avoid over-drying.
Can a Dehumidifier Remove Moisture From Walls?
You can use a dehumidifier to pull moisture from damp paint or plaster on the surface, but it won’t cure water trapped inside studs or behind drywall.
A standalone unit has limits with structural moisture, so you’ll need other methods like drying fans, heat, or professional remediation for deep or persistent wetness.
Combine approaches for best results and monitor moisture levels to confirm the problem’s resolved.
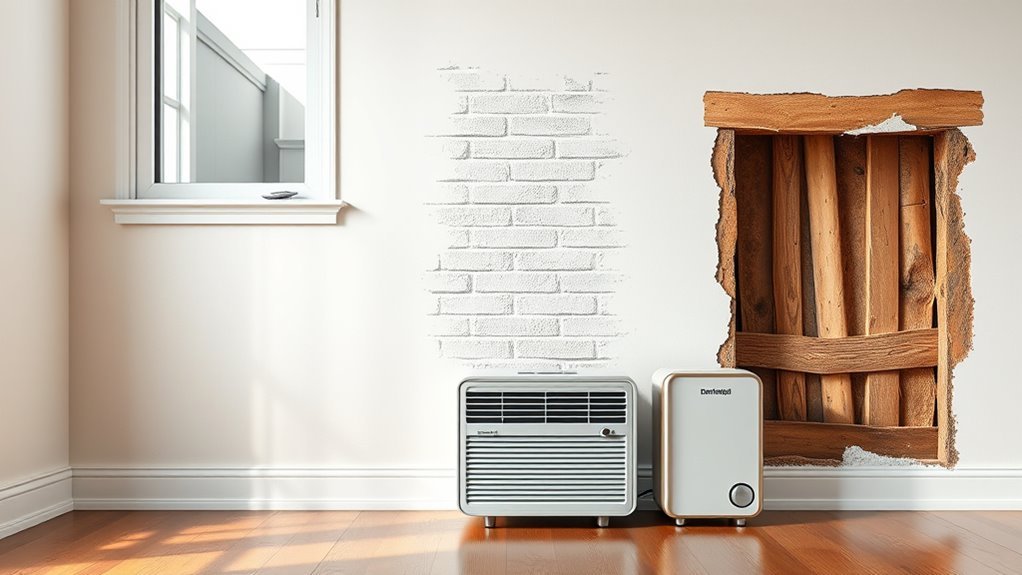
Surface Versus Structural Moisture
When moisture shows up on your walls, it can be either a surface issue—like condensation or dampness from high indoor humidity—or a deeper structural problem such as leaks, rising damp, or water trapped in wall cavities.
A dehumidifier will only help the former, not the latter. You’ll want to distinguish visible surface decay—staining, peeling paint, mold growth—from issues that threaten structural integrity like crumbling plaster, efflorescence, or chronic wetness inside cavities.
A dehumidifier reduces airborne moisture and can stop new surface decay, but it won’t repair hidden damage or stop active water entry.
Dehumidifier Limitations Explained
Although a dehumidifier can lower room humidity and stop fresh condensation on walls, it can’t pull moisture out of saturated building materials or fix leaks inside walls. You’ll see improvement only when the problem is airborne or limited to surface dampness.
You should expect limits: a unit reduces humidity but won’t reverse waterlogged plaster, mold behind drywall, or rising damp. Relying solely on a dehumidifier may leave stains, salt deposits, and paint peeling unchanged.
Wall color can mask damp spots temporarily, but it won’t solve structural moisture. Know when to call a professional so you don’t waste time or money.
Complementary Drying Methods
Because a dehumidifier only tackles airborne moisture, you’ll often need extra drying methods to pull water out of walls and building materials.
You can use fans and improved ventilation to speed evaporation, and heat to raise drying rates.
For localized wet spots, consider moisture extractors or drying mats that contact the surface.
Remove baseboards if needed to access damp studs and insulation.
Keep indoor plants away from drying zones since they retain water and can slow progress.
Use air purifiers to reduce mold spores stirred up during drying.
Monitor moisture with a meter and repeat until readings are safe.
How Wall Moisture Differs From Indoor Humidity
You’ll notice wall moisture is often bound to surfaces or trapped inside materials, while indoor humidity is moisture suspended in the air.
Wall dampness usually comes from leaks, rising damp, or condensation on cold spots, which behave differently than room humidity. That means drying walls relies on evaporation and material drying as well as source control, not just lowering air humidity.
Surface Versus Air Moisture
When indoor humidity rises, it fills the air you breathe, but wall moisture is a different problem: it’s water that’s soaked into or condensed on building materials, not just vapor floating in the room. You’ll notice damp patches, peeling paint, or cold walls even when a dehumidifier lowers room humidity.
Surface treatment can help block visible damp, while wall insulation affects temperature gradients that drive condensation. Think in terms of layers and balance:
- Air moisture — transient vapor you can reduce with a dehumidifier.
- Surface moisture — condensate or salt-laden damp on finishes.
- Embedded moisture — trapped water inside masonry or insulation.
Sources Of Wall Dampness
Although indoor humidity can make rooms feel clammy, wall dampness often comes from distinct sources you need to identify: rising damp draws groundwater up through porous masonry, penetrating damp lets rain or leaks enter through cracks and faulty flashing, and condensation forms on cold surfaces where warm, moist air meets them.
You’ll spot clues: salt stains and paint peeling suggest rising damp or long-term moisture, while localized stains below rooflines or around windows point to penetration.
In historical architecture, failing mortar and lack of damp-proof courses amplify problems. Assess patterns carefully so you can target the right repairs.
Drying Mechanisms Differ
Because wall moisture is often held inside building materials rather than floating in the air, it dries by different processes than room humidity does. You can’t just lower ambient humidity and expect wet walls to clear quickly.
Wet masonry, drywall, or timber release water slowly, driven by temperature, vapor gradients, and air movement through pores and joints. You should address material properties and ventilation, and consider wall insulation, which can trap moisture and hinder mold prevention.
Key factors you control:
- Temperature differences that pull moisture out.
- Airflow that carries vapor away.
- Time and drying cycles to reduce internal moisture.
Three Kinds of Wall Dampness (Condensation, Capillary Rise, Trapped Moisture)
If you’re dealing with damp walls, it’s helpful to know there are three main causes—condensation, capillary rise, and trapped moisture—because each needs a different fix.
Condensation happens when warm, humid air meets cool surfaces; improving wall insulation and adding moisture barriers helps prevent it.
Capillary rise draws groundwater up porous masonry; you’ll need rising damp treatment and external drainage rather than just surface drying.
Trapped moisture refers to construction or floodwater sealed inside finishes; you must remove cladding, dry the substrate, and repair ventilation paths.
Identify the cause before choosing repairs so you don’t waste time or money.
How Dehumidifiers Work to Lower Indoor Humidity
You’ll see two main types of dehumidifiers in homes: refrigerant units that cool air to condense moisture, and desiccant models that use a drying material to absorb water.
Refrigerant dehumidifiers work best in warmer conditions, while desiccant units perform well in cooler spaces and low humidity.
Knowing how each works helps you pick the right tool for tackling damp walls.
Refrigerant-Based Dehumidification
When warm, humid air passes over cold coils in a refrigerant-based dehumidifier, water vapor condenses into liquid and drips into a collection tray or drain.
You’ll see reduced room humidity as the unit cycles refrigerant to keep coils cold, blowing drier air back into the space.
You can target damp walls, but check outdoor insulation and electrical wiring before installing a unit near foundations.
Consider:
- Placement — aim for central airflow to affected walls.
- Capacity — match pints/day to room size and moisture load.
- Drainage — use gravity or pump to avoid spills and mold.
Desiccant Dehumidification
Although refrigerant units cool coils to squeeze moisture from air, desiccant dehumidifiers pull humidity out by adsorbing water onto a hygroscopic material—usually silica gel or a specialized polymer—so they work well at lower temperatures and lower relative humidity.
You’ll find desiccant systems simple: air passes over the desiccant, which captures moisture; a regeneration cycle heats the material to release water into a separate exhaust.
That makes them quiet and effective in unheated basements, museums, or historical architecture where low temps and delicate finishes matter. Use them to aid paint preservation and prevent damp staining without chilling the space.
When a Dehumidifier Will Reduce Wall Dampness
If wall dampness comes from high indoor humidity or condensation on cold surfaces, a dehumidifier can noticeably reduce the moisture that feeds those problems. You’ll see results when moisture is primarily airborne, not soaked into materials. Use it alongside ventilation and sensible habits.
- Run the dehumidifier in affected rooms continuously until relative humidity stays below 50%.
- Place units where air circulates; keep indoor plants trimmed and watered minimally so they don’t add humidity.
- Combine with air purifiers to improve air movement and reduce mold spores.
You’ll limit condensation on windows and cold walls, preventing recurring damp patches.
When a Dehumidifier Won’t Dry Wet Building Materials
Because dehumidifiers only remove moisture from the air, they won’t dry materials that are already soaked—like drywall, timber, or carpet—once water has penetrated their fibers or cavities. You’ll need extraction, drying equipment, or removal for soaked building elements. Interior insulation trapped behind walls, or saturated plaster, won’t release moisture fast enough to protect finishes or stop mold. Before wall painting, confirm substrates are dry; otherwise paint will fail. Use moisture meters and consider professional drying for severe wetting. Quick actions limit damage, but don’t expect a portable dehumidifier alone to salvage soaked materials.
| Problem | Action |
|---|---|
| Wet insulation | Replace or professional drying |
| Saturated drywall | Remove or use structural drying |
| Soaked timber | Monitor, treat, dry |
| Damp carpet | Extract, dry, or discard |
Drying Times: Plaster, Drywall, and Wood
When you’re dealing with wet plaster, drywall, or wood, expect very different drying timelines and plan accordingly. You’ll need to monitor moisture migration into cavities, finishes, and wall paint layers to avoid trapped damp. Consider these typical ranges:
- Plaster: can take 1–6 weeks depending on thickness and ventilation.
- Drywall: studs and paper backing may dry in 3–14 days if airflow’s good, longer with insulation.
- Wood framing/trim: often 1–8 weeks; dense sections can retain moisture much longer.
You should use moisture meters and visual checks, prioritize ventilation, and address sources of water to prevent recurring migration.
Best Dehumidifier Settings to Tackle Wall Moisture
Although wall moisture often comes from leaks or poor ventilation, you can fight it effectively by setting your dehumidifier to the right humidity and fan settings for the room size and construction type. Aim for 45%–55% RH for painted walls to protect wall paint and prevent mold without overly drying surfaces that affect structural integrity. Use higher fan speeds for larger rooms, lower for small enclosed spaces. Run continuously until moisture readings stabilize. Check walls with a moisture meter and adjust.
| Situation | Suggested Setting |
|---|---|
| Small room | 45% RH, low fan |
| Basement | 50% RH, high fan |
Using Dehumidifiers With Fans, Heaters, and Ventilation
When you pair a dehumidifier with fans, pay attention to airflow patterns so you don’t short-circuit moisture removal.
Check heater compatibility and placement, since added heat can change relative humidity and load the unit.
Plan ventilation so fresh air doesn’t undo your dehumidifier’s work while still preventing stagnant, damp pockets.
Fan Interaction Effects
Curious how a fan, heater, or whole-house ventilation changes your dehumidifier’s performance? You’ll notice fan interaction affects airflow across surfaces, boosting moisture absorption from walls when directed properly. Don’t place fans that create strong drafts away from the dehumidifier; they can spread damp air and confuse sensors.
- Aim fans to circulate room air toward the dehumidifier for even extraction.
- Avoid turbulent crossflows that raise local humidity pockets near walls.
- Use gentle, steady ventilation to support consistent moisture pickup.
You’ll get faster, more uniform drying when you coordinate fan placement with the dehumidifier’s intake.
Heater Compatibility Considerations
If you run a space heater or have in-wall heating, you’ll want to take into account how its heat output interacts with your dehumidifier’s sensing and airflow.
Place the dehumidifier so sensors read representative room conditions, not a warmed patch near the heater; otherwise it may under-dehumidify cooler wall cavities, risking trapped moisture.
Check wall insulation—poor insulation plus localized heat can drive moisture into colder sections.
Avoid blowing hot air directly at painted surfaces to protect paint durability.
Use steady, moderate heating and let the dehumidifier circulate air around walls for balanced moisture control and material preservation.
Ventilation Integration Strategies
Balancing heaters and dehumidifiers leads naturally to thinking about how those devices work with your home’s ventilation and any exhaust or circulation fans. You should coordinate units to optimize air circulation, prevent short-cycling, and avoid fighting your ventilation system. Use humidity sensors to automate responses and prioritize whole-room balance over spot drying.
- Place dehumidifiers where circulation reaches them, not blocked by furniture.
- Sync exhaust fans with dehumidifier cycles in bathrooms/kitchens to expel moist air first.
- Integrate heater controls so added warmth doesn’t overwhelm dehumidifier capacity.
Monitor sensors and adjust placement for consistent, efficient humidity control.
Signs You Need Remediation, Not Just Drying
When you see stubborn stains, peeling paint, or a musty smell that returns despite running a dehumidifier, you’re likely facing more than surface moisture and need remediation. You should suspect hidden leaks, contaminated insulation, or structural damp that drying alone won’t fix.
Call a professional if you find visible mold, bubbling wallpaper, warped framing, or persistent high humidity in specific rooms. Remediation may include mold remediation, insulation improvement, targeted repairs, and addressing plumbing or roof failures.
Prioritize health risks: recurring allergies or respiratory irritation mean act now. A dehumidifier helps, but remediation tackles root causes for lasting results.
Simple DIY Checks to Find the Moisture Source
Because finding the moisture source quickly can prevent bigger damage, start with a few simple DIY checks you can do yourself. Check visible spots for leaks, soft drywall, or peeling paint near plumbing and windows. Tap walls — hollow sounds can signal wet insulation.
Use this quick checklist:
- Inspect plumbing fixtures and visible pipes for drips or stains.
- Examine exterior walls, gutters, and downspouts for failed moisture barriers or poor drainage.
- Remove an outlet cover to smell and sight-check wall insulation for dampness or mold.
These steps help you spot sources before relying solely on a dehumidifier.
When to Call a Pro for Waterproofing or Mold?
If rusty stains, soft drywall, or a persistent musty smell keep returning despite your DIY checks and running a dehumidifier, call a professional — you’re likely facing a hidden leak, compromised waterproofing, or active mold that needs trained assessment and remediation.
If rusty stains, softened drywall, or a lingering musty odor persist despite DIY fixes, call a pro—hidden leaks or active mold may be present.
You should also call if water appears after heavy rain, you see spreading discoloration, or tests confirm mold beyond surface patches.
Pros inspect wall insulation, structural seals, and exterior drainage, then recommend targeted repairs, waterproof membranes, or safe mold remediation.
Don’t delay: prompt professional action limits damage, protects health, and guarantees effective Mold prevention.
Preventing Walls From Reabsorbing Moisture
While a dehumidifier helps pull moisture from the air, you’ll also need to stop walls from reabsorbing damp by sealing sources and creating barriers. Start by keeping indoor humidity steady (ideally 30–50%), fixing leaks and exterior drainage, applying breathable water repellents or proper paints, and ensuring adequate ventilation so walls can dry rather than soak.
You should also improve wall insulation and install moisture barriers where needed. Practical steps include:
- Inspect and repair roof, gutters, and foundation grading.
- Add vapor retarders and breathable coatings to masonry.
- Upgrade wall insulation and ventilate crawlspaces.
Maintain monitoring to prevent recurrence.
Cost Compare: Rent a Commercial Dehumidifier vs. Buy
When weighing whether to rent a commercial dehumidifier or buy one, you’ll want to compare upfront cost, duration of need, capacity requirements, and maintenance obligations.
Renting lowers initial outlay and suits short-term jobs. If you’re fixing damp walls, renting lets you match capacity to drying time without cluttering your space or disturbing wall insulation and moisture barriers.
Buying pays off for long-term or repeated use but requires storage and upkeep. If you manage multiple projects or ongoing humidity issues, buying makes sense since long-term cost per day falls and you control maintenance schedules and filters.
Decision Checklist: Dehumidifier Enough or Escalate?
You’ve weighed rent versus buy and picked the dehumidifier that fits your budget and timeline; now decide whether that unit will actually solve the wall moisture problem or if you need to escalate. Use this checklist to evaluate progress quickly.
- Measure: track RH and wall paint blistering; if RH stays >60% after continuous use, dehumidifier may be undersized.
- Inspect: look for leaks, rising damp, or condensation behind indoor plants and furniture that a dehumidifier can’t fix.
- Timeline: allow 2–4 weeks; if moisture or mold returns, call a contractor for remediation or structural repair.
Frequently Asked Questions
Can a Dehumidifier Prevent Mold on Exterior-Facing Walls?
Yes — you can reduce mold risk on exterior-facing walls by using a dehumidifier when you control interior humidity, improve wall insulation, and address exterior moisture sources, but it won’t fix leaks or poor exterior drainage on its own.
Will Running a Dehumidifier Void My Home Insurance Claims?
Usually no, you won’t void claims simply by using a dehumidifier; you should document humidity control, follow appliance maintenance, keep receipts, and comply with insurer requirements so they can’t claim neglect or improper equipment use.
Are There Health Risks From Long-Term Dehumidifier Use Indoors?
An ounce of prevention keeps trouble away: you won’t face major health risks from long-term dehumidifier use if you monitor indoor air quality and keep up dehumidifier maintenance, but neglected units can worsen allergies or mold exposure.
Can a Dehumidifier Damage Paint or Wallpaper Over Time?
Yes — you can prevent paint damage and wallpaper deterioration by using a dehumidifier correctly; it reduces humidity without direct harm, but excessive dryness or leaks from units can cause cracking, peeling, or adhesive failure over time, so monitor.
How Noisy Are Commercial vs. Residential Dehumidifiers?
Like a roaring river, commercial units are louder and more powerful; you’ll notice higher noise levels and energy consumption, while residential models are quieter and more efficient for small spaces, so you’ll pick based on size and budget.
Conclusion
So yes — a dehumidifier can help, but it’s not the miracle worker you’re hoping for. If wall dampness is just condensation or trapped moisture drying inward, it’ll speed things up. If water’s rising through bricks or hidden leaks are feeding the problem, you’ll need repairs. Don’t rely on a dehumidifier to fix structural water; use it as part of the solution while you call the pros before your walls start lecturing you about proper maintenance.