How to Paint Leaves on a Wall for a Stunning Nature-Inspired Look
You can transform a wall into a calming, nature-inspired focal point by planning your layout, prepping and priming the surface, then blocking in a base coat. Sketch stems and leaf shapes, choose stencil, freehand, or projector methods, and paint silhouettes with medium brushes. Add veins, highlights, and shadow glazes for depth, layer from back to front, and seal with a clear topcoat. Keep tools and safety gear handy, and continue below to learn specifics.
How to Paint Leaves on a Wall for a Stunning Nature-Inspired Look
You can get a stunning nature-inspired wall by planning a simple leaf layout, choosing two to three paint tones, and setting aside 2–4 hours for a small accent wall.
Expect basic prep, a couple of paint coats, and quick touch-ups to finish.
Below you’ll find a clear project overview with step-by-step timing and materials.
Quick Answer What to expect and time estimate
If you’re aiming for a quick, eye-catching mural, expect to spend about half a day for a simple stencil or freehand cluster of leaves.
You’ll need a full day or two for a larger, layered design with multiple colors and details.
You’ll need prep (taping, priming), painting time, and drying.
For guidance on how to paint leaves on a wall, plan tools and breaks.
Project overview
Moving from time estimates to the big picture, this project overview lays out what you’ll tackle: choosing a style (stencil, freehand, or layered realism), prepping the surface, selecting paints and tools, and sequencing the work so each stage dries and reads well.
You’ll plan layout, practice key strokes, and set realistic blocks for cutting, painting, and touch-ups.
- Sketch or mask layout first
- Gather brushes, rollers, paints
- Test colors and techniques
- Schedule drying and sealing stages
Why Paint Leaves on a Wall? Benefits and design uses
Painting leaves on a wall can instantly change a room’s mood, bringing calm, energy, or a touch of the outdoors depending on your colors and scale.
You’ll find leaf motifs work well as an accent wall, a full mural, or in small spaces like nurseries and hallways to add character without overwhelm.
Think about the location and style you want, and you’ll pick the leaf design that gives the visual impact you’re after.
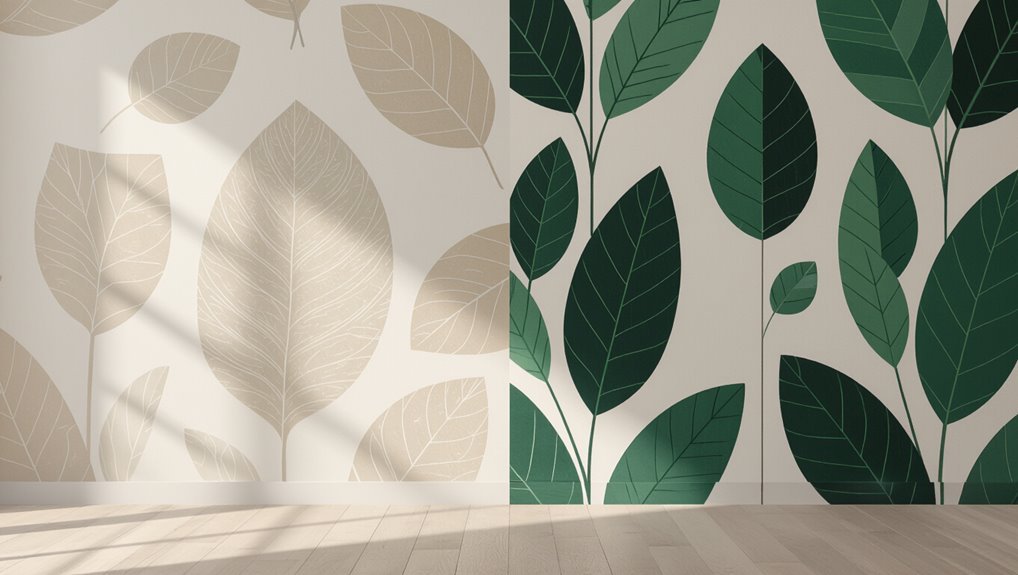
Visual impact and mood transformation
Because leaves bring natural shapes and calming colors into a room, they can instantly shift a space’s mood and visual focus.
You’ll soften harsh lines, reduce visual clutter, and introduce rhythm with repeated motifs. Strategic scale, color temperature, and contrast let you create serenity, energy, or intimacy.
You control how viewers feel—relaxed by muted greens or uplifted by vivid, warm tones.
Common locations and styles (accent wall, mural, nursery, hallway)
You can harness leaf motifs in many parts of the home to get different effects: an accent wall gives a focused pop, a full mural creates immersion, a nursery benefits from soft, playful shapes, and a hallway enjoys rhythmic repeats that guide movement.
Choose scale, color, and detail to match purpose—bold, large leaves for drama; delicate vines for calm; cheerful tones for kids; linear patterns to lead traffic.
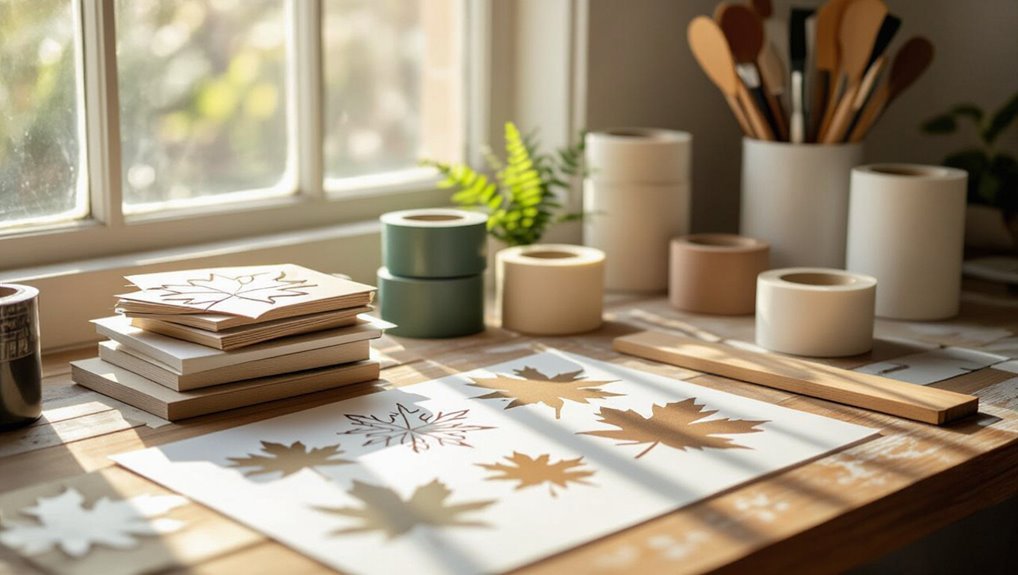
Materials and Tools You Need
Before you start painting leaves on a wall, you’ll want to pick the right paints and finishes—acrylics or latex in washable, matte, or satin options—and gather brushes, rollers, and any specialty tools for texture.
Have stencils, templates, masking tape, and surface-prep supplies on hand, plus safety gear like gloves, goggles, and a mask.
With the correct materials and tools ready, your work will go faster and look cleaner.
Paint types and finishes (acrylic, latex, washable, matte vs satin)
Paint choice sets the foundation for leaf murals, so pick a formula that fits your wall and lifestyle: water-based acrylics and latex are the go-to options—both dry fast, clean up with soap and water, and offer strong color retention—while washable variants add stain resistance for high-traffic rooms.
Choose matte for subtle, texture-hiding leaves; satin brings gentle sheen and easier cleaning for accent areas.
Brushes, rollers, and specialty tools
A selection of quality brushes, rollers, and a few specialty tools will make painting leaves faster and neater, so pick items that match your scale and detail needs.
You’ll want varied brush sizes for veins and edges, a smooth roller for backgrounds, and a few tools for texture and control.
- Round and flat synthetic brushes
- Mini foam rollers
- Fan brush for soft edges
- Detail liner brush
Stencils, templates, and masking supplies
Three types of stencils—pre-cut plastic, adhesive vinyl, and DIY cardboard templates—will cover most leaf shapes and sizes.
You’ll want masking tape, painter’s film, and low-tack spray adhesive to keep edges crisp and layers aligned.
Use spatter shields for texture, frisket for fine veins, and registration marks on templates.
Keep a craft knife, cutting mat, and spare stencil film for quick tweaks.
Surface prep supplies and safety gear
You’ve got your stencils and masking sorted, now focus on the surface prep supplies and safety gear that keep your work durable and you protected.
Clean, prime, sand, and seal for longevity. Wear respirator and goggles when sanding or spraying. Use gloves to avoid oils and cuts.
- Sandpaper (various grits)
- Primer and sealer
- Respirator and safety goggles
- Nitrile gloves
Basic Leaf Painting Concepts (Color, Scale, Composition)
Start by picking a color palette that sets the mood you want—vibrant greens for energy, muted tones for calm, or autumn hues for warmth.
Match leaf shapes and scale to the room’s proportions so the design feels balanced rather than overwhelming.
Use simple light, shadow, and overlap to give leaves believable depth and make the mural read well from different distances.
Choosing a color palette for different moods
Mood guides color choices when you paint leaves on a wall, so decide what feeling you want to evoke before mixing paints.
Choose warm greens and golds for cozy energy, cool blues and muted greens for calm, bright yellows for playful accents, or deep emeralds for drama.
Balance saturation and contrast to match mood and lighting.
- Warm, cozy palette
- Cool, calming tones
- Bright, playful accents
- Deep, dramatic hues
Leaf shapes and scale matching room proportions
When planning leaf shapes and scale, think about how each form reads from across the room so the pattern complements the wall’s proportions and furniture layout.
Choose larger, simplified leaves for big walls and open spaces; use smaller, detailed leaves on accent walls or near seating.
Match leaf orientation to sightlines, maintain consistent spacing, and test sketches at actual viewing distance before painting.
Light, shadow, and depth basics
Because light defines form, you’ll use highlights and shadows to make flat leaf shapes read as three-dimensional and believable from across the room.
Observe your room’s light direction, choose a consistent light source, and apply lighter tones where leaves catch light and darker tones for undersides and overlaps.
Add soft cast shadows on the wall to anchor leaves and increase perceived depth.
Step-by-Step Wall Leaf Painting Guide
Now you’ll follow a clear, practical sequence to get your wall from blank to leafy.
Start by preparing the wall and workspace, then sketch your layout (grid, freehand, or projector) before applying base coats like washes or gradients.
Finally, paint leaf shapes with basic strokes and fills, and finish by adding veins, highlights, and shadows.
Step 1 Preparing the wall and workspace
Step 1 is to clear and protect the area so you can work safely and get crisp, lasting results: move furniture away from the wall, lay down drop cloths or plastic sheeting, and tape along baseboards, trim, and any outlets or switches.
You should also clean and prime the wall, gather tools, and guarantee good lighting and ventilation.
- Wash and sand the surface
- Apply primer where needed
- Organize brushes and paints
- Set up a fan or open windows
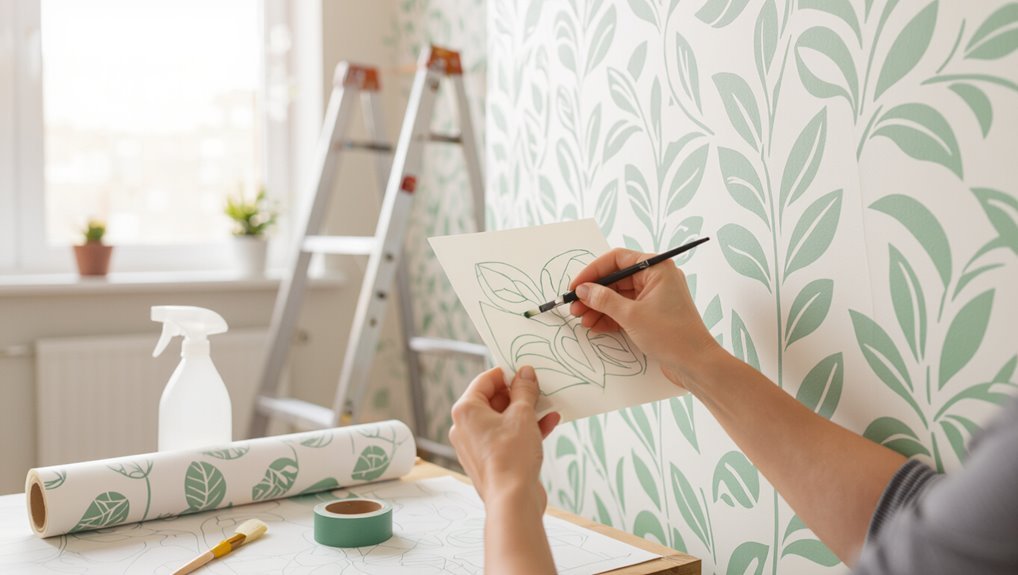
Step 2 Sketching layout and composition (grid, freehand, projector)
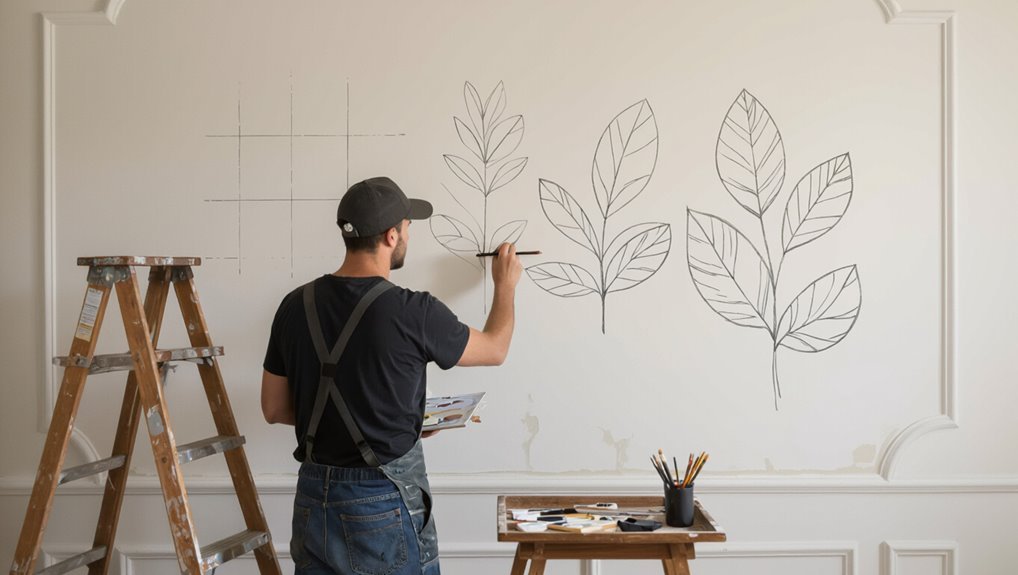
With the wall prepped, sketching your leaf layout will give the design direction and keep proportions consistent across the surface.
Decide whether to map a grid for repeated patterns, draw freehand for organic flow, or use a projector for accuracy.
Lightly pencil major stems, scale, and focal points.
Step back often, adjust spacing, and mark edges to guarantee balanced composition before painting.
Step 3 Base coat and background techniques (wash, gradient, texture)
Before you paint the leaves, block in a base coat to unify the surface and set the mood—choose a flat, mid-tone for even coverage or a subtle wash, gradient, or textured ground to add depth.
Use diluted paint for washes, blend wet gradients with a large brush or sponge, and create texture with drywall compound, stippling, or a rag to suggest foliage distance without detailing leaves.
Step 4 Painting leaf shapes basic strokes and fills
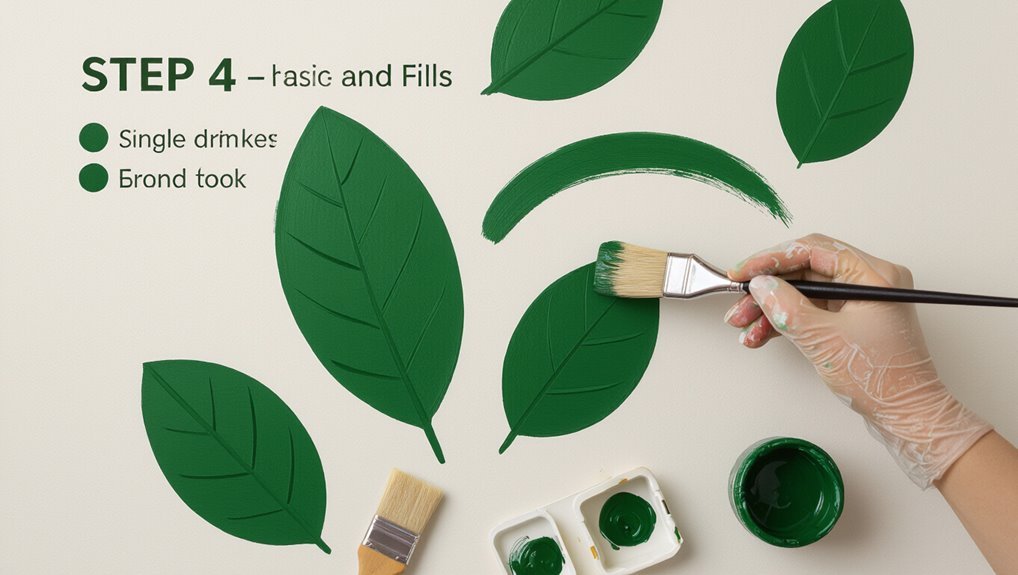
Start by mapping basic leaf silhouettes across your wall using confident, single-direction strokes—this gives you a clear rhythm and spacing before you fill or refine.
Use a medium brush for clean edges, varying pressure for tapered tips. Block in flat color with smooth, even fills, keeping strokes aligned to each leaf’s direction.
Let layers dry before adding adjacent shapes.
Step 5 Adding detail: veins, highlights, and shadows
Now bring the leaves to life by adding veins, highlights, and shadows—small details that create depth and realism.
Use a fine liner brush to paint a central vein, then add thinner lateral veins.
Lightly dry-brush highlights where light would hit and glaze soft shadows beneath curves.
Vary pressure and color intensity for natural variation, keeping strokes confident and deliberate.
Step 6 Layering and creating depth with overlapping leaves
1. You’ll build depth by painting leaves in layers: work from background to foreground, using lighter, desaturated tones first.
Overlap shapes slightly, varying size and orientation for realism. Add midtones and richer colors on upper layers, keeping some edges crisp and others soft.
Use thin glaze washes to unify layers and suggest translucence without covering underlying texture.
Step 7 Finishing touches and protective topcoat
Because your layered leaves are nearly complete, you’ll focus on crisping details and sealing the work: refine edges with a small brush, add tiny highlights and veins where light would catch, remove any stray marks, then let the paint fully cure before applying a clear protective topcoat suited to the wall surface (satin or matte for interiors, exterior-grade if outdoors).
After curing, test a small area, roll or spray evenly, and allow full drying time.
Design Variations and Styles
You can choose between realistic leaves with detailed veins and shading or bold, stylized shapes for a graphic look.
Consider repeating motifs or border patterns for rhythm, or go big with large-scale mural leaves to create a focal point.
Add interest with metallic accents, stencils, or mixed media for texture and shine.
Realistic leaves vs stylized/graphic leaves
Want your mural to blend into the room or make a bold statement?
Choose realistic leaves for depth, subtle color shifts, and botanical accuracy if you want immersive calm.
Pick stylized or graphic leaves for high-contrast shapes, simplified palettes, and modern flair that energizes a space.
You’ll decide based on mood, scale, and how much detail you’re willing to paint.
Patterned repeat leaf motifs and borders
If realistic or stylized leaves set the overall mood, patterned repeat motifs and borders give your mural rhythm and structure. You can use repeating shapes for harmony, alternate colors for contrast, and borders to frame spaces. Plan scale and spacing, stencil repeats, or freehand simple motifs for consistency.
| Motif Type | Best Use |
|---|---|
| Stencil repeat | Quick uniformity |
| Freehand border | Organic flow |
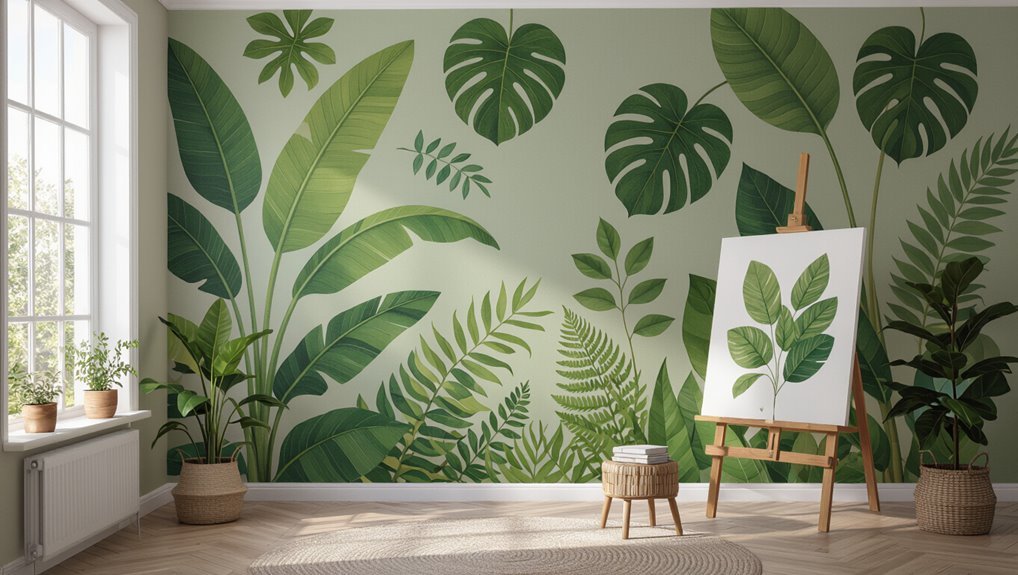
Large-scale mural leaves and focal points
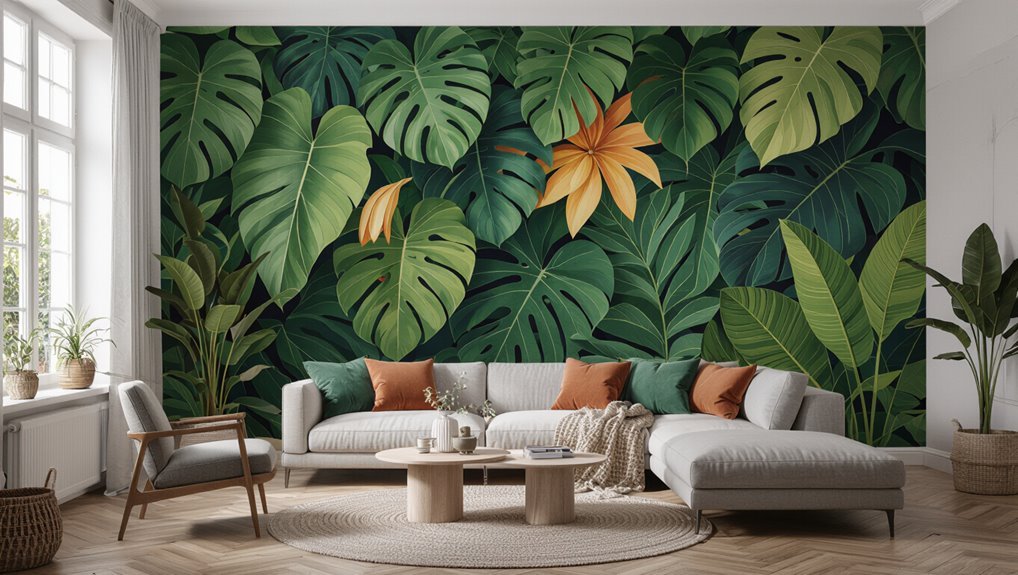
Big mural leaves command attention and set your room’s visual center, so plan a clear focal point—whether a single oversized leaf, a clustered palm frond, or a layered composition—to guide sightlines and balance scale.
Position the focal area near seating or an architectural feature, pick a strong silhouette and limited palette, and vary leaf size and overlap to create depth without overwhelming the space.
Accent details: metallics, stencils, and mixed media
Once you’ve settled on a focal leaf composition, add accents to lift the mural and give it personality.
Use metallic paints sparingly on veins or edges for shimmer. Apply stencils to repeat motifs or create texture.
Introduce mixed media—pressed leaves, fabric, or gold leaf—sealed with varnish.
You’ll balance shine, pattern, and tactile elements to enrich depth without overwhelming the design.
Common Mistakes and How to Fix Them
You’ll run into a few common problems when painting leaves, but most are easy to fix once you know what to look for.
If your composition feels off you can rebalance with added clusters or negative space; flat leaves gain depth with highlights and shadows; and paint bleeds or uneven edges are usually corrected with a small brush and touch-ups.
If the scale feels wrong for the room, resize clusters or repeat motifs to better fit the wall.
Mistake: Poor composition how to rebalance
When your leaf mural looks lopsided or cluttered, it pulls the eye to the wrong spots and weakens the whole design; you can fix that by rebalancing focal points, spacing, and scale.
Step back, identify dominant clusters, and shift or resize groups to redistribute weight.
Add negative space, vary leaf sizes, and align key stems to guide movement across the wall.
Mistake: Flat-looking leaves how to add depth
If your painted leaves read flat, they’ll blend into the wall instead of popping with life; to fix that, you’ll need to build believable depth with light, shadow, and layered detail.
Add a subtle midtone base, place highlights where light would hit, and paint soft cast shadows beneath overlapping leaves.
Vary edge crispness, glaze thin veins, and step back often to check three-dimensionality.
Mistake: Paint bleed or uneven edges quick repairs
Even with good shading, uneven edges or paint bleed can ruin the clean look of your leaves, so you’ll want quick fixes on hand.
Dab a damp cotton bud to lift fresh bleed; let paint dry, then scrape tiny ridges with a razor or sharpened craft knife.
Smooth with light sanding, touch up with a fine brush, and reseal edges with clear matte varnish.
Mistake: Wrong scale for the room adjustment strategies
Because scale affects balance and mood, choosing leaf sizes that don’t match the room can make your mural feel cramped or overwhelming.
So you’ll want clear strategies to correct it. Step back, tape paper templates at different sizes, and photograph them.
Use larger motifs in big rooms, smaller repeats in tight spaces, and adjust spacing.
Repaint or layer leaves until proportion feels natural.
Tips, Best Practices, and Time-Saving Shortcuts
You can speed things up by using pre-made stencils or a projector to transfer leaf shapes accurately.
Work in batches—prime, base coat, then detail all leaves at once—to keep momentum and reduce cleanup.
Finish with simple maintenance tips like sealing with a clear coat and gentle cleaning to keep your mural looking fresh.
Pre-made stencils and projector tricks
When you want crisp, consistent leaf shapes without tracing every curve, pre-made stencils and a projector are your best shortcuts; stencils speed up repeats while a projector lets you scale and position designs instantly.
You’ll save time, maintain symmetry, and experiment with sizes or rotations easily. Use stencils for texture and a projector for complex layouts.
- Choose durable, reusable stencils
- Tape edges securely
- Adjust projector brightness and distance
- Combine stencil layers for depth
Efficient work order and batching techniques
If you batch tasks and follow a logical work order, you’ll cut downtime and keep your momentum going: prep the wall and gather paints and tools first, then tackle base coats, stenciling or projecting, detail work, and sealing in distinct passes so you don’t keep switching supplies or drying times.
Work by zone, group similar leaf shapes, mix needed colors upfront, and schedule drying breaks.
Maintenance tips for longevity and cleaning
After finishing the mural in efficient batches, plan simple maintenance steps to keep leaves looking fresh and protected over time.
Dust gently with a soft microfiber monthly, avoid harsh chemicals, and spot-clean stains with mild soap and water.
Reapply a clear UV-resistant varnish every 2–3 years, touch up chips promptly, and monitor humidity to prevent peeling or mold.
Cost Estimate and Time Breakdown
You’ll want to compare material costs against the time and skill you’ll spend doing it yourself or what a pro would charge.
Plan for a few hours for a small accent wall, a couple of days for a room, and several days to a week for a full mural depending on detail and drying times.
Use that timeline to build a realistic budget that includes paint, brushes, tape, and any contractor fees.
Budgeting for materials vs DIY vs hiring a pro
When planning a leaf mural, weigh the trade-offs between materials, the time you’ll spend, and the cost of hiring help so you can pick the option that fits your budget and skill level. Choose budget paints and stencils to save money, DIY if you have time, or hire pros for complex designs.
| Option | Typical cost |
|---|---|
| Basic DIY | $30–$100 |
| Mid DIY | $100–$300 |
| Pro hire | $300–$1,500 |
| Supplies only | $20–$80 |
Typical project timeline (small accent wall to full mural)
Budget choices shape not just materials but the time you’ll need, so let’s map out realistic timelines and costs for projects from a small accent wall to a full mural.
A 4×6 ft accent: 1 day prep, 1–2 painting, $50–$150.
Medium wall: 2–3 days, $150–$500.
Full mural: 1–2 weeks, $500–$3,000+ depending on complexity and pro rates.
When to Hire a Professional
If the design feels too complex, you lack time, or the surface needs special prep, you should hire a muralist or experienced painter.
When you call someone, ask about portfolios, references, timelines, and insurance, and be clear about budget and finish expectations.
Brief your pro with photos, measurements, preferred colors, and any site constraints so they can give an accurate quote.
Signs you should hire a muralist or painter
Wondering whether to tackle the leaf mural yourself or call in a pro?
Hire a muralist if the wall has damage, you want complex shading or realism, need precise scale or pattern matching, or lack time and confidence.
Also call a pro for high-traffic areas, tricky surfaces, or a deadline.
Professionals save time, guarantee durability, and deliver a polished, lasting result.
What to ask and how to brief a professional
Once you decide to hire a professional, you’ll want to prepare a clear brief and a short list of questions to make sure you get the result you want.
Tell them room dimensions, surface type, your color palette, and timing. Ask about portfolio, process, materials, and guarantees.
- Desired style and reference images
- Budget and payment terms
- Timeline and milestones
- Warranty and touch-up policy
FAQ
You’ll find quick answers here to common questions like drying and curing times, working on textured or outdoor walls, and which paints are safest for kids’ rooms.
You’ll also learn how to remove or repaint leaf designs and simple ways to transfer a photo or pattern onto the wall.
If you still have a specific concern, ask and I’ll walk you through it step by step.
How long does it take for painted leaves to dry and cure?
How long will painted leaves feel dry to the touch and fully cured?
Dry-to-touch usually takes 30 minutes to a few hours for latex or acrylic; oils take longer.
Fully cured means days to weeks—acrylics often cure in 1–2 weeks, oils in several weeks.
Temperature, humidity, paint thickness, and varnish affect timing.
Wait recommended cure time before sealing or heavy contact.
Can I paint leaves on textured or outdoor walls?
Knowing how long paint takes to dry and cure helps you plan, but you also need to take into account the surface you’re working on—textured interiors and exterior walls pose different challenges than smooth indoor plaster.
You can paint leaves on textured or outdoor walls if you choose appropriate primers, flexible exterior paint, and durable brushes or rollers.
Prep, test adhesion, and seal for longevity.
What paints are safest for children’s rooms?
Which paints keep a child’s room both vibrant and safe? Choose low- or zero-VOC water-based latex paints and certified non-toxic acrylics; they minimize fumes and off-gassing.
Look for Green Seal, Greenguard, or similar certifications, and avoid paints labeled “antique” or “lead.”
Use washable finishes like satin for easy cleaning.
Always ventilate while painting and let the room air out fully before use.
How do I remove or repaint over leaf designs?
Want to change the look of your room? You can repaint or remove leaf designs by cleaning the wall, sanding glossy areas, and applying a primer to block pigment.
For small stencils, feather edges with light sanding. Use matching wall paint and thin coats until covered.
If paint is textured, skim-coat or use a light orange peel spray before repainting for a smooth finish.
Can I transfer a photo or pattern onto the wall easily?
Yes—you can transfer a photo or pattern onto a wall fairly easily using a few common methods.
Trace with graphite paper, project the image with a digital projector and outline, or create a simple grid to scale a printout.
Each technique lets you paint within clear guides; choose projector for speed, grid for accuracy, and graphite for low-tech convenience.