How Long Does Mortar Take to Dry Before Painting? Guide
You should wait until mortar stops feeling damp to the touch before painting—usually the surface dries in 24–48 hours but full cure can take up to 28 days. Temperature, humidity, wind and mortar mix change drying time, so test small areas for adhesion and watch for dark patches or a glossy feel. Use breathable primer if there’s any residual moisture and improve ventilation to speed drying; keep going and you’ll find tips on timing, testing and common mistakes.
How Long to Wait Before Painting Mortar (Quick Guide)
Wondering when you can paint mortar? You’ll wait until mortar absorption slows and the surface feels dry to the touch—usually several days.
Test small areas: if paint adhesion is consistent without peeling or bubbling, you’re good.
Avoid painting on damp or newly cured mortar. Proper drying guarantees a durable finish; use primers compatible with masonry when needed for best results.
Quick Timeline: Common Mortar Drying Times
After you’ve confirmed mortar’s surface is dry enough for painting, it helps to know typical curing timelines so you can plan other work.
Expect surface dryness in 24–48 hours for joints; full cure often takes 28 days. Cooler or humid conditions slow curing.
Monitor mortar color and surface texture—darker, damp-looking mortar needs more time.
Adjust schedule for weather and thickness.
Mortar vs. Cement: Practical Drying Differences for Painters
Many painters mix up mortar and plain cement, but they behave differently as they dry and cure, so you’ll want to treat them accordingly.
You’ll notice mortar properties include sand and lime that slow moisture loss, while plain cement sets faster.
For painting, follow appropriate curing techniques: keep mortar moist longer, check surface hardness, and wait until both materials reach stable moisture before priming and painting.
How Mortar Mix Type Changes Cure Time
You’ll notice different mortar mixes cure at different rates, so match the mix to your project timeline.
Cementitious mortars set faster than lime-based ones, which gain strength more slowly but stay flexible.
Additives and accelerators can speed or slow curing, so check product specs before you start.
Type-Specific Cure Rates
Because different mortar formulations rely on distinct binding reactions, the type you pick directly affects how fast it sets and gains strength. You should consider mortar composition and local drying factors: sand-rich mixes cure quicker; high lime content slows strength gain. Compare common types below.
| Mortar Type | Typical Cure Time |
|---|---|
| Type N | 7–14 days |
| Type S | 5–10 days |
Cementitious Vs. Lime
While cement-based mortars set and gain most of their strength within days, lime-rich mixes rely on a much slower carbonation process, so they’ll continue to harden over weeks to months.
You should expect cementitious properties to give faster paint readiness, while lime benefits include flexibility and breathability but require longer curing.
Plan painting schedules accordingly and allow extra time for lime mixes to fully carbonate.
Additives And Accelerators
Lime-rich and cementitious mortars respond differently to additives, so you’ll want to pick admixtures that match the binder’s chemistry and your timing needs. You’ll choose mortar additives or drying accelerators based on porosity, strength needs, and paint schedule; test small batches to avoid cracking or weakened bond.
| Binder | Effect | Typical Additive |
|---|---|---|
| Lime | Slows set | Plasticizer |
| Cement | Speeds set | Accelerator |
How Temperature Speeds Up or Slows Curing
If you work with mortar, you’ll notice temperature strongly controls how fast it cures: warmer conditions speed the chemical reactions and water evaporation, while cold slows both, sometimes halting set altogether.
You’ll see direct temperature effects on the curing process: higher temps shorten initial set and strength gain, while low temps delay reactions and extend time before you can safely finish or paint.
How Humidity and Wind Influence Drying
You’ll notice high humidity slows mortar’s cure by reducing evaporation, while low humidity speeds surface drying but can cause cracking.
Wind increases evaporation and can dry the surface too fast, so you’ll need windbreaks or misting in breezy conditions.
Before painting, make sure the mortar’s fully cured — not just dry on the surface — by checking manufacturer times and using moisture meters if needed.
Humidity’s Effect On Cure
Although mortar dries through chemical reactions, the surrounding humidity and wind control how fast that moisture leaves the mix.
You’ll see higher humidity levels slow curing because moisture retention keeps hydration active longer, increasing set time and delaying paint.
Lower humidity speeds surface drying but can trap internal moisture.
Monitor conditions and extend curing time when humidity levels are high to prevent weak mortar.
Wind Speed And Evaporation
When wind whips across a freshly laid wall, it pulls moisture from the mortar’s surface and speeds evaporation. However, that faster surface drying can leave internal mortar wetter and weaker if you don’t manage it.
Combine high wind with low humidity, and the outside will crust over quickly. In contrast, gusty, humid conditions mostly just move damp air without improving cure.
You’ll notice wind effects change evaporation rates, increasing surface drying but risking internal cure inconsistency.
Managing Conditions For Painting
How should you time painting over new mortar to avoid trapping moisture?
You’ll monitor environmental factors—humidity, temperature, wind—and delay painting until moisture readings are within recommended ranges.
Prioritize surface preparation: clean, dry joints and use breathable primers.
If conditions are damp or windy, wait; if steady and moderate, proceed.
Regular checks prevent trapped moisture and guarantee paint adhesion.
How Wall Thickness and Joint Depth Change Wait Times
If your wall is thicker or your mortar joints are deeper, expect longer drying times because more moisture has to evaporate or be absorbed into the masonry. You’ll monitor joint thickness and wall moisture; thicker walls slow evaporation, deeper joints hold water. Plan extra curing time and check internal moisture before painting.
| Thickness | Joint Depth | Drying Cue |
|---|---|---|
| Thin | Shallow | Quick |
| Medium | Moderate | Moderate |
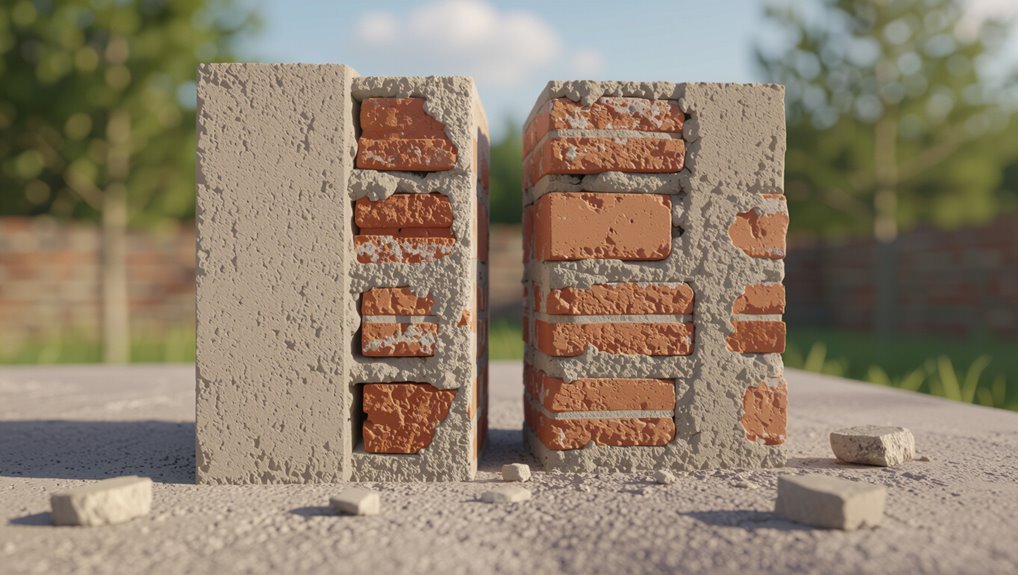
New Brickwork or Repaired Joints : How Do Wait Times Differ?
Because new brickwork has fresh moisture and repaired joints often pack in water, you’ll usually wait longer for new walls to reach the same dryness as touch-ups.
New builds can need several days to weeks to cure fully, while repaired joints on existing, seasoned masonry typically dry faster.
You should monitor curing conditions, plan around weather, and prioritize proper joint repairs to avoid premature painting.
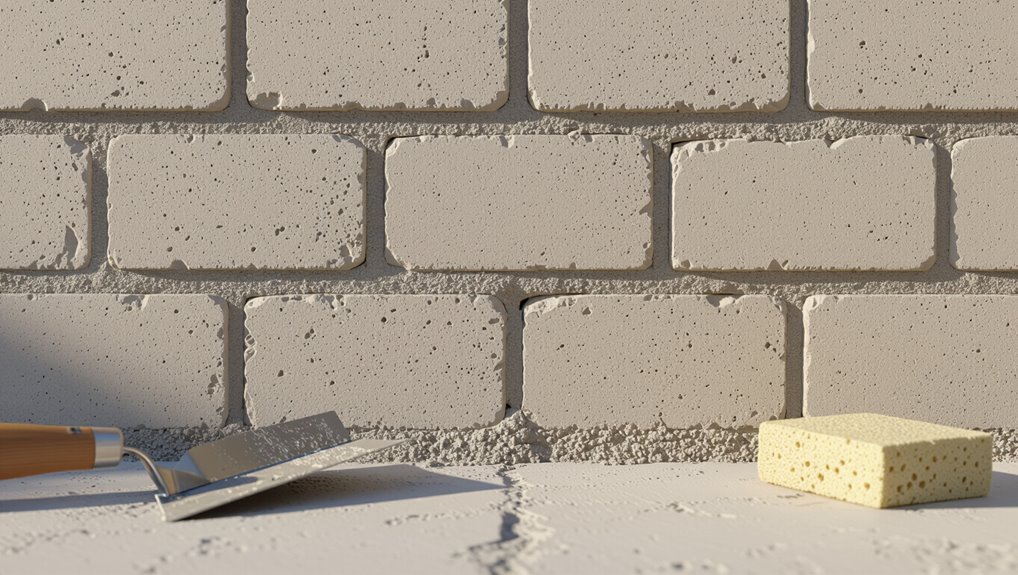
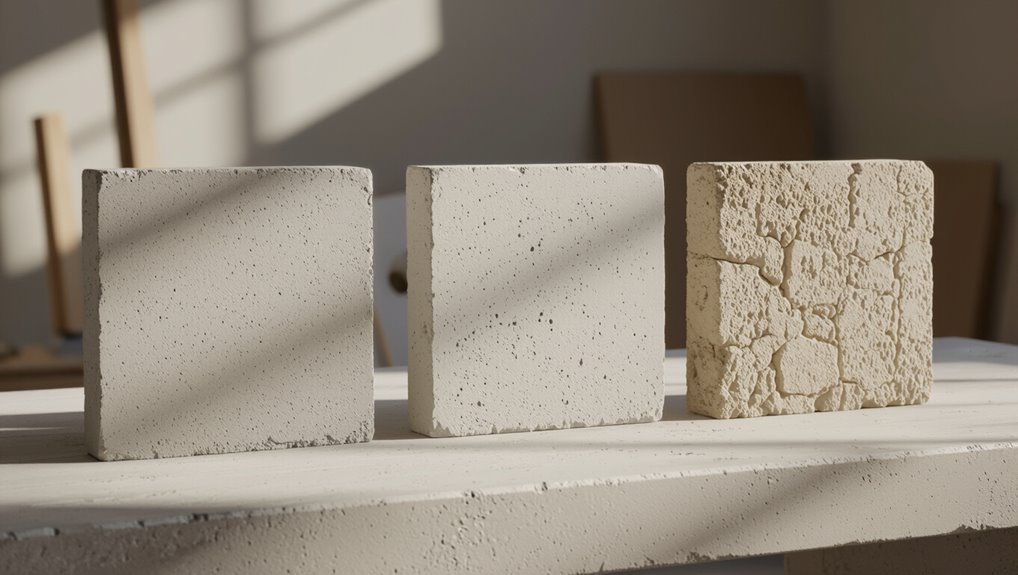
How to Test Mortar Dryness Before Painting?
Before you paint, check the mortar visually for dark patches or efflorescence that signal retained moisture.
Then press the surface lightly—mortar should feel firm and not leave a damp imprint.
For a more precise check, you can tape a small plastic sheet over the mortar and leave a calcium chloride test packet underneath to measure moisture transmission.
Visual Moisture Check
When you’re ready to check mortar dryness visually, look for an even, pale color and a lack of dark, glossy patches that indicate retained moisture. Fresh or damp mortar will appear darker and may feel cool to the touch.
Use moisture indicators like color uniformity and subtle surface sheen for a quick drying assessment, scanning joints and edges for inconsistencies before painting.
Touch And Firmness
After you’ve scanned for color and sheen, use touch to confirm the mortar’s readiness for painting. With gentle touch sensitivity, press a finger into mortar edges; no tackiness means it’s drying. Perform a firmness assessment by tapping—solid, not crumbly. Visualize stages:
| Soft | Semi-firm | Firm |
|---|---|---|
| Damp | Slight give | Hard |
| Shiny | Matte | Ready |
Simple Calcium Chloride Test
Curious how to get a reliable moisture reading? Use a simple calcium chloride test: tape a sealed dish of calcium chloride to the mortar, leave it 24–72 hours, then weigh it.
The salt absorbs moisture; weight gain shows moisture content. Compare to manufacturer limits for paint.
The test’s cheap, clear, and helps you decide when mortar is dry enough to paint safely.
What to Do If Mortar Still Feels Damp?
If your mortar still feels damp, don’t panic—there are practical steps you can take to speed drying and prevent damage.
Check mortar moisture with a hygrometer or tape test, improve ventilation, and use fans or dehumidifiers.
Avoid sealing or painting until fully dry.
For localized dampness, remove excess water and apply gentle heat; follow proper drying techniques to protect the bond.
Seasonal Timing: Plan Painting Around Weather
Plan painting for times when temperatures stay consistently in the mortar’s ideal window—usually between about 50°F and 80°F—so curing isn’t interrupted.
You should also watch seasonal humidity, since high moisture slows drying and low humidity can cause too-rapid set and cracking.
Pick days with moderate, stable conditions to guarantee paint bonds and mortar cures properly.
Ideal Temperature Windows
When you’re scheduling mortar painting, aim for consistently mild days—typically between 50°F and 70°F—so the mortar can cure without freezing or drying too fast.
Temperatures below 40°F slow chemical set and above 80°F risk rapid evaporation and poor adhesion. Follow temperature guidelines and choose ideal conditions.
- Pick 50–70°F daytime range.
- Avoid freeze/thaw cycles.
- Paint midday after steady warmth.
Seasonal Humidity Effects
Because humidity swings with the seasons, you’ll want to time mortar painting for periods with moderate, stable moisture levels to guarantee even curing and paint adhesion.
Check local seasonal changes and daily forecasts to avoid high humidity or rapid drops. Aim for consistent humidity levels during the curing window, and delay painting after unusually wet spells to prevent blushing, blistering, or poor bond.
Using Primers and Breathable Paints on Damp Mortar
If your mortar isn’t fully dry but you need to move ahead, you can still use the right primer and breathable paint to protect the surface while allowing moisture to escape.
Breathable systems let trapped water vapor pass through, reducing blistering and mold risk. Focus on primer selection and paint compatibility to guarantee adhesion and vapor permeability.
- Choose a breathable primer.
- Match paint compatibility.
- Test a small patch.
How to Safely Speed Up Mortar Drying Before Painting
Although you can’t rush the chemical curing of mortar, you can safely accelerate surface drying so paint or primer can go on sooner; focus on increasing ventilation, controlling temperature, and managing humidity while avoiding rapid desiccation that can cause cracking.
Use gentle heat, dehumidifiers, and fans, monitor mortar humidity, and apply staged drying techniques—avoid high temperatures or salts that force moisture inward.
How to Avoid Trapping Moisture With the Wrong Paint
When you paint over mortar, pick a breathable, vapor-permeable coating so trapped moisture can escape instead of getting sealed behind a film that leads to peeling, efflorescence, and freeze damage.
Use a breathable, vapor‑permeable paint on mortar so moisture can escape—avoid sealed films that cause peeling and damage
You should check paint compatibility and avoid creating moisture barriers.
Consider these steps:
- Choose breathable masonry paint.
- Verify paint compatibility with mortar type.
- Test a small area and monitor for trapped moisture.
How Adjoining Materials Affect Mortar Drying and Paint Adhesion
Because adjacent materials absorb and release moisture at different rates, they directly shape how quickly mortar dries and whether paint will stick.
So you need to take them into account before finishing. Check adjoining masonry, wood, or metal for differing porosity; install moisture barriers where needed.
Proper surface preparation evens drying, prevents trapped moisture, and guarantees consistent adhesion when you paint.
Common Painting Mistakes That Ruin Mortar Finishes
Knowing how adjoining materials affect drying and adhesion helps you avoid a lot of paint problems, but mistakes during painting itself can still ruin a mortar finish.
- Skipping primer causes paint application errors and poor adhesion.
- Painting too soon traps moisture, worsening surface preparation pitfalls.
- Overworking wet paint creates streaks, uneven texture, and weak bonds.
Frequently Asked Questions
Can I Paint Mortar That Has Efflorescence or White Deposits?
Yes — but you’ll treat mortar efflorescence first: clean salts, apply a neutralizer and water repellent, then use proper painting techniques and breathable masonry paint so coatings adhere and efflorescence won’t recur, ensuring lasting results.
Does Painted Mortar Need Regular Resealing or Maintenance?
Want paint to last longer, right? You’ll need periodic mortar sealing and simple upkeep to maintain paint longevity. You’ll inspect, clean, and reseal every few years as needed, fixing cracks or efflorescence promptly to preserve finish.
Will Paint Color Affect Mortar Heat Absorption and Curing?
Yes — mortar color can affect heat retention and slightly influence curing; darker mortar absorbs more heat, warming the joint and speeding moisture loss, while lighter mortar reflects heat, slowing evaporation and extending cure time.
Are There Eco-Friendly Paints Suitable for Damp Mortar?
Yes — you can use eco friendly options like breathable limewash, mineral paints, or low‑VOC masonry paints specifically formulated for damp conditions; they’ll resist moisture, allow vapor permeability, and reduce emissions while protecting and finishing your mortar surface.
Can Power Washing Painted Mortar Damage the Finish?
Absolutely—power washing can damage the finish if you’re too aggressive; it’s like using a firehose on a vase. You’ll risk reducing mortar durability and harming paint adhesion, so use low pressure and careful technique.
Conclusion
You’ll want to play it politely with mortar—give it time to “settle its affairs” before slapping on paint. Typically wait at least 7 days for surface dryness, longer for deeper cures, and adjust for mix, temperature, and humidity. If you rush, you’ll trap moisture and invite peeling, so choose breathable paint, prep adjoining materials, and speed drying only with gentle, safe methods. Treat the wall kindly and your finish will thank you.