
How Much Paint for One Wall – Simple Calculation Guide for Perfect Coverage
You’ll typically need about one gallon to do two coats on a standard 12×8‑foot wall, but adjust for finish, texture, and color change; flat paints and rough or textured surfaces absorb more, while satin and premium paints cover better. Measure width × height, subtract doors and windows, and test a small patch to check real coverage. Prime bare drywall or big repairs. Keep extra for touch‑ups — continue for step‑by‑step measuring, primer tips, and trim calculations.
Quick Answer: Gallons Needed for One Wall
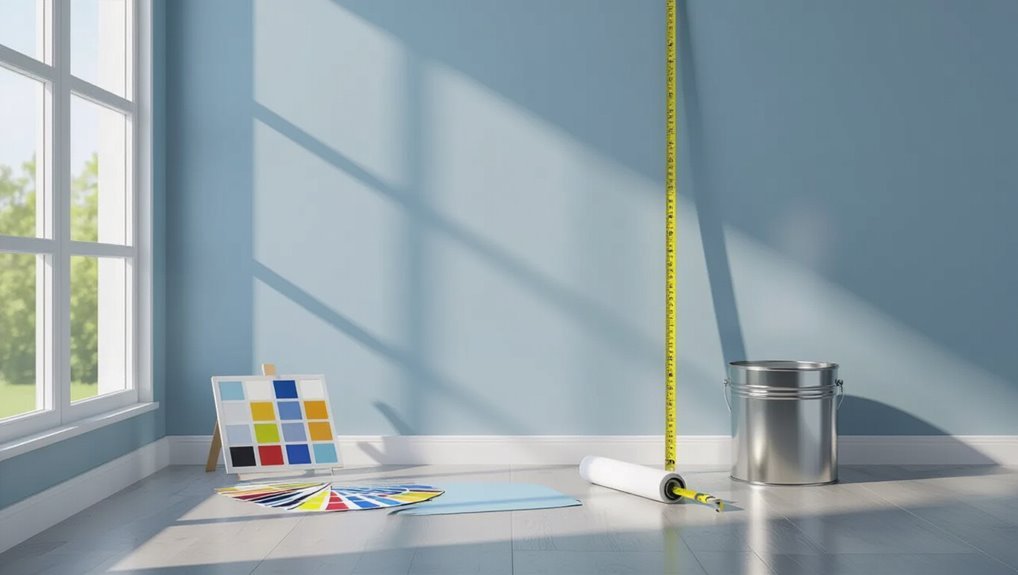
A single standard 12×8-foot wall usually needs about one gallon of paint for two coats, assuming average porosity and minimal primer needs.
You’ll adjust for paint types and wall textures: flat paints soak more, satin covers better, and rough or textured walls demand extra.
Measure area, factor doors/windows, and round up to avoid shortages; buy primer if needed.
What Search Intent This Guide Satisfies
Now that you know roughly how much paint a typical 12×8 wall needs, this guide targets searchers trying to quickly estimate paint quantities, compare coverage by finish, or determine whether they need primer and extra cans for textured surfaces.
You’ll find concise advice matching common search behavior and practical user needs so you can decide fast, avoid overbuying, and plan supplies confidently.
Measure Wall Height and Width (Easy Steps)
Start by measuring the wall’s width and height with a tape measure—you’ll use these two numbers to calculate paintable square footage.
Use simple measurement tools and note wall dimensions clearly.
- Record width and height in feet or meters
- Check corners and baseboards for irregularities
- Re-measure any doubtful spots for accuracy
Calculate Wall Area in Minutes
To calculate your wall’s area, multiply the width by the height to get square footage (or square meters) — it’s a one-step math task that tells you how much surface you’ll actually paint.
Record wall dimensions carefully, converting units if needed. Use that area to plan paint quantity and timing, and factor in surface preparation like priming or sanding to guarantee accurate coverage estimates.
Subtract Doors and Windows From Area
After you’ve calculated the total wall area, subtract the square footage of doors and windows so you don’t buy more paint than you need.
Measure each opening, multiply height by width, then subtract from wall area. For clear subtracting area, note:
- Standard door: 80″×36″ (convert to feet)
- Typical window dimensions vary—measure each
Sum openings, subtract total.
Choose Paint Coverage (Sq Ft per Gallon)
Wondering how much area a gallon will cover? Choose paint coverage by checking the label for sq ft per gallon and comparing paint types; latex, oil, and specialty coatings vary.
Note coverage factors like surface texture and porosity, which reduce effective area. Use the manufacturer’s stated coverage, then adjust for rough surfaces.
Record the final sq ft per gallon for your calculation.
How Many Coats Will You Need?
Most walls need two coats for even color and durable coverage, though you might get away with one if the new paint matches the old perfectly and has excellent pigmentation.
Most walls require two coats for even, durable coverage—only identical, highly pigmented paint might need just one.
You should evaluate surface porosity, color change, and paint quality.
Consider this quick coats comparison and application techniques checklist:
- Porous or patched surfaces
- Dramatic color changes
- High-quality, well-applied paint
Primer and Undercoats: Do You Need Them?
You’ll want to prime when you’re covering bare drywall, patched areas, drastic color changes, or stains that would bleed through paint.
Different undercoats—latex, oil-based, and stain-blocking primers—serve specific jobs, so pick one that matches your surface and topcoat.
I’ll explain how to choose the right type and when you can skip priming.
When To Prime
If your wall is bare drywall, stained, patched, or shifting from a dark to a light color, prime it before painting to guarantee even coverage and adhesion.
You’ll improve primer benefits like paint adhesion and color matching. Consider primer types, primer coverage, application techniques, drying times, and surface preparation.
- New drywall: seal and level
- Stains/repairs: block-through primer
- Color change: tint primer
Types Of Undercoats
Having picked the right primer situation—new drywall, stains, or color shifts, you’ll next choose the type of undercoat that matches the job.
You’ll pick oil-based for stain blocking, acrylic for general sealing, or a bonding primer for slick surfaces.
Know undercoat types, coat appropriately, and enjoy primer benefits: improved adhesion, uniform finish, fewer coats, and longer-lasting paint.
Paint Finish and How It Changes Coverage
Because different paint sheens reflect light and hide surface imperfections differently, the finish you choose directly affects how much paint you’ll need.
You’ll plan for coverage impact by considering sheen levels and application technique. Finish durability and color perception change perceived coverage; light reflection and texture effects alter required coats.
- Satin vs. gloss: fewer coats
- Matte: hides flaws, may need more
- Durability trade-offs
Surface Texture: Smooth vs Eggshell vs Rough
When you’re choosing paint, the wall’s texture—smooth, eggshell, or rough—directly changes how the paint lays down and how much you’ll need. You’ll notice texture impact and coverage variation: rough walls absorb more, eggshell sits between, smooth needs less.
| Texture | Effect |
|---|---|
| Smooth | Lower paint use |
| Eggshell | Moderate use |
| Rough | Higher use |
Color Changes and Opacity: Extra Coats Needed?
Texture affects how much paint you need, but color and opacity can change the number of coats required.
You’ll consider opacity factors and color selection to judge if extra coats are necessary, balancing finish types and paint layering to reduce coverage variations.
- Choose primer for strong contrasts
- Adjust application techniques for even build
- Test finish types and layering for true color
Estimate Paint for Trim Around the Wall
Start by measuring the total length of the trim around the wall—baseboards, casings, and any chair rails—and note the height of each piece so you can calculate square footage; this lets you convert linear feet into paintable area and estimate how much trim paint to buy.
Factor in primer if needed, choose color selection that complements the wall, and allow for touch-up coverage.
Convert Square Feet Into Paint Cans
Now convert your wall’s square footage into cans by dividing the total paintable area by the coverage listed on the paint can (usually 350–400 sq ft per gallon for a single coat); this gives you the number of gallons needed for one coat.
Divide your paintable square footage by the can’s coverage (350–400 sq ft) to find gallons per coat.
So multiply by the number of coats you plan to apply and round up to the nearest whole can to guarantee you have enough for touch-ups.
- Calculate paint quantity
- Use coverage estimation per can
- Round up for waste and touch-ups
How to Pick the Smallest Purchase Size
Measure your wall area carefully so you know how much paint you actually need.
Check the paint’s coverage rate on the can and use it to convert your square footage into cans or gallons.
Then buy the smallest can size that covers your needs plus a little extra for touch-ups.
Measure Wall Area
To pick the smallest paint purchase that still covers your wall, first calculate the wall’s square footage by multiplying its height by its width; this gives you the exact area you’ll need to cover.
Use precise wall dimensions and basic area calculations, then adjust for openings and coats:
- Subtract door and window openings
- Multiply for number of coats
- Round up to nearest can size
Check Coverage Rates
Begin by checking the paint can’s coverage rating—usually listed as square feet per gallon—so you can match that number to your wall’s calculated area and choose the smallest can size that still provides full coverage.
Consider coverage factors like surface texture and porosity, and compare paint types (flat, eggshell, satin) since their spread rates differ.
Calculate cans needed and pick the smallest adequate size.
Buy Slightly Extra
Now that you’ve matched coverage rates to your wall’s area, plan to buy a little extra paint so you don’t run short.
Estimate required paint quantity, account for touch-ups, and limit waste by choosing the smallest effective can size based on color selection and finish.
Consider:
- Buy an extra 10% for touch-ups
- Match batch numbers for color selection
- Save unopened small cans for repairs
When to Round Up: Smart Rules to Avoid Running Out
If your wall sits near the room’s center or you’ve never tackled a surface quite like this before, it’s smart to round up your paint estimate so you don’t run short mid-project.
Use simple rounding strategies: add a small percentage for waste, texture, and absorption.
Prioritize paint efficiency by choosing proper tools and coats so you avoid emergency trips and uneven coverage.
Calculating Leftover Paint for Touch-Ups
After you’ve finished the main job, set aside a small, clearly labeled container of the leftover paint so you can handle future touch-ups without guessing at color or sheen; keep it sealed and note the date.
Use these touch up techniques to stay prepared:
- Store in a cool, dark place to preserve color and consistency
- Label with room, finish, and date
- Mix gently before use to match sheen and pigment
Paint Cost Examples by Gallon and Brand Tier
When you’re budgeting for one wall, you’ll want to compare per-gallon prices across tiers so you know what to expect from budget, mid-range, and premium lines.
Budget brands can save you up front but may require extra coats, while mid-range options balance cost and coverage.
If you want the best durability and finish, consider the higher upfront cost of premium paint as an investment.
Budget Brand Pricing
Budget brands typically sell interior paint in the $15–$30 per-gallon range.
You’ll find budget paint options that cut upfront cost but may need more coats. Do a quick price comparison before buying so you don’t overspend on touch-ups.
- Lower upfront cost
- Often lower coverage per coat
- Good for temporary or rental spaces
Mid-Range Cost Comparison
Mid-range paints typically cost between $30 and $60 per gallon, and they strike a balance between better coverage and reasonable price so you’ll often need fewer coats than with budget options.
When you compare brands in a brand comparison, check stated paint quality, hide, and spread rate. You’ll usually save time and labour versus budget cans while keeping costs moderate.
Premium Paint Investment
If you want the best results and are willing to pay more for fewer coats, superior durability, and richer color retention, premium paints are where to look.
You’ll save time and get lasting finish; consider premium paint benefits and color selection tips when budgeting by gallon and brand tier.
- Higher coverage per gallon
- Longer-lasting finish
- Expert color selection tips
Tools and Supplies for Measuring and Painting
Before you measure or mix a single drop of paint, gather the right tools and supplies so the job goes smoothly and accurately.
Use a measuring tape for exact dimensions, choose paint roller and appropriate paintbrush types for corners, account for wall texture and paint finish, pick primer types for surface preparation, finalize color selection, plan coverage testing, and keep touch up techniques and supplies handy.
Test Coverage With a Small Sample Patch
Before you roll the whole wall, test a small patch to see how the paint behaves on your surface.
Let it dry fully, then measure the actual coverage so you know how much area a can will cover.
Use that measured rate to adjust your paint quantity and avoid surprises.
Test A Small Patch
Start by painting a small patch—about a 2×2-foot area—on the wall to see how the color, finish, and coverage look once dry.
You’ll confirm color selection and evaluate paint behavior during patch testing. Check lighting, texture, and adhesion before committing.
Quick notes:
- View in different light
- Feel finish and texture
- Note drying time and uniformity
Measure Dry Coverage
Now apply a small, measured patch of paint—about 1 square foot—to see how much it actually covers once dry.
Wait full drying time, then measure actual coated area and note finish.
Compare results across paint types and record coverage factors for each.
Use this real-world data to adjust your total paint calculation, accounting for texture, soak-in, and finish differences before buying.
Fix Uneven Coverage: Causes and Quick Fixes
If your wall shows streaks, patchy spots, or visible roller lines, uneven coverage usually comes down to a few common causes you can fix quickly: poor surface prep, using the wrong roller or brush, overloaded or underloaded applicators, or skipping proper paint technique.
You can correct uneven texture by adjusting application technique, paint thickness, roller choice, brush strokes, color saturation, light reflection, drying conditions.
- Re-sand and prime uneven areas.
- Use proper roller nap and even paint load.
- Feather edges with consistent brush strokes.
When to Hire a Pro vs. DIY Painting?
When should you tackle a paint job yourself and when should you call a pro?
If walls have minor stains or you have solid DIY skills, you can save money doing it yourself.
Hire professional painters for high ceilings, complex textures, extensive prep, or time-sensitive jobs.
Consider cost, finish quality, safety, and your schedule before deciding—choose the option that guarantees durable, even results.
Printable One-Wall Paint Calculator and Checklist
Grab the printable one-wall checklist to make measuring quick and error-free, so you’ll note height, width, and any windows or doors.
Use the coverage calculator to convert your measurements into the exact gallons or liters you’ll need.
Then check the supplies and extras section to add brushes, tape, primer, and touch-up paint before you start.
Measurement Checklist
Start by measuring the height and width of your wall and jotting those numbers on your printable one-wall paint calculator — that simple checklist keeps you from overbuying or missing trouble spots like windows, doors, or radiators.
Use solid measurement techniques to record accurate wall dimensions, then check:
- Openings (windows, doors)
- Obstructions (radiators, shelves)
- Surface condition (patches, trim)
Coverage Calculator
Now that you’ve measured the wall and noted openings and obstructions, use a printable coverage calculator to turn those numbers into how much paint you’ll actually need.
Enter wall area, subtract windows/doors, and choose paint types. The tool applies paint formulas—coverage per gallon/meter—so you’ll see required quantity and coats.
Print the checklist for accuracy and to guide ordering.
Supplies And Extras
When you’ve got your coverage numbers, gather the supplies and extras that keep the job smooth: quality brushes or rollers, trays, drop cloths, painter’s tape, a ladder or step stool, a stirring stick, and a spare can for touch-ups.
Check paint types for sheen and coverage, confirm surface preparation needs, and use a printable checklist to track cans, tools, and safety gear.
- Brushes/rollers and trays
- Tape, drop cloths, ladder
- Spare can and checklist
Frequently Asked Questions
How Long Does Paint Take to Fully Cure on an Interior Wall?
Typically, paint fully cures in 2–4 weeks, though the curing process varies; factors affecting it include paint type, humidity, temperature, and ventilation, so you’ll wait longer in cool, damp rooms and less with good airflow.
Can I Mix Leftover Paints From Different Brands Safely?
Picture two paint swirls meeting: you can sometimes mix leftovers, but you’ll test for paint compatibility and color blending first. Stir small samples, dry them, and only combine brands when finish, base, and chemistry match.
How Should I Store Leftover Paint Long-Term?
You should seal cans tightly, label them, and store upright in a cool, dry place to maximize paint preservation; you’ll avoid freezing or heat, keep lids clean, and consider transferring to smaller airtight containers for long-term paint storage.
Are VOC Levels Important for Interior Wall Paint Choices?
About 90% of indoor air pollution comes from indoor sources, so yes — you should care about VOC regulations, health concerns, paint types, indoor air quality, eco friendly options, and emission standards when picking interior paint.
Can Humidity Affect Drying Time and Final Finish?
Yes — humidity affects drying time and final finish: you’ll see slower drying, possible tackiness, and longer cure. High humidity worsens humidity effects and can reduce paint adhesion, causing poor bonding, sagging, or blistering on your wall.
Conclusion
You’ve done the math, measured the wall, and subtracted doors and windows—now you’ll glide through the job like an artist facing a blank canvas. Trust your coverage test, patch small areas, and fix streaks before they dry so the finish looks effortless. If the task feels Everest-sized, call a pro; for most walls, you’ve got this. Use the printable checklist as your map, and watch a simple wall transform into a polished masterpiece.
