
Should You Paint the Edges of a Wall First? The Right Order Explained
Yes — you should usually paint the edges (cut in) first. Doing the trim, corners, and ceiling lines with a steady angled brush gives you crisper lines, less splatter, and more control. Then roll the main wall while that edge paint is still tacky to blend and avoid lap marks. Prep, tape if needed, and keep a wet edge for the smoothest finish. Keep going and you’ll get tips on when to switch the order and save time.
Quick Answer Should You Paint the Edges of a Wall First?
For most DIY jobs, you should cut in the edges first—it’s faster and gives cleaner lines when you follow with a roller.
You might skip that order for quick touch-ups, textured walls, or if a pro spray-finishes the room.
Keep the exceptions in mind so you pick the approach that fits your situation.
Short, direct recommendation for common scenarios
Start by cutting in the edges before rolling the main wall area—doing the trim first gives you better control, fewer smudges, and a cleaner finish for most rooms.
For typical living spaces, bedrooms, and hallways, you should paint edges first.
If you’re asking do you paint the edges of a wall first, the short answer: yes—cut in, then roll for consistent coverage and neater lines.
When the answer changes (exceptions)
That recommendation holds for most rooms, but there are clear exceptions where you might skip cutting in first.
If you’re using a sprayer, working fast on a single color, or covering textured surfaces, rolling edge-to-center can be efficient.
Also skip cutting in when tape will protect trim or when multiple painters coordinate—just plan overlap and touch-ups to avoid visible seams.
Basic Understanding What ‘œPainting the Edges First’ Means
When you hear “painting the edges first” it means cutting in the trim and corners with a brush or angled brush before you roll the main wall.
You’ll typically use an angled sash brush, a small trim brush, or a mini roller to get clean lines around ceilings, baseboards, and windows.
Doing edges first lets you control the final finish and sets an efficient workflow so the roller blends into those precise edges.
Definition: cutting in vs. rolling
Painting edges first usually means “cutting in”—using a brush to paint narrow strips along trim, corners, and ceilings—before you roll the larger wall areas.
You’ll cut in to define clean lines and cover spots a roller can’t reach. Then you’ll use a roller to fill broad sections, blending strokes into the fresh edge for a seamless finish.
Typical tools used for edges ()
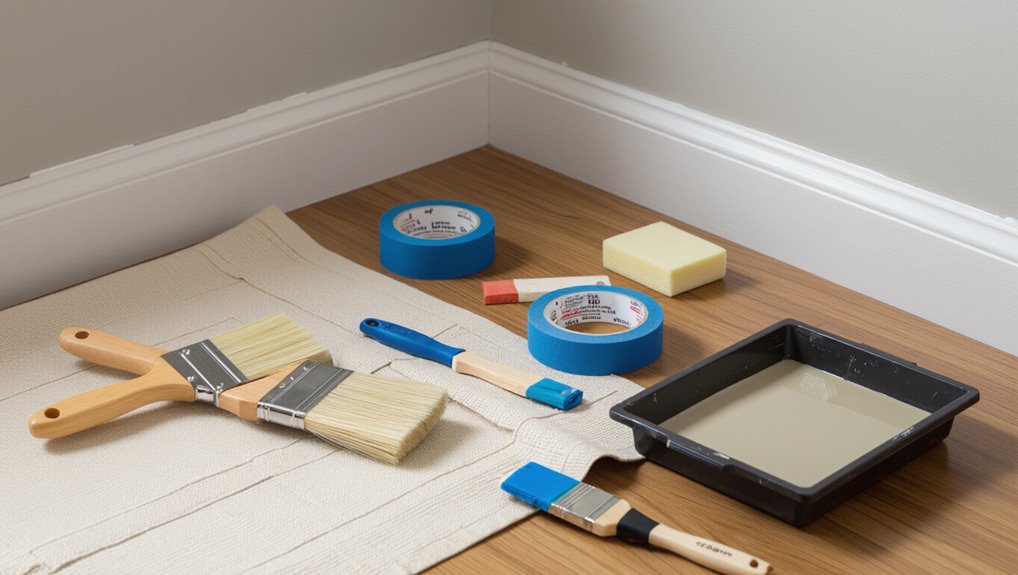
A few essential tools will make cutting in faster and neater: a good angled sash brush for precise lines, a trim-ready roller or mini-roller to blend edges, painter’s tape for protection when needed, a steady hand rest like an edging tool or shield, and a small bucket or tray for manageable paint loads.
You’ll also want a lint-free cloth, a paint scraper, and an extra brush for touch-ups.
How edge-first affects final finish and workflow
If you cut in the edges before rolling the main wall, you’ll control where paint overlaps and how smoothly it blends, which directly affects the final look and the flow of your work.
Doing edges first lets you work systematically: you prevent lap marks, blend wet edges, and roll confidently without worrying about precision.
That order speeds cleanup and yields a more professional finish.
Pros and Cons of Painting Edges First
Painting the edges first gives you cleaner lines, can speed up the overall job, and helps cut down on splatter when you roll.
But it can leave visible drying lines and often means extra touch-ups where the cut-in meets the rolled paint.
Whether it’s worth it depends on your wall texture, the paint type, and how big or cramped the room is.
Advantages (precision, speed later, reduced splatter)
When you cut in the edges before rolling, you’ll get crisper lines and fewer touch-ups later; that initial precision also speeds the overall job because the roller can cover broad areas without worrying about trimming every pass.
Starting with edges tends to reduce splatter onto trim and ceilings.
- You’ll save time by rolling faster.
- You’ll limit accidental paint on trim.
- You’ll need fewer corrections afterward.
Disadvantages (drying lines, extra touch-ups)
Those crisp edges do come with trade-offs you should know about. You may see drying lines where taped or brushed sections meet the main coat, and you’ll often need extra touch-ups to blend tones and texture.
Expect more time correcting overlaps and feathering. Consider these common drawbacks:
- Visible drying lines between edge and field paint.
- More touch-up passes required.
- Slight texture mismatch.
Situational factors that sway the decision (wall texture, paint type, room size)
Because surface and scale change how visible flaws become, you’ll want to weigh wall texture, paint type, and room size before deciding whether to cut in first.
Rough textures hide brush marks but need more paint; satin or gloss shows edges, so roll while wet.
Small rooms mean faster drying lines; large rooms let you work in sections.
Match technique to conditions.
Recommended Order: Best Practices for Most Projects
Before you start, get the surface clean, primed, and taped so your paint sticks and lines stay crisp.
Cut in carefully with the right brush and a steady sequence, then roll while the cut-in edges are still wet to blend and feather.
Finish with a timely second coat and targeted touch-ups, cutting in again where needed for perfect coverage.
Step 1 Preparation (cleaning, priming, taping)
When you’re about to paint, proper preparation makes the difference between a smooth, professional-looking finish and a messy one.
So start by cleaning surfaces, repairing flaws, applying primer where needed, and taping edges precisely.
Follow these steps to set yourself up for success:
- Clean walls, remove dust, grease, and loose paint.
- Patch holes and sand smooth.
- Prime stains, bare drywall, and trim before painting.
Step 2 Cutting in (technique, brush selection, working sequence)
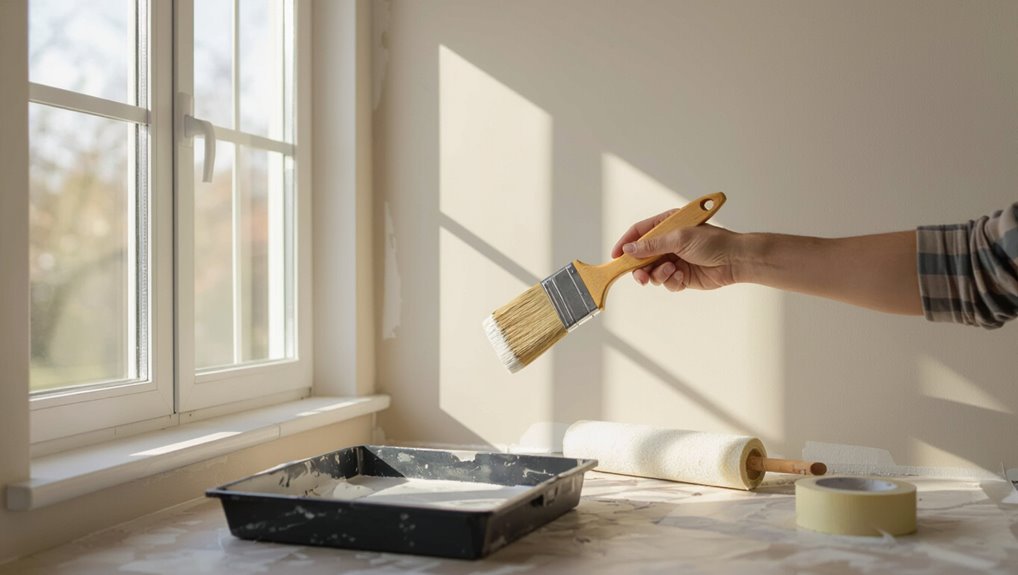
With surfaces cleaned, patched, and primed, it’s time to cut in—the precise brushwork that frames the room and makes rolling faster and neater.
You’ll choose a 2–2.5″ angled sash brush, load it lightly, and work top-down in steady strokes, keeping a wet edge to avoid lap marks.
- Brush choice: angled, synthetic
- Technique: light load, steady pull
- Sequence: corners, edges, trim
Step 3 Rolling after cutting in (timing, feathering edges)
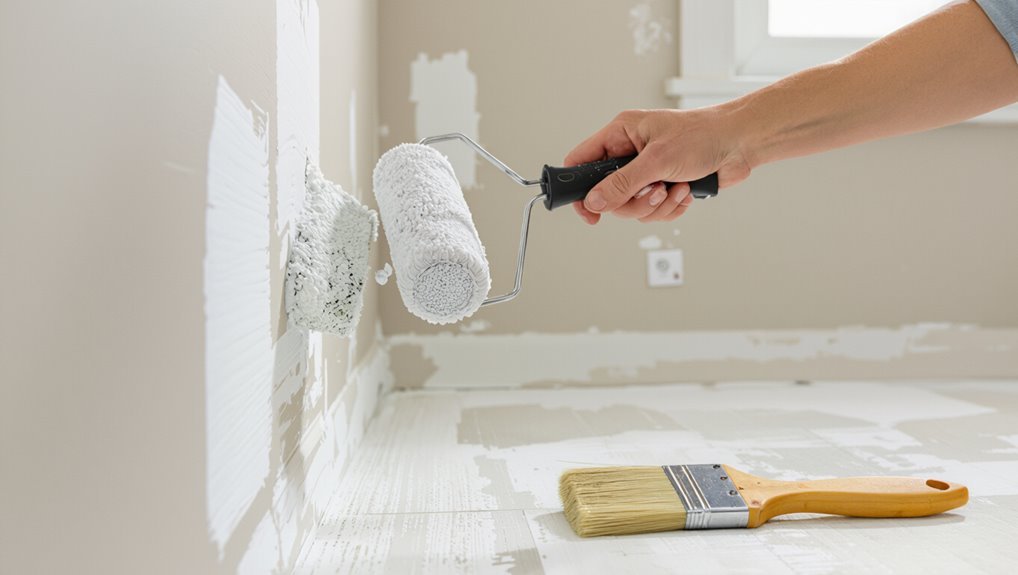
Start rolling as soon as your cut-in lines are still tacky so the new paint blends seamlessly into the brushed edges; that timing keeps lap marks from forming and makes feathering easier.
- Load the roller evenly, press lightly, and roll out from the cut-in toward the center.
- Use overlapping strokes to soften the brush edge.
- Keep a wet edge and match pressure for uniform texture.
Step 4 Second coat and touch-ups (when to cut in again)
If your first coat went on smoothly and dried to the touch, plan your second coat so you cut in again just before rolling and while the edges are still tacky; that keeps the seams seamless and the finish even.
For touch-ups, wait until the second coat cures enough to reveal flaws, then lightly sand glossy spots, re-cut in small areas, and blend with a feathered roll for uniform coverage.
Alternative Approach: Roll First, Cut In After
If you’re working with spray finishes or fast-drying paints, rolling the main field first can be faster and help blend textures.
You’ll need a steady hand when you cut in afterward to avoid lifting fresh roller paint, so use a good angled brush and work in small sections.
Watch for lap marks and edge buildup by keeping a wet edge and matching paint sheen.
When roll-first is preferable (spray finishes, fast-drying paints)
When you’re working with spray finishes or very fast-drying paints, rolling the wall before cutting in can save time and prevent lap marks; the roller lays down an even base quickly, letting the trim work follow while the paint is still tacky enough to blend.
You’ll finish broad coverage fast, then cut sharp edges while the surface remains workable, minimizing visible seams and rework.
Technique differences and pitfalls to avoid
Because you’re laying broad coverage before you tackle edges, rolling first then cutting in changes how you control paint consistency, drying times, and edge crispness—so you need to adjust your technique to avoid common pitfalls like overworking tacky paint, mismatched sheen, and drips at trim lines.
Work fast on wet edges, use moderate-loaded brushes, feather your cut-ins, keep a wet edge, and inspect sheen before final strokes.
Tools, Materials, and Paint Types That Influence Order
Your choice of tools and materials can change whether you cut in or roll first.
Use a high-quality angled brush for crisp edges, pick a roller nap that matches your wall texture and an extension pole for reach, and consider paint type—latex dries faster and cleans up with water while oil-based or low-VOC formulations behave differently.
Knowing these factors will help you plan the most efficient order for a clean finish.
Best brushes and angled brush tips for cutting in
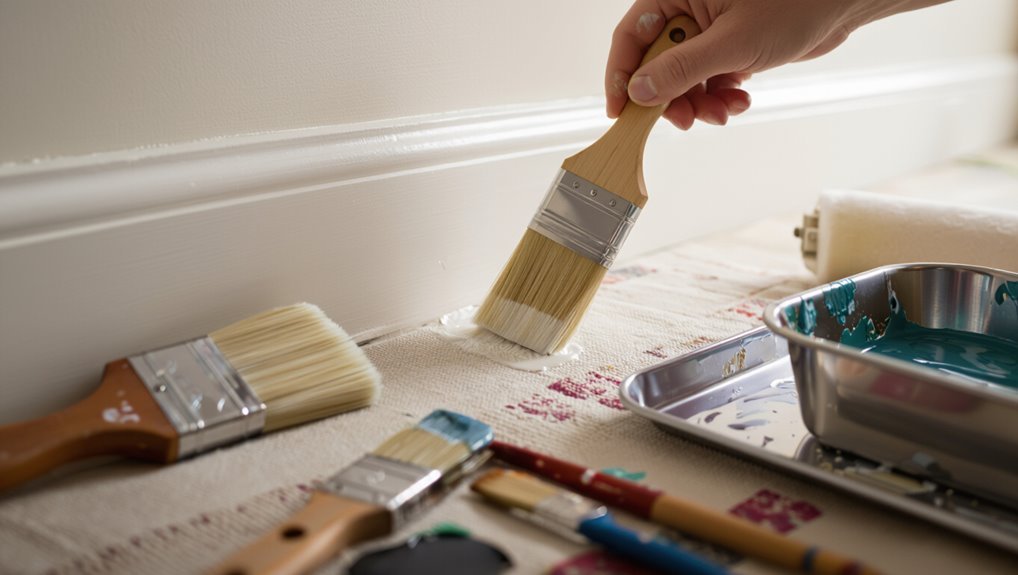
A sharp, angled sash brush makes cutting in faster and neater, so pick one with firm synthetic bristles and a 2–2.5 inch width for most interior walls.
- Use a 2–2.5″ angled tip for control near trim and corners.
- Choose synthetic bristles for latex; they hold shape and clean easily.
- Pick a comfortable handle and ferrule that resists corrosion for steady strokes.
Rollers, nap length, and extension poles
One or two well-chosen rollers can make the biggest difference in speed and finish: pick the right nap for your wall texture and use an extension pole to keep strokes even and reduce fatigue.
Use shorter naps (3/16″–3/8″) on smooth walls, medium naps (1/2″) for lightly textured surfaces, and longer naps (3/4″–1″) for pronounced texture.
Keep rollers clean and replace when worn.
Paint types (latex vs. oil-based, low VOC) and drying behavior
Because different paints dry and behave so differently, the type you choose—latex, oil-based, or low-VOC formulations—will shape the order and timing of your work, so plan accordingly. You’ll prefer latex for quick recoat, oil for smooth edges but longer cure, and low‑VOC for ventilation limits. Match edging before rollers when drying times differ.
| Paint | Drying |
|---|---|
| Latex | Fast |
| Oil | Slow |
| Low‑VOC | Variable |
Common Mistakes When Painting Edges and How to Avoid Them
When you paint edges, common mistakes like overloading the brush or working too far ahead can leave visible brush and lap marks.
Skipping proper priming or taping often causes bleeding and uneven edges, but simple fixes—light sanding, a steady glazing technique, or re-taping and repainting—can correct them.
We’ll walk through how to prevent and repair each of these problems so your edges look clean.
Overloading brush and visible brush marks
Avoid overloading your brush — it’s the fastest way to get thick, drippy edges and obvious brush marks that ruin a clean finish.
Dip lightly, tap off excess, and use smooth, controlled strokes. Work in short sections, feathering the paint outward to blend.
Clean and reshape the brush often; a well-loaded, well-maintained brush gives even coverage and minimal texture.
Working too far ahead or leaving visible lap marks
If you paint too far ahead of the area you’ve already covered, you’ll end up with noticeable lap marks where wet and semi-dry paint meet; keep your work within a wet edge so each stroke blends smoothly into the next.
Work in manageable sections, reload brushes or rollers often, feather overlaps, and match drying times by maintaining consistent pressure and pace to avoid visible seams.
Skipping proper priming or taping
Because you want clean, sharp edges, don’t skip priming or taping—those steps seal the surface and give paint something consistent to adhere to, preventing bleed-through, uneven absorption, and peeling.
You’ll save time and frustration by priming bare drywall or glossy finishes and applying quality painter’s tape tightly along trim.
Remove tape at the right moment to preserve crisp lines.
How to fix common edge problems (bleeding, uneven edges)
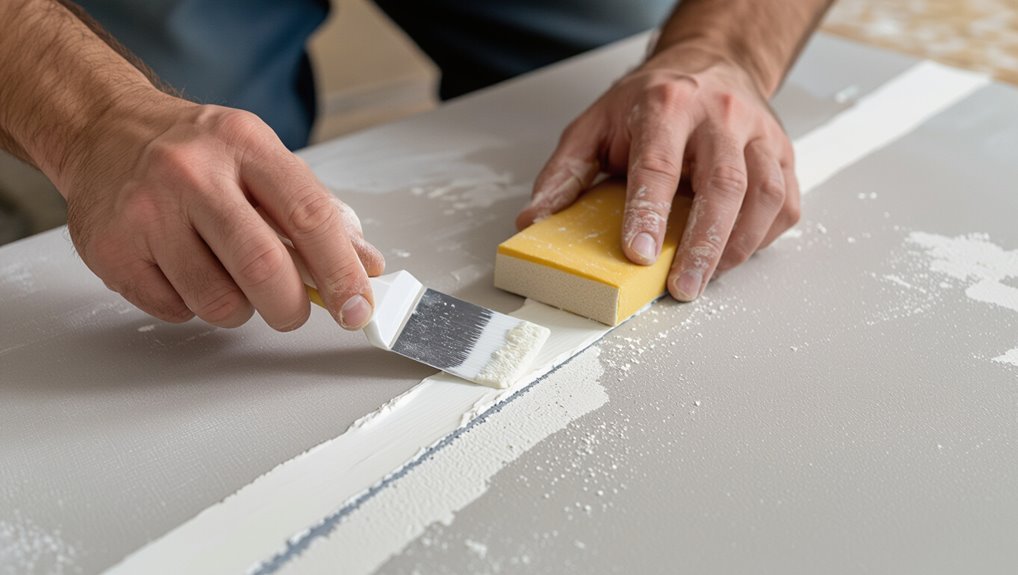
Trim and edge mistakes are fixable when you know the right techniques, so don’t panic—start by evaluating the problem: look for paint bleed, feathered edges, or rough buildup.
- Sand and wipe: smooth flaws, then clean dust.
- Re-tape and seal: use high-quality painter’s tape and a thin coat to seal seams.
- Cut in carefully: use a sharp brush, steady hand, and light pressure.
Time-Saving Strategies and Efficiency Tips
Plan your work by dividing the room into wall sections so you can move methodically and avoid backtracking.
Decide when to use painter’s tape versus freehand cutting, and consider a two-person workflow for larger rooms to speed up edging and rolling.
Use smart sequencing and quick touch-up techniques to minimize rework and keep the job tidy.
Planning your work sequence by wall sections
When you break the room into manageable wall sections before you start, you’ll move faster and make fewer mistakes; paint one section completely—cutting in, rolling, and touching up—before moving on to the next so edges and overlaps stay consistent and you avoid reworking wet paint.
Plan sequence by light source, high-traffic zones, and access points. Tackle vertical strips so drying order won’t cause smudges.
Using painter’s tape effectively vs. freehand cutting in
Wondering whether to tape the edges or cut them in freehand? You’ll save time with tape on straight, crisp trims and when changing colors; apply, seal edges, paint, then remove while wet.
Freehand works faster once you’ve practiced and for irregular trim or textured surfaces. Choose tape for perfection, freehand for speed—match method to your skill, tools, and room conditions.
Two-person workflow for larger rooms
If you’re tackling a larger room, working with a partner cuts the job time dramatically: one person handles cutting in along ceilings and corners while the other rolls the main wall panels, keeping a wet edge and steady pace so you’re not chasing drying paint.
Coordinate breaks, swap roles on ladders, and communicate drying times and primer spots so you maintain consistency and avoid missed sections.
Tips for minimizing touch-ups and rework
Start by planning so you don’t have to redo work later: inspect for dents and stains, sand and patch imperfections, and prime problem spots before you paint so each coat goes on smoothly and requires fewer touch-ups.
Use quality brushes and consistent mixing, work in small sections, feather edges, maintain wet edges, and clean spills immediately.
Inspect in good light and fix minor flaws between coats.
Case Examples When to Paint Edges First vs. Other Orders
In tight rooms with lots of trim and angles you’ll usually want to paint the edges first to avoid awkward brushwork later.
For large open walls or commercial spaces, starting with rollers on broad areas can be faster and still let you cut in afterward.
Ceilings, very high walls, and textured surfaces need special considerations—like working from top down or using extension tools—so plan your order accordingly.
Small rooms with trim and multiple angles (recommended order)
When you’re working in a small room with lots of trim and odd angles, paint the edges first so you can cut in precisely without bumping a ladder into wet walls or drips ruining crisp lines.
Start by masking trim, ceiling junctions, and corners, then cut in with a steady brush.
Roll panels afterward, working from dry edges toward the center for neat overlap.
Large open walls or commercial spaces (recommended order)
Small rooms with lots of trim demand careful edging, but large open walls or commercial spaces call for a different rhythm: you’ll usually roll broad areas first to cover surface quickly, then cut in edges to keep brushes and ladders from trampling wet paint.
Work methodically in sections, use long-handled rollers and extension poles, then cleanly trim perimeters for a uniform finish and faster progress.
Ceilings, high walls, and textured surfaces (special considerations)
Although high ceilings, tall walls, and textured surfaces make edging trickier, you can still choose the most efficient order by matching technique to the challenge: use extension poles and roller-first for ceilings, cut in from scaffolding for tall walls, and test brush, roller, or spray on textured surfaces.
Prioritize safety, control overspray, and blend edges while paint is wet to avoid lap marks.
Cost, Time, and Quality Trade-offs
Think about how the order you paint can cut or add labor time and material waste — painting edges first often means less masking and fewer touch-ups.
If you take extra time cutting in neatly, most people will see the wall as higher quality even if the overall paint job took longer.
We’ll weigh whether the visible payoff is worth the extra minutes and supplies.
How order impacts labor time and material waste
When you paint the edges first, you often cut down on touch-ups and avoid contaminating freshly rolled surfaces, which shortens overall labor time and reduces wasted paint.
Conversely, starting with broad areas can let you work faster with a roller but may increase edging work later.
You’ll balance speed and waste: choose edges-first to minimize rework, or roller-first to finish quickly but expect extra cleanup and possible extra supplies.
When spending more time cutting in improves perceived quality
If you spend extra time cutting in—carefully feathering edges, getting crisp lines at trim, and smoothing corners—you’ll often raise the perceived quality of the whole job more than the added minutes cost; customers notice clean shifts and tight seams even if the roller work was competent.
Those small details can make a paint job look professional rather than DIY. You’ll justify slower edge work with fewer touch-ups, happier clients, and stronger referrals.
FAQ
You probably have practical questions like whether you can roll the whole wall then cut in without visible lines, or if taping trim is better before or after the first coat.
You’ll also want to know how long to wait between cutting in and rolling, whether edges-first makes touch-ups harder, and if exterior walls need a different approach.
Read on for clear, concise answers to each point.
Can I roll the whole wall and then cut in later without visible lines?
Curious whether you can roll the whole wall and cut in afterward without leaving visible lines? You can, but timing and technique matter.
Work while paint’s wet, maintain a wet edge, and blend new brush strokes into rolled areas. Use matching sheen and consistent pressure.
If paint skins over, you’ll see lap marks—so plan small sections and finish edges promptly to avoid visible lines.
Should I tape trim before cutting in or after the first coat?
After cutting in a fresh, wet edge, decide about taping trim based on how confident you’re with your brushwork and how fast the paint dries.
If you’re steady, skip tape and cut neatly to save time. If edges worry you or trim is delicate, tape before cutting in to protect it.
Remove tape carefully after paint skins to avoid peeling.
How long should I wait between cutting in and rolling?
If the cut-in paint is still wet or tacky when you roll, you’ll risk dragging edges and creating lap marks.
So wait until the brush line has lost its sheen and feels just barely dry to the touch—typically 10–30 minutes for latex in normal conditions.
Humidity, temperature, and paint brand affect drying; test by light touch.
Roll adjacent sections while keeping a wet edge for seamless blending.
Will painting edges first make touch-ups harder?
Once you’ve let your cut-in dry to the touch, you might wonder whether starting with the edges will make future touch-ups harder.
It won’t if you match sheen and color, feather brush strokes into surrounding paint, and blend edges with a light roller pass.
Keep spare paint labeled and stored; touch-ups will be easy when you replicate the original finish and technique.
Is there a difference in approach for exterior walls?
While the basic cut-in and rolling sequence still applies, exterior painting demands extra prep and weather awareness—surface cleaning, caulking gaps, priming bare spots, and choosing exterior-grade paint and caulk are essential.
You’ll also time work for dry, mild days, use rust- and mildew-resistant products, and protect trim.
Roll large areas quickly to maintain wet edges and prevent lap marks.
Final Recommendations Decision Flowchart for Choosing the Order
Use this quick checklist to help you decide whether to paint the edges first or tackle the main panels.
Ask if precision edges, time constraints, or paint type make cutting in before rolling necessary.
Follow the answers to pick the order that saves time and gives the cleanest finish.
Quick checklist to decide: paint edges first or not

Not sure whether to cut in the edges first or roll the field ahead? Use this quick checklist to decide fast.
- Surface condition: patchy or textured walls—cut in first for control.
- Paint type: high-sheen or contrasting trim—cut in first to avoid overlap.
- Time and skill: limited time or shaky hand—roll field, then touch up edges.
