
How to Change Paint Color on a Wall Without Endless Coats
To change paint color without endless extra coats, start with thorough cleaning, so new paint bonds well. Patch holes, sand rough or glossy spots, and let everything dry. Test your color in a small area. Use the right primer—stain-blocking for marks and a full prime/finish strategy for sheen or dark-to-light shifts. Then apply thin, even coats using a “W” roll pattern and keep a wet edge to prevent laps. Spot-prime holidays and fix roller marks early. Continue to refine your technique to get a perfect finish.
Prevent Extra Coats When Switching Colors
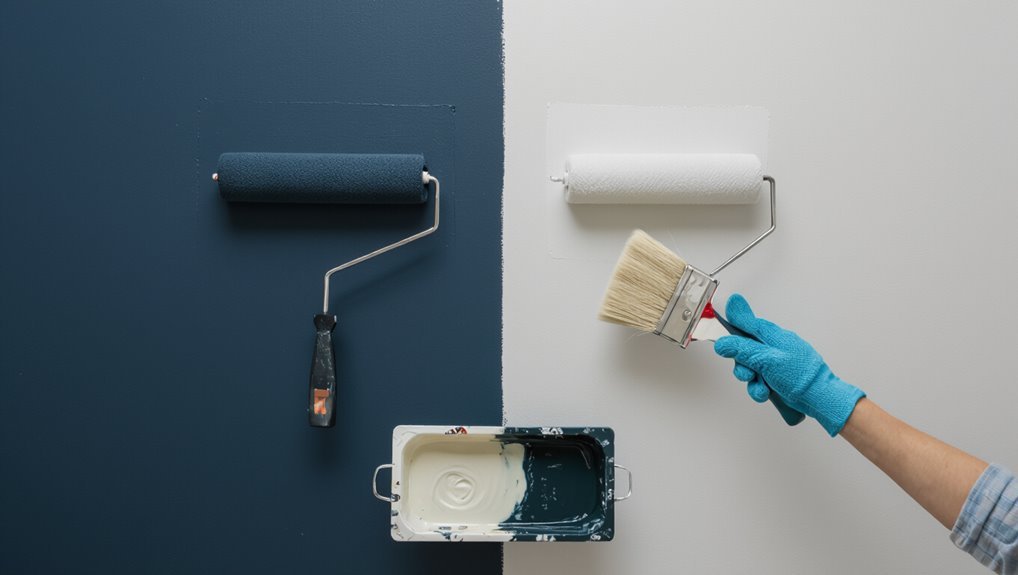
Before you switch colors, plan your coverage so you don’t end up chasing thin spots with extra coats.
You start by matching your new shade to your wall’s current tone using simple color theory, since light-to-dark and dark-to-light need different strategies.
Next, you choose the right paint types for your surface: primer plus finish when covering stains, and two full coats when changing sheen or hiding strong pigments.
Choose the right paint: use primer plus finish for stains, and two full coats to match sheen or conceal strong pigments.
You test a small patch to confirm coverage, then you stir thoroughly and apply at the correct thickness.
When you keep a consistent wet edge, you avoid thin laps.
Clean Walls So New Paint Bonds Tightly
Once you’ve planned your color shift and confirmed the right paint system, clean the wall so the new coat bonds firmly instead of peeling or flashing through.
You need solid surface preparation: remove dust, grease, and residue using effective cleaning techniques. Work from top to bottom, rinse with clean water if the cleaner requires it, and let everything dry fully before painting. A quick wipe with a damp cloth often misses grime embedded in texture.
- Degrease kitchen or handprint areas thoroughly
- Vacuum and dust seams and trim
- Use mild detergent, not harsh solvents
- Rinse, then dry completely
- Prime only if residue can’t be removed
Patch Holes and Smooth Uneven Spots First
Patch holes, dents, and other uneven spots before you roll on new paint. Start by scraping loose paint, then vacuum dust.
For small pinholes, apply spackle or lightweight filler; for deeper damage, use proper hole repair compound in thin layers. Let each layer dry fully, then sand smooth with fine-grit paper until the wall feels even to the touch.
Wipe away sanding residue and check under a light at an angle. Do surface preparation now, not later, so your new color applies evenly and you don’t chase flaws with extra coats.
Block Stains and Dark Colors With the Right Primer
Next, you need to block stains and dark colors so they don’t bleed through your new paint. Start by cleaning the wall and letting it dry, then choose the right primer types for your situation.
Use a stain-blocking primer for water marks, smoke, or tannin bleed; for glossy patches, scuff-sand so primer grip is stronger. Apply one even coat, covering edges and repairs, and don’t rush drying time before painting.
- Seal chalky spots to prevent dust from lifting
- Spot-prime problem areas before rolling broader coverage
- Match primer to stain type, not just the finish
- Vent the room for faster, safer cure
- Recoat primer only if it’s thin or missed spots show
Choose Paint for Even Coverage on Your Surface
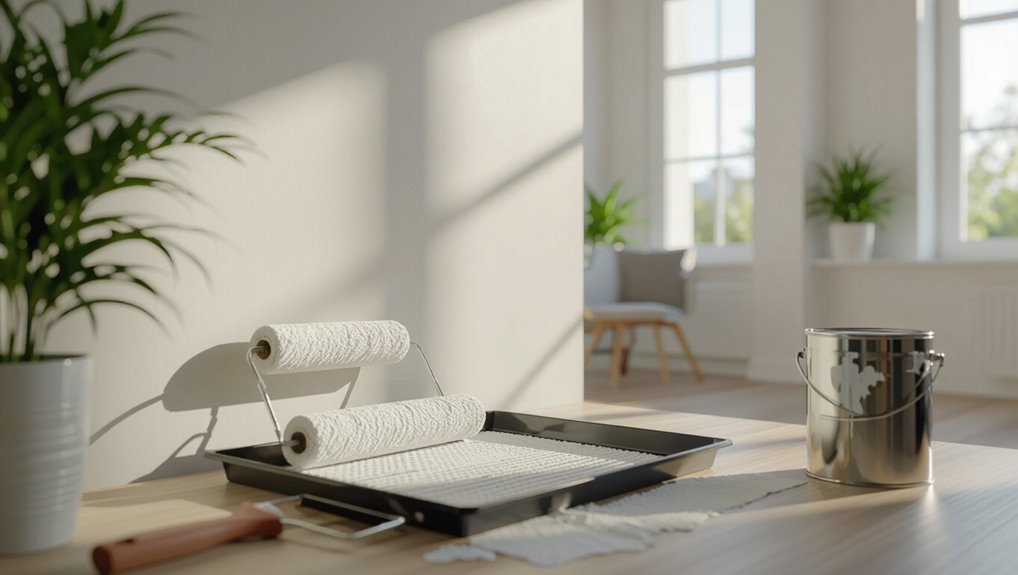
Choose your paint with even coverage in mind so your new color doesn’t streak or require endless coats.
In your color selection, pick a paint formulated for the sheen and room traffic you have, since viscosity and solids affect how smoothly it lays down.
Don’t assume all whites cover the same—check opacity for your existing wall color.
Pair your paint with proper surface preparation: clean, sand glossy spots, and fill holes so the finish bonds evenly.
Use the recommended roller nap and apply in manageable sections with consistent pressure.
This combination helps you achieve uniform color fast.
Estimate Paint Coverage From Label + Wall Size
Once you’ve selected a paint that will lay down evenly, you can estimate how much you need by combining the label’s coverage rate with your wall measurements.
Measure your wall dimensions, multiply length by height to get total surface area, then divide by the label’s paint coverage per gallon or quart. Always account for openings you won’t paint, and remember two coats usually require doubling your estimated amount.
- Use accurate wall dimensions, including only paintable surfaces
- Convert label coverage to match your unit size
- Add 10–15% extra for touch-ups and roller loading
- Adjust for texture and sheen differences
- Plan can sizes to minimize leftovers
Cut in Edges Cleanly Without Visible Flash
To keep your cut-in lines sharp and professional, tape along the edge and press it down firmly before you paint.
When you reach the boundary, feather the paint at the edge so the new color blends smoothly instead of creating a hard seam.
Work in thin coats and touch up any missed spots right away to prevent visible flash.
Tape For Sharp, Clean Lines
Getting sharp, clean cut lines starts with taping correctly: press painter’s tape down firmly along your pencil marks, then run a plastic putty knife or your fingertip over the edge to seal it so paint can’t sneak underneath.
Choose the right tape types, then nail tape application before you open the paint. Keep the tape straight, apply it to a dry, dust-free surface, and burnish seams lightly; this prevents visible flash and gives crisp borders.
- Press edges with a putty knife, not fingers only
- Remove tape at the right moment (slightly tacky)
- Use thicker tape for textured walls
- Replace tape if it lifts or stretches
- Clean drips before they set
Feather Edges For Seamless Blend
After you’ve sealed the tape edge, feather the paint into the cut line so you don’t get a hard stop or visible flash.
Use a light touch and a brush or small roller: load less paint than for the center area, then pull strokes outward across the boundary. This feather technique spreads wet edges so blending colors stays uniform, even where colors meet.
Work in short sections, keeping a wet edge ahead of your cut-in. Once the first coat tacks, remove tape and immediately “soften” the outer edge with barely-damp strokes.
If you see ridges, skim lightly and let dry.
Roll Smart for Full Coverage on the First Pass
Roll smart for full coverage on the first pass by loading your roller evenly and applying steady, light pressure.
You’ll use roller techniques that prevent bare stripes and show true coverage tips from corner to corner. Keep a “W” pattern, then smooth it out, overlapping each pass by about half the roller width.
Don’t overload—drips mean uneven drying. Work top to bottom so you catch wet edges consistently.
- Even nap saturation beats patchy spots
- Maintain consistent speed and pressure
- Overlap edges to lock in coverage
- Reload only when the roller lightens
- Keep a wet edge for smoother flow
Apply Thin, Consistent Coats to Prevent Patchiness
Once you’ve prepped and rolled confidently, apply thin, consistent coats so the wall dries evenly and you avoid patchy spots.
Keep your coat thickness in check: if you overload the roller, you’ll get sagging and uneven drying; if you go too light, you’ll see flashing.
For smooth paint application, load the roller evenly, then roll in a steady W pattern, finishing with light, even passes.
Let each coat dry fully before the next. Resist touching up while it’s wet—blending only creates streaks.
Use consistent pressure every stroke.
Control Sheen and Undertones So Colors Match
To make your new wall color look like the swatch, you need to control sheen and undertones as you paint. Even great coverage can look off if light reflects differently.
Choose the same sheen level on every coat, then confirm the undertone matching before you start. Use color theory to guide your choices: warm grays need warm whites, cool blues can fight orange trims.
- Test a sample in the room’s light.
- Keep sheen consistent from base to finish.
- Stir paint often to prevent undertone drift.
- Match trim and primer undertones.
- Recheck after drying; undertones shift.
Know When to Sand, Recoat, or Switch Products
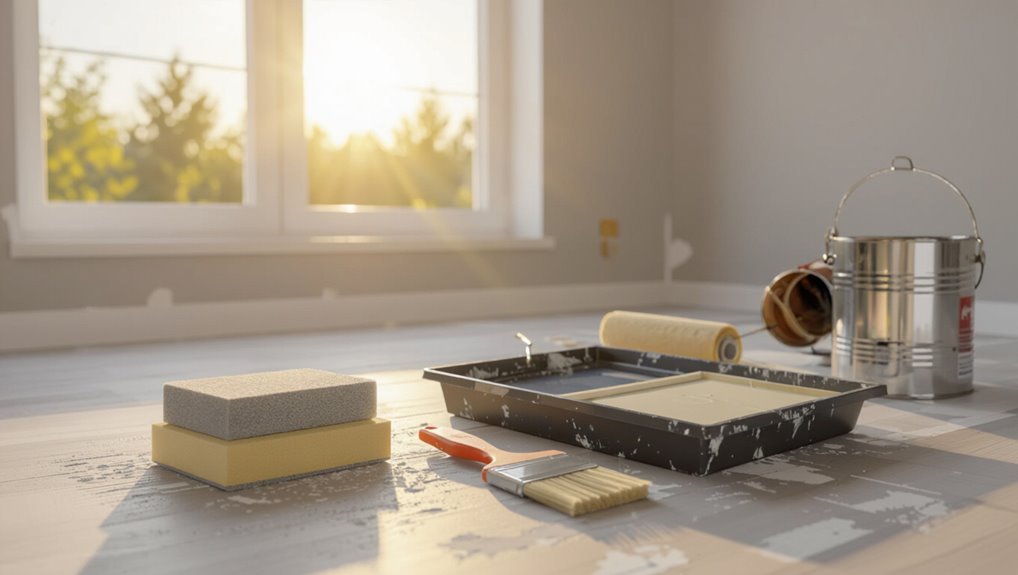
Before you reach for more paint, check the wall’s condition and how your last coat behaved—then decide whether you need sanding, a recoat, or a different product.
If the surface feels rough, flaky, or glossy in patches, you should sand first using feathering sanding techniques to blend edges.
Wipe dust, let it dry, then recoat only if the existing paint is sound and fully cured.
If you see peeling, staining, or bleeding, switch products—primer for adhesion or stain-blocking—and confirm product compatibility with your current paint type.
Skipping these steps causes adhesion failures and shadowing.
Fix Streaks, Holidays, and Roller Marks Fast
If you see streaks, let the wall dry fully and then recoat only the thin problem areas so the paint levels out.
For holidays and spots, spot-prime the affected spots first, then touch up with the correct color.
To eliminate roller marks fast, lightly re-roll in one direction once the paint’s set enough to avoid dragging.
Fix Streaks With Proper Drying
Once you finish cutting in and rolling, you can prevent streaks by managing drying—work in small sections and don’t let one area sit while you tackle another.
Keep moving methodically so edges stay wet just long enough to blend. Use proper ventilation to speed consistent evaporation, not uneven drying that leaves bands.
Watch drying time; if it skins over, you’ll drag color and create roller marks. If streaks appear, wait for tack-free cure, then lightly smooth with a clean, dull sandpad and re-roll in the same section.
- Maintain wet edges
- Match coat thickness
- Improve proper ventilation
- Respect drying time
- Avoid reworking skin-over paint
Remove Holidays With Spot Priming
Holidays—tiny pinholes or missed spots—show up fast, but you can fix them without repainting the whole wall by spot priming.
After your first coat dries, inspect under angled light and circle every holiday. Use a small brush or mini roller and apply primer only to the flaws, feathering edges so you don’t build a ridge.
Let it dry per label, then lightly smooth any raised spots with a fine sanding sponge.
Repeat only where needed, using your spot priming techniques and holiday removal strategies, then topcoat the wall once for an even finish.
Eliminate Roller Marks Quickly
Tackle roller marks fast by attacking the streaks while the paint is still curing. You’ll avoid digging in and building texture.
Lightly mist a clean roller with water or thinner per your paint selection, then roll back over the streaks using steady, overlapping roller techniques. Don’t press hard—let the nap skim.
Fix holidays by spot-rolling small sections, then feather edges with one smooth pass. If the area looks mottled, wait 10–15 minutes and repeat once; overworking makes ridges.
- Use the right roller nap
- Keep a wet edge
- Feather each pass
- Check lighting from the side
- Follow cure times exactly
Frequently Asked Questions
How Do I Tell if My Wall Needs Primer Before Repainting?
Check your wall condition before repainting: if it’s stained, glossy, dusty, or patched, it may need primer. Test paint adhesion by pressing tape; if it lifts, prime first, scuff-sand smooth areas, then repaint for better bonding.
What’s the Fastest Way to Remove Glossy Paint for Better Adhesion?
Seriously, you can make glossy paint quit fast: sand aggressively with a sanding sponge or liquid deglosser, then wipe dust clean and apply primer for adhesion improvement. You’ll feel “done” sooner—because you skipped endless guessing.
Can I Switch From Dark to Light Without Priming—Ever?
Yes, you can switch dark to light without primer only if the old surface is sound, uniformly glossy-free, and your light color matches closely; otherwise, you’ll need primer for coverage. Consider current color trends and compatible paint finishes.
How Long Should I Wait Between Coats to Avoid Lifting or Peeling?
Wait about 2–4 hours between coats for most wall paints, depending on drying time and humidity. Let the first coat cure fully—often overnight—before applying another to prevent paint lifting, bubbling, or peeling.
Why Does My New Paint Dry Lighter or Darker Than the Swatch?
Your new paint dries lighter or darker than the swatch because drying changes sheen and paint finish, lighting effects shift perceived tones, surface texture affects how light reflects, and color undertones intensify or mute as water evaporates.
Conclusion
Like a palette, your success depends on what you do before the brush touches down. Prep first—clean, patch, block, and prime—so the wall holds your new color like a promise, not a tease. Then choose the right paint, apply thin even coats, and match sheen and undertones. If you see streaks, holidays, or roller marks, fix them immediately. That way, you skip endless coats and step into a smooth finish.
