
How to Turn Gloss Paint Matte Without Stripping and Repainting
To turn gloss paint matte without stripping, first clean the surface well to remove wax and grease. Then scuff the shine lightly with 220–320 grit for “tooth,” not damage, and wipe off dust. Test a small hidden spot with a compatible matte topcoat. Apply thin, even coats, letting each cure fully. Finally, let it dry to a true cure before judging. If you’ve still got patches or re-glossing, keep going—there are fixes.
Turn Gloss Paint Matte Without Stripping Anything
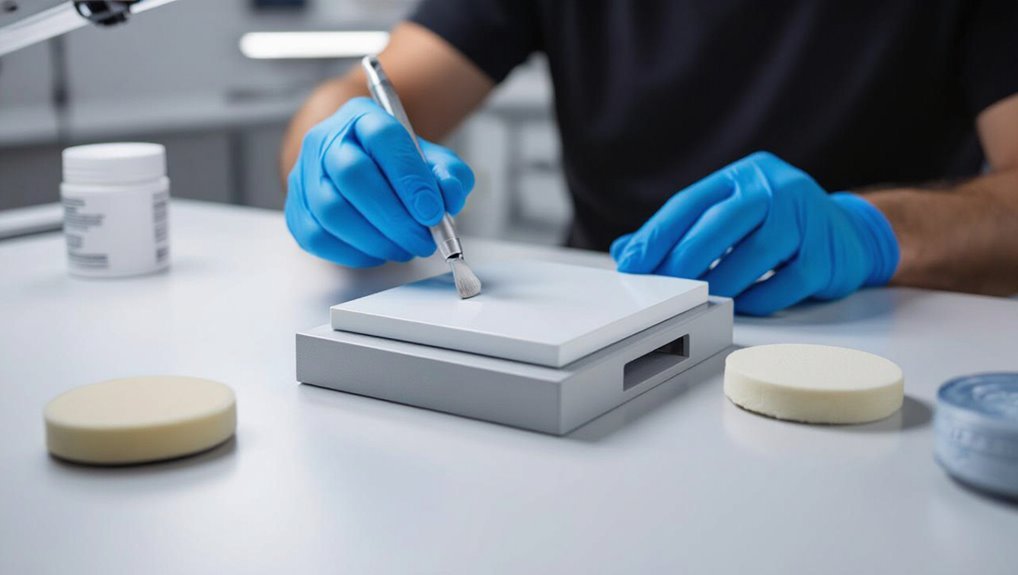
You can turn gloss paint matte without stripping anything by using a method that creates a dulling surface rather than removing the existing finish.
Lightly scuff the gloss with fine sandpaper or a sanding sponge, using even pressure so you don’t cut through to bare spots. Then wipe away dust with a tack cloth or damp microfiber, letting it dry completely.
Next, apply a matte glaze/clear topcoat labeled for gloss alternatives, or use a matte medium mixed into your top coat. Work in thin, overlapping coats, and cure fully for a uniform, touch-dry matte look.
Check Your Gloss Paint Type (Oil, Water, Lacquer)
First, identify what kind of gloss paint you have—oil-based, water-based (acrylic/latex), or lacquer—because each one dulls differently. Your gloss paint characteristics decide how it responds.
Look for clues: oil feels slower to dry and resists water; acrylic/latex usually cleans up with soap and water; lacquer often flashes off quickly and smells strongly.
- Oil-based: durable, flexible film—slow dulling requires compatible methods.
- Water-based: milder binder—dulls more readily with light abrasion.
- Lacquer: hard, fast-curing film—handle carefully to avoid blotches.
- Match paint type differences before you attempt matting.
Clean Gloss Surfaces: Remove Wax, Grease, Grime
Once you’ve confirmed the gloss paint type, focus on the surface instead of the finish: clean glossy areas thoroughly before you dull them.
Use proven cleaning techniques to strip wax, grease, and grime. Start by wiping with a dry microfiber to lift dust, then degrease with warm water and dish soap or a dedicated cleaner.
For stubborn spots, apply mineral spirits sparingly on a rag, not directly on the paint, and wipe off residue. Rinse with clean water, then dry completely.
This surface preparation prevents fisheyes, peeling, and patchiness when you later apply matte steps.
Scuff Gloss Lightly for Matte Coats to Stick
Scuff the gloss finish lightly so the matte coat can grip instead of sliding off.
Use gentle scuffing techniques: you’re dulling the shine, not cutting through the paint. After cleaning, let the surface dry completely, then wipe away dust so matte adhesion stays strong.
Use gentle scuffing to dull the shine, then dry fully and tack-wipe dust so your matte coat bonds securely.
- Use a fine sanding sponge (220–320 grit) with light pressure.
- Follow the grain in small, even strokes.
- Stop when the gloss turns hazy and feels slightly rough.
- Vacuum and tack-wipe the dust before coating.
Now your matte coat bonds securely.
Test One Small Area: Confirm Coverage and Sheen
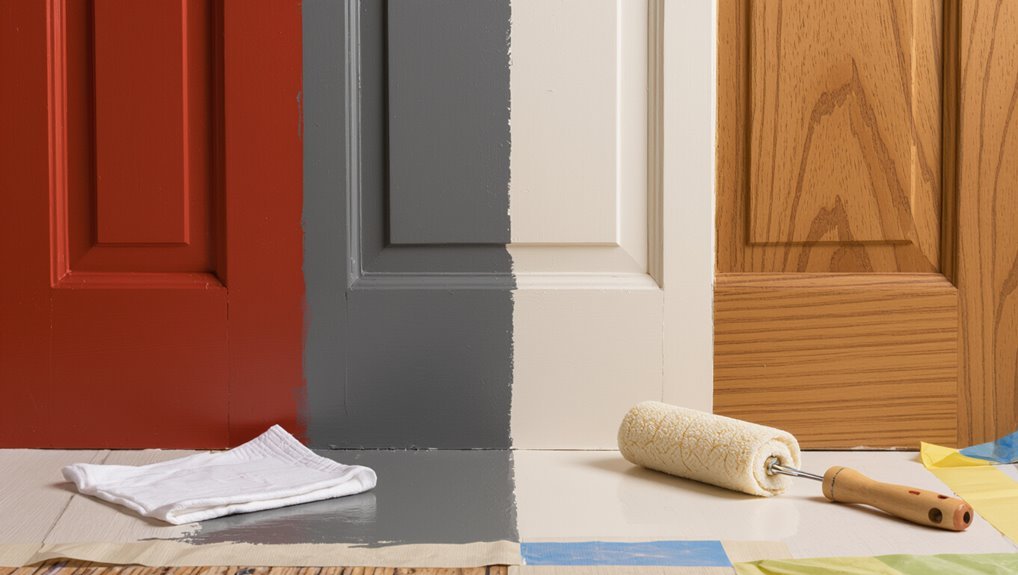
After you scuff and prep the gloss, test one small, hidden spot before committing to the whole surface. Choose an area behind furniture or under an edge, then apply your matte paint or topcoat exactly as you plan to do later.
Let it dry fully, following the label, and then inspect the finish in bright and low light. You’re checking for even coverage, correct matte sheen, and smooth leveling.
Next, gently rub the area and watch for softening, lifting, or tackiness. That helps you assess adhesion and confirms your test surface is ready.
Pick a Compatible Matte Topcoat for Gloss Paint
Pick a matte topcoat with the sheen level you want so the finish looks uniformly dull, not patchy.
Before you commit, confirm solvent compatibility with your gloss paint—test it on a small hidden area first.
If the topcoat softens or wrinkles the gloss, switch products or you’ll ruin the sheen you’re trying to kill.
Choose Matte Topcoat Sheen
Once your gloss paint cures, you can switch it to a matte finish by applying a compatible matte topcoat designed for that paint type.
Choose a sheen level that matches your goal: true matte for strong matte finish benefits, or soft matte if you want less flatness. Use the right formulation so your topcoat application doesn’t reactivate gloss.
For best results, pick sprays or brush-on mediums meant for your base (oil, enamel, or acrylic) and check the finish description.
Then follow these cues:
- Test on scrap
- Apply thin, even coats
- Let each coat flash fully
- Avoid heavy buildup
Confirm Solvent Compatibility First
Before you commit to a matte finish, confirm the solvent compatibility between your gloss paint and the matte topcoat you plan to use—wrong chemistry can soften, wrinkle, or dull the surface.
Check the label for solvent types: water-based, lacquer, enamel, or urethane.
Then do compatibility testing on an inconspicuous spot: apply the topcoat, wait for cure, and inspect for lifting, hazing, or texture changes.
If it reacts, switch to a matte topcoat designed for your specific binder, or choose an intercoat primer made for that system.
Don’t skip this step.
Use Matte Flattening Additive (When It Helps)
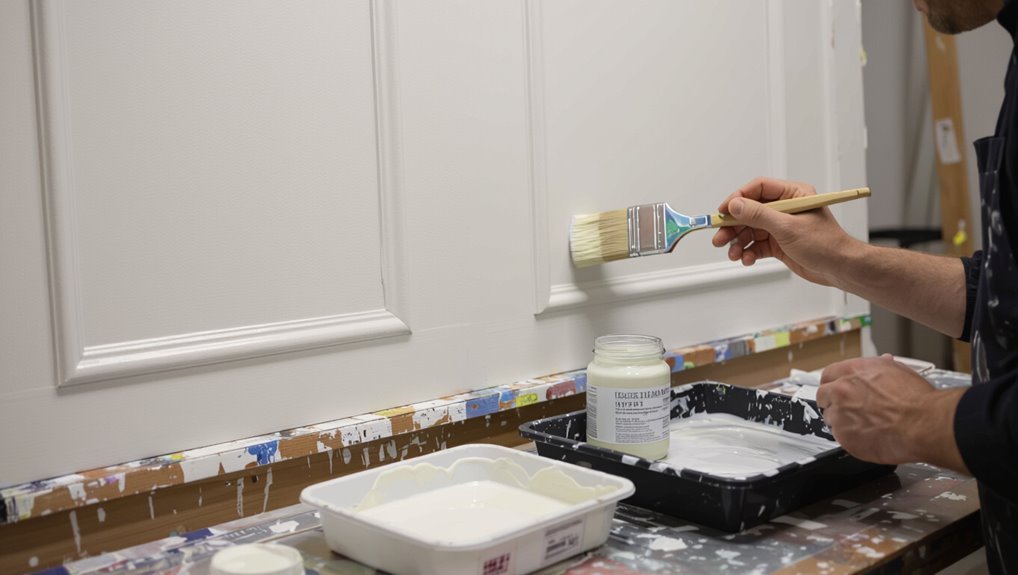
Matte flattening additives help most when you need to knock down gloss without changing your color much, especially for small areas, touch-ups, or final coats where a uniform sheen matters.
Matte flattening additives reduce gloss with minimal color change—ideal for small touch-ups or final coats needing a uniform, consistent sheen.
You’ll get matte additive benefits when you blend carefully instead of stripping. Use application techniques like mixing a test batch, starting small, and stirring until fully uniform.
- Choose a compatible additive for your paint system.
- Mix on a scrap surface first; stop when gloss drops.
- Blend feathered edges so texture stays smooth.
- Keep coats light to protect durability and avoid haze.
Apply Matte Coats Evenly to Avoid Patchiness
Prep your surface so you get an even sheen. Then apply matte coats in thin, consistent layers to prevent dull spots and streaks.
Keep your strokes uniform and don’t overload the brush or roller. Let each coat dry fully before adding the next so the finish stays smooth and patch-free.
Prep Surface For Even Sheen
After you’ve sanded and cleaned the gloss, apply the first matte coat in thin, even passes, keeping a steady distance and overlapping strokes slightly.
Before you spray again, focus on surface preparation so you get an even sheen. Wipe away dust with a tack cloth, then re-check edges, corners, and shiny hotspots.
Lightly scuff any missed gloss with fine sandpaper, then clean again so oils and residue don’t cause flashes.
- Dust-free wipe-down
- Uniform scuffing
- Tight corner attention
- Spot-check sheen by eye
Use Thin Coats Consistently
Spray (or brush) your matte coat in thin, even layers so the surface dries uniformly. Use a thin application and work in smooth passes, keeping your sprayer distance or brush pressure consistent.
Overlap each stroke slightly, and avoid pooling at edges, corners, or trim. If you see a glossy streak, don’t go back to scrub it off—apply another light coat right over it.
Maintain consistent layering by letting each layer cover fully before adding the next. Move steadily, keep a wet edge, and stop backtracking to prevent patchy sheen.
Allow Full Drying Time
Once you’ve applied your matte coats evenly, let the paint dry fully before you judge the finish or add another layer. Rushing creates sheen spots and patchiness.
Use steady drying techniques: keep airflow gentle, avoid touching, and follow the label’s cure time, not just surface dryness.
Check drying conditions—temperature, humidity, and direct sun—so the coating sets uniformly.
If you need another coat, wait until it feels firm and matte across the whole area, then apply evenly with the same method to blend edges.
- Control airflow gently
- Keep temp stable
- Minimize humidity swings
- Wait for true cure
Let Each Coat Dry and Cure for True Flatness
Let every coat of gloss paint dry completely, then give it the extra time to cure before you apply the next layer if you want a truly flat finish. Your drying techniques matter, but the curing process matters more: cure time locks in the matte texture so it won’t gloss back up after sanding or handling.
| Don’t rush | Do this |
|---|---|
| Apply early | Wait for complete dry |
| Miss curing | Extend curing time |
| Uneven finish | Recoat with steady timing |
| Persistent sheen | Let cure, then evaluate |
Avoid Over-Scuffing, Runs, and Dust Blemishes
To keep your finish truly matte, you need to protect each layer from over-scuffing, runs, and dust—because all three can create shine or visible texture that sanding can’t fully fix.
Use over scuffing prevention by handling only fully cured coats and sanding lightly with a gray pad, never pressing hard.
Keep dust control tight: wipe with a tack cloth, cover nearby surfaces, and avoid fans that blow grit.
When spraying, move at a steady speed and stop before puddles form. Let each pass flash-dry.
- Lightly scuff, don’t grind.
- Clean tack cloth use.
- Control spray distance.
- Wait between passes.
Fix Uneven Texture With Spot Re-Topcoating
Spot re-topcoat only the uneven areas, and make sure you match the gloss level spot-to-spot.
Apply thin coats and feather the edges outward before the paint starts to set so the surface blends smoothly.
Then let it dry fully before you judge the finish.
Match Gloss Level Spot-To-Spot
Before you recoat anything, you need to match the gloss level exactly where the gloss paint already shows uneven sheen.
Do spot-to-spot sheen matching tips by comparing reflected light while moving your head, then choose the thinnest compatible topcoat.
Use gloss blending techniques: lightly scuff only the glossy islands, clean dust, and apply a small test patch.
Let it cure fully, then adjust coverage until the sheen blends with surrounding areas—no halo.
- Spot-check under side light
- Use controlled, thin applications
- Confirm after cure time
- Re-test until blends vanish
Feather Edges Before Drying
Once you notice ridges or a gritty “edge” in the gloss as it starts to set, you can fix it fast by feathering while it’s still workable.
Lightly mist the area or use a clean brush loaded with a tiny amount of matte-matching paint. Then apply your feathering techniques: blend from the center outward with short, overlapping strokes, keeping the edges thin.
If you wait too long, you’ll trap texture and get a hard halo. Watch drying times—let it tack before re-checking.
Repeat spot re-topcoating only where needed. Finally, smooth with a soft sanding pad, then wipe clean.
Match Sheen Across Walls, Trim, and Cabinets
To match sheen across walls, trim, and cabinets, you need to treat gloss as a level you control, not a finish you “leave alone.”
To match sheen across walls, trim, and cabinets, treat gloss as a controlled level—don’t just “leave it alone.”
Start by identifying which surfaces currently look glossy and which already read matte, then test your topcoat in an out-of-sight area on each material. For color coordination, apply the same tinted base and keep your application pressure consistent.
Aim for sheen consistency by using identical roller/pad naps and back-brushing the same way.
- Spot-check with raking light
- Dry-cure between coats
- Control overlap lines
- Touch up only the reflective spots
Maintain Matte Finish and Stop Re-Glossing
Once you’ve dulled the gloss, you’ve got to protect that matte look—because shiny spots usually come back from even small mistakes.
To maintain the finish, keep cleaning gentle: use a soft microfiber cloth and mild soap, never wax or silicone cleaners.
Let walls fully cure before touching or scrubbing, since early contact can trigger uneven sheen.
Touch up tiny flaws with the same matte paint or a matte clear designed for re-coating, and blend edges with light feathering.
Follow these matte maintenance tips consistently to aid preventing gloss reappearance.
If you notice gloss returning, stop and spot-treat fast before it spreads.
Frequently Asked Questions
Can I Matte-Finish Gloss Paint With Spray Paint Without Sanding?
Yes, you can, but without sanding you’ll get limited results. Lightly scuffing helps. Use a compatible matte clear coat spray, thin and even, for alternative finishes and subtle texture effects. Test a hidden spot; avoid buildup to prevent streaks and tackiness.
Will Vinegar or Alcohol Cleaning Affect Matte Topcoat Adhesion?
Yes—both vinegar and alcohol can reduce matte topcoat adhesion if they disrupt adhesive properties. You should focus on solid surface preparation: wipe off residue, let everything fully dry, and lightly scuff any glossy film to improve grip before applying your topcoat.
How Long Must I Wait for Cure Before Touching or Reinstalling Hardware?
Let the finish cure like a slow-set resin: wait 24 hours for careful touching, then 72 hours before hardware installation. If you press too soon, you risk soft marks, reduced cure time, and weakened adhesion around screw holes.
What’s the Best Way to Fix a Cloudy Matte Finish?
Fix a cloudy matte finish by first identifying cloudy finish causes: moisture, incompatible products, or poor drying. Let it cure fully, then sand lightly and buff; wipe clean with a tack cloth. If needed, apply a compatible matte topcoat.
Can I Matte-Finish Previously Painted Latex Enamel Without Repainting?
Yes—you can matte-finish latex enamel without repainting; it’ll feel like magic! Clean and degrease, lightly scuff, then apply a compatible clear matte topcoat or matte-finish spray, using matte finish techniques and paint texture options like microfine reducers.
Conclusion
Once you prep the glossy surface—clean it well, scuff it lightly, and spot-test—you can coax that shine into a true matte without the hassle of stripping and repainting. Treat the finish like a cake you gently frost: a small, controlled change makes a big difference. Keep coats even, avoid over-scuffing, and watch for dust or runs. With a little patience, your walls, trim, and cabinets will stay beautifully matte.
