How Long Does Drywall Take to Dry Before Painting
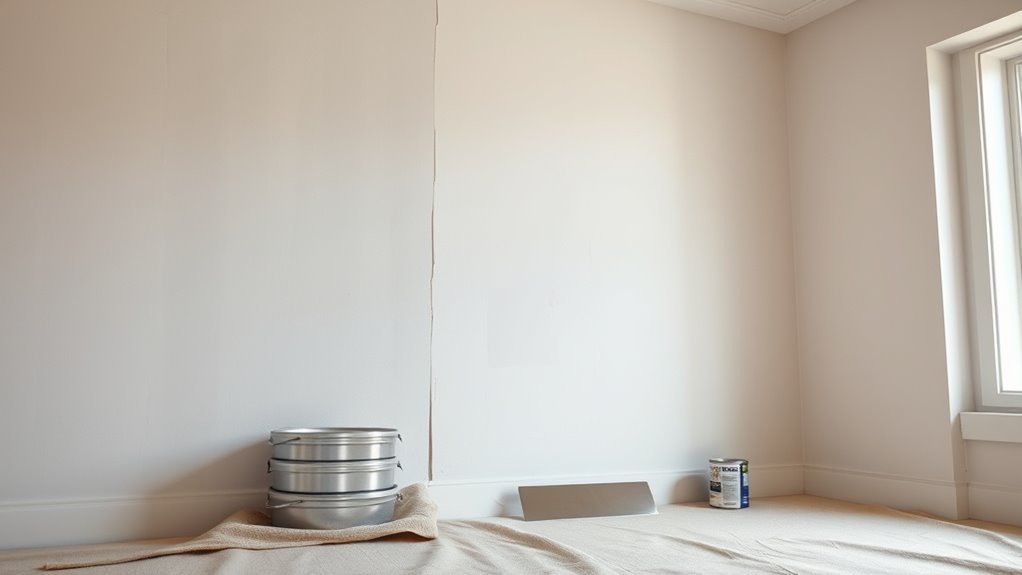
You should wait until drywall and joint compound are completely dry before priming or painting — usually 24–48 hours for new panels and thin coats, 24–72 hours for taped joints or skim coats, and several days for heavy or multiple layers. Keep temperature steady, use fans and a dehumidifier, and check for no dark spots, tackiness, or springy seams. Follow primer instructions and allow full cure; continue for tips on tests, speeding drying, and fixes.
Quick Answer: When Is Drywall Dry Enough to Paint?
Drywall’s ready for paint when it’s uniformly dry to the touch, shows no darker wet spots, and the joint compound has cured according to the product’s recommended time—typically 24–48 hours for thin coats and up to several days for thicker applications.
You’ll check walls in different light angles to confirm even dryness before applying primer. If you plan textured drywall or decorative finishes, wait until substrate and any taped seams are fully set to avoid trapping moisture.
Use consistent room temperature and ventilation to speed drying, and don’t paint until a moisture meter or firm touch confirms dryness across the entire surface.
Drywall Drying Times: New Panels, Taped Joints, and Skim Coats
When you install new drywall panels, they’ll usually feel dry to the touch within 24–48 hours but can retain internal moisture longer.
Taped joints rely on joint compound curing, which can take anywhere from 24 hours per coat for quick-setting products to several days for air-dry compounds.
Skim coats are the slowest to dry—thin coats may dry in a day or two, while thicker or multiple skim layers can need several days to a week before painting.
New Panel Dry Times
If you just installed new drywall panels, expect the boards themselves to feel dry to the touch within a day or two under normal conditions. With proper panel installation and moisture barriers, you’ll notice surface dryness quickly, though interior moisture may linger. You should control humidity, ventilate, and avoid sealing until panels equalize. Check seams and fasteners for damp spots before proceeding. Trust your senses and a moisture meter for certainty; rushing leads to peeling or mold. Below is a simple table to reflect your relief and patience.
| Hope | Reality |
|---|---|
| Relief | Vigilance |
| Excitement | Patience |
| Progress | Caution |
| Finish line | Inspection |
Joint Compound Cure
Once the panels feel dry to the touch, you’ll need to give the joint compound—tape mud and skim coats—the time they require to cure fully before sanding or painting. You should monitor the curing process rather than rush it; cured compound resists denting and sands cleanly.
Factors like humidity, temperature, and coat thickness change timing, so plan accordingly.
- Check firmness by pressing lightly
- Allow 24–72 hours for typical thin tape layers
- Thicker fills need several days
- Keep room warm and ventilated
- Avoid early sanding or priming
Follow these steps and you’ll avoid failures when finishing.
Skim Coat Drying
Although skim coats often look dry on the surface, you should treat them as curing jobs rather than quick-dry finishes: skim coats typically need 24–72 hours to dry enough for light sanding and priming.
While heavier or multiple passes can take several days, you’ll check thickness, ventilation, and temperature to predict drying.
Do surface preparation only when the skim coat’s moisture is low; use moisture meters to confirm internal dryness rather than relying on touch.
If readings are high, wait and improve airflow or heat.
Proper timing prevents bubbling, poor adhesion, and paint failure, so be patient and precise.
Drying Times by Coat Count and Joint-Compound Thickness
When you apply multiple coats or build up thick layers of joint compound, drying times increase predictably. You’ll judge readiness by feel, drywall texture uniformity, and moisture meters rather than guesswork. Follow coat-count guidelines and monitor each layer.
- Single thin coat: 12–24 hours typical
- Two coats (standard): 24–48 hours total
- Three coats or heavy fills: 48–72+ hours
- Thick skim or repairs over seams: allow extra cure time
- Sand and inspect between coats; use moisture meters for final check
Plan painting only when readings and texture look consistent, avoiding trapped moisture under paint.
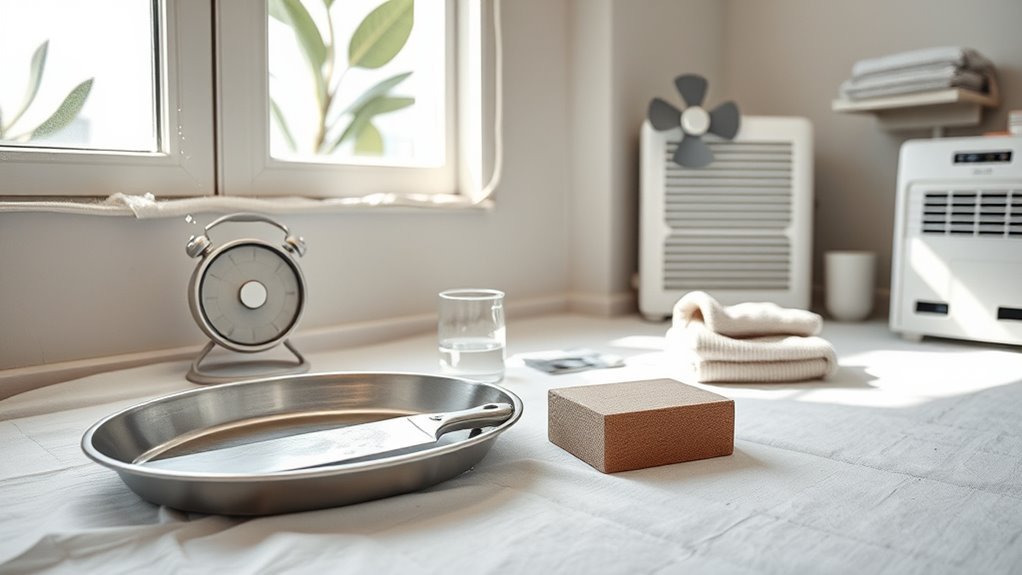
How Temperature, Humidity, and Ventilation Affect Drying

How do temperature, humidity, and ventilation change drywall drying? You’ll speed drying by keeping temperatures between 55–80°F and avoiding cold, damp conditions that trap moisture.
Keep drywall drying between 55–80°F; avoid cold, damp conditions that trap moisture for faster curing
High humidity slows evaporation; use dehumidifiers or open windows when humidity’s low to moderate.
Good airflow moves moisture away from joints, so position fans to create cross-ventilation without blowing directly on fresh compound.
Consider drying accelerators like heaters or dehumidifiers for faster turnaround, but monitor evenly to prevent cracking.
Check progress with moisture meters rather than guessing—measure panel and compound moisture to decide when to proceed.
Adjust environment gradually for consistent drying.
Signs Drywall Is Dry Enough to Paint: Visual and Tactile Checks
Before you grab a brush, make a quick visual and tactile inspection to confirm the drywall and joint compound are truly dry. You’ll rely on sight and touch before any Moisture measurement tool.
Look for uniform color and hard, powder-free joints; feel for coolness or dampness. During Drywall installation, these checks save time and rework.
- No dark spots on paper or compound
- Edges and seams feel firm, not springy
- Surface texture matches surrounding areas
- No peeling or soft spots when you press lightly
- No musty or damp odor
Trust what you see and feel before priming.
Simple Tests to Confirm Dryness Before Priming or Painting
If you want to be sure the drywall’s ready for primer, run a few simple tests that give quick, reliable answers without special equipment.
Press your fingertip lightly: no coolness or dampness should remain.
Use a clean paper towel and press against seams, corners, and near drywall insulation or moisture barriers; any darkening means more drying time.
Tap the surface—dry drywall sounds hollow and consistent.
For taped joints, gently scrape a tiny spot to check the inner compound; it should crumble slightly, not smear.
If all checks pass, you can proceed confidently to priming and painting.
Safe Ways to Speed Drying : What Works and What to Avoid
You can speed drywall drying safely by increasing air circulation with fans and opening windows to move moisture out.
Keep temperature steady and warm, but don’t blast heat or use unvented combustion heaters that can damage the gypsum or create hazards.
Avoid shortcuts like applying heat guns up close or painting damp surfaces, which cause bubbling and poor adhesion.
Increase Air Circulation
When you boost air circulation, wet drywall and joint compound dry faster and more evenly, so you’ll shorten wait times without risking damage. Use fans and open windows to move humid air out; pair this with a dehumidifier and monitor progress with moisture meters. Don’t aim airflow directly at fresh tape seams—gentle movement is better.
- Position box fans to exhaust toward an open window.
- Use oscillating fans for even room circulation.
- Run a dehumidifier on low for steady moisture removal.
- Keep doors ajar between rooms to balance airflow.
- Use approved drying accessories, like vented tubing for precise directional flow.
Control Temperature Carefully
Good airflow helps, but temperature plays a big role too—raising or lowering it incorrectly can speed drying or cause problems like cracking and poor adhesion.
You should keep room temperature steady between 55–75°F (13–24°C) and avoid sudden swings. Use a thermostat and slow, consistent heat; radiant heaters are gentler than blast heat.
Cold slows chemical cure, warm air speeds it but can cause shrinkage that ruins texture blending or creates gaps that complicate color matching.
Monitor humidity alongside temperature, and wait longer when conditions aren’t ideal. Controlled, patient drying preserves finish and reduces touch-up work.
Avoid Harmful Shortcuts
Although rushing a drywall job can be tempting, cutting corners often causes more work and expense down the line. You can speed drying safely if you follow solid DIY tips and safety precautions. Don’t use shortcuts that damage joints or trap moisture. Instead, try controlled methods and avoid heat guns or thin skim coats.
- Use fans for airflow, not direct high heat
- Keep temperature steady with a heater and monitor humidity
- Apply recommended coat thickness and dry times
- Sand lightly only when fully dry to avoid gouging
- Test a small patch before full paint application
What to Do If Drywall Stays Tacky, Bubbles, or Cracks
If your drywall stays tacky, bubbles, or cracks after joint compound or primer, don’t panic—these issues usually mean moisture, improper application, or poor surface prep.
First, stop work and let the area dry; use fans and dehumidifiers to clear trapped moisture, and check moisture barriers for leaks.
Stop work, let the drywall fully dry—use fans and dehumidifiers, and inspect moisture barriers for leaks.
Inspect bubbles and cracked compound, cut out compromised areas, reapply proper drywall finishing techniques in thin layers, sanding between coats.
Use correct joint compound mix and temperature.
If problems persist, evaluate substrate movement or water intrusion and repair those root causes before refinishing to prevent recurrence.
Primer and Paint Timing: When to Prime and Topcoat
When the joint compound is fully dry and smooth, you can move on to priming. Prime too soon and you’ll trap moisture, which can cause issues later. Prime too late and dust or stains can interfere with adhesion.
You should check dryness, sand lightly, and remove dust before priming. Use a quality primer to seal paper and ensure paint adhesion. Match the primer sheen to your topcoat if texture matching matters.
Wait the primer’s recommended dry time before topcoating. Follow these steps:
- Confirm full dryness of compound and surrounding drywall
- Sand and vacuum thoroughly
- Apply stain-blocking primer where needed
- Allow primer cure per label
- Topcoat with proper technique
Frequently Asked Questions
Can I Paint Over Moisture-Resistant (Greenboard) Drywall Sooner?
Yes — you can often paint greenboard sooner, but you should wait for proper greenboard curing; its moisture resistance helps, yet you’ll still guarantee surface dryness and primer compatibility so paint adheres and won’t trap residual moisture.
Does Drywall Mud Smell Indicate Incomplete Drying?
Yes — if your drywall mud smells musty, it usually signals incomplete drying; that drywall odor isn’t mysterious perfume. You’ll want to dry it longer or ventilate, or mold could join the party you didn’t invite.
How Does Radiant Floor Heating Affect Drywall Drying Times?
Radiant heating speeds drywall drying by raising surface temperatures and improving drying efficiency, so you’ll see faster moisture loss; just avoid high continuous heat that can cause cracking, and monitor dryness with a moisture meter.
Will Textured Finishes Require Longer Drying Before Painting?
Absolutely — textured finishes often need longer drying before painting; texture curing can be slower, so expect extended drying duration, especially with thick or multiple coats, humidity, or poor ventilation, or you’ll risk blotchy, uneven results.
Can I Use Dehumidifiers in New Construction Without Damaging Framing?
Yes — you can use dehumidifiers in new construction; they’ll help control moisture levels during drywall installation, prevent mold, and speed drying. Just monitor humidity, avoid extreme dryness, and maintain proper ventilation to protect framing.
Conclusion
Think of your drywall as a loaf of bread: if you slice into it too soon it’s doughy and won’t rise right, but wait until it’s properly baked and each slice holds shape. You’ll want to test, touch, and watch—temperature, humidity, and compound thickness are your oven settings. Let patience finish the bake, prime once it’s firm, then paint; rushing invites bubbles, cracks, and a project that didn’t fully rise.