
How to Mud a Wall Before Painting: Step-by-Step for a Flawless Finish
You’ll prep the wall, clean off dust or loose paper, and inspect for dents or nail pops, then tape seams and apply thin base coats of joint compound, feathering edges and letting each layer fully dry before sanding lightly between passes; use quick-set for holes and a finishing knife for a smooth skim coat, vacuum dust, spot-prime trouble spots, and wait the recommended dry times so paint adheres evenly—keep going to get detailed tips and common fixes.
Quick Mudding Overview: The Whole Process in Steps

Start by gathering your tools—mud (joint compound), knives, a hawk or mud pan, sanding block, and tape—so you won’t interrupt the flow once you begin.
You’ll inspect seams, apply tape, spread base coats, feather edges, sand between passes, and finish with a skim coat.
These mudding techniques and careful wall preparation help you move efficiently toward a smooth, paint-ready surface.
Why Mudding Matters for a Flawless Paint Finish
When you take the time to mud properly, you eliminate seams, nail pops, and surface irregularities that would otherwise telegraph through paint and ruin a smooth look; mudding creates a continuous, uniform substrate so your paint lays down evenly, hides imperfections, and requires fewer coats.
You’ll use proper mudding techniques to build smooth surfaces, improve paint adhesion, and cut sanding and rework.
Tools and Mudding Materials You Need
To get professional results, you’ll want the right tools: taping knives, a mud pan, sanding blocks, and a hawk or bucket for mixing.
You’ll also need to choose the proper joint compound—ready-mix for convenience, setting-type for fast cures, and lightweight formulas for easy sanding.
I’ll explain what each tool does and which compound suits common repair jobs.
Essential Mudding Tools
A handful of well-chosen tools makes mudding far faster and neater, so gather a 6- to 12-inch taping knife, a 10- or 12-inch finishing knife, a hawk or mud pan, a corner trowel, several mixing buckets, and a pole sander or sanding block before you begin. Use these for efficient mudding techniques and consistent drywall maintenance.
| Tool | Purpose |
|---|---|
| Taping knife | Embed tape |
| Finishing knife | Smooth coats |
Joint Compound Types
Choosing the right joint compound affects every step of your mudding job, so pick between all-purpose, topping, setting-type, and lightweight formulas based on drying time, shrinkage, and sanding ease.
Match compound choice to drywall types and project needs: use setting compound for deep fills, topping for finish coats, lightweight for easy sanding, and all-purpose for general work so you get cleaner seams.
Choose the Right Joint Compound
Although it’s tempting to grab the cheapest tub at the store, pick a joint compound that suits the job: lightweight all-purpose for easy sanding and small repairs, setting-type for fast, hard fills or wet areas, and joint compound formulated for topping if you need a smoother finish.
For joint compound selection, consider drying time, sandability, and compatibility with your application techniques to guarantee clean, efficient results.
Prepare the Wall: Clean, Remove Loose Paper, and Inspect
Before you start mudding, clean the wall thoroughly to remove dust, grease, and sanding residue so the compound will stick.
Peel away any loose wallpaper or paper backing and scrape off flaking paint.
Inspect for dents, cracks, or water damage and mark areas that need repair.
Clean Surface Thoroughly
Once you’ve cleared furniture and taped off trim, give the wall a thorough cleaning so mud will stick and imperfections are obvious.
Use proper cleaning techniques and check for surface damage before you mud. Clean, rinse, dry, then inspect closely.
- Wash with mild detergent
- Rinse with clean water
- Dry completely
- Inspect for dents and cracks
Remove Loose Paper
Now that the wall’s clean and dry, check for any loose or peeling paper from old wallpaper or primer and remove it so your joint compound will adhere properly.
Use a scraper or putty knife to lift loose paper edges, pulling gently to avoid gouging.
Sand any rough spots and wipe away dust.
Proper loose paper removal is a key step in wall preparation.
Inspect For Damage
While the wall’s clean and free of loose paper, take a careful look for dents, cracks, nail holes, and water stains so you know exactly what to fix.
You’ll assess wall stability and surface integrity, marking defects and deciding repair methods. Check for structural issues, moisture, and loose drywall before mudding.
- Dents and nail holes
- Cracks and seams
- Water stains
- Soft or sagging areas
Fill Small Holes and Nail Pops With Quick-Setting Mud
Start by tapping around the hole or nail pop to confirm it’s secure. Then clean away any loose paint or debris so the quick-setting mud bonds properly.
Mix a small batch of quick drying compound, apply with a putty knife, press into hole for solid hole repair, feather edges smooth, let set fully, then sand lightly and spot-prime before painting.
Tape and Mud Seams on New or Damaged Drywall
1. Tape and mud seams on new or damaged drywall using proper tape techniques and consistent mud application. You’ll embed tape, smooth bubbles, and feather edges for a flat joint.
Key steps:
- Choose paper or fiberglass mesh tape
- Apply thin mud layer before embedding
- Remove excess and flatten tape
- Feather outer edges for blending
Apply the First Coat: Technique for Smooth, Even Coverage

Lay a thin, even layer of joint compound across the taped seams, working from the center outward so you press out air and avoid ridges.
Use a 6–8 inch knife, keep blade flat, and scrape excess back onto the hawk.
Employ smoothing techniques like light, continuous strokes.
Application tips: maintain wet edge, clean tools between passes, and check for pinholes before drying.
Feather and Build Follow-Up Coats for a Flat Finish
After your first coat sets, feather the edges outward with a wide knife so the patch blends smoothly into the wall.
Build up follow-up coats in thin layers, letting each one dry fully before the next.
Lightly sand between coats to knock down ridges and guarantee a flat, paint-ready surface.
Feathering The Edges
Feathering the edges means you blend the fresh joint compound into the surrounding wall so each coat builds smoothly and the finish reads flat once painted.
Use consistent feathering techniques and focus on edge blending to avoid ridges.
Work outward with light pressure, sand lightly between coats, and check with angled light.
- light pressure
- outward strokes
- sand between coats
- check angle light
Build-Up Thin Layers
Once you’ve feathered the edges and sanded light, build up the repair with thin follow-up coats so each layer dries uniformly and stays flat under paint.
Apply successive coats with consistent application technique, keeping layer thickness minimal to avoid ridges.
Blend each coat slightly beyond the previous feather to guarantee a smooth shift.
Let proper drying times prevent sagging or shrinkage before the next thin pass.
Sand Between Coats
Sand lightly between each skim coat to knock down high spots and create a tooth for the next layer; you’ll use a fine-grit sanding block or sponge and gentle, even pressure to keep the surface flat.
Use proper sanding techniques and dust management to protect finishes and lungs.
- Sand with light, even strokes
- Replace worn grit frequently
- Vacuum dust between coats
- Wipe with a damp cloth
Sand Drywall Mud Without Overdoing It (Dust Control Tips)
When your joint compound is dry, take a light touch with 120–150 grit paper and work in small circles to remove high spots without reworking the entire surface; this minimizes dust and keeps your finish even.
Use wet-dry sanding techniques, a sanding block, and dust prevention measures: vacuum with a HEPA attachment, mist lightly if acceptable, and wear a mask.
Sand sparingly and inspect frequently.
Spot-Prime and Check for Remaining Imperfections
After you’ve removed high spots, spot-prime any patched areas with a thin coat of primer to seal joint compound and guarantee consistent paint absorption. This helps reveal subtle dips, ridges, or texture differences that sanding alone can miss.
Then perform a careful imperfection inspection and address issues before full coating.
- Check for visible shifts
- Feel for low/high spots
- Re-sand tiny ridges
- Reapply thin mud for flaws
How Long to Wait Before Priming and Painting?
Although drying times vary with temperature and humidity, you should wait until the joint compound is fully dry and any spot-primer has cured before applying a full primer coat.
Check dryness by touch and gentle sanding. Typical drying time is 24–48 hours; longer in high humidity.
Use a moisture meter or confirm rooms are warm and ventilated so paint adheres and finish stays flawless.
Common Mistakes and Fast Fixes + Final Prep Tips
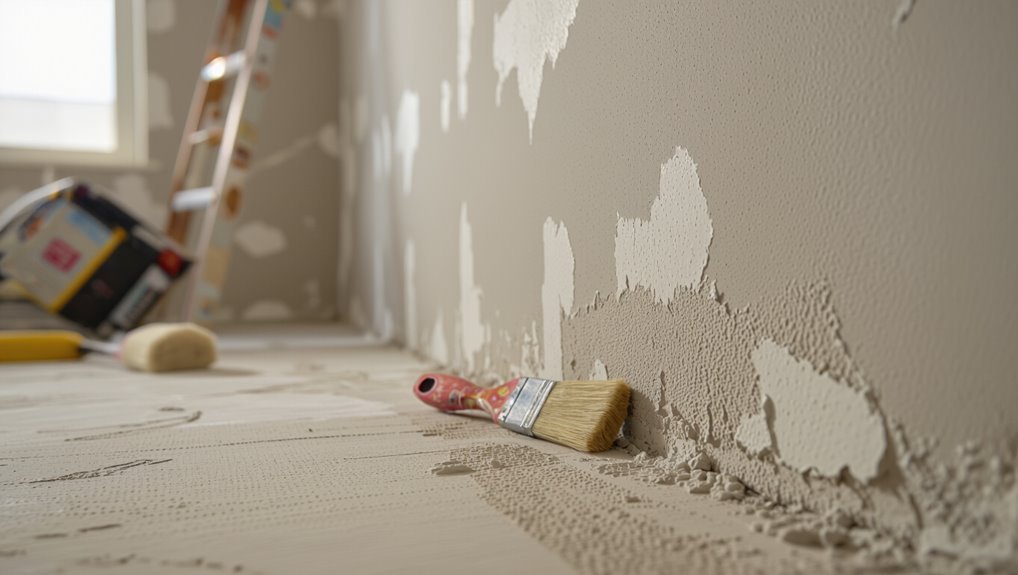
One common mistake is rushing the sanding—if you don’t sand smoothly and clean the dust, your primer and paint will show every imperfection.
So take the time to sand with progressively finer grit and vacuum or wipe all residue before priming.
Avoid common pitfalls; follow quick remedies, respect drying times, nail surface preparation, tool maintenance, and finishing touches.
- Check for high spots
- Feather edges
- Clean dust
- Tighten knives
Frequently Asked Questions
Can I Mud Over Textured or Popcorn Ceilings Instead of Replacing Them?
Yes, you can mud over textured ceilings, including popcorn ceiling, to skim and smooth them. You’ll need proper prep, multiple thin coats, sanding between passes, and patience to avoid cracking or uneven texture showing through.
How Does Humidity Affect Drying Times and Mud Performance?
By Jove, you’ll see humidity control directly slows drying times; high moisture worsens mud performance, causing sagging and poor bonding, while ideal drying conditions speed cure, reduce cracking, and let you sand and paint sooner.
Is It Okay to Use Leftover Mud From Last Season?
Yes — you can use leftover mud if it still mixes to the right mud consistency and wasn’t exposed to extreme storage conditions; shake or rework it, discard if grainy, foul-smelling, or won’t smooth evenly.
Can I Paint Directly Over Patched Plaster Instead of Priming?
You shouldn’t paint directly over patched plaster; you should use proper patching techniques and a primer to guarantee paint adhesion, or you’ll risk uneven sheen, peeling, and visible repairs despite how smooth the patches look.
What Safety Gear Is Essential for Sanding and Mixing Mud?
You need a dust mask and safety goggles, plus disposable gloves, long sleeves, and ear protection when sanding; use a respirator for heavy dust, and keep ventilation, a shop-vac, and a sturdy mixing paddle to reduce airborne particles.
