How to Smooth Rough Walls Before Painting Easily
You can get smooth, paint-ready walls in a weekend by cleaning, patching, sanding, priming, and choosing skim-coating only for heavy texture. Start by wiping grease and dust, fill holes or cracks with spackle or joint compound, sand with 120–220 grit until even, then spot-prime patched areas to seal porosity. For light texture you can often prime and paint; for heavy texture remove or skim-coat. Keep tools and drying times in mind, and if you want, more tips follow.
Quick Plan: How to Smooth Walls Before Painting
Before you grab sandpaper or skim coat, make a quick plan so you don’t waste time or materials. Start by evaluating wall texture and marking high spots, dents, and loose paint. Decide whether you’ll level minor imperfections or fully skim for a smooth finish.
Consider how color psychology affects your choice: smoother walls reflect light differently, making hues appear brighter or calmer. Schedule steps—cleaning, patching, sanding, priming—and estimate dry times so you won’t rush coats.
Gather appropriate supplies and set up ventilation. A clear plan helps you work efficiently and achieve a professional-looking surface.
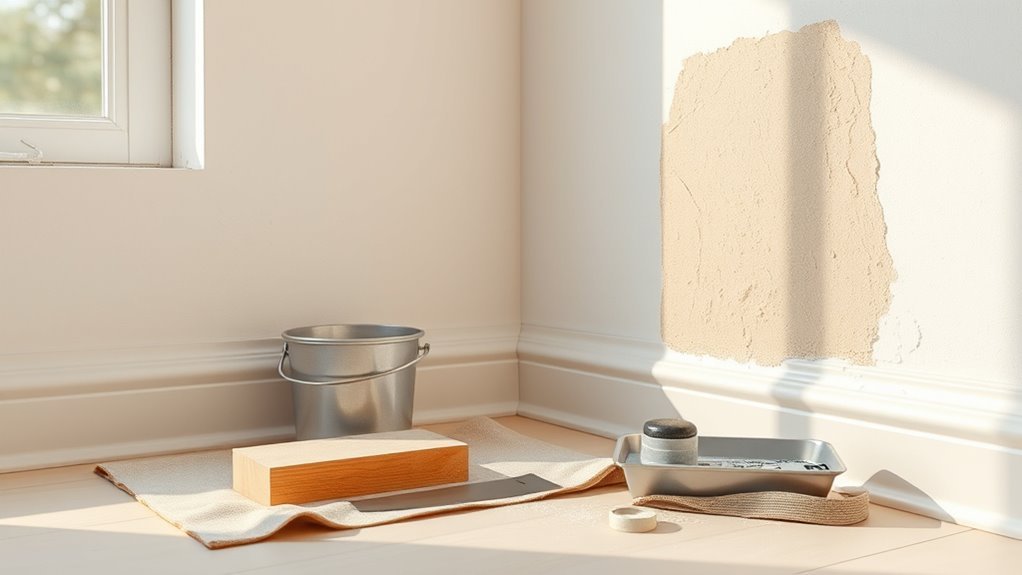
Tools and Materials You Need to Smooth Walls
Before you start, gather the right sanding tools—sandpaper in varying grits, sanding blocks, and a pole sander—to tackle different textures.
You’ll also want fillers and compounds like spackling paste, joint compound, and a putty knife for holes and deep imperfections.
Don’t forget protective gear essentials: a dust mask, safety glasses, and gloves to keep you safe and clean.
Essential Sanding Tools
When you’re prepping rough walls, having the right sanding tools makes the job faster and gives a smoother finish. You’ll want a sanding block for small spots, a pole sander for overhead or large areas, and an orbital or random-orbit sander for stubborn unevenness.
Use varying grit sandpaper—start coarser, finish finer—to handle decorative wall textures without damaging patterns or vintage wall finishes you’re preserving.
A dust extractor or vacuum attachment keeps dust down, and a respirator plus safety glasses protect you. Keep spare pads and clamps handy so you don’t pause mid-job hunting for replacements.
Fillers And Compounds
If you want smooth walls, pick the right fillers and compounds for the job: lightweight spackling for small dents and nail holes, vinyl or setting-type joint compounds for larger gaps and damaged drywall, and flexible caulk for cracks that move.
Choose setting compounds for deep repairs because they harden faster and resist shrinkage. Mix to manufacturer specs, apply with a taping knife, and feather edges to blend with the surrounding surface.
For textured walls, combine texture removal with careful patching to avoid visible shifts. After sanding, clean dust and consider primer selection to seal patches before painting for a uniform finish.
Protective Gear Essentials
Although smoothing walls feels like a straightforward task, you’ll need the right protective gear to stay safe and comfortable. Wear a dust mask or respirator, safety goggles, and nitrile gloves to block dust, chemicals, and irritants.
Use knee pads if you’re working low and a hat to keep debris off your hair. Choose breathable coveralls to protect clothing and skin.
Keep a first-aid kit and a fire extinguisher nearby as part of basic safety precautions. Inspect gear before use and replace any damaged items.
Proper protective gear and clear safety precautions reduce injury risk and make the job smoother.
Diagnose: Repair vs. Skim‑Coat for Rough Drywall or Plaster
Before you grab joint compound or call a pro, figure out whether the problem is localized damage you can patch or widespread texture that needs a skim coat.
Before starting repairs, determine if damage is local patchwork or widespread texture needing a skim coat.
Walk the room, noting wall textures and areas where light highlights bumps or the paint sheen varies. If imperfections are isolated—dents, shallow gouges, delamination—patching and light sanding will do.
If texture is pervasive, or previous repairs show through different sheen after a test coat, plan a skim coat for a uniform surface.
Consider time, skill, and odor; skim-coating covers many flaws but demands sanding and priming before repainting.
Patch Holes, Cracks, and Nail Pops the Right Way
Once you’ve decided whether a skim coat is needed or you’re only fixing spots, tackle holes, cracks, and nail pops systematically so they don’t telegraph through fresh paint.
Start by removing loose material, driving popped nails deeper or replacing them, and widening hairline cracks to accept filler.
Use a setting compound for deep voids, lightweight spackle for small holes, and reinforce long cracks with paper tape.
Sand smooth when dry, feathering edges to blend with existing wall texture.
Prime patched areas to seal differences, matching paint sheen to surrounding finish so repairs disappear under the final coat.
Can You Paint Over Texture : Remove or Reduce Texture Safely?
If your walls have light orange peel or subtle texture, you can usually paint right over them after cleaning and spot-sanding. But heavier textures like popcorn or knockdown often need to be reduced or removed for a smooth finish. You’ll decide based on look and effort. Consider these steps:
- Inspect texture and test a small paint over patch.
- For modest texture, clean, prime, and paint over; use skim coats for better results.
- For heavy texture, try mechanical reduction or apply a thin drywall overlay.
- Hire pros for extensive texture removal to avoid damage and costly repairs.
Sanding Drywall and Plaster Without Causing Damage
When you sand drywall or plaster, work gently and deliberately to avoid gouges, dust clouds, and weakened surfaces. Use fine-grit sandpaper (120–220) on a sanding block or pole sander with a dust bag or vacuum attachment to control debris.
Light, even passes remove high spots and aid texture removal without over-sanding. Test a small area first to preserve paper faces and plaster integrity.
Use light, even strokes to level high spots and remove texture—test a small area first to protect the surface.
Keep the room well-ventilated but avoid direct humidity changes; moisture control prevents swelling or crumbling. Wear a mask and eye protection.
Check edges and corners frequently, and stop as soon as the surface feels uniformly smooth.
Apply Joint Compound or a Skim Coat (Step‑by‑Step)
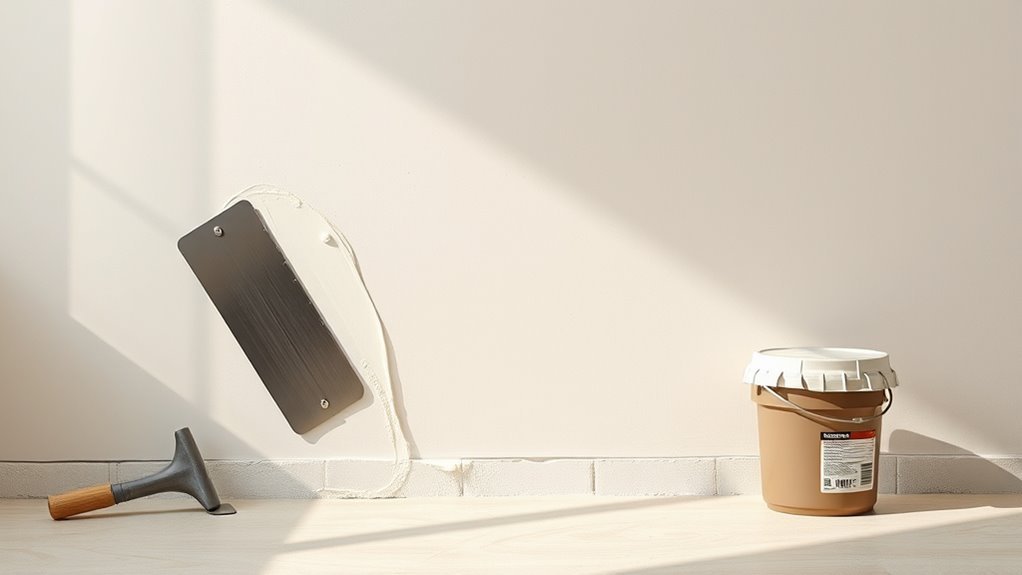
Although it might seem intimidating, you can get a flat, paint-ready wall by applying joint compound or a skim coat carefully and methodically.
Start by cleaning and taping edges, then mix the compound to a creamy consistency. Use a wide drywall knife and work in thin layers, feathering edges for seamless blends.
Follow this step-by-step rhythm:
- Remove loose texture and wipe dust.
- Apply first thin pass of joint compound with broad strokes.
- Smooth and feather edges, filling low spots.
- Add a final skim coat, smoothing with long, even pulls.
Sand lightly between passes if needed.
Drying Time and How Long to Wait Between Each Step
After you apply each skim coat or patch, let it dry fully before sanding or adding another layer—typically 24 hours for thin coats and up to 48 hours for thicker ones.
When you repair gouges or use joint compound over paper or tape, give the area extra time to cure so the seams don’t sink later.
If you’re unsure, press gently with a fingertip: if it’s firm and not tacky, you can proceed.
Drying Time Between Coats
How long should you wait between coats to get a smooth, durable finish? You’ll base timing on temperature, humidity, wall texture, and paint sheen. Follow these practical intervals:
- Latex primer: wait 1–2 hours for light sanding. Wait 24 hours for heavy repairs.
- Water-based paint (thin coats): 2–4 hours; surface should feel dry to touch.
- Oil-based paint: 16–24 hours; wait until it is tack-free before recoat.
- High-humidity or cool rooms: add 50% more drying time to all steps.
Always test a small area: if sanding or touch feels gummy, wait longer to avoid lifting or uneven finish.
Waiting After Wall Repair
Knowing coat-drying times helps you plan the rest of the work, but repaired areas need their own timing before you sand, prime, or paint. After patching, wait until the filler is fully dry — often 24 hours for deep fills, 1–2 hours for thin layers — before sanding to avoid tearing. Test dryness by pressing gently; any give means wait longer.
Clean dust, then allow primer to cure per label, usually 2–4 hours or overnight for latex primers. Match wait times to your wall texture and chosen painting techniques so coatings bond well and the finish stays smooth.
Choose and Apply Primer for Smoothed Walls
Why pick a primer at all? You’ve finished texture removal and you need primer selection that seals patched areas, evens porosity, and boosts paint adhesion. Choose a high-quality acrylic or bonding primer for smoothed walls, especially if repairs used joint compound.
- Clean surface: remove dust and vacuum thoroughly.
- Test patch: spot-prime repaired areas to check absorption.
- Apply evenly: use a roller for large areas and brush for edges.
- Dry fully: follow manufacturer’s cure time before painting.
Primer evens sheen and prevents flashing, so your topcoat covers uniformly and lasts longer.
Fast Fixes, When to Stop, and When to Call a Pro
You can handle quick surface repairs like small dents, nail holes, and hairline cracks with spackling and light sanding.
If the damage keeps reappearing, covers a large area, or reveals structural issues like bulging or moisture, stop and get a professional assessment.
Calling a pro early can save time and prevent costly repairs later.
Quick Surface Repairs
If a small chip, nail hole, or shallow crack’s all that’s wrong, you can usually patch it yourself in minutes with spackling, a putty knife, and a bit of sanding. Match repairs to existing decorative finishes and wall textures so patches blend. Follow these simple steps:
- Clean the area and remove loose debris.
- Apply spackle, smooth with a putty knife, let dry.
- Sand flush, feather edges, and dust off.
- Prime the spot before painting to ensure adhesion.
Stop and call a pro if damage is widespread, structural, or moisture-related—don’t gamble on hidden problems.
Signs To Call Pro
When repairs get bigger than a few nail holes or start showing signs of hidden damage, call a pro—fast fixes aren’t worth risking larger problems.
If you see extensive cracking, sagging drywall, mold, or moisture stains, don’t patch and hope. Inconsistent wall texture after minor repairs, or difficulty matching the existing paint sheen, signals skill beyond basic DIY.
Also call a pro if damage spans multiple panels, involves structural elements, or if you lack proper tools or permits.
A professional will diagnose underlying causes, restore uniform texture and sheen, and prevent recurring issues, saving time and money long-term.
Common Mistakes That Ruin a Smooth Paint Finish
Since small missteps add up fast, avoiding a ruined smooth finish means paying attention to prep, technique, and timing from the start. You’ll spot problems early if you know common mistakes that kill a flawless look.
- Skipping proper sanding and filling, leaving uneven wall texture.
- Applying paint over dust or grease, which causes poor adhesion.
- Using the wrong tool or moving too fast, creating lap marks and streaks.
- Choosing an inappropriate paint sheen for flaws you don’t want highlighted.
Fix these issues before you paint, and you’ll preserve a clean, professional result every time.
Frequently Asked Questions
Can I Smooth Walls in Humid or Cold Weather Safely?
Yes — you can smooth walls in humid or cold weather safely, but you’ll manage humidity concerns and cold weather safety by using dehumidifiers, heaters, proper ventilation, slow-curing compounds, and allowing longer drying times to prevent adhesion or mold issues.
Will Smoothing Walls Increase My Home Value?
Yes — smoothing walls can boost resale appeal and perceived quality. You’ll improve wall texture uniformity and paint adhesion, making finishes look professional, which buyers notice and often pay more for in competitive markets.
Are There Low-Dust Alternatives for DIY Sanding?
Like a gentle breeze, yes — you can use vacuum-backed sanding blocks, wet sanding sponges, or chemical skim coats as dust control sanding alternatives; you’ll cut airborne particles and still smooth walls without a noisy, dusty mess.
How Long Before Guests Can Use the Room Again?
You can use the room after 24–48 hours for light use, but wait 7 days for full occupancy if you’ve done wall texture removal and used sanding tools, letting paint, joint compound, and dust fully cure.
Can I Smooth Walls Over Old Wallpaper Without Stripping?
Yes — but don’t expect miracles: you’ll be patching and skim-coating like a mime confessing secrets. Skip full wallpaper removal? You can, using wallpaper removal avoidance, proper wall preparation techniques, primers and a thin skim coat.
Conclusion
You can do this — even if you’ve never skim‑coated before. Take it slow: diagnose first, patch and sand, then prime; don’t skip drying times. If you worry it’ll still look DIY, remember imperfect walls are fixable and progress beats perfection — people notice a fresh, even finish more than tiny flaws. Keep tools clean, work in thin layers, and call a pro only for structural damage or if time’s just not on your side.