What Is a Bad Moisture Reading for Walls? Explained
If your wall moisture meter shows above about 15% for drywall or 16–20% for wood, you’ve got a problem that needs investigation and action. Surface dampness lasting over two days, sudden jumps of 3–5 points, or consistent readings well above control points usually mean leaks, poor drainage, or ventilation issues. Use probes or a thermal camera to confirm, stop obvious leaks, and ventilate. Keep going to learn how to triage and fix it.
What This Guide Covers and Quick Answer
Before you plunge into methods and causes, this guide tells you what a bad moisture reading means, why it happens, and how to fix or verify it quickly.
You’ll learn concise definitions of bad readings, practical checks to confirm reading accuracy, common moisture thresholds that signal concern, and immediate steps to troubleshoot or re-test walls so you can act promptly and avoid unnecessary repairs.
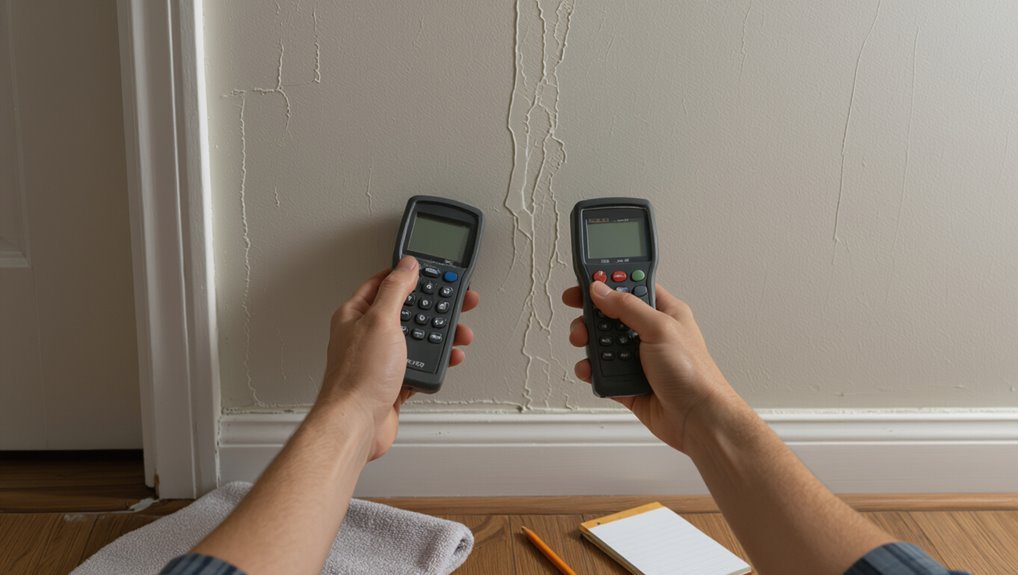
How Moisture Meters Work: Resistance vs Capacitance
When you test a wall, a moisture meter gives you one of two basic measurements: resistance (pin-type) or capacitance (pinless).
You’ll use resistance to read electrical flow through material and capacitance to sense dielectric changes near the surface.
Know basic moisture detection techniques and follow meter calibration methods to guarantee reliable results.
Regular checks prevent drift and false positives.
Pin vs Pinless Meters: When to Use Each
You’ll use pin meters when you need direct, contact readings from specific spots because their probes penetrate the material.
Pinless meters scan a broader surface area without damaging finishes, so they’re better for quick surveys.
Pick pins for precise, localized checks and pinless for fast, noninvasive scans.
Pin Meters: Direct Contact
Although pin meters require physical contact with the material, they give you straightforward, localized moisture readings by measuring electrical resistance between two or more probes inserted into or pressed against the surface.
You’ll probe suspected damp spots, assess moisture absorption depth, and compare readings against baseline levels. Regular meter calibration guarantees accuracy, and you’ll prefer pins when pinpointing hidden leaks or evaluating internal wetting.
Pinless Meters: Surface Scan
If you need a quick, noninvasive way to map moisture across plaster, drywall, or wood surfaces, pinless meters scan large areas by sensing changes in the material’s dielectric properties.
You’ll get fast surface scanning techniques for locating wet zones without piercing finishes. Use consistent pressure and calibration, note depth limits, and combine with other moisture detection tips to confirm readings and avoid false positives.
When To Use Each
When deciding between pin and pinless moisture meters, think about the material you’re testing and the kind of information you need:
- Use pin meters for precise depth readings and spot checks of moisture sources like leaks.
- Choose pinless for quick surface scans over large areas without damage.
- Always verify meter calibration before measurement to guarantee reliable comparisons and decisions.
How Wall Materials Change Meter Readings
Because different wall materials conduct electricity and hold moisture differently, your moisture meter can give very different readings on plaster, brick, wood, or drywall even when actual moisture content is similar.
You should account for moisture absorption and material density: dense masonry may show lower surface readings despite internal damp, while porous wood or plaster yields higher readings.
Drywall: Normal Moisture Ranges and Red Flags
Although drywall usually reads low on many meters, you should expect normal moisture content to sit roughly between 5% and 12% for gypsum board in typical indoor conditions.
Readings consistently above about 15% are a red flag and warrant further investigation.
Readings consistently above about 15% are a red flag — investigate promptly to identify and address moisture sources.
You should:
- Check drywall installation for gaps or wet taping.
- Verify moisture barriers and vapor control.
- Re-measure after drying or remediation.
Wood Studs & Trim: Expected Moisture Percentages
When you check wood studs and trim, you’ll usually see moisture readings in the 6–12% range for interior conditions.
Readings above about 16% signal elevated moisture that can lead to mold or rot, so you’ll want to investigate sources like leaks or poor drying.
If levels are high, start preventive drying measures—ventilation, dehumidification, and fixing water entry—to bring readings back into the safe range.
Typical Wood Moisture Levels
Wood naturally holds moisture, and knowing typical percentages for studs and trim helps you judge whether readings are normal or indicate a problem.
You’ll watch for ranges that signal wood decay risk and excessive moisture retention.
- Interior studs: 6–12%
- Trim and millwork: 6–14%
- Recently installed or damp areas: up to 16%
Elevated Moisture Indicators
Humidity spikes and leaks will push stud and trim readings above normal, and you should treat any sustained values above about 16% as elevated.
You should watch for persistent 16–20% on trim and 18–22% in studs; these indicate moisture effects that can lead to warping or mold.
Verify reading accuracy with a calibrated meter and repeat checks after disturbances.
Preventive Drying Measures
Start by aiming to keep trim readings around 8–12% and studs near 6–12% under normal indoor conditions, since those ranges minimize risk of swelling, shrinkage, and mold.
You can prevent problems by controlling humidity and isolating sources:
- Use dehumidifier options to maintain 40–50% RH.
- Improve ventilation and fix leaks.
- Install moisture barriers where exterior or crawlspace moisture penetrates.
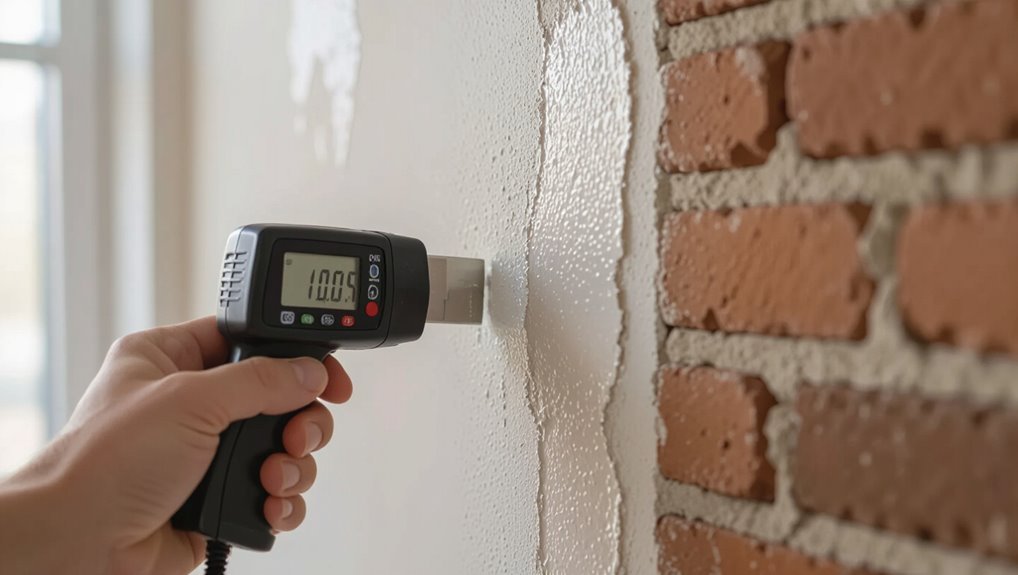
Concrete & Masonry: Typical Moisture Ranges
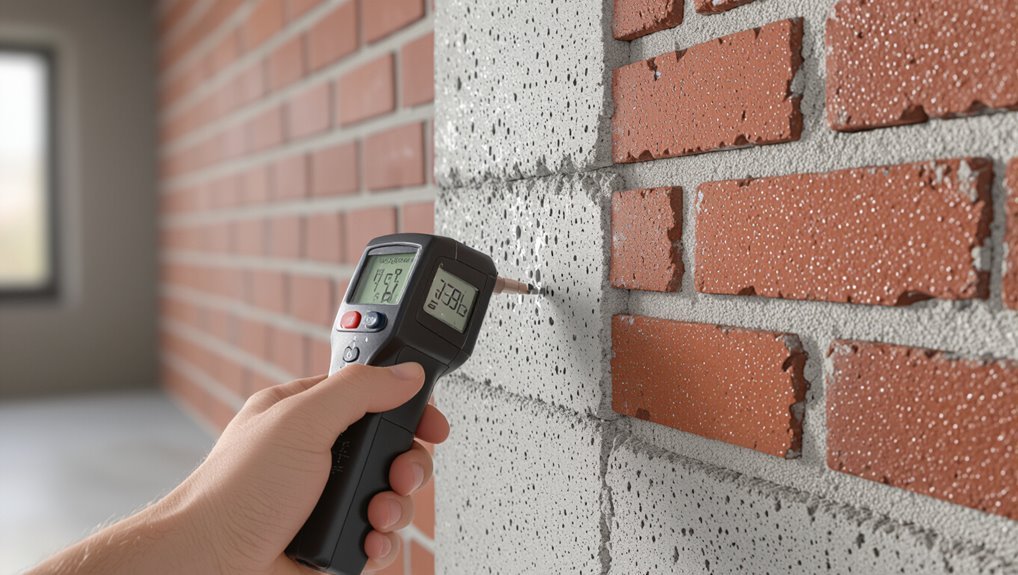
When you’re evaluating concrete and masonry, expect moisture levels to vary with age, porosity, and exposure—new pours and dense blocks usually read higher than older, well-cured surfaces.
You should compare readings to established moisture thresholds for the material and local climate. If values exceed safe limits, plan targeted remediation techniques like drying, vapor barriers, or selective repair, prioritizing areas with persistent dampness.
Where to Measure: Hotspots, Controls, Depth
You should focus measurements on obvious hotspots like staining, efflorescence, and areas near penetrations where moisture concentrates.
Use controlled comparison points in unaffected areas to verify readings and avoid false positives.
Also check at multiple depths so you can distinguish surface dampness from deeper saturation.
Hotspot Measurement Locations
Because moisture problems can be localized, you’ll focus measurements on obvious hotspots first—areas with stains, mold growth, peeling paint, or a damp smell—and include nearby control points for comparison.
Use hotspot identification and moisture mapping to guide your checks.
- Inspect visible damage zones.
- Measure adjacent control points.
- Record coordinates and readings for comparison.
Measurement Depth Controls
Now that you’ve identified hotspots and nearby controls, decide how deep to check: surface readings catch evaporative dampness, pin or probe meters reach into plaster or drywall, and resistance or capacitance sensors estimate moisture through finishes. You’ll choose measurement techniques to balance invasiveness and depth accuracy. Use consistent controls and document depths for repeatable comparisons.
| Tool | Depth | Use |
|---|---|---|
| Surface meter | 0–2 mm | quick scan |
| Pin meter | into drywall | localized |
| Remote sensor | through finish | noninvasive |
How to Take Accurate Moisture Readings Step-by-Step
When you’re ready to take readings, gather your moisture meter, calibration tool, and a notepad so you won’t scramble mid-process.
Use proper moisture measurement techniques and zero the meter for accurate readings.
Then follow these steps:
- Calibrate and test on known dry spot.
- Take multiple readings across the wall surface.
- Record location, value, and probe depth for comparison.
How Temperature and Humidity Affect Results
You’ll notice that temperature changes can skew meter readings because most sensors assume a standard temperature when converting electrical or resistance signals to moisture values.
You should also account for relative humidity, since high ambient moisture can raise surface readings even if the wall’s core is dry.
Before you trust a result, correct for temperature or measure in stable environmental conditions.
Temperature Impact On Readings
Because temperature and humidity interact, a moisture meter can give misleading wall readings if you don’t account for both: warm air holds more moisture, so a cool wall in humid conditions may show higher apparent moisture than the structure actually retains, while dry, warm air can mask lingering damp.
- Note temperature effects on sensor calibration.
- Allow surfaces to equilibrate.
- Log humidity influence alongside readings.
Relative Humidity Effects
Although temperature sets how much water air can hold, relative humidity actually determines how much moisture will move into or out of a wall, and that movement directly skews moisture meter readings.
You should monitor relative humidity because high indoor RH raises apparent moisture levels in surfaces, while low RH can mask trapped dampness.
Adjust readings for RH to avoid false positives or negatives.
Absolute Moisture Thresholds That Indicate Problems
When you see wall moisture readings, certain numeric thresholds tell you when a situation has moved from normal to risky: typically, wood moisture content above 16–20% or masonry moisture levels considerably above ambient relative humidity demand attention.
You should watch these reading thresholds to prevent moisture damage. Key absolute thresholds:
- Wood >16–20%
- Plaster/brick >5–8% above ambient
- Persistent surface dampness >2 days
Relative Rises: When a Change Matters More Than Value
Even if a wall’s absolute moisture number looks acceptable, a sudden jump—say, an increase of 3–5 percentage points in wood or a comparable rise in masonry readings over a short period—signals an active leak or changing conditions that you should investigate.
| Time | Reading | Note |
|---|---|---|
| Day1 | 8% RH | baseline |
| Day3 | 12% RH | rising |
| Day5 | 15% RH | alarm |
Use relative humidity trends to trace moisture sources, apply detection methods, and refine reading interpretation.
Interpreting Inconsistent Readings Across a Wall
If you get different moisture readings across the same wall, don’t assume a single cause—you’ll need to compare locations, timing, and materials to pinpoint why readings diverge.
Check for:
- Nearby leaks or rising damp affecting specific spots.
- Different wall surfaces or finishes altering probe contact.
- Environmental factors (ventilation, sunlight) changing local moisture.
You should map readings, note patterns, and prioritize targeted investigation.
Surface Dampness vs Deep Moisture: Tests to Tell
You’ll first look for surface moisture signs like staining, efflorescence, or a musty smell that suggest recent wetting.
Then you’ll use deep moisture testing—drill small holes for a hygrometer or use a pin-type meter—to check behind the surface.
Finally, compare those meter readings to the visible signs to tell whether the problem’s skin-deep or comes from deeper water ingress.
Surface Moisture Signs
Surface dampness can look like dark patches, peeling paint, or a musty smell, but those signs don’t always mean water has soaked deep into the wall.
You should check simple moisture indicators and try a surface treatment first.
- Touch test — cool, damp feel.
- Tape test — condensation under tape.
- Visual — flaking or salt deposits.
Deep Moisture Testing
Those quick surface checks tell you whether the wall looks damp, but they won’t show how far moisture has penetrated.
You should use pin and non‑pin meters, infrared scans, or borescope inspection to compare surface signs with internal conditions.
Combine methods for reliable moisture detection and better reading accuracy, and target suspect areas rather than assuming uniform moisture throughout the wall.
Interpreting Meter Readings
How deep is the moisture, and how do you tell the difference between a damp surface and soaked framing?
You’ll use meters and simple tests to check moisture levels and improve reading accuracy.
Try these steps:
- Surface wipe + pinless meter to spot superficial damp.
- Pin meter through drywall for deeper readings.
- Probe framing or use infrared for hidden wet spots.
Using a Moisture Map to Find Hidden Leaks
Start by turning your moisture readings into a simple map you can follow; plot high and low points on a sketch of the room so you can trace patterns instead of chasing single spots.
Use moisture mapping to mark gradients, note nearby plumbing or rooflines, and timestamp readings. That pattern-focused leak detection helps you prioritize inspections, narrow likely sources, and plan targeted repairs without random probing.
Confirming Readings: Thermal Camera, Probe, and Lab Tests
You’ll use a thermal camera to spot temperature patterns that suggest moisture, but you’ll need to interpret thermal images carefully to avoid false positives.
Then probe measurements—done with proper contact, depth, and multiple readings—confirm surface versus internal moisture.
If uncertainty remains, send samples for lab tests to get definitive moisture content and identify contaminants.
Thermal Camera Interpretation
When you spot a cold patch on a thermal image, don’t assume it’s moisture without further checks — thermal cameras show temperature differences, not moisture itself.
Use thermal imaging applications alongside other moisture detection techniques and:
- Compare cold areas to known drafts or insulation gaps.
- Correlate with visual stains and humidity readings.
- Flag suspicious spots for targeted probe or lab confirmation.
Probe Measurement Best Practices
A thermal image can point you to suspicious cold spots, but probes give the direct contact readings you need to confirm moisture presence.
After noting anomalies on a thermal scan, use a calibrated moisture probe to verify whether the substrate actually holds elevated moisture content.
Take multiple readings across depth and surface, follow manufacturer guidance, clean and calibrate probes regularly, and record results—these moisture measurement techniques guarantee accurate reading strategies.
Lab Test Confirmation
Although thermal scans and probes give you strong indications of moisture, lab testing provides the definitive answer you need before any major remediation.
You’ll collect samples and send them for lab analysis for precise moisture validation. Follow these steps:
- Sample location selection.
- Proper sealing and chain of custody.
- Review lab report and compare with probe/thermal data to plan repairs.
Common Symptoms That Match High Readings
High moisture readings on walls usually come with visible signs you can spot quickly: peeling paint or wallpaper, musty odors, dark stains, warped trim, and occasional mold growth.
When you perform moisture detection and a wall assessment, expect soft spots, efflorescence on masonry, bubbling finishes, and increased allergy symptoms.
These clear indicators help you correlate meter values with real damage without delay.
Quick Triage: What to Do If a Meter Reads High
Those visible signs you just checked help you judge how urgent a high meter reading is; now act quickly to confirm and contain the issue.
Use this triage:
Use this quick triage to confirm, contain, and escalate moisture issues before DIY repairs—act fast and call pros if needed.
- Re-check readings and inspect likely moisture sources.
- Stop obvious leaks, shut off water if needed, and ventilate the area.
- If readings stay high or you see structural damage, call professionals for emergency response and avoid DIY repairs until assessed.
DIY Fixes for Moderate Moisture Problems
1 simple set of DIY steps can often resolve moderate moisture problems before they worsen.
You’ll inspect walls, seal visible cracks, and improve ventilation to lower humidity.
Install simple moisture barriers behind siding or in basements, redirect downspouts, and add basic drainage solutions around foundations.
Monitor readings regularly and re-test after each fix to guarantee moisture levels drop to safe ranges.
When to Call a Professional Inspector
If wall moisture readings stay elevated after your DIY efforts or you spot persistent stains, warping, mold growth, or structural cracks, call a professional inspector so they can diagnose hidden sources and recommend targeted remediation.
If moisture persists despite DIY fixes or you see stains, warping, mold, or cracks, call a professional inspector.
You should act when moisture thresholds exceed normal ranges or when inspection timing is urgent.
Key triggers:
- Repeated high readings
- Visible mold or decay
- New structural movement
What Remediation Pros Do: Drying, Repairs, and Scope
Once an inspector pinpoints the problem, remediation pros will outline and execute a focused plan that combines controlled drying, targeted repairs, and a clear scope of work so you know what to expect.
You’ll get a detailed moisture assessment, drying schedule, and chosen remediation techniques.
Technicians monitor progress, document humidity and material readings, and adjust methods until repairs are complete and affected areas meet safe, documented moisture levels.
Structural Repairs: When Moisture Means Rebuilding
When moisture has compromised structural elements beyond drying and patching, you’ll need more than surface repairs — you’ll need rebuilding.
You must assess moisture thresholds, document damage, and prioritize structural integrity.
Consider these steps:
- Remove and replace compromised framing.
- Reinforce foundations, beams, or joists to code.
- Verify repairs with moisture testing and engineering approval.
Preventing Future Moisture: Ventilation, Drainage, Flashing
Repairing structural damage restores safety, but you’ll stop future problems only by managing how water and vapor move around your home.
Use ventilation strategies to cut indoor humidity, install drainage solutions to divert runoff from foundations, and apply flashing techniques at rooflines and openings to shed water.
Combine these with continuous moisture barriers behind cladding to keep walls dry and durable.
How Often to Monitor, Log Readings, and Spot Urgent Red Flags
Someone should check moisture readings regularly—daily for active leaks, weekly for new repairs, and monthly for routine maintenance—to catch problems before they escalate.
You’ll set a monitoring frequency, use simple logging techniques, and watch for urgent red flags:
- Rapid rise in readings
- Persistent levels above safe thresholds
- Visible mold, staining, or soft spots
Frequently Asked Questions
Can Household Plants Affect Wall Moisture Readings?
Yes — your household plants can affect wall moisture readings. Their plant humidity and soil moisture raise nearby air vapor, so your meter may pick higher surface readings; move pots and ventilate to check true wall moisture levels.
Do Paint Types Change Meter Accuracy?
About 30% variance is possible; you’ll find paint properties like thickness and conductivity can skew meter readings, so you’ll need regular meter calibration to compensate and get accurate wall moisture measurements.
How Do Electrical Wires Interfere With Pinless Meters?
Pinless meters can get false highs when nearby electrical wires cause wire interference; you’ll detect elevated readings because alternating current increases electrical conductivity in materials, so keep meters away from live wiring and powered circuits.
Will Insulation Material Hide Moisture From Meters?
Loose lips sink ships: yes, insulation types can hide moisture from meters. You’ll find dense or hydrophobic insulation alters readings while high moisture retention materials hold water longer, so you’ll need targeted probes or thermal imaging.
Can Pest Infestations Cause Elevated Moisture Readings?
Yes — pests can raise moisture readings: you’ll spot pest identification clues like droppings, nests, or chewed wood; pests themselves and their activity create moisture sources (urine, nesting, leaks) that boost meter readings.
Conclusion
You’ve learned the basics, and now you’ll know when to act. Don’t ignore readings that climb above normal ranges for your wall type — they’re the canary in the coal mine. Check regularly, log patterns, and use the right meter for the material. If moisture won’t budge or you see mold, call a pro for drying and repairs before small problems turn into structural headaches. Prevention (ventilation, drainage, flashing) saves money and stress.