Why Is the Paint in My Bathroom Bubbling? Causes and Fixes Explained
Your bathroom paint is bubbling because moisture—often from poor ventilation, plumbing leaks, or painting over a damp surface—is breaking the paint’s bond to the wall. Heat and steam from showers trap moisture, mold or water stains weaken drywall, and wrong or unprimed paint won’t resist humidity. Fixes include finding leaks, fully drying and repairing surfaces, priming with a stain-blocker, and using bathroom-grade, mildew-resistant paint; keep going to learn specific inspection and repair steps.
Quick Answer Why Your Bathroom Paint Is Bubbling
If your bathroom paint is bubbling, it’s usually caused by moisture, poor surface prep, or incompatible paint.
You should act quickly if bubbles are spreading, paint is peeling in large patches, or you smell mold — those can signal ongoing water intrusion.
Otherwise small, isolated bubbles can often be fixed with drying, scraping, and repainting with proper primer.
One-sentence summary of the most common causes
Because bathrooms trap moisture and get hot, paint bubbles most often from trapped water vapor, poor surface prep, or using the wrong paint, with leaks, condensation, and incompatible coatings being the usual culprits.
When you ask why is the paint in my bathroom bubbling, check for persistent humidity, leaking pipes or roof, peeling old finishes, and latex over oil—these explain most cases and guide your fix.
When bubbling requires urgent action
Check for urgent causes when bubbling spreads quickly, smells musty, or you notice water stains and soft drywall underneath the paint.
If so, shut off water sources, ventilate the room, and avoid electrical outlets nearby.
Call a plumber or mold remediation pro immediately—this often signals a leak or active mold.
Don’t repaint until the underlying problem’s fixed and materials are dry and treated.
How Paint Reacts in Bathroom Environments (Basic Understanding)
You’ll notice bubbling as raised blister-like spots, sometimes small pinheads or larger pockets, each with its own texture and color.
Moisture, heat, and the condition of the substrate all play roles—steam and leaks force paint away from the wall while poor adhesion or contaminants make it easier to separate.
Learn to tell bubbling from peeling, blistering, or mold spots by checking size, firmness, and whether the issue is paint-only or includes soft, discolored growth.
What bubbling looks like types and characteristics
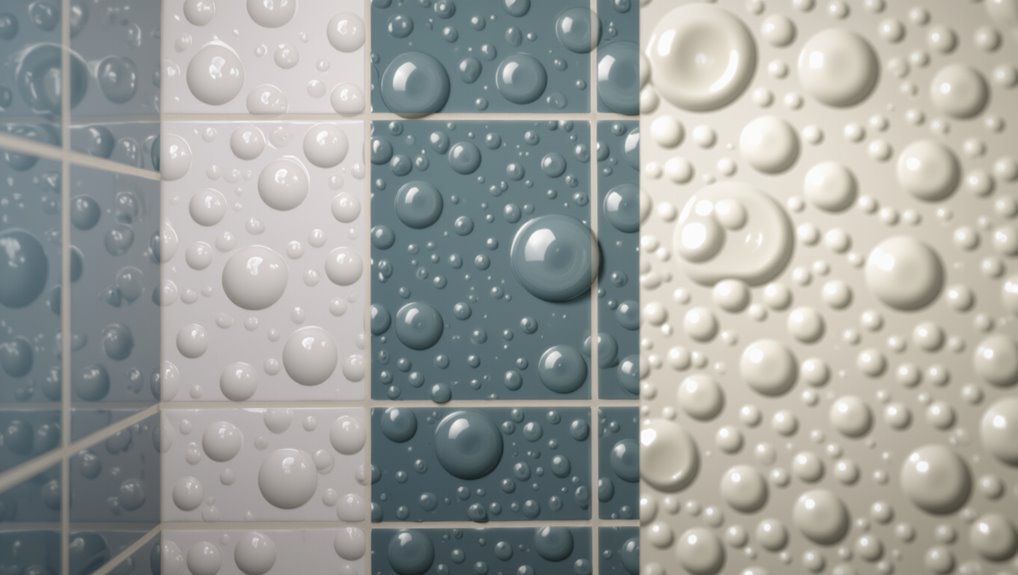
When paint bubbles in a bathroom, it’s usually easy to spot: small blister-like domes, larger swollen patches, or clustered pinhead bumps that lift the film off the wall or ceiling.
You’ll notice flaky edges, cracked tops, or smooth domes tense with trapped air. Colors may dull or look mottled; texture changes reveal whether the issue is isolated, spreading, or layered between coats.
How moisture, heat, and substrate cause bubbling
Those bubbly domes and flaky edges aren’t just cosmetic; they tell you how paint is reacting to moisture, heat, and the surface beneath it.
You’ll get bubbles when trapped steam pushes through paint, when hot-cold cycles expand and contract layers, or when paint won’t bond to a damp, dirty, or glossy substrate.
Fixing requires drying, proper priming, and using suitable bathroom-grade paint.
Difference between bubbling, peeling, blistering, and mold spots
Although bathroom paint problems can look similar at a glance, you can usually tell them apart by how they form and behave: bubbling traps moisture under paint, creating raised pockets; peeling detaches paint in sheets from poor adhesion; blistering is smaller, often from heat or solvent; mold spots are fuzzy or discolored colonies feeding on damp surfaces.
Identify texture, size, and location to diagnose.
Common Causes of Bathroom Paint Bubbling (Problem-Solution)
If your bathroom paint is bubbling, it’s usually because moisture’s getting in—either from high humidity and poor ventilation or from leaks behind walls or ceilings.
You can also cause bubbling by painting over trapped moisture or not preparing the surface properly, or by using non–moisture-resistant paint.
Start by identifying the moisture source, fix leaks and ventilation, then strip and dry affected areas before repainting with the right product.
High humidity and poor ventilation
When your bathroom traps moisture because it lacks proper ventilation, paint starts to bubble as steam and condensation lift the finish away from the substrate.
You should run an exhaust fan during and after showers, open windows when possible, and fix blocked vents.
Use mildew-resistant paint and a dehumidifier if needed. Improved airflow prevents recurring bubbling and protects underlying surfaces.
Water leaks behind walls or ceilings
Besides high humidity, hidden water leaks behind walls or ceilings are a common cause of paint bubbling in bathrooms.
You’ll spot blistering, peeling, or soft drywall where water soaks from pipes, roof, or shower enclosures.
Trace stains, musty odors, or warped trim to locate the source.
Fix leaks promptly, replace damaged drywall, and allow structures to fully dry before repainting to prevent recurrence.
Inadequate surface preparation before painting
Although you might be enthusiastic to repaint, skimping on prep lets moisture and adhesion problems start beneath fresh paint.
You should clean grime and soap scum, remove loose or chalky old paint, sand glossy surfaces, and repair cracks or mildew before painting.
Proper priming seals porous areas so new coats bond. Skipping these steps invites bubbling and premature failure.
Using the wrong type of paint (non-moisture-resistant)
Even with proper prep, choosing the wrong paint will let moisture win — standard interior paints lack the mildew inhibitors and water resistance bathrooms need, so steam and splashes can cause blistering and bubbling within months.
Use a quality bathroom or trim paint labeled for high-humidity areas, preferably semi-gloss or satin, and guarantee proper ventilation so the coating performs and resists peeling.
Applying paint over existing moisture or trapped water
If you paint over walls that are damp or have trapped water, the new coating won’t bond and you’ll get bubbling and peeling fast.
You should locate and fix leaks, allow full drying, and remove compromised paint. Use a moisture meter to confirm dryness.
Prime with a stain-blocking, mold-resistant primer, then repaint with appropriate bathroom-grade paint to prevent recurrence.
Heat and steam from showers causing delamination
When hot, humid air from your shower repeatedly hits cool painted surfaces, the temperature and moisture swings can break the paint’s bond and cause it to lift and blister.
You can prevent delamination by venting steam with a fan or window, running it during and after showers, using mildew-resistant, bathroom-grade paint, and repairing bubbled areas: scrape, dry thoroughly, prime, then repaint with appropriate products.
Chemical reactions with previously applied coatings or contaminants
Beyond steam and temperature swings, chemical interactions can also make bathroom paint bubble.
If you painted over incompatible coatings—oil over latex, old varnish, or residual cleaners—the new paint can fail to adhere and blister.
Contaminants like soap scum, silicone, or mildew inhibitors interfere too.
Strip, clean, sand, and use a compatible primer before repainting to prevent recurring bubbling.
Diagnose the Root Cause Step-by-Step Inspection
Start with a clear visual checklist—look for bubbling, peeling, discoloration, and paint texture changes.
Then touch and probe for soft spots or indentations, measure moisture with a hygrometer or moisture meter, and inspect nearby plumbing, vents, and the roof for leaks.
If readings are high, you notice active leaks, or the problem’s beyond basic repair, call a professional plumber or contractor.
Step 1: Visual inspection checklist
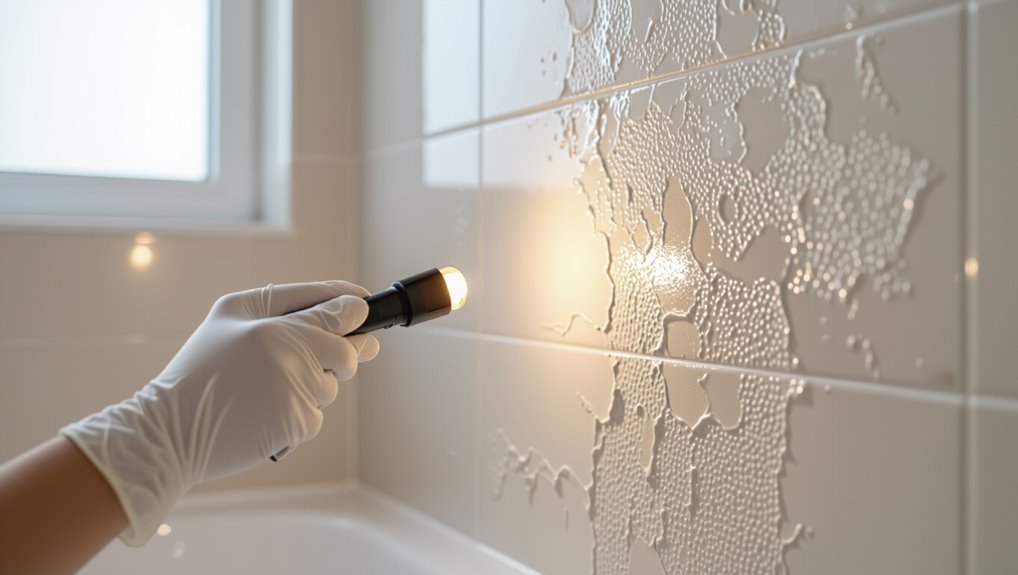
1 quick, systematic walkthrough will help you spot the obvious signs that point to your bathroom paint problem.
Look for discoloration, bubbling patterns, and nearby water sources. Note locations, size, and spread to guide repairs.
- Check ceiling and upper walls near showers
- Inspect corners, trim, and caulk lines
- Scan for mold stains or peeling adjacent finishes
Step 2: Touch and probe tests (soft spots, indentations)
Now that you’ve completed the visual check, move in close and use your hands and a simple tool to gently probe the suspect areas; press for soft spots, run your fingers along edges, and use a blunt screwdriver to test for indents or crumbling beneath the paint.
Note how paint flexes, whether substrate yields, and whether blistered areas separate—these tactile clues narrow likely causes and repair needs.
Step 3: Moisture measurement and tools to use
Once you’ve ruled out surface defects with touch and probing, measure moisture levels to pinpoint whether water is driving the paint issues. Use a reliable moisture meter, a hygrometer for ambient humidity, and simple checks like the hair-dry test to confirm active leaks versus residual dampness.
Scan walls, ceilings, and trim; log readings over time, note hot spots, and document conditions before repairs.
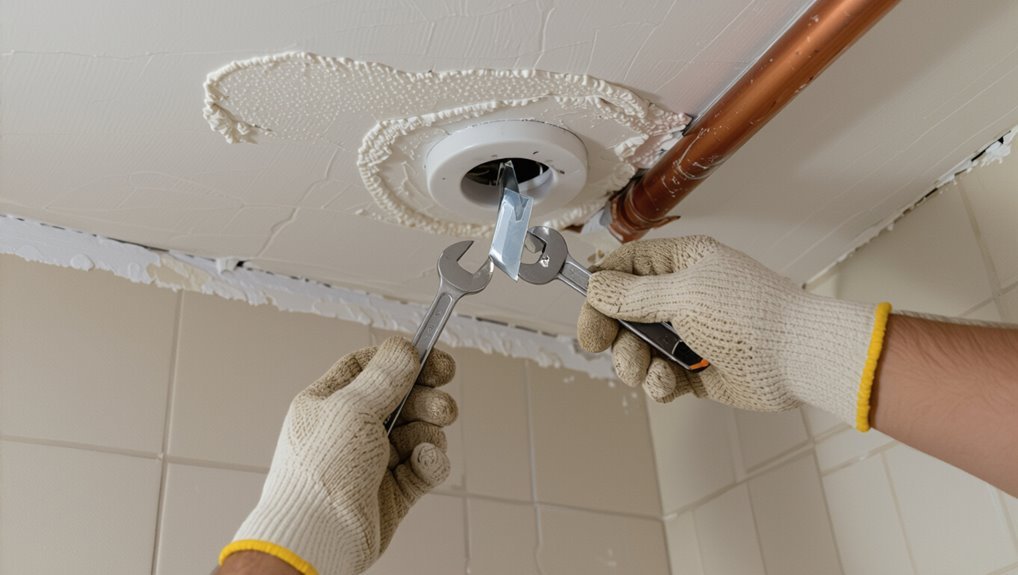
Step 4: Checking for plumbing leaks and roof/vent issues
Because hidden leaks and vent issues often mimic surface moisture, you should inspect plumbing and roof/vent systems next to find the true source of paint problems.
Check under sinks, around toilet bases, and behind access panels for slow drips or corrosion.
Inspect roof flashing, vent caps, and attic around bathroom vents for moisture stains.
Note any active leaks and trace their paths.
Step 5: When to call a professional plumber or contractor
If your inspections turn up persistent leaks, extensive mold, or damage that goes beyond cosmetic fixes, call a licensed plumber or contractor so the problem gets diagnosed and repaired correctly.
You should also call when DIY fixes fail, odors persist, structural timbers warp, or multiple rooms show moisture.
Professionals’ll locate hidden sources, provide permanent repairs, and document issues for insurance or warranty claims.
Fixes and Repair Options (How-To / Step-by-Step)
You’ll want to weigh temporary fixes against permanent repairs based on how extensive the damage and moisture source are.
For small areas, scrape loose paint, fully dry the surface, prime, and repaint following each step carefully.
For large or recurring bubbling, remove all affected paint, repair or replace the substrate, treat any mold, then reapply proper primer and paint.
Always locate and fix leaks first—repair plumbing, flashing, or grout—and treat and prevent mold and mildew before painting.
Temporary fixes vs permanent repairs
When a paint problem pops up in your bathroom, knowing whether to apply a quick temporary fix or schedule a permanent repair will save time, money, and frustration.
Use temporary fixes—like blotting moisture, using dehumidifiers, or applying sealant—as short-term relief while you assess cause.
Choose permanent repairs—addressing leaks, replacing drywall, or improving ventilation—when moisture damage is recurring or structural.
Small-area repair: scraping, drying, priming, repainting step-by-step
Start by isolating the damaged spot and gathering your tools—scraper, sandpaper, drying supplies, primer, and paint—so you can work efficiently.
Scrape loose paint, sand edges smooth, dry fully, apply stain-blocking primer, then repaint with bathroom-grade paint. Cure between coats and monitor for adhesion.
- Scrape and sand to sound substrate
- Confirm complete drying before priming
- Use mildew-resistant primer and paint
Large-area repair or recurring bubbling: remove, repair substrate, treat mold, reapply
Tackle large-area paint failure by removing all loose material, evaluating and repairing the underlying substrate, treating any mold or mildew, then reapplying proper primers and bathroom-rated finishes; this sequence prevents recurrence and restores a durable, healthy surface.
You’ll strip damaged paint, fix drywall or plaster, make certain surfaces are dry, then prime and finish with mildew-resistant coatings for lasting results.
- Remove and assess substrate
- Repair and dry thoroughly
- Prime and apply bathroom-grade paint
Treating and preventing mold and mildew under bubbled paint
Because mold often hides beneath bubbled paint, you’ll need to expose, treat, and prevent regrowth before repainting; that means removing all loose paint, inspecting the substrate, killing and cleaning any mold with appropriate cleaners, drying the area completely, and applying mildew-resistant primer and paint to stop recurrence.
After treatment, monitor humidity, ventilate, and use cleaners periodically to catch returning growth early.
Repairing leaks before repainting plumbing and flashing fixes
If you found mold under bubbled paint, you’ve already exposed underlying issues that can include slow leaks in plumbing or failed flashing—these must be fixed before you repaint.
Locate the source, shut off water, and tighten or replace fittings.
Repair or replace damaged flashing and surrounding sheathing, dry the area thoroughly, and confirm no further moisture.
Only then resume surface prep and repaint.
Recommended products: primers, paints, sealants (brief comparison)
When you’ve fixed leaks and dried the substrate, choose primers, paints, and sealants that match the surface and moisture conditions; a good primer will block stains and promote adhesion, mildew-resistant paints will handle humidity, and silicone or polyurethane sealants will protect joints. Pick a bonding primer, semi-gloss bathroom paint, and caulk rated for wet areas.
| Product | Best use |
|---|---|
| Bonding primer | Porous or glossy surfaces |
| Mildew-resistant paint | Walls/ceilings |
| Silicone sealant | Joints/fixtures |
| Polyurethane sealant | High-movement seams |
Prevention and Best Practices
To keep bathroom paint problems from coming back, start by improving ventilation—use a vent fan with a timer or open windows after showers.
Pick mildew-resistant paints and primers made for high-humidity spaces, and follow a surface-prep checklist (clean, dry, patch, sand) before you paint.
Then set up simple maintenance like regular cleaning and checking seals so small issues don’t turn into big repairs.
Ventilation upgrades and usage tips (fans, timers, windows)
Because moisture is the main culprit behind paint failure, upgrading and using proper ventilation should be your first line of defense: install a correctly sized exhaust fan, add a timer or humidity sensor, and use windows to boost airflow when weather allows.
Run fans during and 10–20 minutes after showers, set humidity-triggered controls, keep vents unblocked, and maintain fans to prevent recurrence.
Choosing the right paint and primers for bathrooms
If you want paint that stands up to steam and occasional splashes, pick products formulated for high-humidity spaces and pair them with the right primer; they resist mildew, clean easily, and keep the finish from peeling.
Choose semi-gloss or satin acrylic latex for durability and washability, and use a moisture-blocking, stain-sealing primer on drywall or previously repaired areas for better adhesion.
Surface preparation checklist before painting
Now that you’ve picked paints and primers that handle humidity and cleaning, get the substrate ready so those products can perform.
Remove loose paint, clean grime with a mild detergent, and make sure surfaces are dry.
Repair damaged areas, sand glossy spots, and prime bare patches.
Follow this checklist before painting:
- Scrape and clean surfaces thoroughly
- Sand and feather edges
- Patch, dry, and spot-prime
Routine maintenance to avoid recurrence
When you finish painting, keep moisture and wear from undoing your work by adopting a few simple routines: wipe down walls after showers, fix leaks immediately, run exhaust fans or open windows, and replace caulk where it cracks.
Inspect paint quarterly for blisters or peeling, touch up small spots promptly, and avoid hanging wet towels against painted surfaces to prevent trapped moisture and mold.
Common Mistakes That Make Bubbling Worse
If you paint over damp surfaces or skip primer and cheap out on paint, bubbling will come back faster than you expect.
Don’t ignore small leaks, persistent condensation, poor ventilation, or how people use the space — those problems feed trapped moisture.
Fixing these mistakes early keeps bubbles from getting worse and saves you time.
Painting over damp surfaces
Because moisture traps under a fresh coat, painting over damp surfaces almost guarantees bubbling and peeling sooner rather than later.
If you skip drying, water vapor pushes through the film, breaking adhesion. You should wait until walls are fully dry, use a moisture meter or touch test, and improve ventilation or dehumidify.
Otherwise paint will lift, blister, and require costly scraping and repainting.
Skipping primer or using low-quality paint
Moisture problems are one common cause of bubbling, but your choice of primer and paint can make a big difference too.
If you skip primer, paint won’t seal or adhere properly, so moisture lifts it. Cheap paints often lack mildew inhibitors and flexibility, cracking under humidity.
Use a quality, bathroom-rated primer and paint to improve adhesion, durability, and resistance to bubbling.
Ignoring small leaks or condensation problems
When you overlook small leaks or persistent condensation, paint bubbling quickly follows as trapped water undermines adhesion and softens substrates.
You’ll accelerate failure if you ignore slow drips from fittings, damp grout, or window condensation.
Find and fix leaks, reseal joints, and dry affected areas promptly.
Don’t repaint until surfaces are completely dry and repaired, or bubbling will recur.
Overlooking ventilation and user habits
If you skip proper ventilation or keep showering with doors closed, you’re inviting humid air to linger and weaken paint adhesion.
That trapped moisture causes blistering, peeling, and mold growth.
Run exhaust fans during and after showers, open windows when possible, and towel-dry wet surfaces.
Change habits—shorter, cooler showers and leaving doors ajar—to reduce humidity and protect your paint.
Cost and Time Expectations
You can often fix small bubbling yourself in a few hours for under $50 in materials, but larger repairs or mold issues will need a pro and can run several hundred dollars.
Expect a contractor to quote labor and materials separately, and ask for a clear timeline—most jobs finish in a day or two unless there’s hidden damage.
Investing in proper prep and ventilation now will cut long-term costs by preventing repeat repairs.
Typical DIY repair time and cost ranges
Most common bathroom paint fixes take 1–4 hours and cost $10–$150 in materials when you tackle them yourself; labor time depends on drying cycles and prep, while cost varies with primer, caulk, sandpaper, and a quart of paint versus a full gallon.
Expect small spot repairs to be quickest and cheapest; full resealing, sanding, and repainting a small room can push time and spend to the higher end.
When repairs require professional help and expected contractor costs
When damage goes beyond touching up—think persistent mold, widespread moisture damage behind walls, or peeling that exposes bare drywall—you’ll want a pro to assess and repair it.
Expect inspections costing $100–$400.
Minor repairs (patching, repainting, mold remediation) often run $300–$1,500.
Major fixes (drywall replacement, plumbing, structural repairs) can reach $2,000–$8,000 or more depending on scope and region.
Long-term cost savings from proper prevention
If you keep up with proper ventilation, regular caulking, and timely touch-ups, you’ll save considerably over the years by avoiding major repairs.
Small investments—exhaust fan maintenance, mildew-resistant paint, and annual inspections—prevent peeling, mold, and substrate damage.
You’ll cut repainting frequency, lower contractor bills, and protect fixtures.
Prevention spreads costs, reduces downtime, and preserves home value, so routine care pays off.
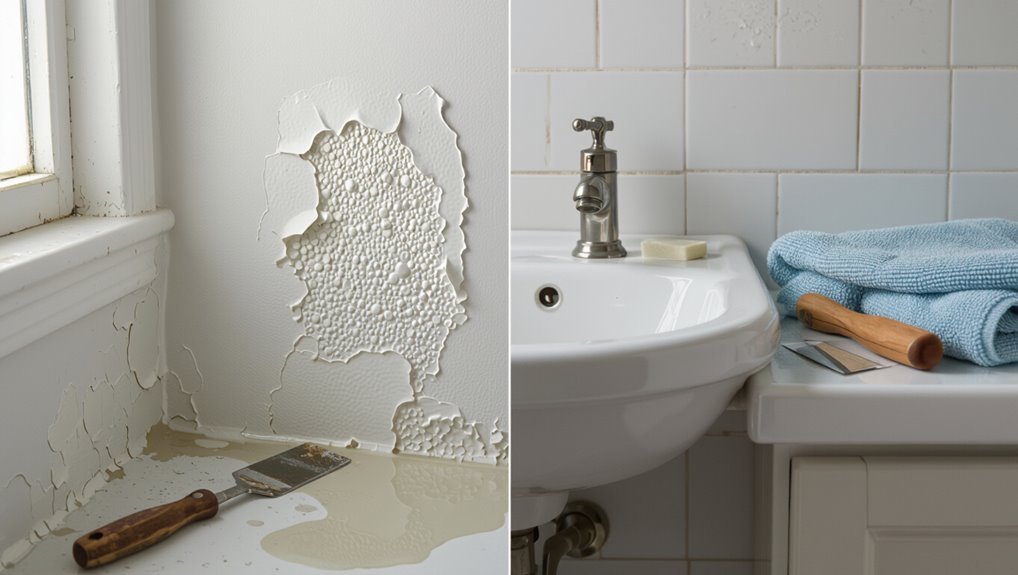
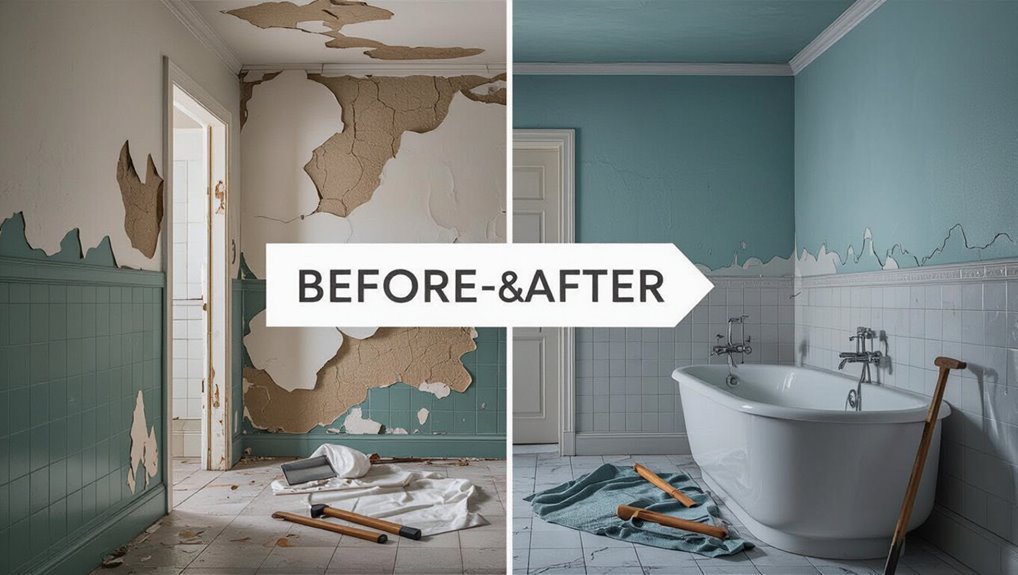
Before-and-After Case Examples
You’ll see two clear before-and-after examples to help you decide what applies to your situation.
One covers a small repair—what caused the issue, the steps you or a handyman took, and the final result.
The other shows a major remediation: the underlying cause, how a contractor approached it, and the outcome.
Small repair scenario: cause, steps taken, result
Although a small bathroom paint problem might seem cosmetic, it often points to an underlying issue you can fix quickly.
In the examples below you’ll see what caused each flaw, the exact steps taken to repair it, and the clean result achieved.
You find bubbled paint above a shower leak, remove loose paint, dry the area, patch and prime, repaint with mildew-resistant paint—smooth, lasting finish.
Major remediation scenario: cause, contractor approach, outcome
When a bathroom suffers chronic moisture damage—peeling paint, stained drywall, persistent mold—you’ll need a full remediation rather than a quick touch-up.
Contractors will diagnose the source, remove compromised materials, and rebuild the assembly to code so the problem doesn’t recur.
You coordinate repairs; they replace drywall, insulation, and vapor barriers, fix leaks, install proper ventilation, and repaint with mold-resistant finishes.
Result: dry, durable bathroom.
FAQ Bubbling Bathroom Paint
Wondering whether bubbled paint will fix itself or if you can paint over it?
You’ll want to know how long to wait after a leak, whether bubbling poses any health risks, and which paints hold up best in high-humidity bathrooms.
I’ll answer each of these FAQs and give clear, practical steps.
Will bubbled paint go away on its own?
Will bubbled paint smooth out on its own? Usually it won’t. Bubbles indicate trapped moisture, adhesion failure, or contamination.
Small, superficial bumps might flatten slightly as surfaces dry, but most bubbles remain or worsen. You’ll need to identify and fix the underlying cause—improve ventilation, dry the wall, or remove damaged paint—otherwise bubbling will recur and spread.
Can I repaint over bubbled paint?
If bubbles aren’t going to disappear on their own, you might be tempted to paint over them—but you shouldn’t.
Painting hides defects temporarily; trapped moisture or adhesion failure will force new bubbling.
Instead, scrape loose paint, sand edges, address the moisture or adhesion cause, prime with a suitable primer, then repaint.
That process guarantees a durable, smooth finish rather than recurring problems.
How long after a leak should I wait to repaint?
After you fix the leak, don’t rush to repaint—wait until the affected area is completely dry, which usually takes 48–72 hours for small leaks but can take several days to weeks for soaked drywall or framing.
Using a moisture meter helps you know when moisture content is back to normal so paint will adhere and bubbling won’t return.
Once dry, prime and use mildew-resistant paint.
Is bubbled paint dangerous to health?
Once the leak is fixed and the paint has dried, you may wonder whether bubbled paint poses a health risk.
Generally, isolated bubbling isn’t toxic, but it can hide mold if moisture persisted. Inspect and scrape affected areas; if you see black or musty growth, wear a mask and gloves, clean with appropriate fungicide or call a pro.
Replace compromised paint and address humidity.
What paint is best for high-humidity bathrooms?
Which paint should you pick for a humid bathroom? Choose a high-quality, mold- and mildew-resistant paint labeled for bathrooms or kitchens.
Use 100% acrylic latex or specialty moisture-resistant formulations with a satin or semi-gloss finish—they repel moisture and clean easily.
Prime with a stain-blocking, moisture-resistant primer first. Proper ventilation and surface prep matter just as much as paint choice.