35 Bathroom Ventilation Ideas for a Fresher and Healthier Space
You can cut humidity, mold risk, and odors with simple daily habits, better fans, and smarter ducting. Run the fan during and after showers, open a window for cross‑ventilation, and wipe wet surfaces. Upgrade to a correctly sized, quiet fan with a timer or humidity sensor, seal and insulate ducts to the exterior, and consider inline boosters, ERV/HRV systems, or a compact dehumidifier for persistent dampness. Keep maintenance routine, and keep going for practical tips and options.
Quick Ways to Improve Bathroom Ventilation Today
Start by tackling the easiest fixes you can do today: run an exhaust fan during and after showers, open a window or door to create cross-ventilation, and wipe down wet surfaces to cut humidity buildup.
You can use quick fixes and simple DIY hacks—install a door sweep for airflow, add a timer to the fan, and hang moisture-absorbing packs to reduce mold risk.
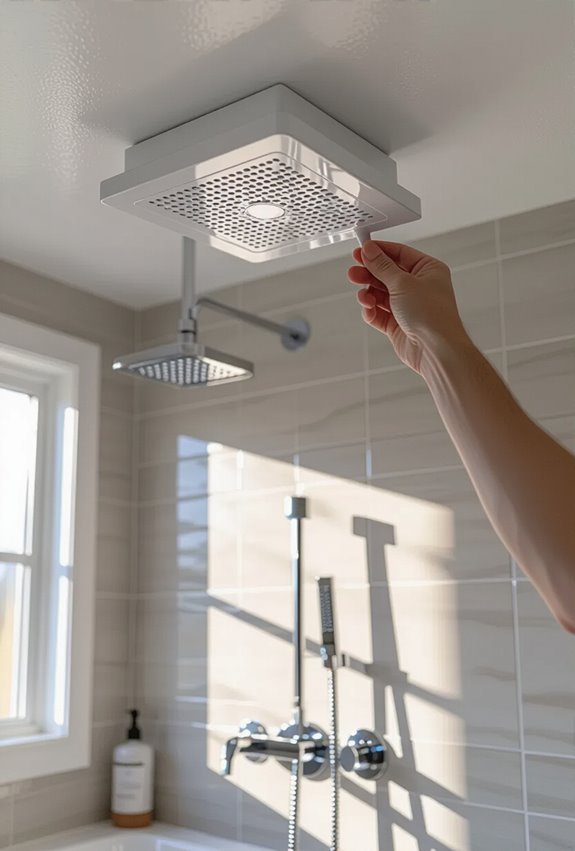
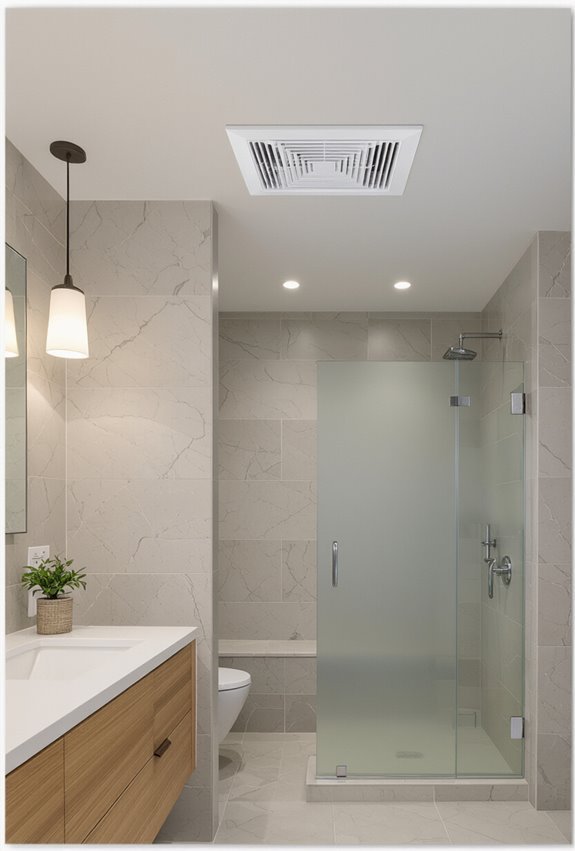
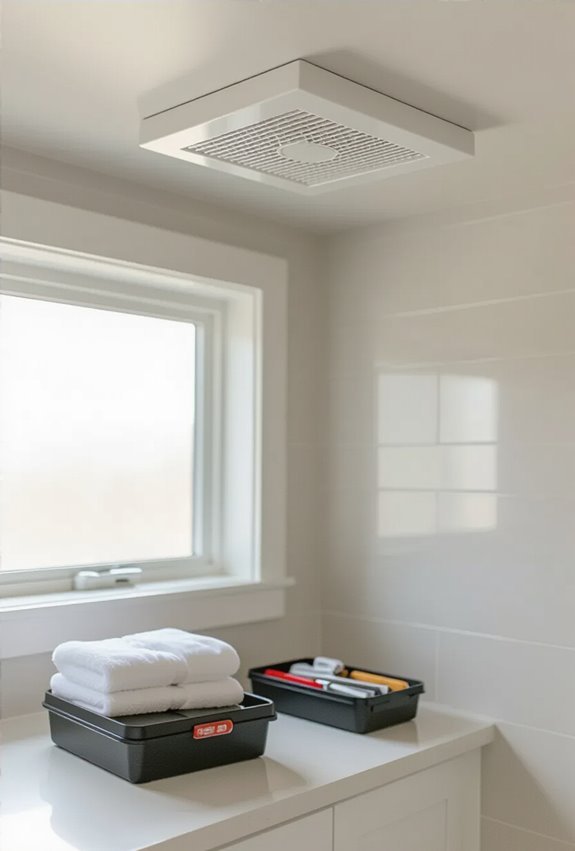
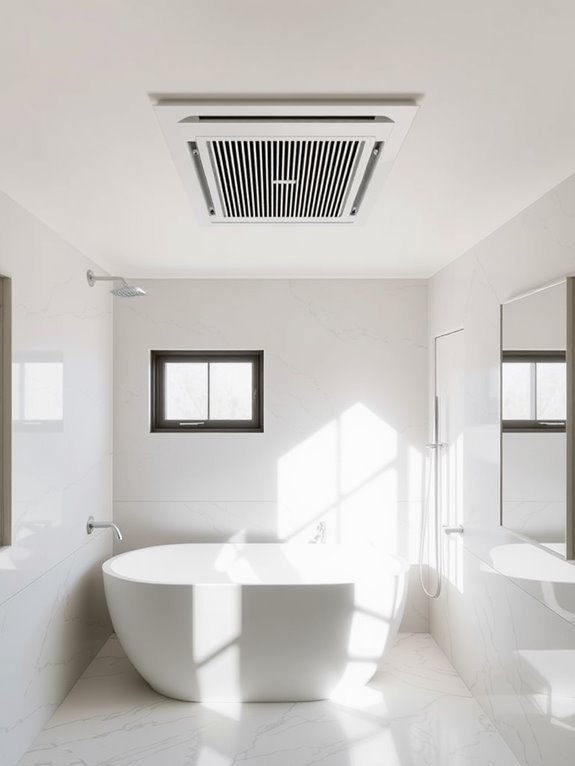
Install a Ceiling-Mounted Exhaust Fan for Fast Moisture Removal
Install a ceiling-mounted exhaust fan to remove steam and prevent mold before it starts, since placing the fan directly above the shower or tub pulls moist air up and out efficiently.
You should plan duct placement to minimize bends and use proper fan sizing based on bathroom volume and fixture count. Install on a timed or humidity sensor control so it runs long enough to clear moisture.
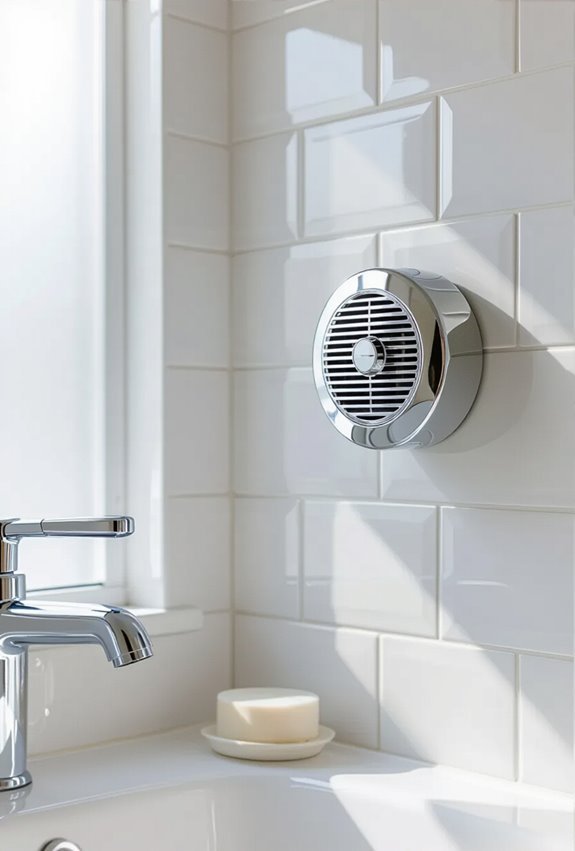
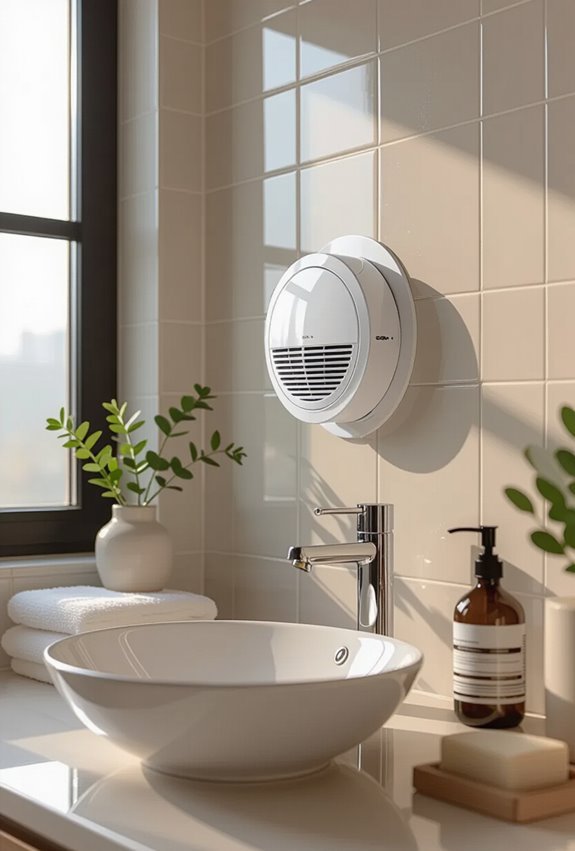
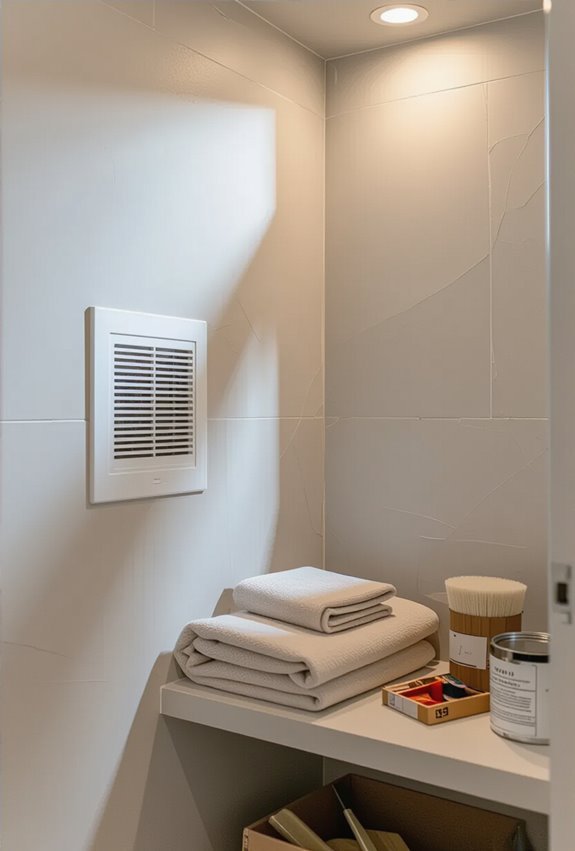
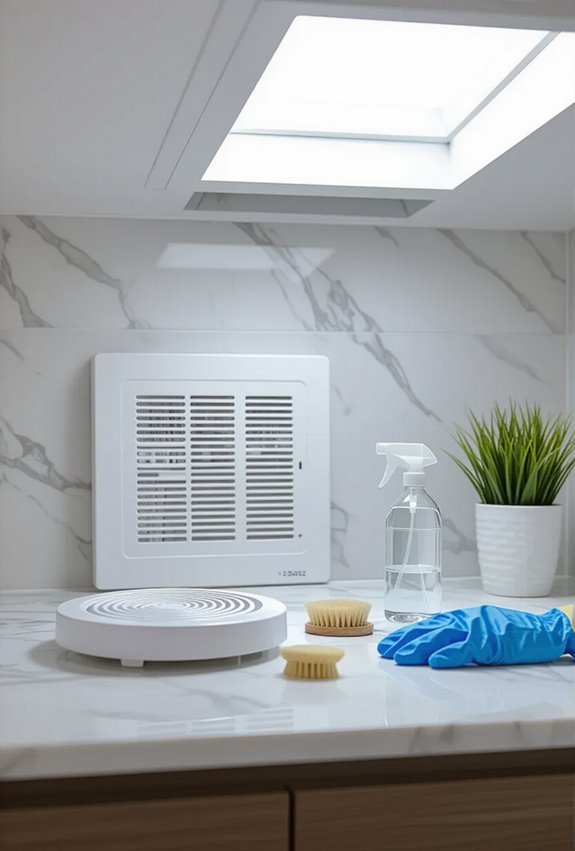
Use a Wall-Mounted Fan When Ceiling Access Is Limited
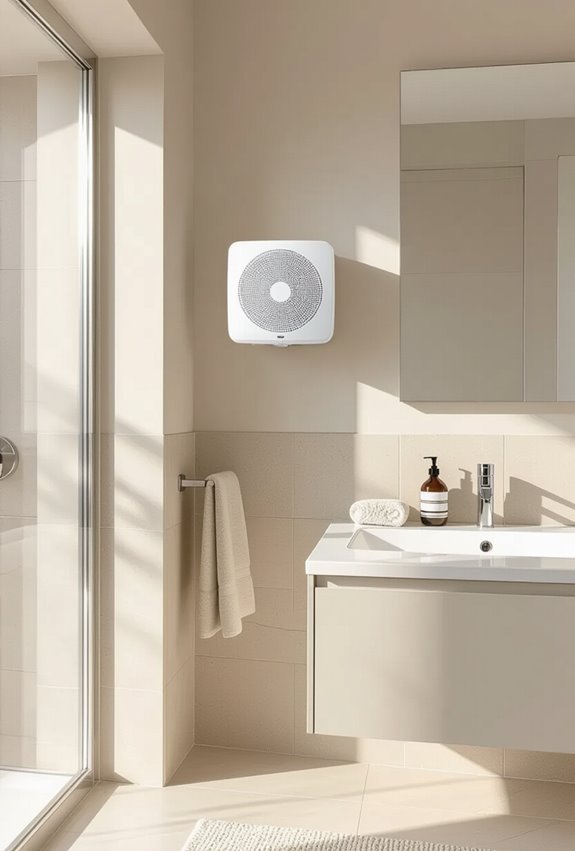
If you don’t have attic or ceiling access, a wall-mounted fan gives you powerful ventilation without major demolition.
You can install a compact blower into an exterior wall cavity, venting directly outdoors. Choose a model with a surface mounted grille for neat finish and easy cleaning.
Position it high near the shower, wire to a timer or humidity sensor, and seal penetrations properly.
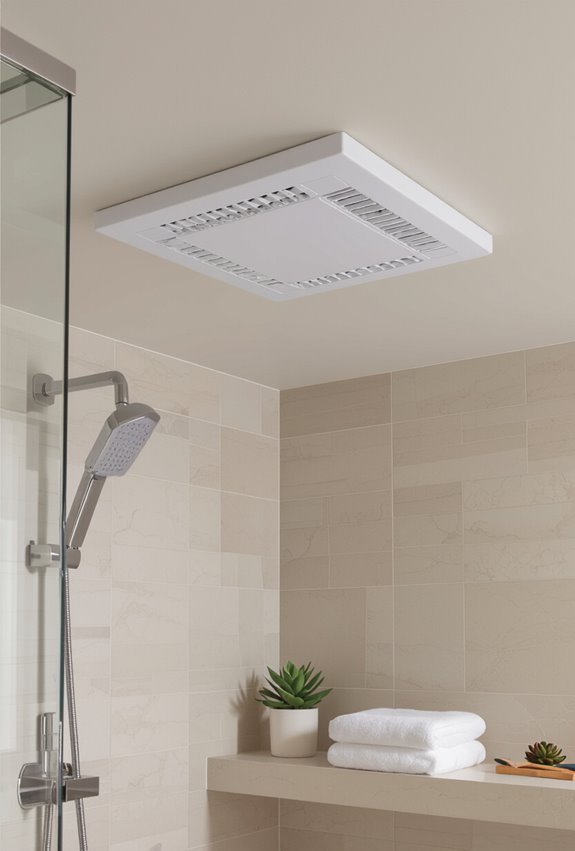
Upgrade to a Quieter, Higher-CFM Exhaust Fan
When wall-mounted units aren’t practical or you want better overall airflow, upgrading to a quieter, higher-CFM exhaust fan can make a noticeable difference in moisture control and comfort.
Choose proper fan sizing for room volume and duct length, and prioritize models with sound attenuation features like insulated housings and vibration-isolating mounts.
Install correctly to maximize performance and reduce noise.
Install a Timer or Delay-Off Switch for Better Drying
Because steam and humidity linger after you leave, installing a timer or delay-off switch keeps your exhaust fan running long enough to clear moisture without you having to remember to flip it off.
You can set timed ventilation for common drying intervals, reduce mold risk, and save energy by choosing appropriate run times. The delayed shutoff is simple to install and easy to use.
Vent Exhaust Fans Properly to the Outside
Leaving the fan running longer helps, but it won’t solve moisture problems if the exhaust doesn’t go outside.
You should route fan airflow via proper duct termination to prevent backdrafts and leaks.
Make sure exterior venting clears at least a few inches from siding, uses a weatherproof hood, and avoids attic or soffit discharge.
Verify seals and slope for reliable, code-compliant removal of humid air.
Use Insulated Ducting to Prevent Condensation and Mold

Using insulated ducting helps keep humid air warm enough to avoid condensation as it travels from your bathroom to the outdoors.
You’ll reduce mold risk by preventing cold spots that create moisture.
Choose ducting with a continuous vapor barrier and a thermal break to stop heat transfer.
Install straight runs, seal joints, and support ducts to maintain insulation integrity and long-term performance.
Add a Backdraft Damper to Stop Outdoor Air and Pests
When your exhaust fan shuts off, a backdraft damper stops cold air, insects, and small critters from coming back down the duct and into your bathroom; install one in the exterior termination or inline near the fan to create an effective one-way path for air.
You’ll improve comfort and pest proofing flap performance while maintaining proper airflow balancing, reducing drafts and unwanted odors efficiently.
Add a Window Exhaust Fan for Rental Bathrooms
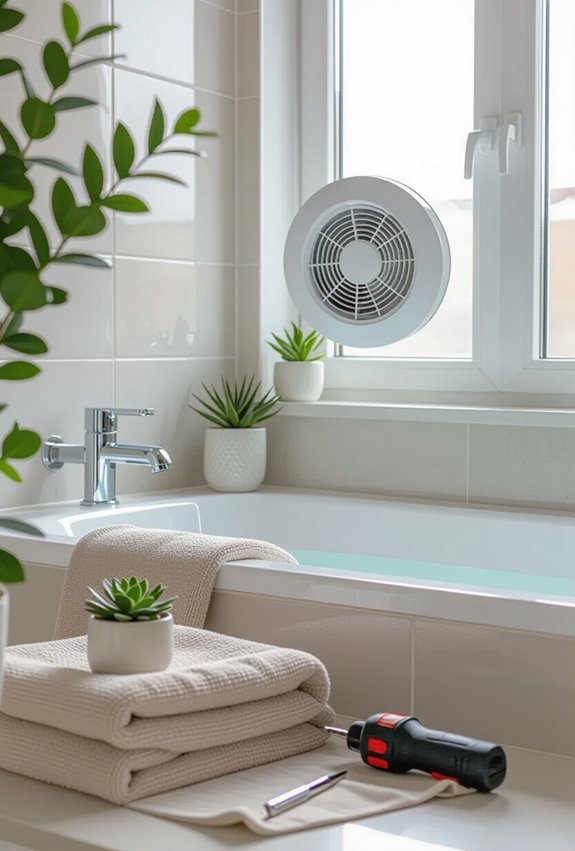
For rental units where wall or ceiling exhaust isn’t feasible, adding a window exhaust fan gives you a fast, affordable way to ventilate bathrooms without major construction.
You can install a temporary window fan that seals the opening, expelling moisture and odors directly.
It’s a renter friendly exhaust option that’s reversible, quiet choices exist, and it helps prevent mold between professional upgrades or lease changes.
Create Cross-Ventilation With Transom or Louvered Doors
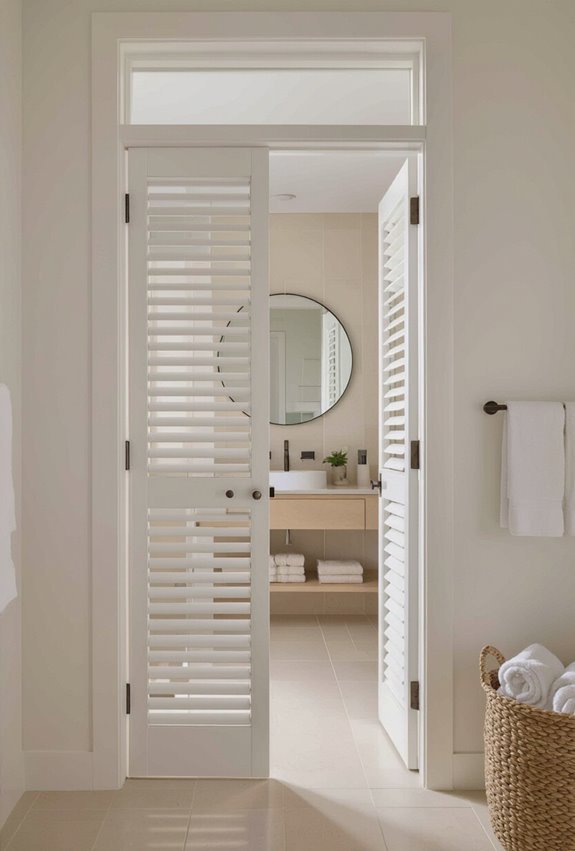
Open your bathroom door and let air move freely by adding transom windows or louvered panels—these features create a clear path for cross-ventilation, pulling fresh air in and pushing humid air out without running a fan constantly.
You’ll enjoy transom benefits like daylight and passive airflow, while louvered aesthetics add privacy and style, enabling continuous circulation that reduces mold risk and lingering odors.
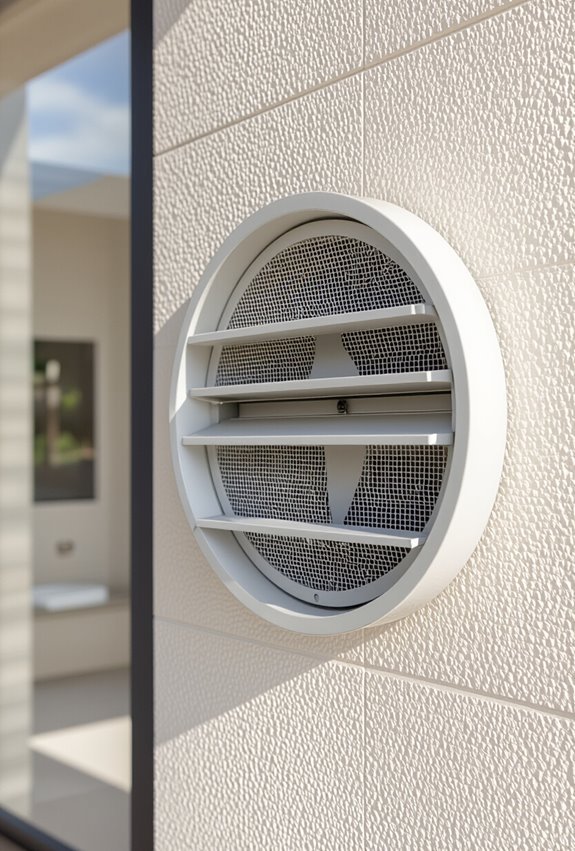
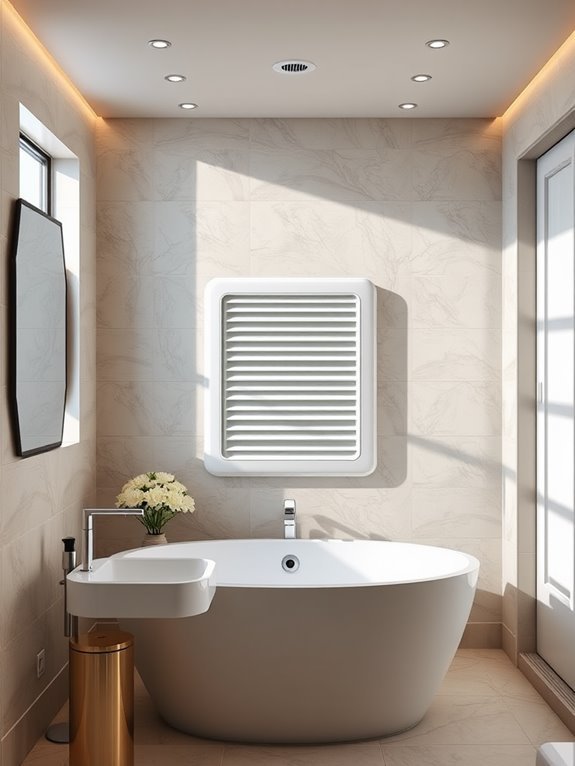
Install a Ceiling or Wall Vent Grille to Boost Air Exchange
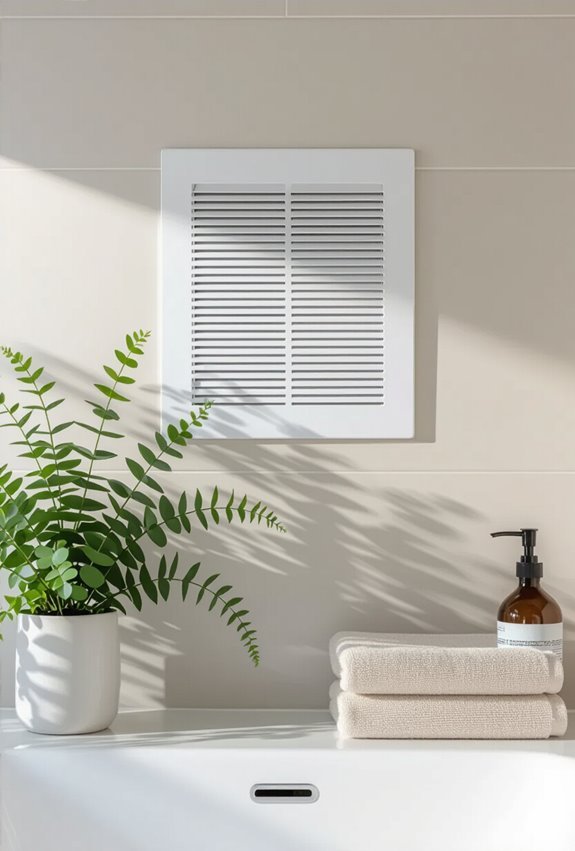
If you’ve added transoms or louvered doors to keep air moving, consider pairing them with a ceiling or wall vent grille to speed exchange and prevent stale pockets.
Choose vent placement near humidity sources and opposite room vents to create flow.
Pick a grille finish that resists corrosion and matches decor.
Install securely, seal gaps, and check airflow periodically for peak performance.
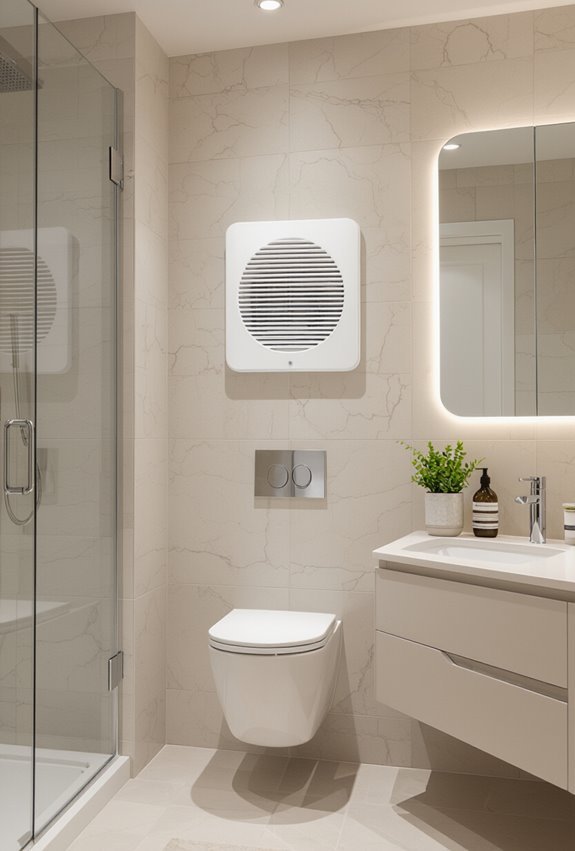
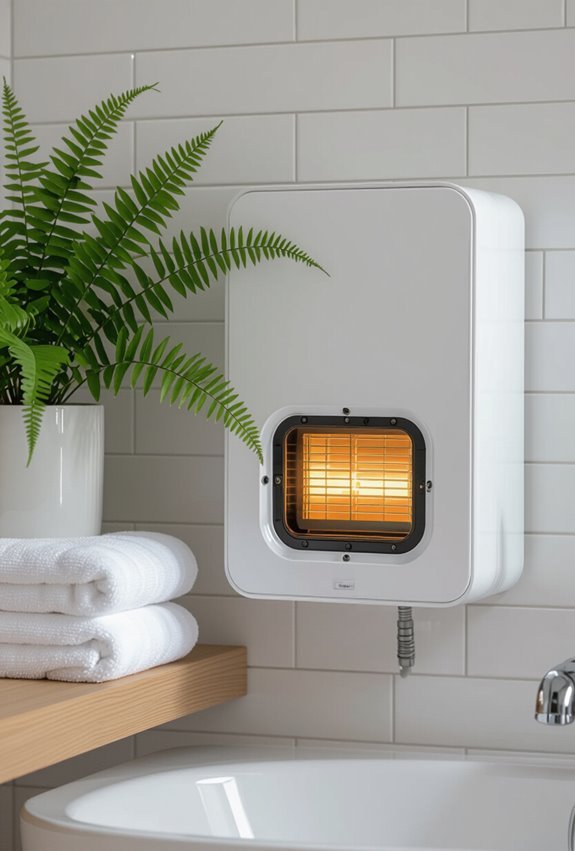
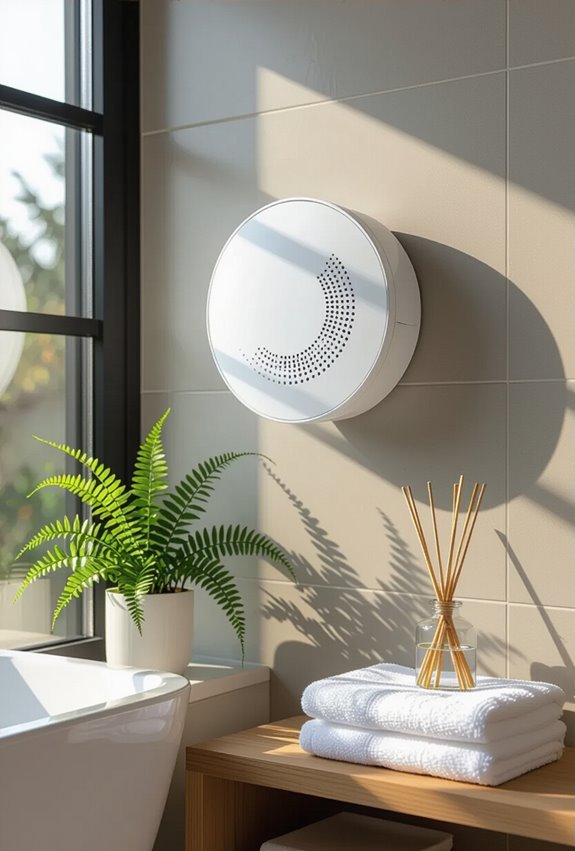
Use a Through-Wall Fan for Bathrooms Without Ducts
When you can’t run ductwork, a through-wall fan gives bathrooms reliable ventilation by expelling humid air straight outside through a short, sealed passage in an exterior wall.
You’ll get effective condensation control, lower mold risk, and quicker drying.
Choose a model sized for airflow needs; the compact installation fits tight spaces and often includes quiet motors and simple maintenance for hassle-free performance.
Add an Energy-Recovery Ventilator (ERV) for Humid Climates
Moving from heat-focused recovery, you’ll want an energy-recovery ventilator (ERV) in very humid climates because it exchanges both heat and moisture between incoming and outgoing air.
Choose ERV sizing based on bathroom volume and peak occupancy; a pro can calculate CFM.
Install a sloped drain pan beneath the unit to manage condensate and prevent mold.
Maintain filters regularly for peak performance.
Add a Dehumidifier for Basements or Poorly Drained Bathrooms
A whole-house ventilation system helps a lot, but you may still have trouble in basements or bathrooms with poor drainage—these spaces often trap moisture no ventilation alone can’t fully control.
Add a basement dehumidifier to cut humidity, prevent mold, and protect finishes.
Choose a portable basement unit for flexibility, place it near damp zones, and empty or plumb the drain for continuous operation.
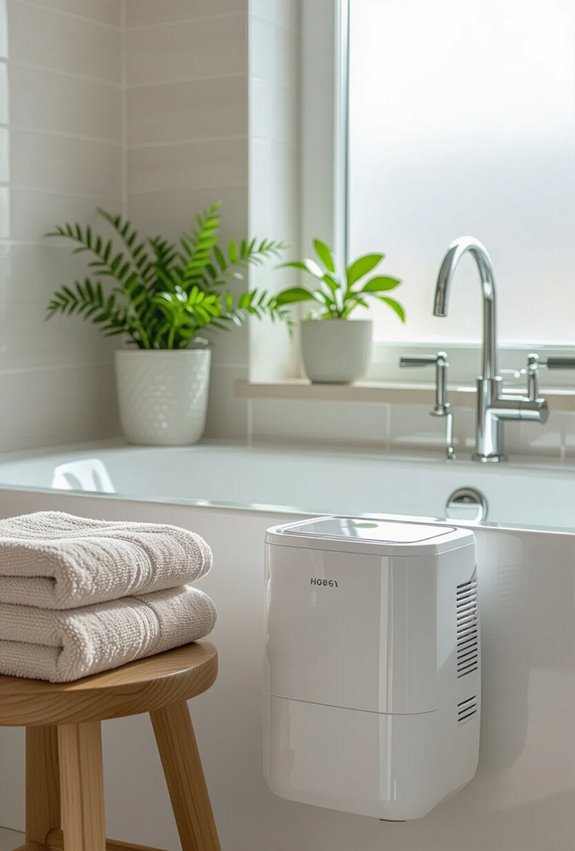
Choose a Compact Dehumidifier for Small Bathrooms
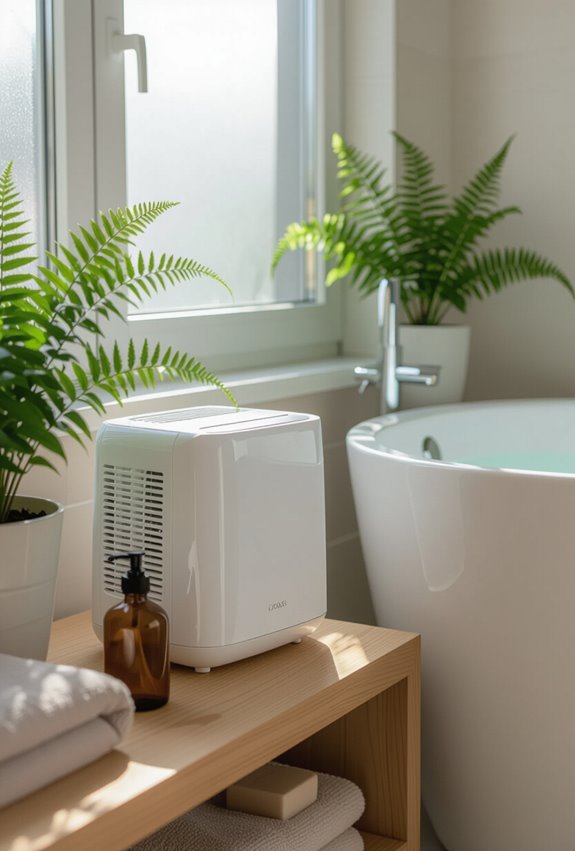
Compact dehumidifiers fit neatly under sinks or on shelves, so you can cut bathroom humidity without sacrificing floor space.
Choose a compact dehumidifier with quiet operation to avoid disrupting routines, and prefer a tankless unit for hassle-free drainage.
Make sure it’s labeled bathroom safe and sized for your room so it removes moisture efficiently and prevents mold without taking up much space.
Install Mold-Resistant Drywall and Paint to Complement Ventilation
When you pair effective ventilation with mold-resistant drywall and paint, you cut mold risk at the source by using materials that resist fungal growth and wick less moisture into building surfaces.
Choose mold resistant drywall for showers and damp walls, then apply mildew proof paint to seal surfaces.
Together they reduce spore growth, simplify cleaning, and let your fan and vents work more efficiently.
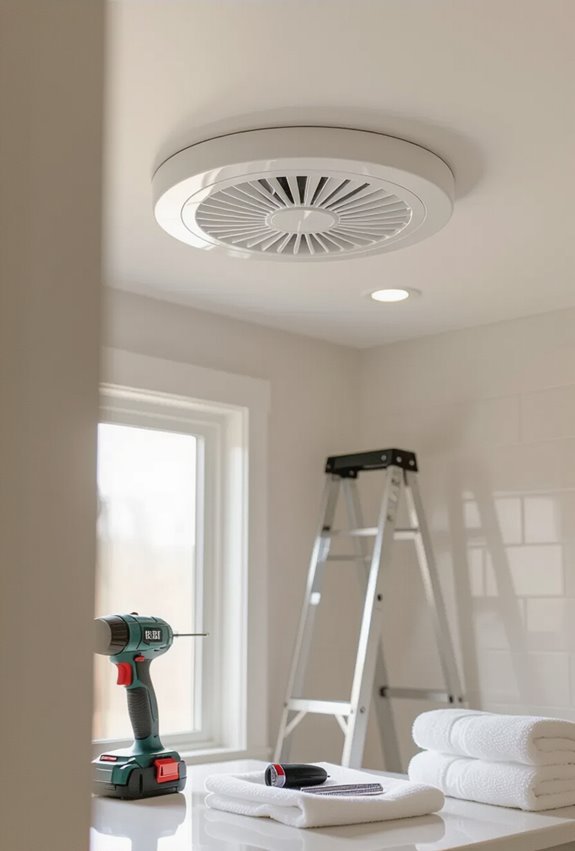
Use Ceiling Fans or Inline Fans to Improve Air Circulation
Boost airflow with a ceiling or inline fan to cut humidity and help dry surfaces faster after showers. You’ll improve ceiling circulation and reduce lingering moisture by choosing the right size and placement.
An inline installation can move air quietly through ducts to an exterior vent. Maintain fans regularly, clear ducts, and run them during and briefly after showering to prevent mold and odors.
Integrate Smart Controls for Scheduling and Monitoring Humidity
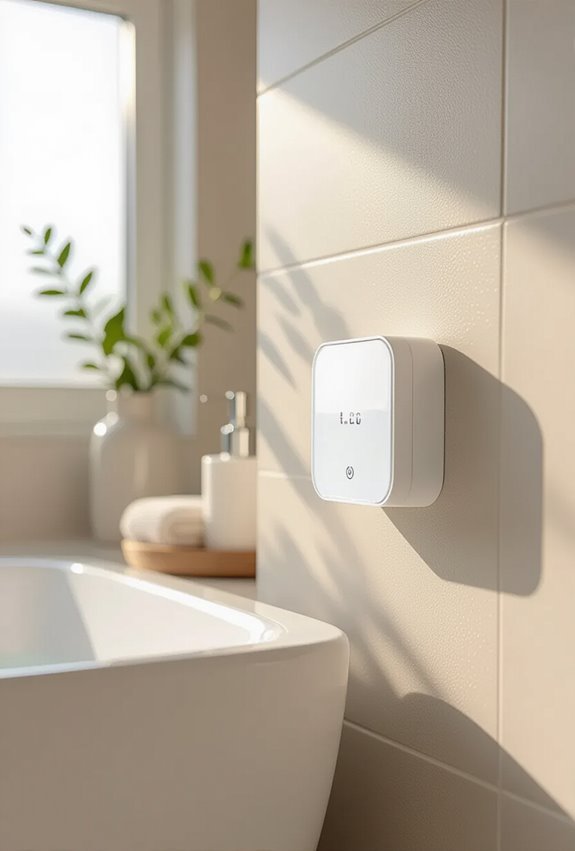
If you add smart controls to your bathroom ventilation, you’ll get precise scheduling and real-time humidity monitoring that prevent moisture buildup before it becomes a problem.
You can set smart scheduling to run fans after showers, link sensors to humidity dashboards for alerts, and review trends to adjust runtimes.
That reduces mold risk, saves energy, and keeps the space consistently healthier.
Position Vents to Remove Steam From the Shower Area
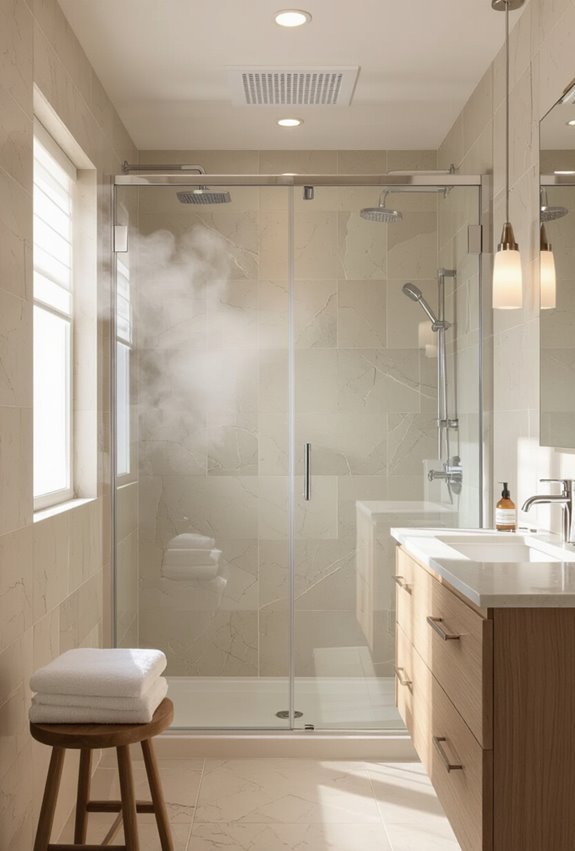
Smart controls help you know when moisture peaks, but proper vent placement actually gets that steam out where it starts.
Position vents close to the showerhead or along the shower wall for shower side extraction and targeted steam removal. Aim the grille to capture rising steam, keep duct runs short, and choose a fan that moves enough CFM to clear the stall quickly after use.
Seal Gaps and Weatherstrip Doors to Control Airflow Paths
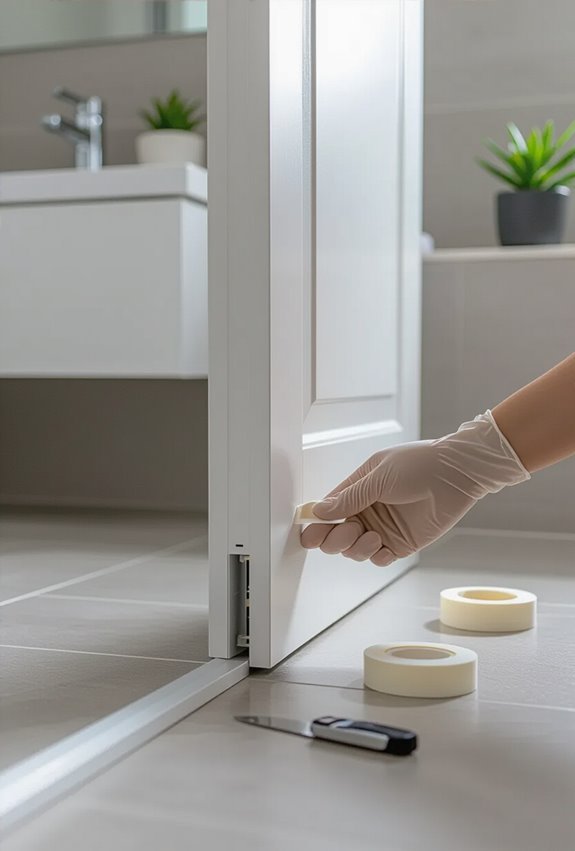
While vents pull moisture from the shower, sealing gaps and weatherstripping doors keeps that airflow where you want it, preventing damp air from bypassing the fan and lingering in corners.
You should seal cracks, install door sweeps, and add adhesive weatherstrips to create effective airflow zoning.
These simple draft mitigation steps boost fan performance, reduce odors, and limit mold-prone stagnant pockets.
Add an Inline Fan in the Attic for Long Duct Runs
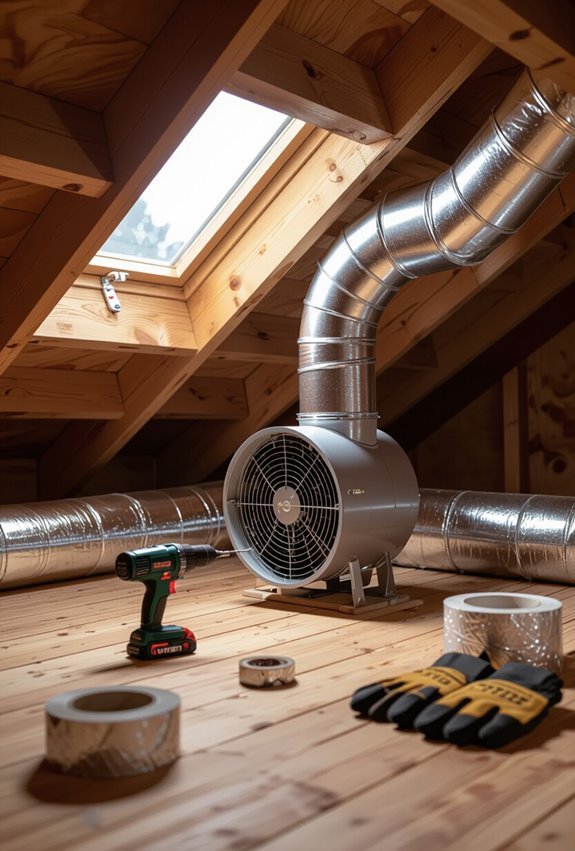
Consider installing an inline fan in the attic when your bathroom fan has a long duct run; it boosts exhaust power by placing the motor closer to the roof termination, reducing resistance and noise in the living space.
You’ll improve airflow with thoughtful duct routing, minimize heat transfer by protecting attic insulation, and position the unit for easier access while preserving quiet comfort and efficient moisture removal.
Maintain and Clean Fans, Ducts, and Grilles Regularly
Regularly clean and inspect your bathroom fans, ducts, and grilles to keep airflow strong, prevent mold, and extend equipment life.
Wipe dust from fan blades and grille, schedule duct vacuuming, and swap in fresh filters during filter replacement.
Tighten mounts, check seals, and consider grille painting to refresh appearance.
Do these tasks every few months to maintain performance and indoor air quality.
Budget-Friendly Ventilation Upgrades Under $200
Often you can upgrade your bathroom ventilation for under $200 by targeting high-impact, low-cost fixes: swap a noisy grille for a quieter model, add a timed or humidity-sensing switch, seal or insulate accessible duct runs, replace an old fan motor with a compatible retrofit kit, or install a simple inline booster for weak airflow.
Choose low cost vents, prioritize duct sealing, and test airflow after changes.
High-Impact Investments That Add Value and Comfort
If you’ve tackled the low-cost fixes and want bigger returns, consider upgrades that raise comfort and home value. Install a powerful, quiet fan with humidity sensors and timed controls to boost ROI improvements and reduce mold risk.
Add continuous ventilation, insulated ducting, and a vented window option. Track Comfort metrics like noise level, humidity swing, and recovery time to justify investment.
Energy Recovery Ventilators
Although heat recovery ventilators are effective, energy recovery ventilators (ERVs) take ventilation a step further by also managing moisture.
ERVs exchange both heat and humidity, which helps maintain a comfortable bathroom environment.
By reducing excess moisture, they prevent mold growth and damage.
Installing an ERV can greatly improve air quality, ensuring your bathroom remains fresh and inviting.
Natural Ventilation
Natural ventilation can be an effective way to keep your bathroom fresh and dry, especially if you have windows that open to the outside.
Here are some benefits of utilizing natural ventilation:
- Reduces humidity levels
- Lowers energy costs
- Improves air quality
- Requires no electricity
- Enhances comfort
Ductless Fans
If windows aren’t an option for your bathroom, ductless fans offer a practical solution for ventilation.
These fans circulate air without needing ductwork, making installation simpler and more cost-effective. They’re ideal for smaller spaces and help reduce humidity, preventing mold growth.
Plus, many models come with adjustable settings, allowing you to control airflow based on your needs.
Smart Ventilation Systems
As technology advances, smart ventilation systems have become an innovative way to enhance your bathroom’s air quality.
These systems offer convenience and efficiency, helping you maintain a fresh environment effortlessly. They often include features like:
- Remote control operation
- Voice-activated commands
- Integration with smart home systems
- Energy-efficient settings
- Real-time air quality monitoring
Upgrade your bathroom with these cutting-edge solutions!
Air Purifiers
Air purifiers are a fantastic addition to any bathroom, ensuring the air you breathe is clean and free from pollutants.
They help reduce odors, allergens, and harmful bacteria.
Consider these features when choosing one:
- HEPA filters for capturing tiny particles
- Activated carbon for odor removal
- UV light for disinfecting air
- Quiet operation for peace
- Compact design for small spaces
Architectural Ventilation Features
While many homeowners focus on basic ventilation methods, incorporating architectural ventilation features can greatly enhance your bathroom’s airflow and overall comfort.
Consider these elements to elevate your space:
- Skylights for natural light and ventilation
- Transom windows for ideal air circulation
- Decorative grilles to blend functionality and style
- Ventilated ceiling designs for improved airflow
- Open shelving for reduced moisture buildup
These features can transform your bathroom experience.
Conclusion
In the world of bathroom remodels, effective ventilation is your guiding light, illuminating the path to a rejuvenating, healthy space. Just as a gentle breeze clears the air, the right solutions whisk away moisture and odors, creating a sanctuary for relaxation. Embrace these top 15 ventilation options and transform your bathroom into a refreshing atmosphere. Remember, a well-ventilated space isn’t just an improvement; it’s the foundation of comfort and well-being in your home.