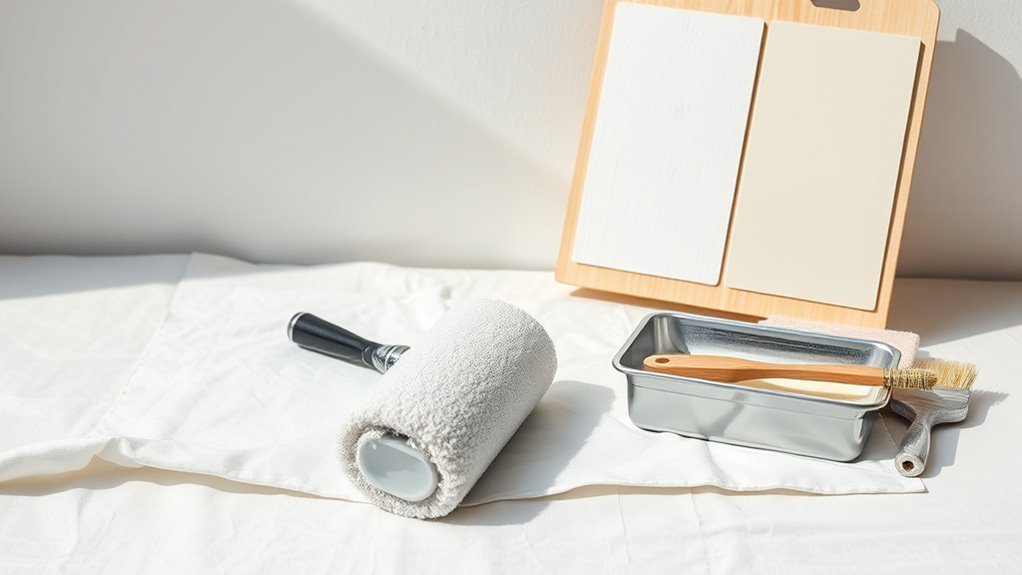
What Paint Roller for Smooth Walls
For smooth walls, pick a short-nap roller (about 1/8″–3/16″) made from woven microfiber or smooth foam so you’ll get even laydown with minimal texture and no lint. Use a quality 9″ cover on a sturdy frame, keep paint viscosity right, load the roller evenly, and work in overlapping sections with steady pressure to avoid lap marks. Replace covers if they shed. Keep going and you’ll find practical tips on tools, technique, and troubleshooting.
Quick Decision: Best Paint Roller Nap and Cover for Smooth Walls
When you want a flawless finish on smooth walls, pick a short-nap roller—typically 1/4″ or 3/16″—and pair it with a high-density foam or microfiber cover to minimize texture and leave no lint behind.
You’ll choose foam for ultra-smooth latex or microfiber for slightly higher paint load.
Consider color matching when selecting primer and topcoat to guarantee even coverage without extra coats. Test on a hidden strip to confirm sheen and tone.
Clean covers thoroughly, let them dry, then wrap for roller storage to keep nap integrity and prevent dust contamination between projects.
Why a Short Nap (1/8″–3/16″) Gives the Smoothest Finish
You’ll get the smoothest finish with a 1/8″–3/16″ nap because its low pile lays paint down thinly and evenly, filling minor surface variations without leaving the stipple or texture you see with longer naps. You’ll control sheen and avoid brush marks on smooth drywall, and short naps help with precise color matching by minimizing texture differences between samples and final coats.
Keep roller storage clean and dry to preserve nap performance. Consider these practical benefits:
Keep roller storage clean and dry to preserve nap performance — you’ll enjoy faster touch-ups, less waste, and cleaner blending.
- Faster touch-ups with minimal texture
- Less paint waste from thin laydown
- Easier blending at edges
- Cleaner cutting-in with less overlap
- Predictable finish for top coats
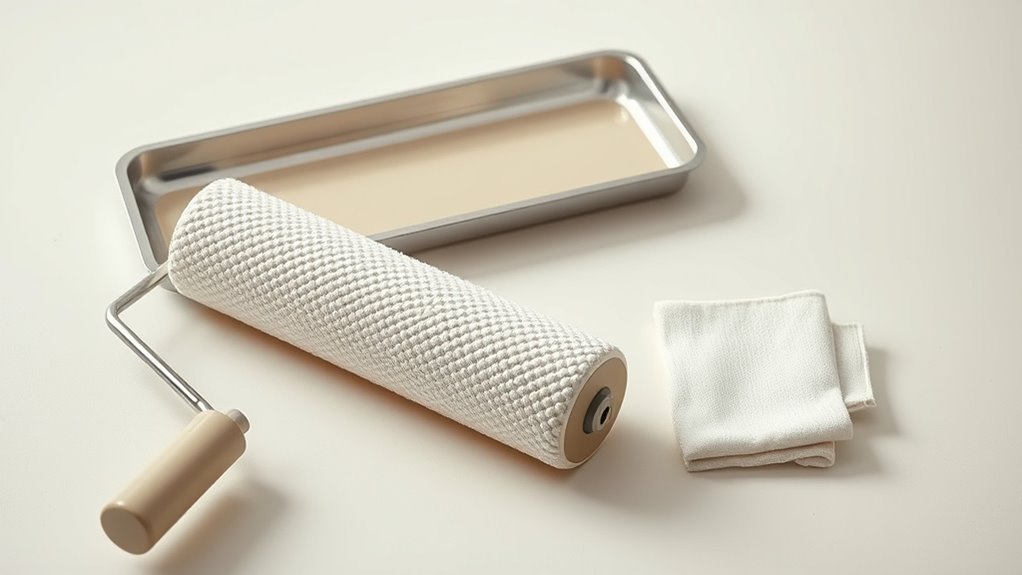
Best Roller Cover Materials for Smooth Walls (Woven Microfiber, Foam, Knit)
Although the right roller cover depends on your paint and surface, three types consistently give the smoothest results: woven microfiber, foam, and fine-knit covers.
You’ll choose woven microfiber for even laydown and minimal texture on eggshell or satin; foam for ultra-smooth latex and trim work where stipple is unacceptable; and fine-knit for balanced absorption and release with low-sheen paints.
After painting, practice proper roller cleaning to extend life and avoid contamination. Store covers dry and protected—Paint roller storage in a breathable bag or box prevents dust pickup and deformation.
Pick the material that matches your finish goals.
How Roller Quality and Frames Prevent Lint, Streaks, and Poor Coverage
Choose a high-quality roller material—like tightly woven microfiber or smooth foam—so you don’t leave lint or fuzz on the wall.
Make sure your frame is rigid and fits the cover snugly to prevent wobble that causes streaks.
Match nap length to your wall texture so you get even coverage without excess paint.
Roller Material Matters
When you’re aiming for truly smooth walls, the roller’s nap, fabric, and frame matter as much as the paint itself. You pick the right nap (short for smooth surfaces), choose a dense woven fabric to reduce lint, and prefer synthetic blends for solvent or latex paints.
Proper paint roller storage and regular roller cleaning keep fibers tight and performance consistent. Match pile height to finish and avoid cheap covers that shed. Quality materials minimize streaks and improve coverage without extra coats.
- Short nap for fine finishes
- Dense woven fabrics resist lint
- Synthetic blends suit most paints
- Clean and store rollers properly
- Replace rather than salvaging damaged covers
Frame Stability Counts
Because a wobbling frame or loose roller cover lets paint lay down unevenly, you’ll get lint, streaks, and thin spots even with the best paint and nap. You need a rigid, well-balanced frame to keep the cover snug and rotate smoothly so pressure distributes evenly.
Cheap frames bend, chatter, and shed fibers; quality rollers resist flex and maintain frame stability throughout a wall. For drywall finishing, consistent contact prevents missed areas and reduces rework.
Check bearings, secure end caps, and test roll before starting. A stable frame is simple insurance for uniform coverage and a professional-looking finish.
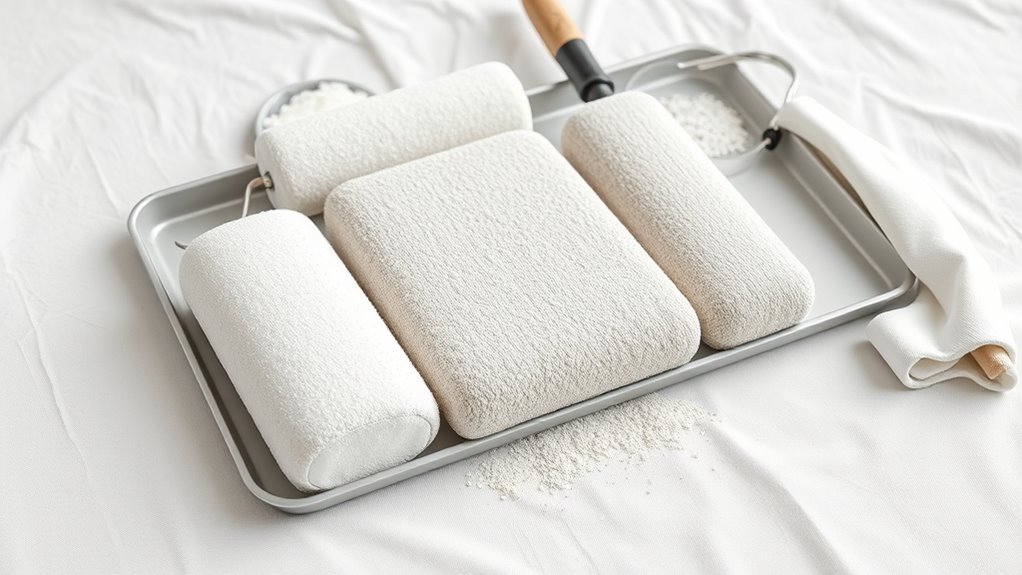
Nap Length Choice
Although nap length seems like a small detail, it directly affects how your roller lays paint and whether you’ll see lint, streaks, or thin spots. You’ll choose short naps (1/4″–3/8″) for ultra-smooth walls, medium (3/8″–1/2″) for slight texture, and avoid fuzzy, low-quality covers that shed.
Pair decent frames and quality covers to reduce lint and streaks. Maintain results with proper roller cleaning and correct paint roller storage to extend life and prevent debris. Consider these quick checks:
- Choose nap for surface smoothness
- Inspect for shedding before use
- Match frame rigidity
- Clean thoroughly after each job
- Store dry and protected
Choose Roller Size and Handle for Wall Area and Control
How big of a roller do you need for your walls? Pick a width that matches the room: 9-inch for standard walls, 18-inch for large, open areas.
Use a narrower roller for tight spots and trim to keep control.
For tight spots and trim, choose a narrower roller to maintain control and precision when painting.
Choose a handle with good ergonomics to reduce fatigue during long walls; look for a comfortable grip and balanced weight.
Consider extension pole compatibility for ceilings and high walls.
Store rollers properly—roller storage in a breathable bag or rack prevents deformation and contamination.
Swap sizes and handles as needed to maintain efficiency and a smooth, even finish across different wall areas.
Prep and Rolling Technique to Avoid Lap Marks and Texture
Before you roll, make sure the surface is clean, repaired, and primed so paint adheres evenly.
Keep a wet edge by working in manageable sections and overlapping each pass while the paint is still tacky.
Use a steady, consistent roller pressure and pattern to prevent lap marks and uneven texture.
Proper Surface Preparation
When you want a truly smooth finish, start by cleaning, repairing, and sanding the wall so paint can adhere uniformly. Remove surface contamination—dust, grease, and loose paint—so paint adhesion isn’t compromised.
Fill holes, feather joint compound, and sand to a consistent sheen. Prime bare or patched areas to equalize porosity.
Choose a fine-grit sanding block and wipe with a tack cloth before rolling.
- Remove dust and grease thoroughly
- Patch holes and sand feathered edges
- Prime high-absorbency spots
- Use a fine-nap roller for smoothness
- Wipe with a tack cloth before painting
Wet Edge Maintenance
Want your finish to look factory-smooth? Keep a wet edge by working in manageable sections and maintaining even paint flow. Match your paint’s sheen and texture to existing walls so progression stays invisible. Plan color selection and lighting to avoid reloading in high-visibility areas.
Load the roller evenly, don’t oversaturate, and roll until the nap lays flat; then back-roll lightly to blend. Overlap each pass while the previous area stays wet, and watch for drying lines at edges. If a lap appears, feather it immediately—don’t let it cure.
Proper timing prevents lap marks and preserves a seamless surface.
Consistent Roller Technique
Although a steady hand helps, consistent roller technique really comes down to proper prep and controlled strokes so you don’t introduce laps or uneven texture.
You’ll prep by cleaning and priming, matching paint batches for seamless color mixing, and protecting edges.
Load the roller evenly, work a 3–4 foot section, and maintain a wet edge.
Don’t overwork drying paint; finish each pass with light, even pressure.
Between sessions, use proper roller storage to keep nap intact and avoid debris.
Practice the “W” pattern, then fill in, keeping pace steady and overlapping slightly to blend.
Troubleshooting Paint Roller Problems: Lint, Uneven Coverage, Splatter
If your roller leaves lint, streaks, or splatter, you can fix most issues quickly by checking three things: the roller cover quality, your loading and rolling technique, and paint viscosity.
First, use a high-quality, lint-free cover and test for paint compatibility with primers or existing finishes; poor color matching can reveal flaws.
Load evenly—dip, roll in the tray’s grid, and avoid overloading. Maintain a wet edge, use consistent pressure, and cross-roll for uniform coverage.
If splatter persists, thin slightly per label, slow your arm, and use a slower stroke.
Clean or replace covers between colors.
Frequently Asked Questions
Can I Use a Roller Extender on Ceilings Safely?
Yes — you can use a roller extender on ceilings safely. You’ll guarantee extender compatibility with your roller, secure joints, maintain stable footing, use proper ceiling safety practices, and avoid overreaching to prevent falls or paint mishaps.
Are Specialty Rollers Needed for Washable Paints?
No, you don’t need specialty rollers for washable paints—unless you enjoy false prestige; standard rollers work fine. Match roller material to paint compatibility, pick a smooth-nap synthetic for durability, and you’ll clean walls without drama.
How Do Primers Affect Roller Nap Choice?
Primers affect roller nap selection because primer adhesion varies with texture; you’ll choose a shorter nap for smooth surfaces to maximize primer adhesion and a slightly thicker nap on lightly textured walls to guarantee even coverage and penetration.
Can Rollers Be Used With Textured Paints Occasionally?
Sure — you can, though textured paint’s diva tendencies mock smooth rollers; you’ll want to check roller compatibility and pick a thicker nap or specialty roller. You’ll get better coverage and hold onto texture without streaks.
What Storage Lengthens Roller Cover Life?
Store roller covers for six months to a year in a clean, dry place; you’ll extend life by using Paint roller maintenance routines and choosing Roller storage options like sealed plastic bags or airtight containers to prevent dust and drying.
Conclusion
You’ve got the right tools to turn dull walls into a silk sheet—pick a short 1/8″–3/16″ nap, opt for woven microfiber or high-quality foam, and pair it with a sturdy frame and comfortable handle. Prep, practice your W-pattern, and keep a wet edge to banish lap marks, lint, and splatter. With patience and the proper roller, your walls will go from rough canvas to satin finish, reflecting light like a calm sea.