How Long Does Chalk Paint Need to Dry Before Waxing
You should wait at least 24 hours before waxing chalk paint, and 48–72 hours is safer for a full cure, especially in cool or humid conditions. Lightly touch the surface: it should feel dry, not tacky, and have no strong solvent smell. Use thin coats, good airflow, and a dehumidifier to speed drying without heat. If you want tips on spot checks, waxing techniques, and fixing tacky spots, keep going for more detail.
Quick Answer: When You Can Wax Chalk Paint
If you’re working with chalk paint, you can usually wax it after 24 hours for light use, but wait 72 hours for full cure and best durability.
You’ll assess temperature, humidity, and paint thickness: warmer, drier conditions speed curing; heavy coats need longer. Test by pressing a fingernail in an inconspicuous spot—if it dents, wait more.
Waxing too soon traps solvents and risks tackiness or poor adhesion. Use soft paste wax sparingly and buff well to protect finish and aid color preservation.
Many historical techniques favored patience; following them prevents premature wear and keeps your finish resilient.
Quick Checklist: Is It Ready to Wax Now?
Run a quick touch test—if the paint feels dry and not tacky, it’s a good sign.
Check smell and feel: there shouldn’t be a strong paint odor and the surface should feel smooth, not gummy.
Also confirm the recommended time since the last coat has passed before you start waxing.
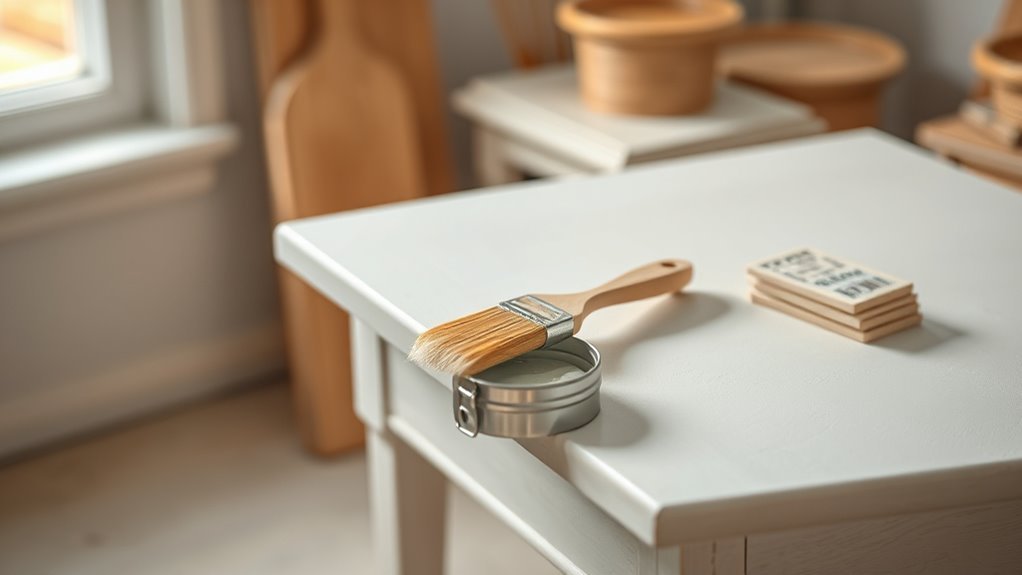
Touch Test Ready?
Before you grab the wax, make a quick touch test to confirm the paint’s ready: press a fingertip lightly in an inconspicuous spot, feel for tackiness, and check that the paint no longer transfers to your skin.
If it’s dry to the touch, inspect color consistency across the piece—uneven sheen can signal areas that need more drying time or additional coats.
Remember proper surface preparation matters; dust or residue can hide under wax.
Repeat the touch test at several spots, edges, and crevices.
If none feel sticky and color looks uniform, you’re ready to proceed with waxing.
Smell And Feel
While the paint may look dry, trust your senses—give it a gentle sniff and touch to confirm readiness for wax. You’ll want no lingering solvent smell; a faint, neutral scent is okay, but strong odor means cure isn’t complete.
Lightly press an inconspicuous spot—no tackiness, no imprint. Check edges and crevices where moisture hides.
Consider how different color options can affect perception: darker tones may hide sheen, so rely on touch and smell, not just sight.
Good surface prep reduces trapped odors and uneven drying. If both smell and feel are clean and dry, you’re ready to wax.
Time Since Coat
Smell and touch give you immediate clues, but you also need to check how long it’s been since the last coat—to avoid trapping moisture under wax. You should wait the recommended drying window (often 24 hours) and factor in temperature, humidity, and coat thickness.
Check edges and recessed areas; thin coats dry faster. Consider your color options and whether a second coat changed drying time. Review your brush techniques: heavy brushing or stroking back and forth can compress paint and slow curing.
If in doubt, wait longer.
- Note application time and conditions
- Inspect for tackiness
- Test a small wax spot
- Record drying intervals
Minimum Waiting Times for Common Scenarios
If you’ve applied a single thin coat of chalk paint in a warm, low-humidity room, plan to wait at least 24 hours before waxing to guarantee the surface’s top layer has set; for thicker coats or cooler, more humid conditions, extend that to 48–72 hours. You’ll choose color options and complete furniture preparation before finishing, and you’ll match wait times to coat thickness and environment. Use this quick guide:
| Scenario | Coat Thickness | Recommended Wait |
|---|---|---|
| Light coat, warm/dry | Thin | 24 hours |
| Standard | Medium | 48 hours |
| Heavy or humid/cool | Thick | 72 hours |
Signs Your Chalk Paint Is Ready to Wax
You’ll know your chalk paint is ready to wax when the surface feels dry to the touch with no cool or tacky spots.
Run your fingertips gently across the paint—if nothing sticks or leaves a residue, it’s a good sign.
If you still feel stickiness or see shiny patches, give it more time to cure before waxing.
Dry-To-Touch Feel
When the chalk paint feels dry to the touch, it’s a clear signal you can start thinking about waxing. Gently press a fingertip against an inconspicuous spot—if no paint transfers and the surface doesn’t feel tacky, it’s ready.
You’ll also check color matching under natural light and confirm surface preparation steps were followed so wax won’t trap dust or uneven tones. Lightly run your hand to sense uniform dryness, avoiding heavy pressure that can mark soft paint.
If unsure, wait another hour and recheck. Trust the tactile test combined with visual checks before waxing.
- Check in shade and sunlight
- Test an edge first
- Verify dust is removed
- Reassess after cooling
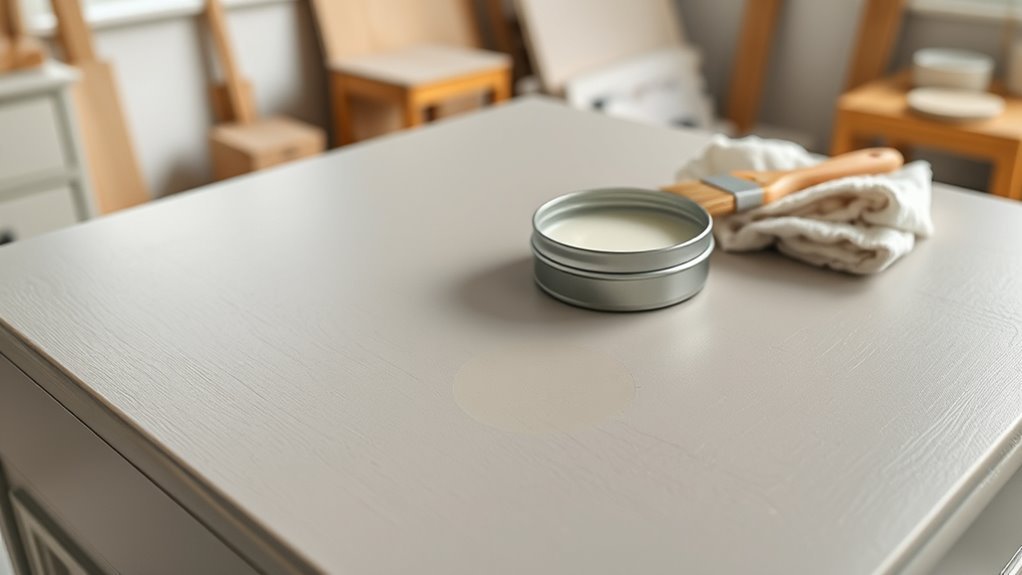
No Sticky Residue
Although the paint may look dry, don’t wax until there’s no sticky residue—lightly touch an inconspicuous spot and make sure your fingertip comes away clean and smooth, not tacky or paint-bearing.
If you feel tackiness or pick up chalk residue, give it more time. Factors like humidity, temperature, and airflow in your drying environment affect cure time, so adjust expectations accordingly.
Wait until multiple spots test clean before waxing, especially edges and corners. Rushing risks dragging pigment or trapping moisture under wax.
Patience pays: a fully non-sticky surface yields even waxing and lasting protection.
Brand-Specific Dry Times (Annie Sloan, Rust‑Oleum, DIY)
Because different brands use distinct formulations, their recommended dry and cure times before waxing can vary quite a bit, so you’ll want to treat Annie Sloan, Rust‑Oleum, and DIY mixes each on their own terms.
You’ll aim for full touch-dry first, then consider cure for color consistency and finish durability.
Annie Sloan often lets you wax after 24 hours.
Rust‑Oleum may need 24–48 hours.
DIY blends vary more, sometimes needing several days.
Check manufacturer notes and test a small area.
Consider humidity and temperature; slower cures improve results.
- Follow label guidance
- Do a touch test
- Allow extra time in cool/humid conditions
- Test finish on scrap
Check Coat Thickness and Number of Coats
If your chalk paint’s coat is too thin you’ll need more layers to get even coverage, but too many heavy coats can trap moisture and extend drying time. Check coat thickness visually and by touch; thin, even coats dry faster. Consider color options—darker shades may need extra coats. Good surface prep reduces coats needed. Aim for two light coats rather than one thick one. Track drying between coats before waxing to avoid trapping moisture.
| Coats | Effect |
|---|---|
| 1 thin | Quick dry, may need touch-ups |
| 2 light | Best balance of coverage and drying |
Temperature, Humidity, and Chalk Paint Drying
You’ll notice temperature speeds or slows chalk paint drying, with warmer temps generally speeding evaporation and cooler temps prolonging tackiness.
High humidity traps moisture and can considerably extend the cure time, so your paint might feel dry but still need more time to harden.
Check both temperature and humidity before waxing to avoid trapping moisture under the wax.
Temperature Effects On Drying
While chalk paint can feel dry to the touch within 30 minutes on a warm, dry day, the actual curing time you should wait before waxing depends heavily on both temperature and humidity. You’ll want to control room temperature because cooler conditions slow chemical curing, extending recommended drying times.
Aim for consistent warmth (65–75°F/18–24°C) to keep curing predictable. Avoid extreme heat that traps solvents or cold that stalls them. Monitor surface rather than clock alone, and don’t rush waxing.
- Warmer speeds cure
- Cooler slows curing
- Avoid direct heat sources
- Keep steady temperature
Humidity’s Impact On Cure
Temperature sets the pace, but humidity dictates how quickly solvents actually leave the surface — and that directly affects when you can safely wax.
If humidity’s high, moisture slows solvent evaporation, so the paint stays tacky longer; you’ll need more time before waxing to avoid trapping solvents that weaken paint durability.
In dry conditions, the surface dries faster but the underlying cure can still lag, so touch tests matter.
Aim to wax when the paint feels dry and no longer impressions remain.
Proper humidity control improves color retention and helps the finish harden evenly, maximizing longevity and appearance.
Speed Drying Safely: Proven Methods
If you need to speed up chalk paint drying without risking tackiness or surface defects, focus on gentle, controlled methods that move moisture away rather than forcing it. You’ll improve drying by increasing airflow, lowering humidity, and using thin coats so color options remain consistent and paint adhesion isn’t compromised. Don’t use heat guns or intense direct heat.
- Use a fan to circulate air evenly.
- Run a dehumidifier in the room.
- Apply multiple thin coats instead of one thick coat.
- Keep temperatures moderate (65–75°F) and steady.
These tactics cut drying time while protecting finish and texture.
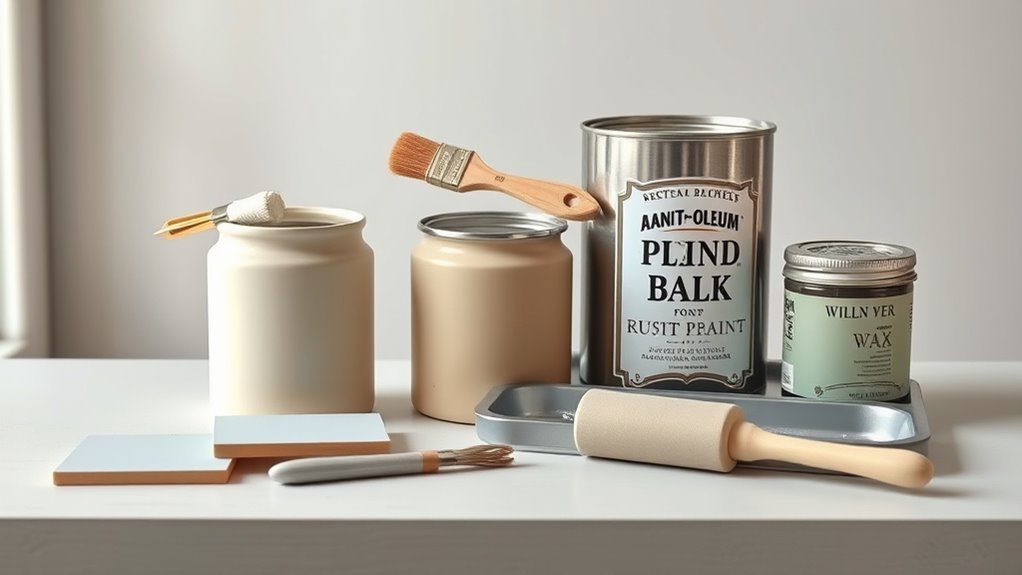
Pick the Right Wax and How to Apply It
Because the wax you choose affects sheen, durability, and maintenance, pick one that matches the look and use of your piece—clear paste for a natural matte finish, soft or satin wax for subtle sheen, and dark or tinted wax for aging and highlighting details.
For color matching, test a small area or scrap to verify the tint complements your paint.
In furniture prep, clean, sand lightly if needed, and remove dust before waxing.
Apply thin, even coats with a lint-free cloth or brush, working with the grain.
Buff each coat after drying to achieve desired sheen and protection.
Fixing Tacky or Uneven Wax (Quick Troubleshooting)
When your wax feels tacky or looks streaky, don’t panic—you can usually fix it without stripping the whole piece. First, check chalk consistency and surface preparation: thin or improperly prepared paint causes uneven absorption.
When wax feels tacky or streaky, don’t panic—check paint consistency and surface prep before drastic fixes.
If tacky, wait longer—temperature and humidity affect cure. Gently warm and buff with a soft cloth or hairdryer on low to speed polymerization.
For streaks, apply a thin additional layer of wax sparingly and blend immediately.
- Test fixes on an inconspicuous spot first
- Use soft, lint-free cloths for buffing
- Remove excess with mineral spirits if needed
- Reassess surface preparation before redoing
Frequently Asked Questions
Can I Wax Chalk Paint Over Decorative Stencils or Decals?
Yes, you can wax chalk paint over stencils or decals if stencil adhesion is secure; you’ll avoid lifting. For decals, consider decal removal first or seal edges well before waxing so they don’t peel or show through.
Does Chalk Paint Color Affect Waxing Time or Finish?
Yes — color can influence waxing time and finish. You’ll notice variations in color consistency and how the wax soaks in; darker or heavily pigmented paints may need longer curing for ideal finish durability, so adjust accordingly.
Will Waxing Change a Chalk-Painted Piece’s Odor?
Aye, like a pirate with a smartphone, waxing can alter odor; you’ll notice wax scent masking paint, and some waxes aid odor removal by sealing fumes, but strong perfumes might replace rather than eliminate underlying smells.
Can Wax Be Applied Outdoors on Chalk-Painted Furniture?
Yes — you can apply wax outdoors, but you’ll want to work in mild, dry conditions; doing so improves outdoor durability and adds weather resistance, though regular maintenance and UV protection will be necessary to keep finishes lasting.
How Does Chalk Paint Age Affect Future Waxing or Refinishing?
Yes — as paint aging progresses, you’ll find paint aging can weaken finish integrity, so you’ll test and prep surfaces; older chalk paint may need stronger cleaning or light sanding for good wax adhesion, and you’ll expect variable results.
Conclusion
You’ll usually need to wait at least 24 hours before waxing chalk paint, but check for a dry-to-touch, not-tacky finish—think of the paint like bread coming out of the oven: it should feel firm, not doughy. If it’s still tacky after 24–72 hours, give it more time or improve ventilation. Use proper wax and light coats; if problems appear, gently buff or recoat. Trust the feel, and don’t rush the cure.