How to Paint Over Marks on Wall Properly
First identify the mark—scuff, stain, or pen—then clean it with mild detergent and dry it; test a gentle eraser first to see if it lifts. Lightly sand uneven or flaking areas, apply a stain-blocking primer if needed, and match paint color and sheen. Spot-paint with a brush or mini roller, feathering edges to blend, or repaint larger sections for uniformity. Follow proper drying times and safety precautions, and keep reading for detailed tips and fixes.
Identify the Mark: Scuff, Stain, or Pen?
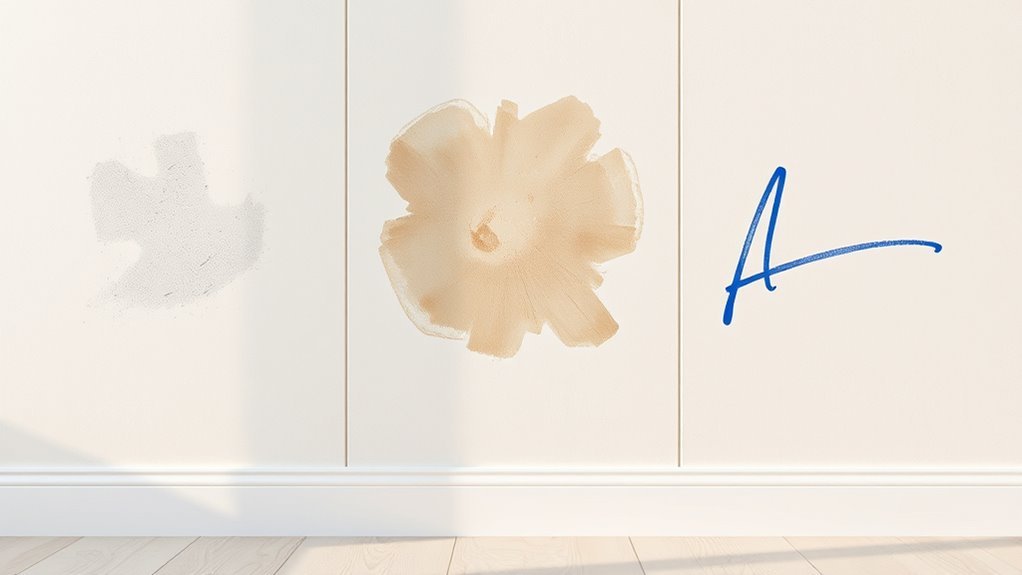
Wondering what kind of mark you’re dealing with? You’ll inspect size, texture, and depth: scuffs feel raised or smeared, stains soak in and may need a cleaner test, pen marks sit on surface and often bleed.
You’ll try a gentle eraser or damp cloth to see if it lifts; if it does, spot repair might work. Note surface finish because color matching depends on sheen and base color.
Consider underlying damage—stains may need primer to block bleed-through, which affects paint durability. Recognizing the mark correctly saves time and ensures a longer-lasting, seamless repair.
Quick Fix: Spot-Paint vs. Repaint
Now that you can tell what type of mark you’re dealing with, decide whether to spot-paint or repaint the whole wall. If the blemish is small and the surrounding finish matches, spot-painting conserves time and waste. Check color contrast carefully; a nearby swatch under natural light shows if the repair will blend.
If marks are widespread, old paint is faded, or texture differs, repainting guarantees uniform appearance and better paint durability. Also consider traffic and future wear: high-traffic zones benefit from a fresh, durable coat. Choose the larger fix when blending or longevity would otherwise fail.
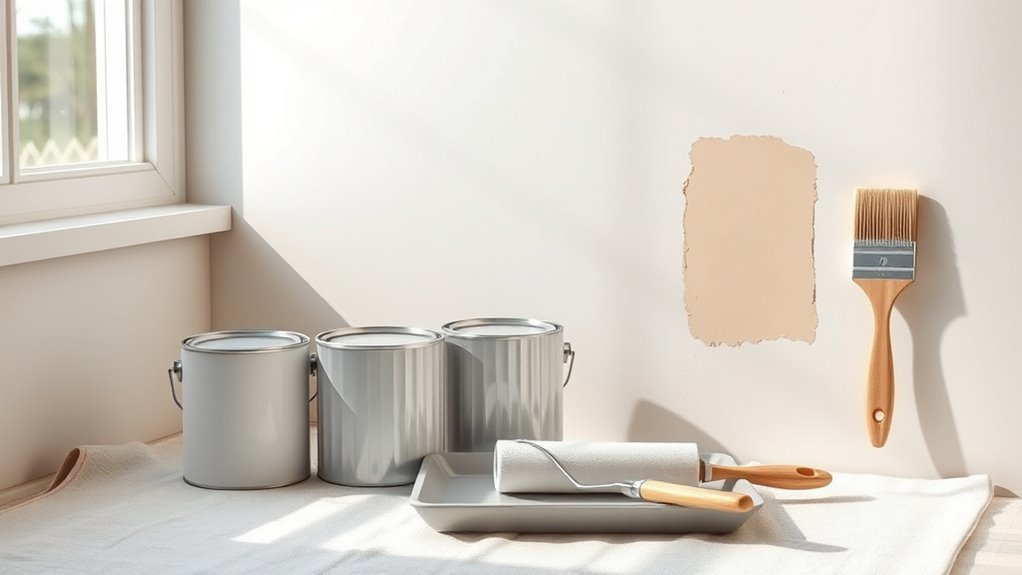
Tools for Quick Paint Touch-Ups
Before you start, gather a small kit of reliable tools so each touch-up goes quickly and looks seamless. You’ll want a sample-size paint pot matched to color and sheen, a set of small angled brushes for edges, a foam roller for flat areas, and a fingertip spackling tool for tiny dents.
Include fine-grit sandpaper, painter’s tape, and a damp cloth for dusting. Choose tools that respect wall texture to blend repairs invisibly and materials that support paint durability so patches don’t fade or chip.
Keep everything organized in a tote for fast, consistent results every time.
Clean Marks Safely Before Painting
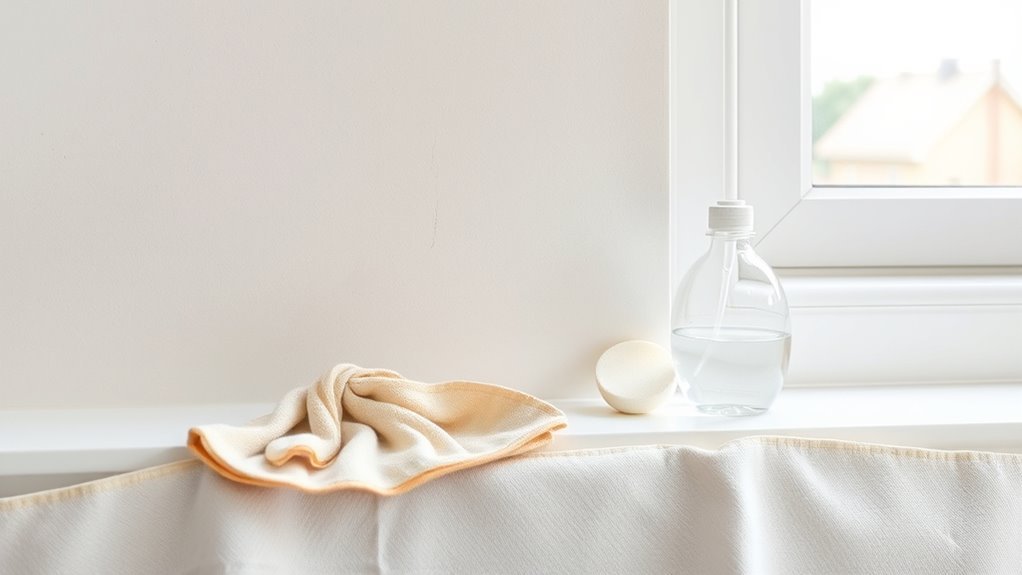
Since paint won’t hide dirt or oils, clean marks thoroughly so your touch-up blends and adheres properly. Use a soft sponge with mild detergent and water, testing a small area to protect wall texture.
Clean marks thoroughly before touching up; use a soft sponge with mild detergent, testing a small area first.
For greasy spots, a degreasing cleaner works—rinse completely and let dry. Avoid soaking textured surfaces; blot gently to preserve detail.
If you’re dealing with stubborn stains, try a diluted trisodium phosphate substitute per label instructions.
Match cleaning intensity to paint sheen: glossy finishes tolerate more scrubbing than flat.
Wear gloves, ventilate the room, and let walls dry fully before applying primer or paint.
When and How to Sand Spots
If a cleaned spot still shows uneven texture, rough edges, or flaking paint, you should sand it lightly to create a smooth, paint-ready surface. Use fine-grit sandpaper (120–220) and sand with the grain or in circular motions for small areas. Sanding is key to surface preparation and improves paint adhesion.
After sanding, wipe dust with a damp cloth and let dry before painting.
- Feather edges to blend with surrounding wall.
- Use a sanding block for flat control and even pressure.
- Inspect for remaining imperfections and repeat light sanding if needed.
Pick the Right Primer for Stains
You’ll want a primer that specifically matches the type of stain you’re covering—water-based for water stains and oil-based for greasy or tannin-rich marks.
If you’re unsure, oil-based or shellac primers give broader stain-blocking power, though they take longer to dry and smell stronger.
Check coverage and dry time on the label so you can plan touch-ups and recoat times.
Match Primer To Stain
When stains bleed through paint, choosing the right primer stops them from reappearing and saves you time later. You’ll match primer type to the stain source so sealing is effective. Use color matching for tannin or smoke stains and consider primer opacity for deep marks.
Think about paint blending when you topcoat to avoid halos. Pick a stain-blocking formula rated for your specific issue and test a small patch first.
- Identify stain (tannin, marker, water)
- Choose a primer labeled stain-blocking and compatible with topcoat
- Spot-test for color match and adhesion before full coverage
Oil Vs. Water-Based
Wondering whether to grab an oil- or water-based primer for that stubborn stain? You’ll pick oil when tannin bleed, smoke, or water stains threaten to seep through new paint.
Oil based advantages include superior sealing and stain-blocking power, especially on drywall and wood.
Use water-based if you need lower odor and easier cleanup, but be aware of water based disadvantages: weaker seal on heavy stains and potential rebleed.
Test small areas: if the stain ghosts through a water primer, switch to oil.
Always follow manufacturer instructions and ventilate when using oil-based products.
Coverage And Dry Time
How long will it take and how much will you need? You’ll choose a stain-blocking primer that covers in one to two coats; dry time varies by type—oil-based primers often dry slower than water-based. Consider coverage rate on the can and do a small test. Good primers simplify color matching later and reduce extra paint mixing.
- Read manufacturer coverage and tack/dry times.
- Apply thin, even coats; wait full cure before topcoat.
- Note humidity/temperature; they affect drying and final sheen.
You’ll save time and paint by picking the right primer for the stain type.
Match Paint Color and Sheen
Because even small differences are obvious up close, matching both the paint color and sheen is essential for a seamless repair.
You’ll start with color matching by testing small swatches in the room’s light; view at different times of day before committing. If you don’t have the original can, bring a chip to the store or use a color-matching service.
For sheen selection, match the finish—flat, eggshell, satin, semi-gloss—because sheen affects reflectivity more than hue. Apply test patches, let them dry fully, and compare.
Choose the closest combo to avoid noticeable touch-up patches on your wall.
Feather Paint Edges for Invisible Touch-Ups
When you touch up a small area, feather the paint out from the center so the new coat thins gradually into the old one; this soft shift hides brush or roller marks and prevents a visible edge. You’ll work outward with light pressure, blending to avoid color contrast and maintain paint durability. Keep strokes random and overlap slightly so the sheen reads uniform.
- Load minimal paint and tap excess off.
- Blend edges with soft, sweeping strokes moving outward.
- Let first pass dry, then reassess and repeat sparingly.
Finish gently to keep texture and avoid noticeable repairs.
Brush vs. Roller: Best Small-Spot Tool
When you’re fixing small wall marks, pick a brush for precision and a mini roller for speed.
A brush lets you cut into corners and match trim, while a roller covers flat areas faster with fewer strokes.
We’ll compare when each tool makes sense so you can finish the touch-up cleanly.
Brush For Precision
If you need clean edges and control on small scuffs, reach for a brush—it’s made for precision where a roller would be clumsy. You’ll pick a sash or angled brush to feather edges, control coverage, and avoid excess overlap. Keep bristles clean with proper brush maintenance so strokes stay sharp.
Thin or stir paint properly during paint mixing to keep consistency smooth for detail work. Work tip-to-tip, load lightly, and paint in short, confident strokes.
- Choose a 1–2″ angled brush for corners.
- Wipe excess on the can rim.
- Rinse and reshape after use.
Roller For Speed
After you’ve finished the precise edging with a brush, grab a small roller to cover larger spots quickly—rollers lay down paint more evenly than brush strokes and cut your time on any area larger than a few square inches. You’ll work faster while keeping paint texture consistent; choose nap length to match wall finish. Test a scrap for color matching before committing. Roll in light, overlapping passes and feather edges to blend with surrounding paint. Clean rollers promptly to avoid lint. Use a small tray and extension handle for comfort.
| Tool | Best for | Tip |
|---|---|---|
| Small roller | Patches | Match nap |
| Brush | Detail | Cut edges |
| Sponge | Blends | Light pressure |
Drying Times and When to Recoat
Because paint needs time to form a stable film, you’ll want to know typical drying windows before adding another coat. You’ll check the can for manufacturer times, but humidity, temperature, and coat thickness change that. Also consider color matching and paint sheen—different formulations dry and look different when fully cured.
- Wait 1–2 hours for touch-dry latex in warm, dry conditions before light recoating.
- Expect 4–6 hours for a full recoat on latex; oil-based often needs 24 hours.
- If humidity is high or you applied heavy layers, extend times and test by touch.
Fix Bleeding, Brush Marks & Lap Lines
To stop paint bleeding, seal edges and mask carefully before you paint.
Work with high-quality brushes or rollers and use long, even strokes to smooth out brush marks.
If you see lap lines, feather the edges and maintain a wet edge so the finish blends seamlessly.
Prevent Paint Bleeding
When you want clean, professional-looking walls, preventing paint bleeding is essential; it happens when paint seeps under tape or along edges, leaving fuzzy lines, brush marks, or lap lines that ruin the finish. You’ll control bleeding by prepping surfaces, choosing the right tape, and managing paint viscosity to maintain color consistency and support subtle edge blending.
Seal tape edges with a thin coat of base color before cutting in. Use a high-quality angled brush and light pressure. Keep a wet edge and avoid overloading the brush. Finish by removing tape at a 45° angle while paint is tacky.
- Prep surfaces
- Seal tape edges
- Maintain wet edge
Smooth Out Brush Marks
Even with proper tape sealing and a steady wet edge, brush marks, lap lines, and bleeding can still show up and steal the clean look you worked for. To smooth them, sand lightly with fine-grit paper once paint’s dry, wipe dust, then feather in a thin glaze or matching color mixed for subtle blending.
Use long, even strokes and avoid overworking wet edges. For small spots, a soft-bristle brush or mini roller helps maintain paint durability while reducing texture.
Check color matching under the room’s light, let cures set, then reassess—repeat gentle sanding and touch-up if needed.
Eliminate Lap Lines
Although lap lines, bleeding, and brush marks can ruin a fresh paint job, you can eliminate them with a few focused steps. Assess wall textures and paint sheen first so you match finish and avoid contrast. Work while paint is wet to blend; feather edges with a lightly loaded brush or roller. Sand minor ridges when dry, then wipe dust before recoating.
- Cut in carefully, keeping a wet edge and matching paint sheen.
- Roll overlapping passes in a consistent pattern to prevent lap marks.
- Spot-sand and touch up bleeding areas, then recoat for uniformity.
Touching Up Textured and Patterned Walls
If your walls have texture or a repeating pattern, you’ll need to match both the paint color and the surface profile to make repairs disappear.
Start by evaluating the pattern and testing wall texture techniques on a scrap board. Feather the damaged area with sandpaper, apply matching texture compound with the correct tool, and let it fully dry.
When choosing paint finish, pick the same sheen to avoid visible differences. Use thin, multiple coats rather than one heavy coat, blending edges outward.
Step back often to check alignment and texture continuity before declaring the repair complete.
Safety Tips and Protecting Surfaces
Before you start painting, put on gloves, safety glasses, and a mask to protect your skin, eyes, and lungs.
Lay drop cloths or plastic sheeting and secure edges, then move or cover furniture to prevent drips and dust.
Working with protection and covered surfaces keeps cleanup quick and your home safe.
Wear Protective Gear
Want to stay safe and keep your room clean while you paint? You should use proper protective gear and follow basic safety precautions to avoid inhaling fumes, getting paint on skin, or irritating eyes.
Put on gloves, goggles, and a respirator if you’re working with strong fumes.
Keep windows open and use a fan for ventilation.
Avoid loose clothing and tie back hair.
Clean splatters from skin promptly with soap.
- Gloves: nitrile or latex for chemical protection.
- Goggles: splash-proof eye protection.
- Respirator: rated for paint vapors, not just dust.
Cover Floors And Furniture
How will you keep paint off floors and furniture? Lay drop cloths or plastic sheeting, taping edges snugly to baseboards so debris and drips can’t creep under. Move small pieces out or cover them completely; use painter’s tape on hardware and legs.
For delicate flooring, add cardboard or rosin paper for extra protection. Elevate furniture on blocks if you need to paint baseboards around it.
Watch how wall texture catches splatter; mist edges lightly rather than heavy strokes. Match paint sheen considerations when protecting trim and nearby surfaces—different sheens show flaws differently—so remove tape promptly after paint skins over.
Preventing Future Marks and Easy Touch-Ups
If you take a few simple steps now, you’ll cut down on future scuffs and make touch-ups quick and painless. Keep traffic patterns clear, use chair pads, and install bumpers where furniture meets walls. Match your touch-up paint to the original paint sheen and consider how wall texture affects blending so repairs vanish.
- Keep a small sealed container of matched paint and note the sheen.
- Clean marks gently with a mild detergent before touching up.
- Sand tiny bumps and feather edges to match wall texture, then spot-paint.
Do these and you’ll handle blemishes fast without major rework.
Cheap Alternatives and When to Call a Pro
When money’s tight, you can still fix most wall marks with inexpensive tools and smart techniques. You’ll try spackling, sanding, primer, and small sample paints for color matching. Use foam rollers for smooth blends and thin coats to preserve paint durability. Call a pro when damage is structural, moldy, or covers large areas, or if you need flawless color matching across textured surfaces.
| DIY Option | When to Use |
|---|---|
| Spackle & sand | Small dents |
| Touch-up paint | Scuffs |
| Primer & sample | Stains |
| Roller blend | Large patches |
| Pro service | Structural/mold |
Frequently Asked Questions
Can I Paint Over Marks on Wallpaper Without Removing It First?
Yes — you can paint over marks on wallpaper sometimes, but you’ll need good surface preparation and consider wallpaper removal if it’s loose or textured; you’ll prime, repair seams, and use proper paint for adhesion and durability.
Will Paint Cover Nicotine or Heavy Smoke Residue Completely?
Want to hide stains quickly? You won’t get complete smoke residue coverage with ordinary paint; you’ll need a stain-blocking primer first, then paint for reliable paint coverage and to prevent yellowing or bleed-through over time.
How Long Should Newly Painted Walls Cure Before Rehanging Decor?
Wait at least 48–72 hours before rehanging decor; lighter items after 24 hours. You’ll use proper painting techniques and wall preparation to guarantee even cure, and avoid tackiness or damage by waiting the recommended full cure time.
Can I Use Leftover Exterior Paint on Interior Spots?
About 30% of DIYers mistakenly use exterior paint indoors; you shouldn’t—exterior paint can emit stronger VOCs and finish differences. If you must, guarantee thorough surface preparation, proper ventilation, and test a small area first.
Does Temperature or Humidity Permanently Affect Touch-Up Adhesion?
Yes — temperature and humidity can permanently affect touch-up paint adhesion. You’ll want to control environmental factors like drying conditions and substrate temperature; otherwise paint adhesion may fail, causing peeling, bubbling, or poor long-term coverage.
Conclusion
Think of your wall as a well-loved book: a small smudge is a folded page you can smooth out, a deep stain may need a careful rewrite. Clean, sand, and match paint like choosing the right words; blend textures as you’d blend tone. Protect surrounding surfaces and keep touch-up tools handy so future scuffs read like gentle footnotes, not new chapters. When marks persist, call a pro to restore the story.