How to Prepare a Brick Wall for Painting Correctly
You’ll start by inspecting the brick for loose mortar, cracks, efflorescence, mold, or previous coatings, and repairing or repointing as needed. Clean thoroughly with brushes, mild detergent or masonry cleaner, rinse and let dry completely. Protect surrounding areas, mask fixtures, and set safe scaffolding. Prime with a masonry or bonding primer suited to the brick’s porosity, then paint in appropriate conditions to avoid bubbling or flaking. Keep going to get step-by-step techniques and tips.
Quick Checklist: Prep Brick for Painting (Start Here)
Before you pick up a brush, run through this quick checklist to make sure your brick is ready for paint. Inspect for loose mortar, cracked bricks, efflorescence, and mold; repair and clean those issues first.
Test porosity so primer adheres and you can predict color matching results.
Remove dirt and oils with a suitable cleaner and rinse thoroughly; let the wall dry fully.
Choose a masonry primer and paint rated for exterior durability if outside, or interior-rated products when inside—this affects longevity.
Mask adjacent surfaces, protect ground, and plan for at least two coats for consistent coverage and lasting finish.
Interior vs. Exterior Brick : Why It Matters
Wondering whether interior and exterior brick need different prep and products? You should treat them differently: interior brick faces less moisture and UV, so you can use low-VOC primers and paints that honor Architectural styles inside, while exterior brick demands breathable, weather-resistant systems and attention to Historical preservation rules.
| Location | Concern | Product focus |
|---|---|---|
| Interior | Aesthetics, indoor air | Low-VOC primer, satin finish |
| Exterior | Moisture, UV, codes | Breathable masonry paint |
| Both | Bond, mortar joints | Proper primer, compatible sealer |
Follow local preservation guidance and match finishes to style for lasting results.
Inspect Brick: What to Look For Before You Start
When you inspect brick, look for damage that will affect paint adhesion and longevity. Start by noting loose, cracked, or spalling bricks and soft mortar joints; these are structural problems, not cosmetic. Check for efflorescence, mold, or stains that signal moisture issues.
Verify previous coatings—glossy paints or impermeable sealers—since brick history influences prep and product choice. Observe flashing, weep holes, and roofline intersections to prevent trapped water.
Consider aesthetic factors too: mortar color, tooling, and any historic features tied to brick symbolism so you respect original character when choosing color and finish. Document findings before you proceed.
Remove Loose Paint and Mortar Safely
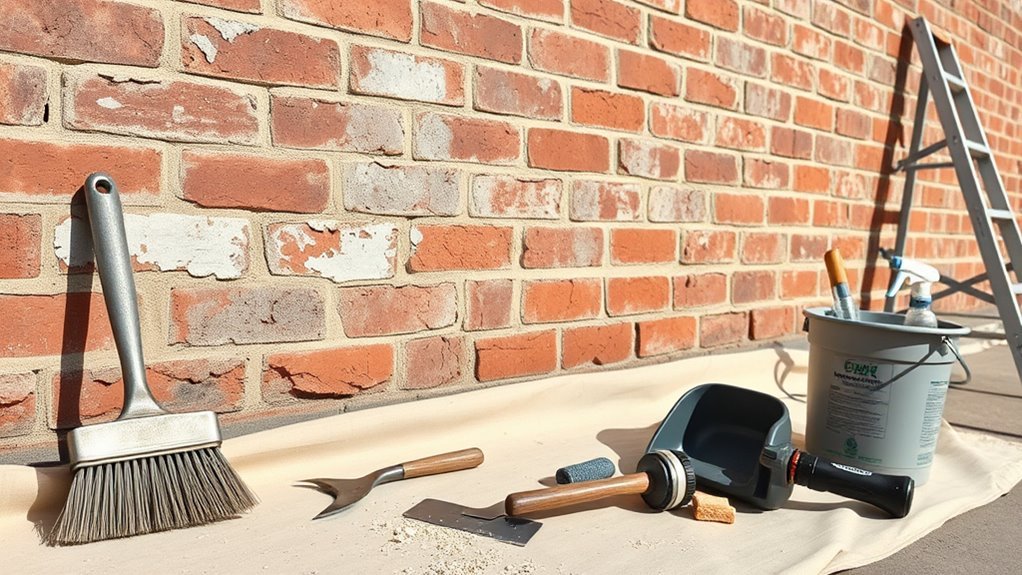
After you’ve documented damaged bricks and compromised mortar, start removing any loose paint and failing joint material so new coatings will stick and water won’t get trapped. Use a stiff nylon brush, putty knife, or a low-pressure power washer to lift flaking paint and crumbly mortar, working in small sections.
Wear gloves, eye protection, and a mask to avoid dust and particles. Rake out joints to a consistent depth before repointing. Collect debris and dispose of it per local rules.
Once stable, you’ll be ready to choose paint color and consider texture options that suit the repaired surface.
Clean Brick: Dirt, Mold, and Efflorescence Removal
Before you paint, clean the brick thoroughly to remove dirt, mold, and mildew so the coating will adhere properly. Use a scrub brush and a mildew cleaner or diluted bleach to treat moldy areas, rinsing well afterward.
For efflorescence, neutralize and remove the white salts with a masonry cleaner or vinegar solution. Then let the wall dry completely.
Remove Mold And Mildew
Why does mold show up on brick so often—and why must you remove it before painting? You’ll see mold and mildew growth where moisture and shade meet porous brick. Remove them first so paint adheres and won’t trap spores.
Scrub surfaces with a stiff brush and a cleaning solution: diluted bleach (1:3), commercial mold remover, or hydrogen peroxide for gentler action. Rinse thoroughly and let dry completely; use fans or wait for dry weather.
After cleaning, address mold prevention: fix leaks, improve drainage, trim vegetation, and increase sunlight and airflow. Reinspect periodically to catch regrowth before repainting.
Eliminate Efflorescence Buildup
When white, powdery efflorescence appears on brick, it signals soluble salts drawing moisture to the surface—and you need to eliminate that crust before painting so the finish will stick and look uniform. For effective efflorescence removal, brush dry crystals, rinse, then apply a diluted vinegar or commercial masonry cleaner. Let bricks dry completely and fix leaks to prevent recurrence. This step is central to Brick surface preparation and guarantees paint adhesion.
| Action | Purpose |
|---|---|
| Dry brush | Remove loose salts |
| Rinse | Wash residue |
| Cleaner | Dissolve stubborn buildup |
| Repair moisture source | Prevent return |
Repair Cracks, Spalls, and Mortar Joints
If you want a lasting, professional-looking paint job, you’ll need to fix cracks, spalls, and deteriorated mortar joints first. Assess damage, remove loose material, and clean the area.
For small gaps use a compatible sealant; for wider cracks do proper crack filling with a masonry compound.
Replace spalled brick or patch with mortar mix, matching texture. Repoint joints where mortar is crumbling to ensure structural soundness and paint adhesion.
- Remove loose debris and dust before repairs.
- Use matching mortar for mortar repair and repointing.
- Allow patches to cure fully and dampen before finishing.
Choose the Right Primer for Brick (Porous Masonry Tips)
Before you prime, check how porous the brick is by spraying a little water—if it soaks in quickly, it’s very porous and needs a different approach.
Use an acrylic masonry primer for most brick surfaces, and choose a bonding primer for smooth or previously painted areas to guarantee adhesion.
Apply the primer evenly with a brush or roller, working it into pores and joints so it seals the masonry before you paint.
Assess Masonry Porosity
Because brick absorbs moisture at very different rates, you need to assess its porosity before choosing a primer. You’ll perform simple porosity testing to measure surface absorption so the primer can penetrate correctly.
Work on a small, inconspicuous area and note how fast water beads or soaks in. Fast soak means high porosity; slow means low.
- Test with a water drop method: time absorption.
- Check multiple bricks and mortar joints for consistency.
- Record results to guide primer coverage and dilution.
Accurate porosity testing guarantees primer success and ensures even adhesion and long-lasting paint.
Select Acrylic Masonry Primer
Wondering which primer will best bond to your brick? You’ll choose an acrylic primer for most porous masonry because it soaks in, seals dust, and creates a stable surface for paint.
Check product labels for “masonry” compatibility and low-VOC formulas if you’re working indoors. Match primer sheen and base (latex vs. acrylic) to your topcoat recommendations.
Stir thoroughly and test a small patch to confirm adhesion and color hold.
Good masonry preparation includes cleaning, repairing mortar, and ensuring the brick is dry before priming.
Selecting the right acrylic primer reduces peeling and improves paint longevity.
Apply Bonding Primer Properly
If you’re working with porous brick, choose and apply a bonding primer that actually clings to the surface rather than sitting on top of it. You’ll prep by cleaning, letting the wall dry, and patching cracks so the primer can achieve proper surface adhesion.
Use a brush for mortar joints and a roller for faces; keep coats thin and even. Allow recommended dry time before painting. Check compatibility with your topcoat to avoid peeling.
- Choose a primer labeled for masonry and porous surfaces.
- Apply one thin, even coat; add a second if needed.
- Test adhesion in a small area first.
Pick Paint Type and Finish for Interior vs. Exterior Brick
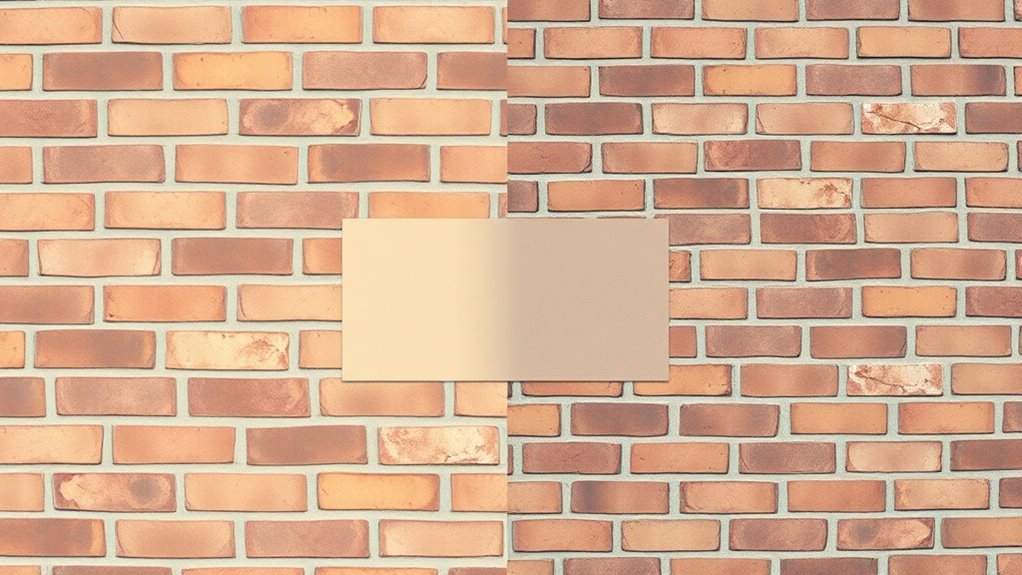
When choosing paint for brick, think about how the surface, location, and exposure will affect durability and appearance.
For interior brick, pick breathable acrylic latex that resists yellowing and complements color trends. Eggshel or satin finishes hide imperfections while offering washability.
For exterior brick, choose masonry or elastomeric paints formulated for moisture movement and superior paint durability. Flat to low-sheen finishes mask texture, while semi-gloss suits trim.
Match finish to traffic and cleaning needs, and prefer breathable coatings outdoors to avoid trapped moisture.
Test samples on small areas to confirm adhesion, color, and finish before committing to the whole wall.
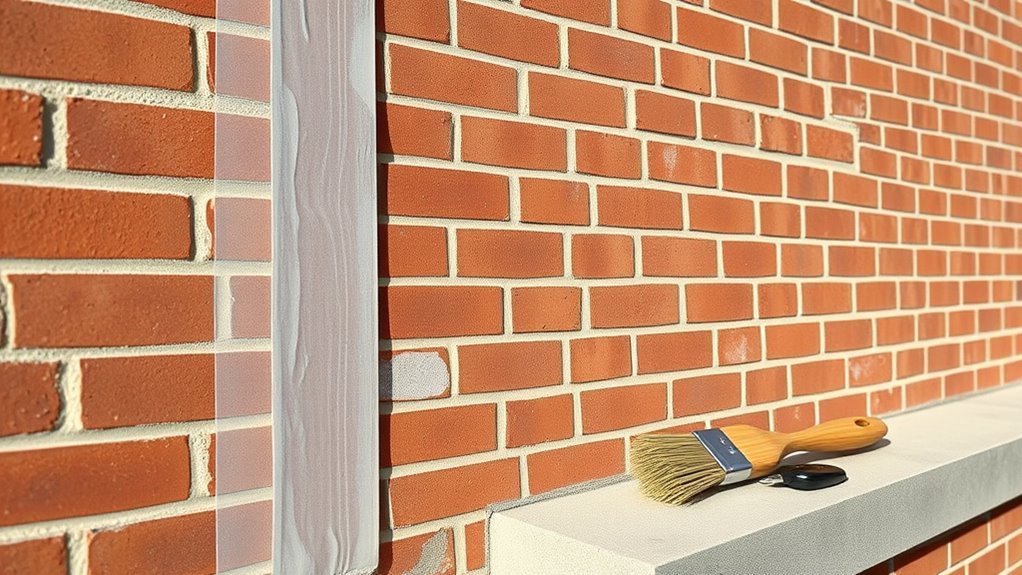
Masking, Scaffolding & Surface Protection Tips
Before you start painting, mask windows, doors, and fixtures tightly so paint won’t sneak onto glass or hardware.
Set up scaffolding on stable ground and secure it at multiple points so you can work safely at height.
Lay heavy-duty dropcloths and tape edges to protect trim and nearby surfaces from drips and overspray.
Masking Windows And Fixtures
Though masking might seem tedious, doing it right saves you time and prevents costly mistakes later. You’ll protect glass, frames, and hardware by using proper window masking and careful fixture covering.
Clean surfaces, apply painter’s tape precisely, and overlap plastic sheeting to block paint spray.
- Use low-tack tape for frames to avoid damage.
- Secure plastic with tape and staple where needed around fixtures.
- Label covered areas so you can remove protections in the right order.
Work methodically from top to bottom, check seals to prevent bleed, and remove tape while paint is tacky for crisp edges.
Scaffolding And Dropcloth Placement
After you’ve masked windows and fixtures carefully, set up scaffolding and lay dropcloths so paint stays off floors, landscaping, and nearby structures.
Position scaffolding on level ground, lock wheels, and secure guardrails; prioritize scaffolding safety by inspecting planks and anchors before climbing. Use adjustable legs or base plates to stabilize on uneven terrain.
For dropcloth placement, overlap edges and tape seams to prevent tripping and paint seepage; extend cloths beyond work areas to catch drips. Keep pathways clear and weight off covered plants.
Regularly check anchors, reposition dropcloths as you progress, and remove debris to maintain a safe, clean workspace.
How to Prime Brick for Even Adhesion
If your brick’s surface is dusty, chalky, or previously painted, you’ll need to apply a suitable primer to guarantee the paint grips evenly and lasts. Choose a primer compatible with masonry and your paint type — check primer compatibility labels.
Complete surface preparation: clean, repair mortar joints, and let the wall fully dry.
Thoroughly prepare the surface: clean, fix mortar joints, and allow the wall to dry completely before priming or painting.
Use a masonry or bonding primer applied with a brush or roller for texture.
Seal stains or efflorescence with the right product first.
- Test a small area to confirm adhesion.
- Apply even, thin coats for porous brick.
- Allow full cure time before painting.
How to Avoid Bubbling, Flaking, and Uneven Coverage
When you want a smooth, durable finish, prevent bubbling, flaking, and uneven coverage by addressing moisture, surface contamination, and application technique before you paint.
First, confirm the wall is dry; test for moisture and repair leaks, because trapped damp breaks paint adhesion.
Clean thoroughly—remove efflorescence, dust, and oils—so surface preparation is complete.
Use a suitable primer that matches brick porosity to promote consistent paint adhesion.
Apply paint in appropriate temperatures and humidity, using even strokes and correct thinning to avoid sagging or thick spots.
Allow proper drying between coats and inspect for missed areas before the next layer.
Post-Paint Care: Maintenance and Touch-Up Schedule
Because painted brick faces constant wear from weather and cleaning, establish a simple maintenance and touch-up routine right away so small issues don’t become big repairs. You’ll inspect seasonally, note chips or peeling, and act quickly.
Use gentle Cleaning techniques—soft brushes, mild detergent, low-pressure rinse—to avoid damage. Keep a small kit with matching paint, brushes, and sealant so touch-ups blend.
Track repairs in a log to spot recurring problems and adjust Maintenance routines accordingly.
- Inspect every 6 months and after storms
- Clean stains promptly with recommended methods
- Touch up chips within weeks to prevent moisture intrusion
Frequently Asked Questions
Can I Paint Over Brick That Was Previously Sealed With a Water Repellent?
Yes — you can paint over water‑repellent sealed brick, but you’ll need to test sealing compatibility and improve paint adhesion. You’ll abrade or clean the surface, use a compatible primer, then apply paint formulated for sealed masonry.
How Long Should New Mortar Cure Before Painting?
Wait at least 28 days; mortar curing needs time, yet impatience tempts you. For reliable adhesion and a proper painting timeline, let mortar fully cure 28–42 days, longer in cold or damp conditions before painting.
Will Painting Brick Affect My Home’s Vapor Permeability?
Yes — painting brick can reduce vapor permeability, and you’ll need breathable coatings to maintain moisture escape; otherwise trapped moisture harms paint adhesion and the masonry, so choose vapor-permeable paint for long-term adhesion and durability.
Can I Paint Brick on a Historic or Landmarked Building?
Yes — you can often paint brick on a historic or landmarked building, but you’ll need approvals. You’ll work with historical preservation authorities, consider appropriate color selection, and follow approved materials and reversible methods.
Do Painted Brick Surfaces Change Insurance or Resale Value?
Typewriter-era warning: you’ll sometimes see painted brick lower resale value if buyers prefer original masonry. You’ll want perfect color matching and proven paint durability, because insurers and buyers may judge maintenance, aesthetics, and risk differently.
Conclusion
So you’ve prepped, primed, and painted like a brick whisperer—congratulations, you’ve temporarily tamed masonry. Don’t pretend this is permanent; brick will sulk, flake, and sprout efflorescence the moment you look away. Keep a list, touch up religiously, and enjoy the smug glow while it lasts. If it rebels, blame the brick, call a pro, and repeat the ritual—because nothing says “home pride” like seasonal repainting.