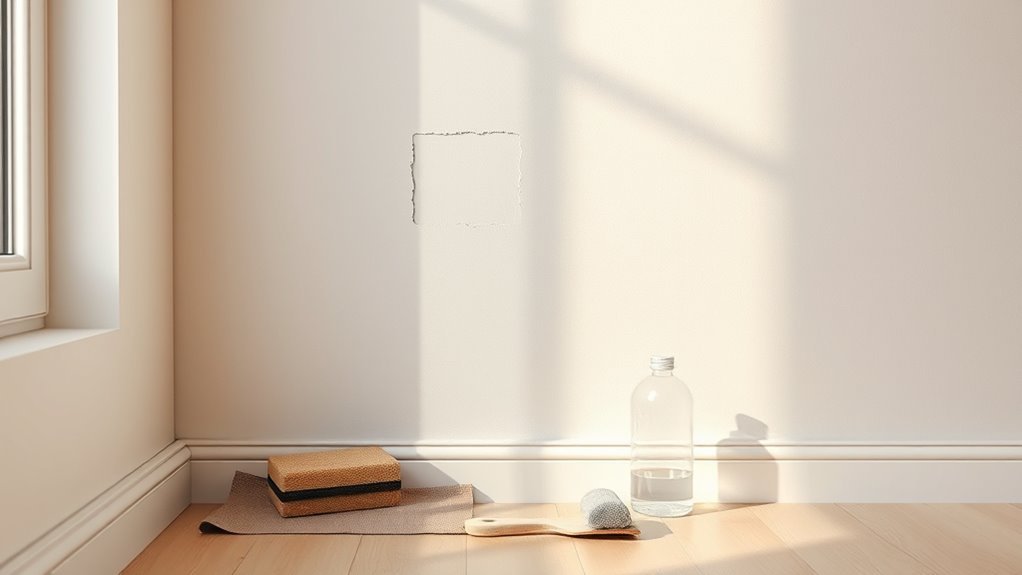
How to Remove Paint Sample From Wall Easily
You can remove a paint sample easily by first figuring out if it’s latex, oil, or chalk, then testing a hidden spot. Protect floors and wear gloves, ventilate, and score edges gently. For latex, try soapy water or isopropyl alcohol; for oil, use mineral spirits sparingly; for chalky spots, gently scrape and wipe. Sand, patch, and feather paint as needed, and prime when stains or ghosting remain — continue for step‑by‑step tips.
Quick How‑To: Remove a Paint Sample From a Wall
Want a quick fix? You’ll start with basic wall preparation: clean the area, lay drop cloths, and protect trim. Lightly sand the sample edges to feather paint so repairs blend. Use a damp cloth to remove dust, then apply a small amount of appropriate remover if paint is stubborn — test an inconspicuous spot first.
After removal, prime bare spots to prevent flashing. For seamless results, take a clipped swatch or photo to match color matching at the store, or bring a tiny scraped chip.
Finish by painting a thin coat, letting it dry, and inspecting for touch-ups.
Identify the Paint: Latex, Oil, or Chalk
Before you try removers or sanding, identify whether the sample is latex, oil, or chalk paint so you pick the right technique and products. You’ll test small areas and observe sheen, smell, and adhesion.
A solvent spot test and gentle scraping tell you a lot: latex softens with rubbing alcohol, oil resists alcohol but reacts to mineral spirits, and chalk paints powder away.
- Smell: oil has stronger odor, latex is milder.
- Solvent test: use alcohol, then mineral spirits if needed.
- Scrape: use fingernail or plastic scraper.
- Note wall texture and any impact on Color matching decisions.
Match the Wall Finish: Flat, Eggshell, Satin, Gloss
First, check the sheen so you know whether the wall is flat, eggshell, satin, or gloss.
Then adjust your removal technique—sanding, gentle scraping, or a solvent—based on that finish to avoid damaging surrounding paint.
Finally, blend and refinish the spot with matching sheen paint so the repair disappears.
Identify The Sheen
When you’re removing a paint sample, match the wall’s sheen so your patch blends—flat, eggshell, satin, and gloss reflect light differently and affect how touch-ups look.
First, inspect color matching under natural light; note that Wall textures change apparent sheen. Run your hand gently to feel texture, then view from different angles to spot glossiness. Use a small flashlight to highlight reflections.
Decide which sheen category fits before removing the sample to avoid mismatched repairs.
- Flat: no shine, hides imperfections
- Eggshell: low luster, subtle sheen
- Satin: moderate reflection, durable
- Gloss: high shine, shows flaws
Adjust Removal Technique
Since the wall’s finish dictates how paint behaves, adjust your removal method to match flat, eggshell, satin, or gloss so the patch won’t stand out.
For flat finishes, gently scuff with fine sandpaper and use a mild solvent; flat hides imperfections, so be conservative.
Eggshell needs lighter abrasion and a gentle cleaner to preserve slight sheen.
Satin tolerates more aggressive cleaning and light sanding because of higher paint durability.
For gloss, use a soft cloth and specialized cleaner to avoid scratches and preserve sheen.
Throughout, plan for accurate color matching later and respect each finish’s durability during removal.
Blend And Refinish
Although matching a repaired spot to the surrounding wall can be tricky, you can make the patch virtually disappear by matching both sheen and texture before painting. You’ll assess wall texture and do Color matching with small swatches. Sand and prime the patch, feather edges, then pick the correct finish—flat, eggshell, satin, or gloss. Test a tiny area, let it cure, and reassess.
- Compare swatches under room lighting
- Sand or add texture compounds to match Wall texture
- Use same brand and sheen for best match
- Feather paint edges and blend with light strokes
Finish carefully for seamless results.
Tools & Supplies You’ll Need
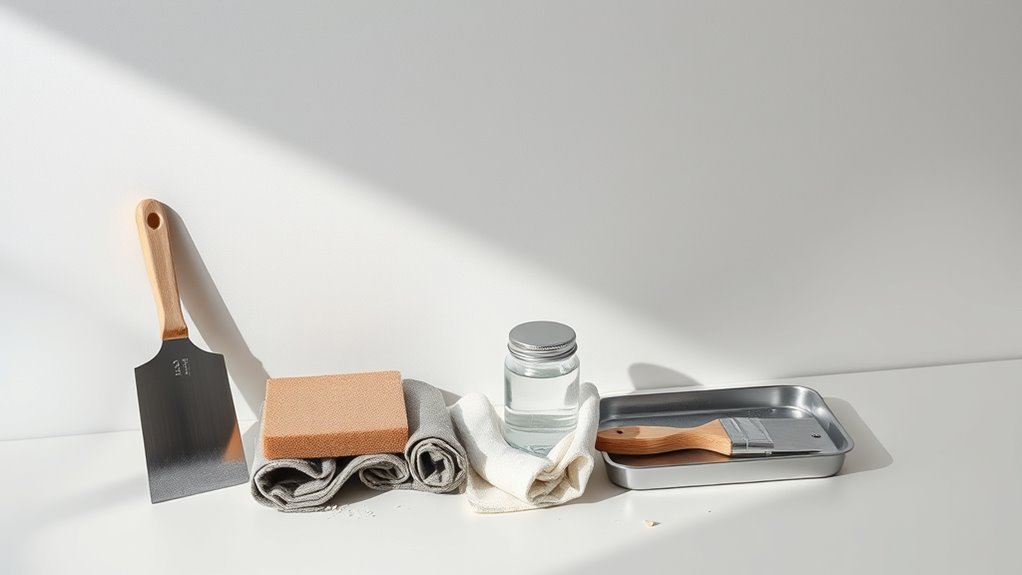
Before you start, gather a few essential tools like a putty knife, mild solvent or remover, soft cloths, and a sponge.
You’ll also want protective gear — gloves, safety glasses, and a mask if you’re using chemical cleaners.
Having the right supplies on hand makes the removal quicker and protects your walls and yourself.
Essential Tools List
When you’re ready to remove paint samples, gather a few reliable tools and supplies so the job goes quickly and cleanly. You’ll want items that let you test removers, preserve wall texture, and help with color matching afterward. Work methodically and avoid rushing.
- Soft cloths and microfiber towels for gentle wiping
- Plastic scraper or putty knife to lift sample edges
- Mild solvent or commercial paint remover suited to your paint type
- Fine-grit sandpaper and a small sanding block to blend edges
These essentials keep the repair neat and give you a clean base for repainting.
Protective Gear Needed
Because you’re working with solvents, dust, and scraped paint, wear basic protective gear to keep yourself safe and your workspace clean. Put on chemical-resistant gloves, safety goggles, and a NIOSH-rated respirator or dust mask depending on fumes. Use long sleeves and pants or a disposable coverall to protect skin.
Lay down a drop cloth and use painter’s tape to contain mess. Keep a ventilation fan running and an open window.
Have a first-aid kit and eyewash nearby. Follow safety precautions on product labels, avoid eating or smoking in the area, and dispose of contaminated materials per local regulations.
Test a Small Spot: What to Check
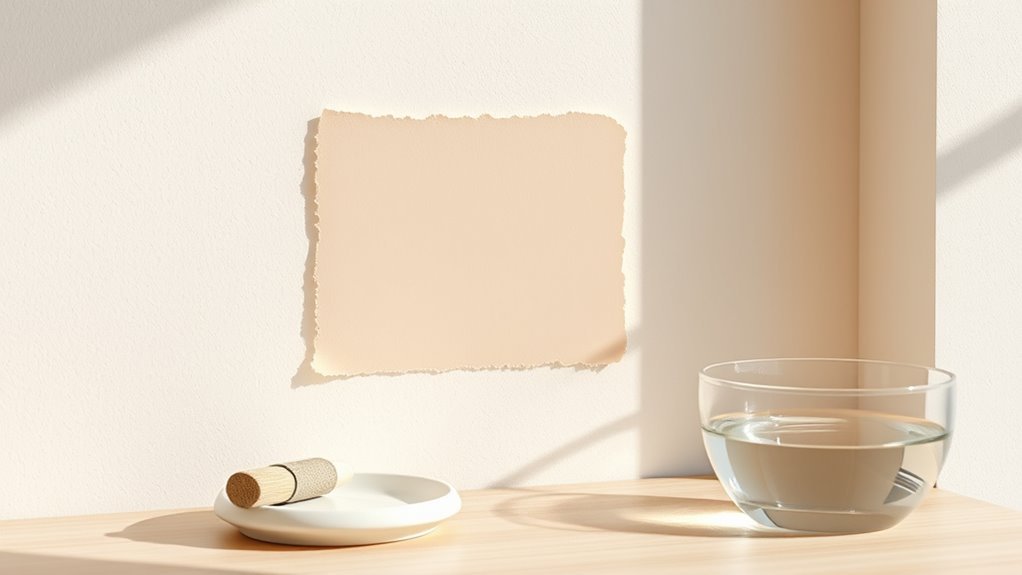
If you’ve painted a small test patch, look closely for color match, sheen, and how well the new paint adheres to the wall. You’ll assess color consistency and estimate paint longevity while avoiding bigger removals.
Check lighting at different times and touch the patch gently. Consider these quick checks:
Check the patch in varied lighting and gently touch it—inspect sheen, adhesion, and any color shifts.
- Surface adhesion: press and rub to spot flaking or lifting.
- Sheen match: view from angles to confirm gloss level.
- Drying time: note how long it took to cure compared to nearby paint.
- Color consistency: compare under natural and artificial light for any shifts.
Remove Fresh Latex Samples in Minutes
Want that fresh latex sample gone fast? Act quickly: blot wet paint with a clean, lint-free cloth or paper towel to lift excess without spreading.
Dampen a cloth with warm, soapy water and gently work the edge of the spot toward the center. Rinse and repeat until the sample fades.
If residue remains, use a small amount of rubbing alcohol on a test cloth and dab—don’t scrub.
Once removed, allow the area to dry fully.
Proper wall preparation afterward—cleaning and priming—helps with future touch-ups and accurate color matching if you retest or repaint.
Lift Dried Latex Patches Without Sanding
Once the latex sample has dried, you can still remove it without resorting to sanding by softening the film and gently lifting it away. You’ll protect the underlying wall while keeping color matching accurate for later touch-ups.
Use a gentle heat source, a soft plastic scraper, and an adhesive remover safe for painted surfaces.
- Warm the patch with a hair dryer on low.
- Apply a small amount of citrus-based remover; wait briefly.
- Loosen edges with a plastic putty knife; lift slowly.
- Clean residue with mild detergent; rinse and dry.
Good wall preparation afterward guarantees the next sample or finish adheres evenly.
Remove Oil‑Based Sample Paint Safely
Because oil-based paints set harder and resist water, you’ll need solvents and a different technique than with latex samples.
Oil-based paint sets harder and resists water, so use solvents and different removal techniques than for latex.
Work in a ventilated area, wear gloves and a mask, and protect floors and trim.
Test removal on a small inconspicuous spot to avoid damaging the underlying finish.
Use gentle agitation with a soft cloth and controlled solvent application, blotting rather than scrubbing.
After lifting the sample, neutralize residue, then clean the area and let it dry fully.
When you repaint, consider color matching and paint durability—choose a finish that blends and withstands wear to avoid repeat samples or touch-ups.
Solvents: Which to Use and Which to Avoid
When choosing a solvent, pick one that dissolves the paint type without attacking the wall surface or nearby finishes. You’ll assess paint chemical compatibility and prioritize solvent safety: work in ventilation, wear gloves, and test a hidden spot first.
Use mild options for water‑based samples and stronger ones only for oil‑based spots.
- Water and mild detergent for latex samples
- Isopropyl alcohol for small, cured spots
- Mineral spirits for oil‑based paint (test first)
Avoid acetone on finished trim and thin drywall.
Follow manufacturer guidance, limit soak time, and neutralize residues to protect surfaces.
Remove Sample Paint From Textured & Specialty Walls
After choosing a solvent that won’t harm your finish, you’ll need a different approach for textured or specialty walls since their irregular surfaces trap paint and react differently to cleaners.
Work in small sections, testing on an inconspicuous area first. Use a soft-bristle brush or microfiber pad to lift paint from crevices, not a scraper that can tear the texture.
Work small areas, test out of sight first, and lift paint with a soft brush—not a scraper.
For stubborn spots, apply solvent sparingly with a cotton swab and blot, avoiding saturation. Rinse gently with a damp sponge and dab dry.
Once removed, assess for color matching if you plan touch-ups, and match paint to the existing wall texture.
Fix Small Surface Damage After Removal
Once you’ve removed the paint sample, inspect the area closely for nicks, raised texture, or thin spots and note what needs attention. You’ll tidy small damage quickly: sand edges smooth, apply a thin wall patch compound, feather it to match surrounding texture, and sand again when dry.
Check color matching before finishing so touch-ups blend. Follow this quick checklist:
- Lightly sand and clean the spot.
- Apply a thin wall patch; smooth with a putty knife.
- Sand and texture to match the wall.
- Test paint in an inconspicuous area for color matching.
Finish with minimal coats for a seamless repair.
Avoid Ghosting: When to Prime vs. Repaint
Now that the surface is patched and sanded, decide whether to prime or just repaint to prevent ghosting—those faint outlines or stains that bleed through new paint.
If stains, dark colors or tannins remain, prime with a stain-blocking primer to seal them; that helps color matching and guarantees even coverage.
If the patch is small and the existing finish is clean, you can repaint directly using the same sheen and blended brush strokes.
Always consider paint durability for high-traffic areas—use a tougher finish or single-coat primer-plus-paint to avoid future touch-ups and keep the repair invisible.
When to Stop and Call a Professional
If you smell gas, see exposed wiring, or the wall is sagging, stop and call a professional immediately—your safety comes first.
If the damage goes through drywall, involves structural issues, or you can’t restore a clean surface after reasonable effort, it’s time to hand it off.
Don’t waste time on fixes that could make the problem worse or cost more down the line.
When Safety Is At Risk
When you encounter peeling paint that flakes off in large chunks, strong chemical odors, visible mold, or suspected lead-based paint, stop and call a professional—these signs mean the risk to your health or the building’s integrity is too high to handle alone.
You shouldn’t improvise when environmental hazards or legal considerations apply. Call a licensed contractor or abatement team if you see:
- large-area peeling or crumbling paint
- persistent chemical smells during removal
- black or fuzzy mold growth on walls
- paint likely containing lead in older homes
Professionals will test, contain, and dispose safely, protecting you and your property.
Damage Beyond DIY Repair
Even after you’ve ruled out health hazards and chemical risks, some wall damage goes beyond what a homeowner should tackle alone; major structural cracks, deep gouges that expose lath or insulation, extensive water-saturated drywall, or widespread adhesion failure are signs to stop and call a pro. You’ll want an expert for proper surface preparation and reliable color matching when repairs are complex. Pros assess framing, moisture, and paint systems, preventing hidden problems and wasted time. Don’t risk worsening damage or mismatched patches—hire someone skilled to restore integrity and finish.
| Fear | Relief |
|---|---|
| Shock | Trust |
| Loss | Repair |
| Regret | Confidence |
| Mess | Order |
Checklist: Remove a Paint Sample Safely
Before you start, gather a few essentials: gloves, a drop cloth, a putty knife or scraper, mild cleaner, and a damp cloth. You’ll protect the floor, test a small area, and plan for color matching before repainting. Follow this concise checklist to remove a paint sample safely and guarantee proper wall preparation.
- Wear gloves and ventilate the room.
- Lay a drop cloth and score edges gently with a scraper.
- Clean residue with mild cleaner and a damp cloth.
- Sand lightly, prime if needed, then match paint for seamless touch-up.
Frequently Asked Questions
Can Paint Sample Removal Harm Electrical Outlets or Switches Nearby?
Yes — it can if you don’t use Electrical safety and Outlet protection. You should turn off power, cover outlets and switches, avoid liquid cleaners near openings, and check for hidden wiring to prevent shocks or damage while removing paint samples.
Will Removing a Sample Affect Wall Insulation or Vapor Barriers?
It’s unlikely you’ll harm insulation impact or vapor barriers removing a paint sample; you’re barely scratching the surface. Still, avoid cutting deep or soaking the wall, or you might cause wall damage and hidden moisture problems.
Can I Remove Paint Samples From Wallpaper Without Damage?
You can, but you’ll need caution: test a hidden spot, use a mild solvent or wallpaper removal solution, gently blot paint residue, avoid scrubbing, and consider professional help if the wallpaper’s delicate or adhesive layers start lifting.
How Long Should I Wait Before Reapplying a Different Paint Sample?
Wait about 24–48 hours before reapplying a different paint sample so the first coat fully dries; that helps color matching and lets you assess true hues. Do proper wall preparation—clean, sand, and prime spots beforehand.
Are There Eco-Friendly Disposal Methods for Paint Removal Waste?
Yes — you can use eco disposal options: contain paint waste, let solids dry, recycle usable paint through local programs, and drop off hazardous leftovers at household waste facilities; you’ll reduce pollution and follow local disposal rules.
Conclusion
You’ve got this — remember “measure twice, cut once.” Start by identifying the paint type and finish, test a tiny area, then use the gentlest remover that works for your wall. Work slowly to avoid sanding through the finish; touch up any scuffs and prime if you see ghosting. If the sample won’t budge or the wall’s damaged, stop and call a pro. Follow the checklist, and you’ll remove the sample safely and cleanly.