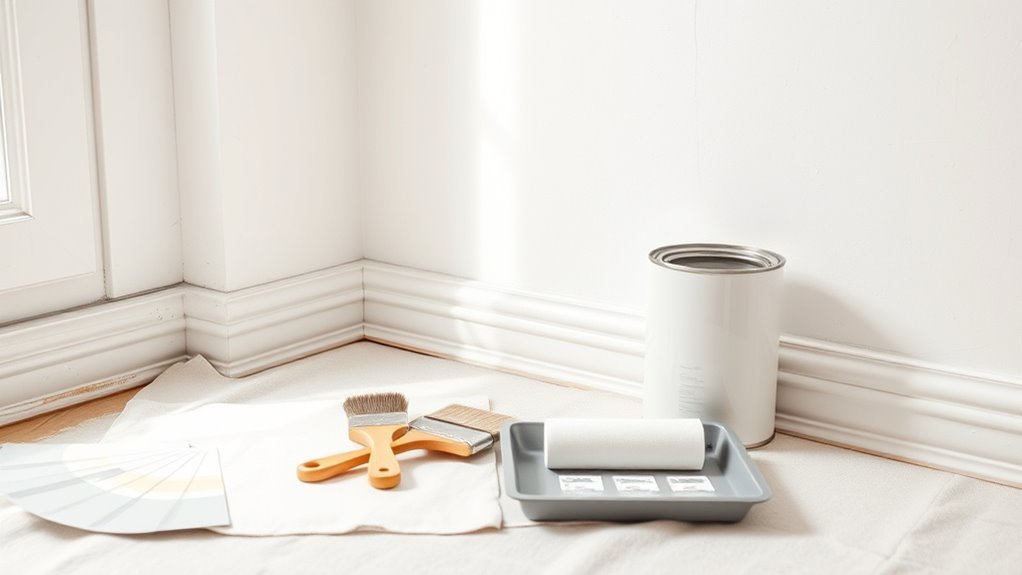
Is Wall Primer Necessary? Painting Prep Guide
You should prime most walls—doing so evens out absorption, blocks stains, and helps paint stick so you’ll need fewer coats and fewer touch-ups. Prime new drywall, patched areas, bare plaster, or dark-to-light color changes; use bonding or stain-blocking primers for slick surfaces and tannin stains. For minor same-color touch-ups you can skip it, but that’s the exception. Follow product instructions and let coats cure, and keep going to learn which primers suit each surface.
When to Prime: A Quick Decision Guide
If your walls are new, patched, stained, or have a high-contrast color, prime them before painting to guarantee even coverage and proper adhesion. You’ll evaluate surface preparation needs quickly: bare drywall, exposed plaster, or smoke stains all demand primer.
Check primer compatibility with your chosen paint—water-based over oil-based or vice versa can cause problems. If you’re covering dark hues or glossy finishes, use a high-hide or bonding primer.
For minor touch-ups on the same sheen and color, you might skip priming. When unsure, err on the side of priming to avoid rework and uneven results.
How Primer Improves Adhesion and Durability
When you apply primer, it helps paint stick to the wall by creating a consistent bonding layer. That stronger bond reduces peeling and makes your finish last longer.
You’ll also boost the surface’s resistance to wear, so the wall stays durable through cleaning and day-to-day use.
Better Paint Bonding
Because primer creates a uniform, slightly porous layer on the surface, your paint actually sticks instead of sliding off or soaking in unevenly. You’ll notice fewer drips, better coverage, and less need for extra coats. Primer also helps with color matching by evening out tones so the topcoat reflects true color. If you skip it, you risk patchy finish and harder primer removal later. Use a suitable primer for glossy or stained areas to ensure bonding.
| Surface Type | Recommended Primer |
|---|---|
| Drywall | PVA |
| Wood | Oil-based |
| Metal | Rust-inhibitor |
| Glossy | Bonding primer |
Increased Surface Durability
Although you might skip primer to save time, you’ll reduce the lifespan of your finish; primer strengthens the bond between paint and substrate, sealing porous materials and locking down loose fibers so topcoats resist peeling, chipping, and abrasion.
You’ll notice better wear resistance after proper surface preparation—clean, sand, and remove contaminants so primer can perform.
Choosing compatible products matters: check Primer compatibility with your topcoat to avoid adhesion failures or uneven curing.
A quality primer evens porosity, prevents stain bleed-through, and forms a stable base that absorbs impact and friction, so your paint job stays intact longer with less maintenance.
Primer vs. Paint: Role of Each Layer
If you want paint to look good and last, you need both primer and paint because they do different jobs: primer seals and evens the surface while paint provides color and protection.
You’ll use primer to control surface porosity, block stains, and create a uniform base so fewer paint coats hide color contrast. Primer bonds poorly porous spots and prevents uneven sheen.
Paint then delivers the finish, UV resistance, and washable surface. Skipping primer forces paint to compensate, often requiring extra coats and risking adhesion problems.
Use primer where needed, then apply paint for durable, true-to-tone results.
Priming Fresh Drywall and New Plaster
When you’re working with fresh drywall or newly troweled plaster, prime right after the surface has fully dried to lock in consistency and prevent uneven paint absorption. You’ll want to seal the porous surface so joint compound and new plaster don’t suck up paint, causing blotches.
During drywall installation and general surface preparation, remove dust, sand smooth, and wipe clean before priming.
Use a flat, high-penetration primer formulated for fresh substrates to create an even base. Apply thin, even coats and let them cure fully; that guarantees topcoats cover uniformly and improves long-term adhesion and finish.
Choosing Primer by Surface: Drywall, Wood, Masonry
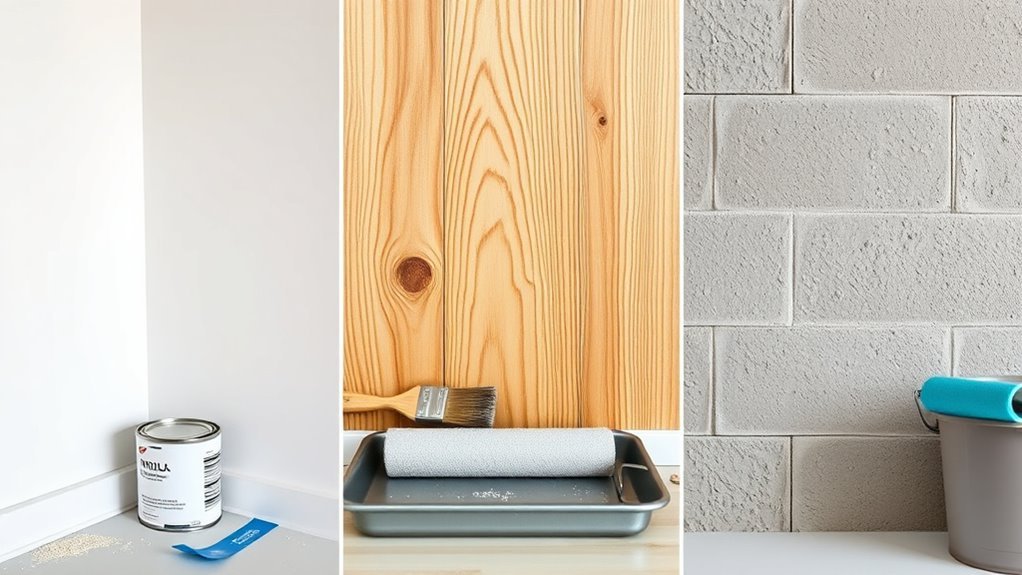
For drywall you’ll want a drywall-specific sealer to lock in dust and create a uniform base before paint.
For wood, sand, clean, and use a stain-blocking primer to prevent tannin bleed and guarantee adhesion.
For masonry, prep by removing efflorescence and choose a masonry primer or masonry-rated acrylic for good penetration and breathability.
Drywall: Seal And Prime
Because drywall soaks up paint like a sponge, you’ll want to seal and prime it before finishing, especially on new or patched surfaces.
You should inspect drywall texture, sanding any high spots and cleaning dust.
Use a drywall-specific sealer to lock in joint compound and prevent flashing.
Choose primer color for the job: white or tinted toward your finish can improve coverage and hide repairs.
Apply one thin, even coat with a roller, cutting in corners with a brush.
Let it dry fully, then lightly sand sheen or raised fibers.
Proper sealing guarantees uniform finish and reduces paint waste.
Wood & Masonry Prep
Although drywall soaks up primer, wood and masonry demand different preparations and products, so pick your primer to match the surface.
For wood, sand smooth with the grain, remove dust, and spot-treat knots with shellac or knot-covering primer. Use a stain-blocking, oil- or hybrid-based primer that penetrates into wood grain to seal tannins and guarantee adhesion.
For masonry, clean loose mortar, rinse efflorescence, and let surfaces dry fully. Choose a masonry or elastomeric primer that bridges Masonry texture and fills tiny voids while resisting moisture.
Apply evenly, follow dry times, and inspect for coverage before topcoating.
When You Can Skip Primer (And How to Do It Right)
If your walls are already in good shape and you’re using the same paint sheen and a similar color, you can often skip primer—just clean the surface, repair any small flaws, and use a high-quality paint with built-in primer for best results.
You should still consider color contrast and surface texture before deciding. Follow these steps to do it right:
- Clean walls thoroughly to remove dust and grease.
- Patch small holes and sand rough spots for even texture.
- Spot-prime stains or repaired areas only.
- Apply two coats of quality paint, allowing full dry time between coats.
Covering Dark Colors: Why Primer Matters
If you’re covering a dark wall, primer helps block through coverage so the new color actually shows. It also prevents color bleed from the old paint and lets you use fewer topcoats.
That saves time, money, and gives a truer final color.
Block Through Coverage
Want to hide a dark wall without doing ten coats of paint? You’ll use a stain-blocking primer to stop deep pigments from showing through and to simplify color matching. Primer evens surface porosity so fewer topcoats reach full opacity. Consider environmental factors—humidity and temperature affect primer cure and blocking performance.
Follow these steps:
- Clean and dry the surface thoroughly.
- Apply a high-hide, stain-blocking primer evenly.
- Let it cure per manufacturer directions in proper conditions.
- Test with a small topcoat sample before full application.
This approach saves time, paint, and guarantees a true final color.
Prevent Color Bleed
How do you stop dark pigments from seeping through a new coat of paint? You use a quality primer designed for stain blocking. Primer creates a uniform base, prevents color bleeding, and saves coats later. For bleed prevention, choose an oil-based or shellac primer for stubborn dark hues; water-based primers work for mild cases. Apply evenly, let it cure, then inspect for any show-through before topcoat.
| Primer Type | Best For |
|---|---|
| Oil | Heavy stains |
| Shellac | Ink/marker |
| Latex | Light darks |
| Bonding | Slick surfaces |
| Universal | General use |
Reduce Paint Coats
Because darker colors demand more pigment to cover, using a proper primer cuts the number of topcoats you’ll need and speeds up the job. You’ll save time and paint when you prep correctly, especially for deep hues that can show uneven undertones. Primer improves color matching and prevents multiple streaky layers. It also reduces overall paint use, lowering environmental impact.
- Seal porous surfaces for uniform absorption.
- Block stains so dark tones don’t bleed through.
- Use a tinted primer to get closer to final shade.
- Cut labor and material costs with fewer coats.
Painting Over Glossy or Previously Painted Surfaces
If you’re covering glossy or previously painted surfaces, prepping properly will save you time and prevent adhesion problems. You’ll need to scuff glossy finishes with fine sandpaper or use a liquid deglosser to create tooth, then clean thoroughly to remove dust and oils.
Fill chips or gouges, sand smooth, and remove residue. If the existing paint is peeling or chalking, strip or scrape to sound edges.
For porous or uneven patches, apply a high-adhesion primer to stabilize the substrate and promote uniform topcoat coverage. Proper surface preparation reduces peel, improves durability, and minimizes the number of finish coats needed.
How to Seal Stains, Smoke, and Water Damage
When stains from water, smoke, or tannins show through your new paint, you should stop the bleed before you roll or brush—otherwise the blemishes can reappear and ruin the finish. You’ll assess the surface, clean soot or residue, and let any water damage dry fully.
Use stain sealing products made for smoke, tannin, or water stains; shellac-based or high-quality oil primers often work best. Follow product directions and apply thin, even coats.
After sealing, spot-sand if needed, then repaint.
Steps:
- Clean area
- Dry thoroughly
- Apply stain sealing primer
- Repaint as directed
Fixing Patched or Porous Walls With the Right Primer
First, you’ll assess the wall to find patched areas and porous spots that need attention.
Then pick a primer formulated for repairs—stain-blocking or high-adhesion types—and apply it evenly over the affected areas.
Once dry, sand lightly to smooth the surface before topcoating.
Assess Wall Surface
Wondering whether that patched or crumbly wall needs special treatment? You’ll inspect wall texture, look for loose plaster, and feel for surface moisture before priming. Follow these steps:
- Run your hand over repairs to detect rough patches or powdery areas.
- Press for damp spots; surface moisture disqualifies immediate sealing or painting.
- Tap the wall to find hollow-sounding sections that need filling.
- Check surrounding paint adhesion and note uneven porosity.
Document problems, let moist areas dry fully, and sand or clean surfaces so primers and paint adhere predictably. Your careful assessment prevents future peeling and uneven finish.
Choose Appropriate Primer
After you’ve inspected and prepped the surface, pick a primer that matches the wall’s condition: use a high-adhesion or bonding primer for crumbly or flaking areas, a stain-blocking formula for water or smoke marks, and a high-build or leveling primer to smooth patched spots with uneven porosity.
You’ll choose among oil-based, latex, shellac, or specialty primers based on repair needs. Consider primer types for adhesion, stain sealing, and pore leveling.
Match solvent and flexibility to your topcoat. Maintain good surface preparation so primers bond properly.
Select coverage and tint options to reduce coats and ensure a uniform finish.
Apply Properly And Sand
When you’re ready to seal patched or porous areas, apply primer evenly so it fills voids and creates a consistent surface for sanding and topcoats. You’ll want a primer that aids color matching and adhesion. Follow these steps, work cleanly, and mind ventilation tips.
- Clean and dust the patch, then let dry thoroughly.
- Use a brush for corners and a roller for flats; load sparingly to avoid drips.
- After curing, sand lightly with fine-grit paper to smooth edges; remove residue.
- Inspect under good light, touch up primer where needed before painting the final coat.
Oil-Based vs. Latex Primers: Which to Choose?
Although both oil-based and latex primers seal surfaces and improve paint adhesion, you’ll choose differently depending on the substrate, drying time, and cleanup preferences.
If you’re priming bare wood, metal, or tannin-heavy stains, oil-based primers offer superior sealing and stain blocking; they help with color matching over dark surfaces.
Latex primers dry faster, clean up with water, and handle well on drywall and previously painted walls after proper surface preparation.
You’ll pick oil when durability and blocking matter, latex when speed and low odor matter.
Match primer type to material and project timeline for best results.
Specialty Primers: Stain-Blockers, Bonding, Shellac
Picking between oil and latex covers the basics, but some surfaces need a more specialized primer. You’ll choose based on primer chemistry and paint compatibility to solve specific problems: stain-blockers seal nicotine, water, or tannin stains; bonding primers grab slick surfaces; shellac excels at odor and severe stain sealing.
Consider these uses:
- Stain-blocker: prevents bleed-through on repaired drywall.
- Bonding primer: sticks to glossy tile, laminate, or old enamel.
- Shellac primer: blocks heavy stains and odor; dries fast.
- Compatibility check: confirm topcoat type for adhesion and finish.
Use the right specialty primer for lasting results.
How Much Primer Do You Need: Estimating Coverage
Start by measuring your walls to calculate total square footage so you know the exact area to cover.
Then check the primer’s coverage rate on the can—usually listed as square feet per gallon—to convert area into gallons needed.
Finally, increase your estimate for porous or textured surfaces since they’ll soak up more primer.
Calculate Surface Square Footage
Want to know how much primer you’ll need? Measure each wall’s width and height, subtract windows/doors, and note surface texture since rougher surfaces absorb more. If you plan a primer tint, record that choice — it won’t change square footage but affects how many coats feel necessary.
- Measure wall width × height.
- Subtract openings (windows, doors).
- Add ceilings or trim if priming them.
- Total all areas for room square footage.
Divide the total by the coverage per gallon (see coverage rates later) to estimate gallons, then round up and allow for touch-ups.
Consider Primer Coverage Rate
How much primer you’ll need depends on its advertised coverage rate and the surface you’re priming. Check the can for primer coverage (usually sq ft per gallon). Divide your total wall square footage by that number to get gallons required, then round up.
Remember that rougher areas can eat more product, so factor a safety margin—typically 10–20% extra for uneven textures. If you’re using tinted or high-hide primer, coverage may differ; follow manufacturer notes.
Keep track of primer batch numbers for touch-ups. Buy slightly more than the calculation to avoid running short mid-project.
Account For Porous Surfaces
Because porous surfaces soak up primer faster, you’ll need more product than the label’s coverage rate suggests. You should evaluate material absorption before buying to avoid runs to the store. Test a small area, note how many coats it needs, and calculate accordingly.
- Measure area in square feet.
- Primer label gives ideal coverage per gallon.
- Adjust for porous surfaces by adding 25–50% for high absorption.
- Round up to nearest gallon and allow extra for touch-ups.
Porous surfaces demand attention; factoring material absorption upfront saves time, money, and guarantees even paint adhesion.
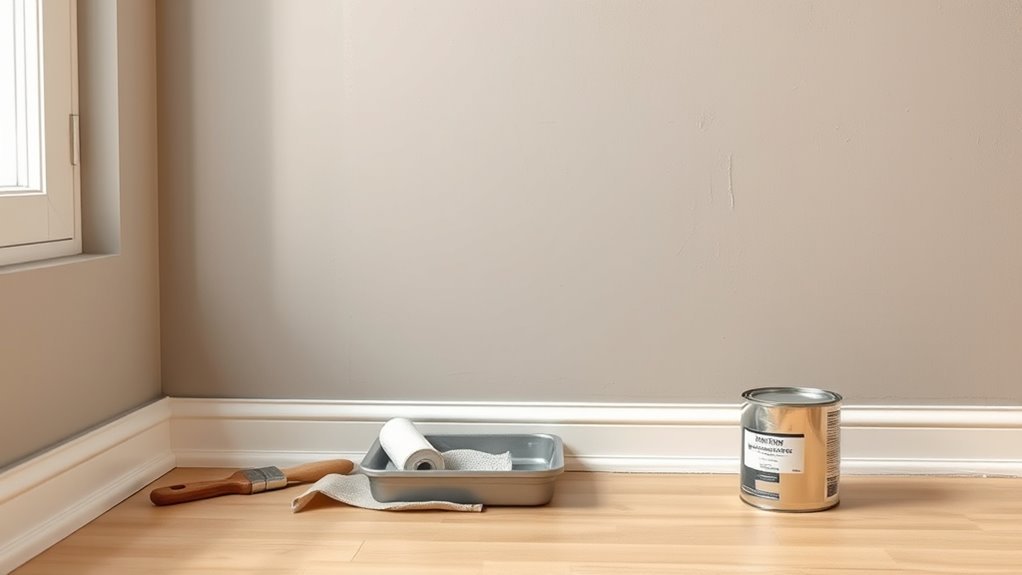
Priming Technique: Tools, Drying Time, and Coats
When you prepare to prime, pick the right tools—quality rollers for large areas, an angled brush for trim, and a mini-roller for tight spots—so you’ll get even coverage without overworking the surface.
Use priming techniques that match the substrate: stain-blocking primer for marks, bonding primer for slick finishes.
Match primer to the surface—use stain-blockers for blemishes and bonding primers for slick, hard-to-stick finishes.
Do surface preparation first—clean, sand, and patch to guarantee adhesion.
Apply one full coat, inspect after recommended drying time (usually 1–4 hours for latex, longer for oil-based), then add a second coat if coverage or porosity demands it.
Drying conditions matter: temperature and humidity affect recoat windows and final durability.
Quick Primer Shortcuts That Work
If you’re short on time but want reliable results, a few targeted shortcuts will speed priming without sacrificing adhesion or coverage. Use them when surfaces are sound and you’re tackling small rooms or quick color updates.
- Spot-prime stained or patched areas instead of the whole wall.
- Thin primer up to 10% for roller application to improve coverage speed.
- Match primer tint to your target color—especially for strong color schemes—to cut topcoat coats.
- Favor a high-quality synthetic brush and efficient brush techniques for edges to avoid rework.
These steps save time while keeping finish quality consistent.
Troubleshooting Common Primer and Paint Problems
Those quick primer shortcuts will save time, but you’ll still run into a few common problems that need fast fixes. If you see peeling, uneven sheen, or poor color consistency, remove loose paint, sand lightly, and spot-prime before repainting. For bubbling, check for moisture sources. If odors or VOCs worry you, pick low-VOC primers to reduce environmental impact.
| Problem | Quick Fix |
|---|---|
| Peeling | Scrape, sand, spot-prime |
| Bubbling | Fix moisture, re-prime |
| Color inconsistency | Apply tinted primer, even coats |
Priming Cost vs. Extra Paint: Time and Budget Trade-Offs
Although skipping primer can seem like a quick way to cut costs, you’ll often spend more on extra coats of paint and touch-ups, so weigh upfront primer expense against long-term savings.
When you compare materials, a Cost comparison should include primer price, extra paint, and labor time.
Budget considerations also involve drying time and project delays.
Think about durability: primer often reduces failures and future repairs.
- Primer cost vs. additional paint gallons
- Time lost waiting for extra coats
- Likelihood of touch-ups or full repainting
- Long-term maintenance savings
Shop-Ready Checklist: Choosing, Applying, Finishing
You’ve weighed primer cost versus extra paint and now you need a concrete checklist to make the job efficient and durable. Choose primer by substrate and desired Primer benefits: stain-blocking, adhesion, or sealing.
Inspect walls for dirt, mold, loose paint; address repairs first.
Surface preparation: wash, sand, and patch; let dry fully.
Gather tools—roller nap, quality brush, tray, mask, drop cloths—and mix primer per instructions.
Apply even coats, watch coverage, and respect dry times.
Lightly sand between coats if needed.
Finish with your chosen topcoat, clean tools, and ventilate until cured.
Frequently Asked Questions
Can Primer Be Tinted to Match Paint for Fewer Coats?
Yes — you can tint primer to match paint, and it’ll reduce coats. Using tinted primer for paint matching improves coverage, hides previous colors, and lets you apply fewer topcoats, saving time and delivering more even color.
Will Primer Affect VOC Levels or Indoor Air Quality?
Yes — primer can affect VOC emissions and indoor air quality; you’ll reduce impact by choosing low‑ or zero‑VOC primers, ensuring ventilation during application and curing, and allowing adequate drying time before occupying the room.
Can I Mix Leftover Primer Brands or Types Together?
Yes — but cautiously: mixing primer brands or types can be like oil and water if formulas clash. You should check primer compatibility, stick to same base (water or oil), and test small batches before full brand mixing.
Does Primer Expire or Need Special Storage?
Yes — primer expires, so check manufacturer dates; typical primer shelf life is 1–5 years unopened. For storage tips, keep cans sealed, upright, cool, dry, and frost-free; shake and strain older primer before using.
Are There Eco-Friendly or Low-Voc Primer Options?
About 70% of consumers now prefer low-emission products, so you’ll find many eco friendly options. You’ll love low VOC primers that reduce odors and toxins, perform well, and meet stricter green certifications for healthier indoor air.
Conclusion
You’ll save headaches if you prime—think of it like a good pair of running shoes: they protect, support, and help you finish strong. I once skipped primer on a rental’s bedroom and ended up repainting after patchy peeling showed within months; a quick study found priming can cut repaint frequency by about 30%. So pick the right primer for the surface, follow simple prep, and you’ll get the coverage and durability you want without extra work later.