What Happens if You Paint Latex Over Oil?
You can paint latex over oil, but only if you prep correctly; otherwise the latex will often bead, peel, or flake after a while. Clean away grease, wax, and dirt, sand glossy areas to dull them, and use a quality bonding primer made for oil-to-latex conversions. Verify the oil paint is fully cured and test a small spot for adhesion first. Follow proper deglossing and priming steps and you’ll avoid most failures—keep going to learn the specific tests and fixes.
Quick Answer: Can You Paint Latex Over Oil? (Short Checklist)
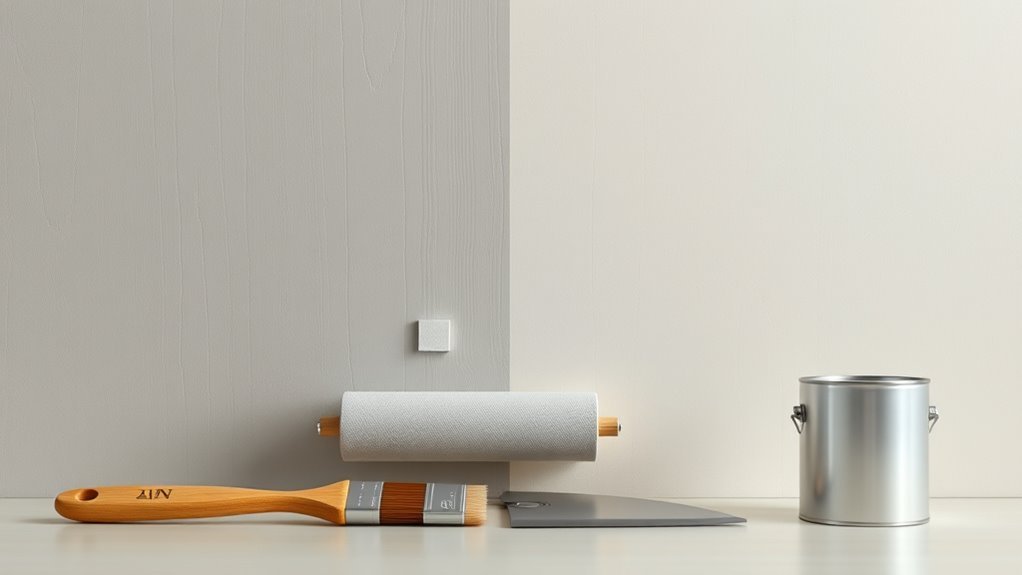
Wondering if you can paint latex over oil? Yes—but only after prep. You’ll enjoy latex paint benefits like easier cleanup, faster drying, and lower fumes.
Wondering if latex can go over oil? Yes—after proper prep, you’ll get easier cleanup, faster drying, and lower fumes.
Checklist:
1) Clean surface thoroughly to remove grime and wax.
2) Sand gloss to dull the finish so new paint keys.
3) Use a high-quality bonding primer formulated for oil-to-latex conversions.
4) Verify temperature and humidity are within product specs.
5) Apply thin, even coats and allow full cure between layers.
Skip these steps and oil paint drawbacks — such as poor adhesion and yellowing — can sabotage the job.
Why Latex Sometimes Won’t Stick to Oil Paint
If you try to roll latex over an oily surface, you’ll often get poor adhesion because the new paint can’t bond to slick residues.
Even small amounts of oil or wax left behind will interfere with the latex film’s ability to stick and cure.
That’s why proper cleaning and deglossing are critical before you paint.
Poor Surface Adhesion
Because oil paint forms a smooth, often glossy surface and can repel water-based coatings, latex sometimes won’t adhere properly unless you prepare it first.
When you skip surface preparation, the latex can bead, peel, or flake because it can’t bond to slick oil layers. To prevent this, use adhesion techniques like deglossing with sandpaper or a chemical deglosser, clean thoroughly, and apply a high-quality bonding primer designed for latex over oil.
Even with these steps, test a small area first. Proper prep gives latex a mechanical key and chemical compatibility, so your finish lasts without failure.
Oil Residue Interference
When you paint latex over oil-painted surfaces that still carry oily residues—like unremoved wax, grease, or solvent-soluble additives—the latex can fail to wet and bond properly, causing beading, patchy coverage, or eventual peeling.
You’ll notice this because oil paint characteristics include long oil-rich binders and surface contaminants that repel water-based coatings.
Latex paint properties rely on surface tension reduction and mechanical adhesion; they can’t penetrate or chemically bond to oily films.
To fix it, you should degloss, clean with appropriate solvents, and sand to expose a receptive substrate, or use a high-adhesion primer rated for oil-to-latex conversions.
How to Tell If Your Oil Paint Is Compatible With Latex
Before you roll on latex, check whether the existing oil paint will accept it by testing adhesion and solvent resistance on a small, inconspicuous area—oil that’s fully cured, hard, and free of waxy or glossy finishes is much more likely to bond to latex than a soft or contaminated surface.
Determine the oil paint types present (alkyd, traditional linseed, or modified oils) because alkyds often accept latex better.
Consider the specific latex formulations you plan to use—high-adhesion, acrylic-latex primers perform differently than basic wall paints.
If uncertainty remains, prime with a bonding primer designed for oil-to-latex conversions before full application.
Simple Surface Tests for Adhesion and Curing
To quickly check whether existing oil paint will accept latex, perform two simple surface tests: an adhesion (tape) test and a solvent cure test on a small, inconspicuous spot.
Quickly test oil paint acceptance: do a tape adhesion and mineral spirits solvent test on an inconspicuous spot.
For the adhesion tests, press strong tape to the painted surface, pull sharply, and inspect for flakes or lifting. If paint comes away, you’ll need to strip or sand.
For curing factors, rub a cotton swab dampened with mineral spirits; if paint softens or smears, it hasn’t fully cured and latex won’t adhere reliably.
Repeat tests in several areas and wait for full cure before priming and painting.
When You Can Skip Stripping Oil Paint
If the oil paint is fully cured, firmly bonded, and shows no signs of peeling, you can often skip stripping and simply prime before applying latex. You should still assess adhesion with simple tests and confirm paint compatibility with your chosen primer. Skip stripping methods when surface is stable; use a high-adhesion primer rated for oil-to-latex conversions. Patch any loose spots and sand glossy areas lightly. The goal is secure bonding without unnecessary work. Quick checklist:
| Condition | Action | Note |
|---|---|---|
| Cured | Prime | Use bonding primer |
| Bonded | Sand | Light scuff only |
| Intact | Paint | Latex over primer |
Clean and Degloss: What to Do and Why It Matters
Once you’ve confirmed the oil paint is sound and primed, clean and degloss the surface so the new latex will stick properly.
You’ll remove dirt, grease, and chalk with appropriate cleaning techniques: mild detergent, trisodium phosphate substitute, or a degreaser applied with a sponge, rinsed, and fully dried.
After cleaning, use deglossing methods to dull high-sheen areas so the latex bonds; chemical deglossers wipe on and off quickly, avoiding sanding dust.
Dull glossy surfaces after cleaning with a chemical deglosser so latex paint can bond without sanding dust
Test a small area, then wipe away residue and let it cure.
Proper cleaning and deglossing reduces adhesion failure and extends the life of your topcoat.
How to Scuff-Sand Oil Paint for Latex Adhesion
Start by scuff-sanding the oil paint to create a uniform, slightly roughened surface that helps latex adhere. You’ll work with fine-grit sandpaper (220–320) or a synthetic sanding pad, keeping pressure light and even to avoid cutting through the oil layer.
Use scuff sanding techniques that remove gloss without creating deep scratches. Wipe dust with a tack cloth, then inspect for shine. If areas remain glossy, repeat gently.
Consider mechanical scuffing for large surfaces and spot-sanding for edges. Use adhesion boosters like deglossers or liquid sanders as directed to optimize the bond before painting.
- Choose 220–320 grit
- Sand lightly, even strokes
- Clean with tack cloth
- Recheck and repeat as needed
Best Primers to Bridge Oil and Latex
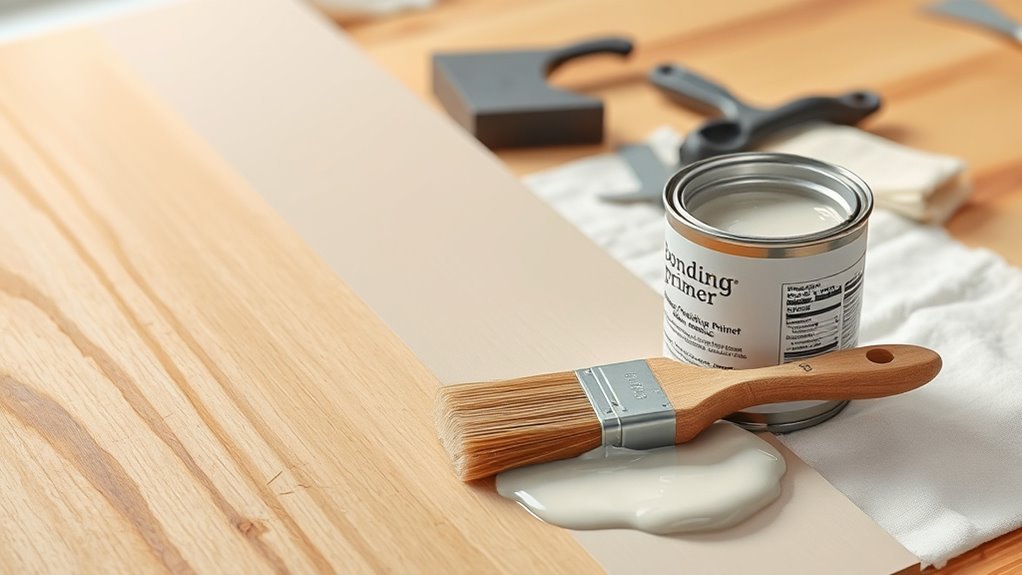
When you’re switching from oil to latex, choose a primer formulated to bond to glossy, oil-based surfaces and accept waterborne paints; these products—typically shellac-based, high-adhesion alkyds, or specific bonding primers—seal the old finish, block stains, and create a surface latex will stick to reliably. Pick a primer type based on odor tolerance, stain-blocking needs, and drying time. Shellac primers excel at blocking tannin and smoke; alkyds offer strong adhesion; bonding agents tackle slick or glossy oils. Compare features quickly:
| Primer | Strength |
|---|---|
| Shellac-based | Stain blocking |
| Alkyd high-adhesion | Durable bond |
| Bonding primer | Adheres slick surfaces |
| Waterborne acrylic primer | Low odor, flexible |
Prep and Prime an Oil-Painted Wall (Step-by-Step)
First, you’ll assess the surface for peeling, stains, or soft spots so you know what needs repair.
Then you’ll de-gloss and scuff the old oil finish with sandpaper or a liquid deglosser to promote adhesion.
Finally, apply a high-quality bonding primer designed for oil-to-latex conversions and let it cure before topcoating.
Assess Surface Condition
Before you grab primer or paint, inspect the oil-painted wall closely to determine adhesion, gloss level, and any underlying damage that could affect your new latex coat.
You’ll perform a surface inspection to judge paint compatibility and spot issues needing repair. Check for loose flakes, blistering, mold, and stains that could interfere with bonding. Note glossy areas that may resist adhesion so you can address them next.
- Tap and listen for hollow spots indicating delamination.
- Press for soft areas that need filler.
- Look for water stains or mildew.
- Record previous paint type and age.
De-gloss And Scuff
Although glossy oil paint can look smooth, it often prevents latex from bonding, so you’ll need to de-gloss and lightly scuff the surface to promote adhesion.
Start by cleaning the wall with a mild degreaser and letting it dry. Use fine-grit sandpaper or a sanding sponge to dull the sheen—these de gloss techniques remove gloss without aggressive damage.
Work evenly, using circular motions and light pressure. After sanding, wipe away dust with a tack cloth.
For stubborn glossy spots, try a liquid deglosser per instructions. These scuff methods create a keyed surface that helps later coatings stick.
Apply Bonding Primer
Once you’ve de-glossed and cleaned the surface, apply a quality bonding primer to lock in adhesion between the oil base and your latex topcoat.
You’ll choose primer types suited for oil surfaces—shellac, solvent-based, or specialty waterborne bonding agents—and follow label instructions. Work in thin, even coats, allow full cure, and sand lightly between coats if needed. Guarantee good ventilation and correct temperature for drying.
- Read product specs and compatibility.
- Use a brush for edges, roller for flats.
- Apply 2 coats for high-traffic areas.
- Test a small patch before full coverage.
Common Problems After Painting Latex Over Oil : Fixes
If you paint latex over oil without proper prep, you can run into several predictable problems—peeling, poor adhesion, blistering, and visible brush or roller marks are the most common.
Painting latex over oil without proper prep often leads to peeling, poor adhesion, blistering, and visible brush marks.
You’ll fix peeling by sanding to raw, cleaning, then applying a high-quality bonding primer that addresses paint compatibility.
For blistering, remove loose areas, sand smooth, and verify surfaces are dry and degreased before priming.
Visible marks? Use proper tools, thin coats, and back-roll or tip-off to blend.
If sections keep failing, strip to the oil base and start again—don’t just keep adding latex over compromised layers.
How Long to Wait Between Coats and Full Curing Times
After you’ve fixed adhesion problems and smoothed any damaged areas, the timing between coats and the full curing schedule becomes important for long-term performance.
You should follow manufacturer dry times but expect longer curing time when painting latex over oil-based undercoats or primers. Allow proper coat intervals to avoid trapping solvents or causing poor adhesion.
- Wait at least 24 hours between latex coats over a compatible primer.
- If humidity or cold, extend intervals to 48–72 hours.
- Full curing time can range from 7 days to 30 days depending on thickness and conditions.
- Light use before full curing reduces scuffs and adhesion failures.
When You Should Strip Oil Paint Instead of Painting Over It
If the old oil paint is flaking or peeling, you shouldn’t just paint over it — you’ll need to strip and start fresh.
Also strip if you suspect the paint contains lead so you can test and remediate safely.
Finally, heavily glossy or oily surfaces that repel latex usually require removal or thorough deglossing and priming rather than a simple topcoat.
Flaking Or Peeling Present
When oil paint is flaking or peeling, you shouldn’t try to cover it with latex—strip it first so the new finish will adhere and last.
You’ll avoid trapped moisture and adhesion failure by removing loose layers, addressing flaking causes like poor prep or incompatible layers, and choosing proper peeling solutions such as mechanical removal or chemical strippers.
After stripping, clean, dry, and prime before repainting.
- Inspect surface for active flaking and soft spots.
- Test a small removal area to confirm method.
- Use appropriate stripper or sanding, protecting yourself.
- Prime with a bonding primer before latex application.
Lead Paint Suspected
How can you tell whether the old oil paint might be lead-based—and why should that make you strip it instead of covering it?
If your home dates before 1978, or paint chips show powdery, metallic flakes, assume lead paint until tested.
You shouldn’t simply seal it under latex; trapped or disturbed lead can create hazardous dust.
Hire a certified tester or use an EPA-approved kit, and follow strict safety precautions: seal the room, wear a respirator and disposable coveralls, and contain debris.
If tests confirm lead, hire a certified abatement contractor to strip or encapsulate per regulations to protect occupants.
Heavy Gloss Or Oiliness
1 clear sign you should strip oil paint rather than cover it’s persistent gloss or a greasy surface that repels latex—paint that stays shiny or feels oily won’t let new coatings adhere properly, leading to peeling and uneven finish.
You should address heavy gloss and oiliness effects before repainting. If you ignore them, failure is likely.
- Test adhesion with tape; glossy, oily layers fail tests.
- Sanding may reduce gloss but won’t remove deep oiliness effects.
- Use chemical strippers or heat to remove stubborn oil-based layers.
- After stripping, clean, prime with a bonding primer, then apply latex.
DIY vs Pro: Cost, Time, and Durability Tradeoffs
If you’re weighing whether to tackle painting latex over oil yourself or hire a pro, focus on three practical tradeoffs: cost, time, and durability.
You’ll weigh DIY Costs against Professional Durability—doing it yourself saves labor but risks adhesion failures if Surface Preparation is rushed.
DIY saves labor but skimped surface prep risks adhesion failures—pros trade higher cost for durable results.
Time Comparison matters: a pro finishes faster with proper priming and sealers, while you might spend weekends sanding, deglossing, and waiting between coats.
Consider long-term value: pros often deliver fewer touch-ups and longer-lasting results.
If budget’s tight and you’re meticulous, DIY can work; for reliability and warranty, hire a pro.
Frequently Asked Questions
Will Oil Under Latex Cause Yellowing or Discoloration Over Time?
Yes — you’ll likely see yellowing or discoloration over time. Oil paint longevity suffers under latex adhesion issues, so the latex may lift, amber, or stain; proper priming or stripping prevents these compatibility problems.
Can Latex Trap Solvent Vapors From Old Oil Paint?
Yes — latex can trap solvent vapors from old oil paint, causing solvent entrapment that may blister and weaken paint adhesion; you’ll need proper solvent-free priming or complete removal of old oil layers to prevent problems.
Does Painting Latex Over Oil Affect Mildew Resistance?
Studies show indoor humidity boosts mold risk by 60%. You’ll reduce mildew growth only if adhesion’s solid; otherwise trapped moisture and failing paint create hospitable conditions. Always prep, prime, and guarantee proper bonding for resistance.
Will Door and Trim Hardware React to Latex Over Oil-Painted Surfaces?
Yes—you might see corrosion or sticking if hardware compatibility is poor and surface preparation was skipped; you’ll want to clean, de-gloss, and use proper primers so hinges, knobs, and locks function and don’t damage finishes.
Can I Use Latex in High-Heat Areas Over Oil-Based Paint?
Like a heat-tested glove, you can’t reliably use latex in high-heat applications over oil-based paint unless you sand, clean, and prime for paint adhesion; otherwise thermal cycling can cause peeling, bubbling, and poor long-term durability.
Conclusion
You can often paint latex over oil if you prep properly, but don’t skip tests. I once slapped latex on an old oil door without sanding — within months the finish peeled like bad wallpaper. A quick adhesion test and a coat of bonding primer would’ve saved me a weekend and $40. Remember: clean, sand, prime when needed; test a small patch; wait recommended cure times. That little effort prevents big headaches later.