How to Clean Dry Paint Off Brushes? Simple Methods
You can usually rescue brushes fast using household liquids and a little elbow grease: for water-based paint soak bristles in warm, soapy water and comb or scrub with an old toothbrush; for oil-based paint work in a ventilated area with mineral spirits or turpentine, then rinse and reshape. Use vinegar, rubbing alcohol, or aluminum foil/sandpaper for stubborn bits, avoid harsh solvents on natural hair, and always reshape and dry flat or hanging—keep going to learn more tips.
Quick Fix: Remove Dried Paint From Brushes in 10 Minutes

If you need a fast solution, you can usually soften and remove dried paint from brushes in about 10 minutes using household solvents and a bit of elbow grease.
You’ll dip bristles in mineral spirits or rubbing alcohol, work gently with a comb or old toothbrush, rinse, and reshape.
These paint removal techniques double as practical brush maintenance tips to extend bristle life.
When to Restore a Brush vs. Toss It
First check the brush condition: look for splayed bristles, a misshapen ferrule, or loose hairs.
Weigh the repair cost against the brush’s value—cheap synthetics mightn’t be worth salvaging while quality natural-hair brushes often are.
Also consider how often you use it; if it’s a go-to tool you’ll want to restore, but rarely used brushes can be replaced.
Brush Condition Assessment
A quick inspection tells you whether a brush deserves rescue or replacement: check the bristles for stiffness, splaying, or permanent clumping, examine the ferrule for rust or looseness, and test the brush’s shape by running your finger from heel to tip.
Consider brush durability and bristle types—natural hairs tolerate reshaping differently than synthetics. Keep brushes that spring back and have intact ferrules; discard beyond repair.
Repair Cost Versus Value
When deciding whether to restore or toss a dried brush, weigh the repair cost against the brush’s remaining value: consider replacement price, sentimental or specialty value, and how much time and money the fix will take.
Do a quick value assessment: if repair cost, effort, or bristle loss exceeds replacement price or performance, discard.
Keep only brushes worth the restoration.
Frequency Of Use
Often you’ll decide to restore or toss a dried brush based on how frequently you use it: if it’s your go-to for daily or weekly jobs, invest time in cleaning and salvaging it; if you only pull it out for rare touch-ups, replacement is usually smarter.
Evaluate bristle condition, handle stability, and cost.
Adjust cleaning frequency and improve brush storage to extend life.
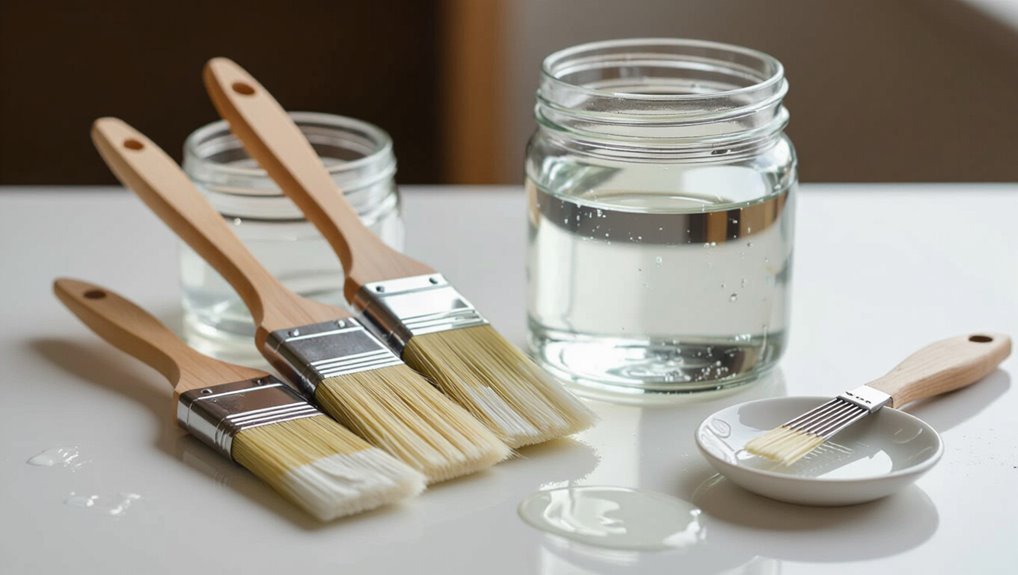
Supplies You Need at Home to Clean Dried Paint
Start by gathering a few basic supplies so you can tackle dried paint without scrambling mid-cleanup: white vinegar, warm water, dish soap, a stiff brush or old toothbrush, a pair of rubber gloves, and some aluminum foil or a strip of sandpaper for stubborn bristles.
Keep these cleaning supplies handy; they’re practical household alternatives to specialty solvents and cover most dried paint situations safely and cheaply.
Remove Dried Water-Based Paint Quickly
Now that you’ve gathered your supplies, tackle dried water-based paint with a quick soak and gentle agitation. Use warm soapy water, a soft brush comb, and mild solvent if needed. Focus on paint removal techniques and ongoing brush care to revive bristles without damage.
| Relief | Satisfaction |
|---|---|
| Warm soak | Gentle combing |
| Patience | Restored brush |
Safely Remove Old Oil-Based Paint
If the brush has hardened oil-based paint, you’ll need stronger solvents and a careful approach to avoid ruining the bristles or your skin—work in a well-ventilated area, wear gloves, and protect surfaces.
Use safe paint removal techniques and follow brush maintenance tips.
- Soften paint gently.
- Comb bristles with a wire brush.
- Rinse until clear.
- Condition and store upright.
Solvents: Mineral Spirits, Turpentine & Alternatives
When you’re tackling dried oil-based paint, choosing the right solvent makes removal faster and protects your brush—mineral spirits and turpentine are the traditional choices, while modern alternatives offer lower odor and safer handling.
You’ll weigh mineral spirits’ effectiveness against turpentine safety concerns, test eco friendly alternatives for gentler cleanup, and use a clear solvent comparison to pick the safest, most effective option.
Soak and Work Stiff Bristles: Step-by-Step
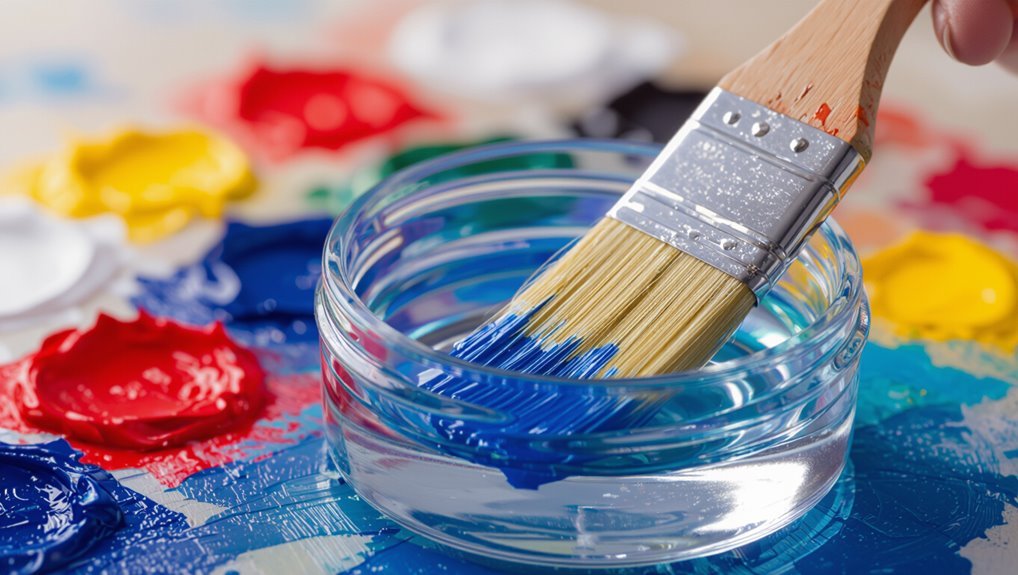
Start by soaking the bristles thoroughly in the appropriate solvent so the paint softens.
Then gently work the softened paint out with your fingers or a brush comb, repeating the soak if needed.
Finish by rinsing, reshaping the bristles, and letting the brush dry flat or hanging to maintain its form.
Soak Bristles Thoroughly
Soak the brush deeply so solvent can penetrate the dried paint—hold the ferrule submerged and let the bristles sit for at least 15–30 minutes for acrylics, longer for oil-based paints.
You’ll speed brush soaking and maintain bristle care by choosing the right solvent and checking progress.
- Pick compatible solvent.
- Submerge ferrule, not handle.
- Time per paint type.
- Rinse and blot.
Gently Work Paint
Gently work the bristles with a brush comb or your fingers to loosen softened paint, keeping the ferrule submerged so solvent stays effective; you’ll feel the stiffness give way as paint breaks up.
But be patient and repeat short, controlled strokes rather than forceful scrubbing to avoid splaying or damaging the tips.
Then gently scrub remaining areas, focusing on concentrated paint removal until bristles move freely.
Rinse And Reshape
Once the paint has loosened and the bristles move more freely, rinse the brush under lukewarm running water or in a clean container of solvent to flush out loosened pigment and cleaner.
Keep the ferrule submerged and work from heel to tip so water flows away from the ferrule.
- Squeeze gently to remove excess.
- Comb bristles with your fingers.
- Reshape the tip to its original profile.
- Air dry bristles flat or hanging for proper brush maintenance and long-term cleaning techniques.
Mechanical Cleaning: Comb, Needle & Pin Techniques
Start by laying the brush on a protected surface and securing the ferrule so the bristles don’t splay as you work.
Use a fine-toothed comb for comb maintenance, teasing dried paint outward.
Employ needle techniques to pick stubborn bits between bristles and pin application for compact clumps.
Use proper cleaning tools gently to avoid damage, improving brush longevity without reshaping or softening here.
Restore Brush Shape and Softness After Cleaning
Once the paint is out, gently reshape the bristles with your fingers so they sit back in their original profile.
Rub a drop of conditioning oil or brush restorer through the hairs to soften and protect them.
Lay the brush flat to dry horizontally so water doesn’t warp the ferrule or bristles.
Reshape Bristles Gently
After cleaning, gently reshape the bristles with your fingers so the brush returns to its original taper and alignment.
Focus on bristle care and gentle reshaping to prevent splaying. Work from ferrule to tip, reshape while slightly damp, then lay flat to dry.
- Remove excess water
- Align stray hairs
- Reform tip gently
- Store flat or hanging
Use Conditioning Oil
When the bristles are reshaped and mostly dry, treat them with a light conditioning oil to restore flexibility and prevent stiffness; you’ll only need a drop or two rubbed between your fingers and worked gently from ferrule to tip.
Choose suitable oil types—linseed, mineral, or specialized brush oils—and apply sparingly.
These conditioning methods preserve shape, reduce frizz, and keep bristles soft for future use.
Dry Flat Horizontally
Although it can be tempting to stand brushes upright to speed drying, lay them flat and horizontal so water won’t pool at the ferrule and warp the bristles.
You’ll restore shape and softness using simple dry brush techniques and horizontal drying. Follow these steps:
- Gently reshape bristles.
- Lay brushes on a towel.
- Elevate handles slightly.
- Air-dry fully before storing.
Cleaning Synthetic vs. Natural Bristle Brushes
Because synthetic and natural bristles handle paint and cleaning differently, you’ll want to treat each type deliberately to avoid damage. You’ll use solvents gently on synthetic bristles for synthetic durability, and mild soaps on natural bristles to preserve natural flexibility. Compare care quickly:
| Type | Best Cleaner | Tip |
|---|---|---|
| Synthetic | Solvent | Soak briefly |
| Natural | Soap | Rinse gently |
Preventing Future Paint Build-Up: Daily Habits
If you want to keep paint from drying into stubborn clumps, clean your brushes after each session and store them properly—wipe excess paint on a rag, rinse (or use the appropriate solvent), reshape the bristles, and hang or lay them flat to dry.
Follow simple daily maintenance and smart brush storage:
Follow simple daily maintenance and smart storage to keep brushes soft, clean, and ready for your next painting session.
- Wipe and rinse immediately.
- Use correct solvent.
- Reshape bristles gently.
- Hang or lay flat to dry.
Troubleshooting: Stubborn Paint & Damaged Bristles
When stubborn paint clings or bristles fray despite your best efforts, quick diagnosis and targeted fixes can save the brush — and your next coat.
Assess for hardened clumps; soak in appropriate solvent, then gently work with a comb or toothbrush to remove stubborn stains.
Trim splayed tips, reshape with warm water, and store upright. Regular bristle care prevents recurrence.
Frequently Asked Questions
Can Dried Paint Transfer Color to New Projects After Cleaning?
Yes — dried paint can cause paint transfer if cleaning techniques aren’t thorough; you’ll spot color bleed on new projects. Use deep solvent soaking, combing, and multiple rinse cycles so residual pigments won’t contaminate future work.
Are There Eco-Friendly Disposal Methods for Paint-Soaked Cleaning Materials?
Yes — you can dispose responsibly: soak rags in eco friendly solvents, wring into sealed containers, and choose biodegradable options for cleanup. You’ll compost solvent-free linens, recycle sealed waste per local hazardous-waste rules, and avoid drains.
Can Brush Cleaners Damage Painted Surfaces if Rinsed Near Drains?
Yes, they can — you’ll harm surfaces and plumbing if harsh paint cleaner safety practices aren’t followed. Use gentler cleaning techniques, contain and dispose rinse water properly, and avoid pouring solvents down drains to prevent damage.
How Long Can a Cleaned Brush Be Stored Without Use?
A stitch in time saves nine: you can store a cleaned brush for months to a year if wrapped properly; keep cleaning frequency low by conditioning bristles, storing upright or sealed, and checking periodically for stiffness or mildew.
Do Any Household Foods Effectively Loosen Dried Paint From Brushes?
Yes — some household items can help with paint removal: you can try vinegar, baking soda paste, or warm soapy water to loosen dried paint on brushes, and you’ll often follow with gentle scrubbing and rinsing for best results.
Conclusion
You’ve got this — dried paint isn’t a lost cause. Use the right cleaner for water- or oil-based paints, soak and gently work the bristles, then reshape and let them dry flat. Know when a brush is beyond saving and replace it. Treat brushes like a trusted tool: clean them quickly and store properly to avoid future buildup. Like pruning a bonsai, regular care keeps them precise and ready for your next stroke.