
How Do I Touch Up Paint on Walls: Easy Fix for Flawless Walls
You can touch up wall paint like a pro by cleaning the spot, lightly sanding and wiping it, then testing paint on a hidden area to confirm color and sheen. Use a small brush or mini roller, apply thin coats and feather edges outward, matching texture and allowing full dry time between layers. For high-traffic or glossy surfaces, degloss and use appropriate products to blend seamlessly. Keep going to learn step-by-step tools, matching tricks, and fixes for common problems.
Quick Step-by-Step: Touch Up Wall Paint in Minutes
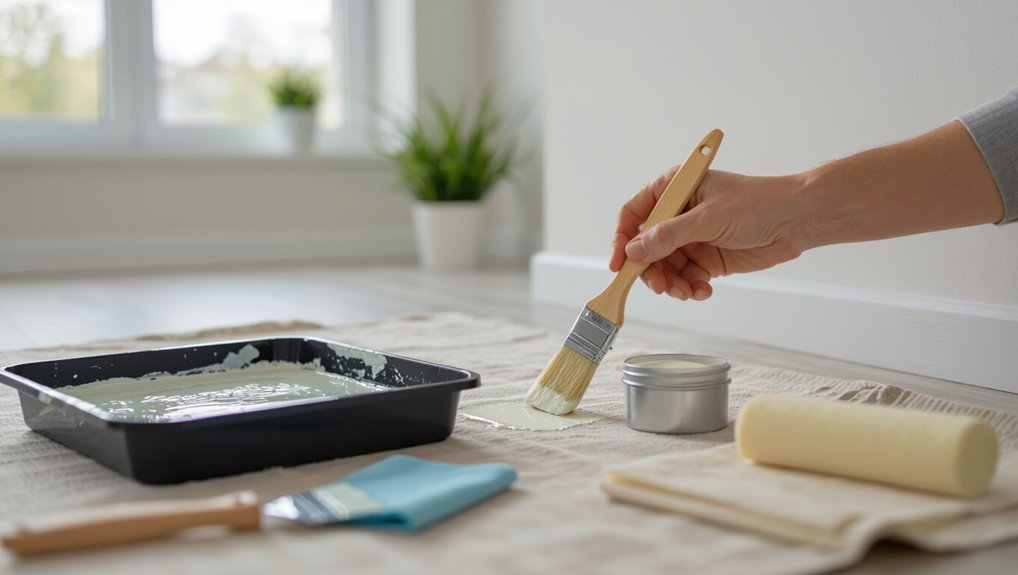
Start by gathering a small brush or roller, matching paint, a damp cloth, and light sandpaper so you can finish the job without hunting for supplies.
Clean the spot, sand lightly, wipe, and test paint on an inconspicuous area.
Apply thin coats, feather edges to blend with surrounding paint finishes, and let dry between layers.
Consider color psychology when choosing touch-up tones.
Identify Your Wall Paint Type (Latex vs. Oil)
Start by checking the paint sheen—flat, eggshell, satin, or gloss can hint at the base.
Rub a cotton ball soaked in rubbing alcohol on an inconspicuous spot; if paint softens or comes off, it’s likely latex.
Finally, try to match the original brand and color code for the best touch-up results.
Check The Paint Sheen
Wondering whether your wall paint is latex or oil? Check the paint sheen by observing light reflection and texture; sheen variations like flat, eggshell, satin, semi-gloss, and gloss reveal finish durability.
Compare suspect spots to known paint finishes on trim or doors. Sheen helps identify product type and guides touch-up choices, so note gloss level before matching color and application methods.
Test With Rubbing Alcohol
Curious whether your wall paint is latex or oil? Dampen a cotton ball with rubbing alcohol and rub a discrete spot.
If paint softens or comes off, it’s latex; if it resists, it’s likely oil-based. This quick test helps you choose touch-up materials and guarantees proper paint adhesion.
Always wait for the spot to fully dry before proceeding.
Match Brand And Color
Before you buy new paint, identify the exact brand and color so your touch-up blends seamlessly; matching matters as much as knowing whether the paint is latex or oil.
Check the can label or manufacturer database for paint brands and sheen. If you can’t find it, take a chip to a store for color mixing.
Confirm latex versus oil; formulas affect adhesion and finish.
Decide: Touch-Up or Full Repaint?
Look closely at the damage to decide if a quick touch-up will blend or if larger patches and texture differences call for a full repaint.
Try to match the paint color and finish on a hidden scrap or with a small test swatch before committing.
If you can’t get a close match or the damage is widespread, plan on repainting the whole wall.
Assess Damage Extent
How bad is the damage: a few small scuffs or widespread peeling?
You inspect damage types—scuffs, chips, cracks, peeling—and map affected area.
If marks are isolated, you’ll use simple repair methods like spot sanding and primer.
For large peeling or multiple layers failing, plan a full repaint: it’s faster and yields a durable finish than repeated spot fixes.
Match Paint Color
Once you’ve assessed the damage, decide whether to match the paint for a spot repair or commit to a full repaint: small, isolated blemishes usually take a well-matched touch-up, but variations in sheen, age-related fading, or large patched areas mean a full repaint will look more consistent and last longer.
Test color samples, compare under room lighting, and use blending techniques to feather edges for seamless results.
Tools and Materials for Touch-Up Paint
Gathering the right tools and materials makes touch-up painting faster and gives much better results. You’ll need small brushes, a mini roller, painter’s tape, sandpaper, primer, and a clean cloth.
Follow paint selection tips and application techniques for smooth coverage. Keep a small tray and stir sticks handy, test on scrap cardboard, and work in even strokes for seamless repairs.
Match Paint Color Like a Pro
After you’ve got your tools and a small sample area ready, matching the paint color becomes the next key step to invisible repairs.
Once your tools and sample area are set, matching the paint color is the crucial step to invisible repairs.
You’ll use color theory and blending techniques to replicate tone and sheen. Follow these steps:
- Analyze light and undertones.
- Compare original finish.
- Mix small batches incrementally.
- Feather edges for seamless blend.
Test Swatches and Sample Patches First
Before you commit, put up small swatches and view them at different times of day so you can test lighting conditions.
Let the samples fully dry, then check the color match again because paint often shifts as it cures.
If the dried swatch doesn’t blend, adjust the formula or try another sample.
Test Lighting Conditions
Want to be sure the touch-up really matches? Check lighting impact on swatches at different times so color perception stays accurate.
Test patches under:
- Natural morning light
- Midday sunlight
- Evening/artificial light
- With lamps and overhead fixtures
You’ll spot shifts and choose the best area to sample before committing, avoiding surprises from changing illumination.
Check Dry Color Match
How will the color look once it’s dry?
Test swatches and small sample patches in the actual spot, let them dry fully, and compare under different lighting.
You’ll spot color fading or sheen shifts from paint application techniques.
If the dry match differs, adjust formula or method before touching up.
This prevents visible seams and guarantees a seamless repair.
Prep the Wall: Clean, Fill, and Sand
Start by cleaning the area thoroughly, removing dust, grease, and loose paint so your touch-up will stick and look seamless.
You’ll focus on wall cleaning and surface preparation before filling and sanding.
Follow steps:
- Wipe with mild detergent.
- Scrape loose paint.
- Fill gaps with spackle; let dry.
- Sand smooth, wipe dust, then prime if needed.
Clean and Sand Scuffs, Chips, and Nail Holes
Lightly sand scuffs, chips, and nail holes to feather the edges and create a uniform surface before you paint.
Wipe dust for scuff removal, then fill chips and nail hole depressions with lightweight spackle.
After drying, sand smooth and clean again.
This wall preparation guarantees even paint application and helps your blending techniques succeed, giving seamless, professional-looking touch-ups with minimal effort.
Mix and Thin Touch-Up Paint for Blending
Once you’ve matched the color, thin small amounts of touch-up paint so it blends with the existing finish; this helps the repaired area dry at the same rate and avoids obvious edges.
Use precise mixing techniques and thinning ratios to maintain color consistency.
Try these blending methods:
- Stir and test
- Add solvent incrementally
- Match sheen
- Feather edges and reassess
Apply Touch-Up Paint to Small Chips and Pinholes
Start by cleaning and lightly sanding the chip or pinhole so the surface is smooth and free of dust.
Match the touch-up paint to the wall color and sheen exactly so the repair disappears.
Apply thin coats, feathering the edges with a brush or sponge to blend into the surrounding paint.
Prep The Surface
Before you apply touch-up paint to small chips and pinholes, clean and dry the area so the paint will adhere properly.
You’ll focus on surface cleaning and wall preparation to guarantee adhesion. Follow these steps:
- Wipe with mild detergent.
- Rinse and dry fully.
- Lightly sand edges.
- Remove dust with a tack cloth.
Now you’re ready to fill and paint.
Match Paint Precisely
With the surface cleaned, dried, and sanded, focus on matching the paint so your touch-ups disappear.
Use a small sample or chip to swatch nearby light; apply color theory to adjust tint, value, and undertone.
For tiny chips and pinholes, use a fine brush or toothpick, thin paint slightly, and employ precise blending techniques so repairs read as part of the original wall.
Feather And Blend
Although the prep work’s done, you’ll want to feather and blend carefully so small chips and pinholes vanish into the surrounding paint.
Use these steps and blending techniques to avoid color fading:
- Lightly scuff edges.
- Dab a thin coat with a fine brush.
- Feather outward with a damp sponge.
- Let dry, assess, repeat if needed.
Feather and Blend Paint for Larger Patches
When a patch is big enough that a simple touch-up won’t disappear, you’ll need to feather and blend the new paint into the surrounding area so the repair reads as part of the wall.
Use color blending techniques: thin coats, work outward from the patch, and stagger brush strokes.
Apply feathering methods with a damp brush or roller edge, blending until connections vanish.
Match Wall Texture and Finish
Before you paint, match the wall’s texture and sheen so the touch-up blends invisibly: identify the existing finish (flat, eggshell, satin, semi-gloss) and the surface texture (smooth, orange peel, knockdown, popcorn).
Then choose the same paint gloss and a texturing tool or compound that reproduces the pattern.
Use these steps:
- Inspect finish factors.
- Test small area.
- Apply texture techniques.
- Feather edges to blend.
Drying Times: Wait-Between-Coats and Finish Timing
1 key rule with touch-ups is to let paint dry fully between coats so each layer bonds and you avoid tacky, uneven finish.
Check manufacturer’s recommended wait times, but test a small patch before recoating.
Use drying techniques like gentle airflow and moderate heat, and create ideal conditions—low humidity, stable temperature—to guarantee even curing and accurate final color before declaring the job done.
Touch-Ups for High-Traffic Areas and High-Gloss Walls
High-traffic areas and high-gloss walls demand extra care because scuffs show up faster and sheen highlights every imperfection.
So, you’ll need tighter prep, matching techniques, and sometimes specialized products to make touch-ups invisible.
Use these high traffic strategies and high gloss considerations:
- Clean and degloss surface.
- Feather edges with fine brush.
- Match sheen precisely.
- Use touch-up pens or spray.
Troubleshooting: Streaks, Sheen Mismatch, and When to Call a Pro
Troubleshooting streaks, sheen mismatch, or other touch-up problems starts with diagnosing what went wrong and why, because each issue has a different fix.
Inspect for surface contamination, uneven primer, or wrong sheen.
For streak removal, sand lightly and recoat with matching finish.
Address sheen issues by feathering edges or repainting whole panel.
If damage assessment reveals deep problems, seek pro consultation.
Frequently Asked Questions
Can I Touch up Walls With Leftover Paint From Another Room?
You can, but you’ll need to check paint color matching first; test a small area. If it differs, adjust or buy matching tint. Use proper paint application techniques—feather edges, thin coats, and blend with surrounding finish for seamless repair.
How Do I Store Leftover Touch-Up Paint Long-Term?
Sealed, sorted, stored — you’ll safeguard sheen: transfer small amounts into airtight, labeled containers, remove air with plastic wrap, store upright in a cool, dry place away from light; this preserves color and guarantees long-term paint preservation.
Is It Safe to Touch up Walls Without Ventilating the Room?
No, it isn’t safe to touch up walls without ventilating; ventilation importance is critical for paint safety, so open windows, run fans, and take breaks to minimize fumes and exposure while you work.
Can I Use a Hairdryer to Speed up Drying Between Coats?
Yes — you can use a hairdryer to speed up paint drying between coats, but hairdryer effectiveness is limited; keep it on low heat, hold it several inches away, and move constantly to avoid melting or uneven drying.
Will Touch-Up Paint Block Stains Like Crayon or Watermarks?
No — touch-up paint won’t reliably block stains like crayon or watermarks; you’ll need stain removal first, then a stain-blocking primer to guarantee paint adhesion, and only afterward apply touch-up paint for a seamless finish.
Conclusion
You’ve learned the simple steps to salvage scuffs and spots, so say goodbye to sad, spotted surfaces. Start by spotting the paint type and shade, then smooth, sample, and silently blend brushstrokes for a seamless solution. Match texture, mind drying times, and master minor mistakes with minimal mess. For busy hallways and glossy finishes, be patient and precise. With practice, patience, and proper prep, you’ll produce pristinely patched, professional-looking walls.
