How to Get Paint Off Plaster Walls Without Causing Damage
You can remove paint from plaster walls without causing damage by first evaluating the surface, testing for lead, and stabilizing any loose plaster. Soften paint with a low-heat gun or a plaster-safe chemical stripper, then gently lift with a flexible plastic or putty knife. Lightly sand only to smooth edges, clean residue with water or a mild solvent, let dry, and prime patched spots before repainting. Follow safe practices and you’ll find detailed step-by-step options ahead.
Quick Answer Safe Ways to Remove Paint from Plaster Walls
For a quick, safe fix, you’ll usually get the best results by gently stripping with a mild chemical stripper or heat gun on low and then sanding lightly where needed.
Try the easy methods yourself for small spots, but stop and call a professional if the plaster’s crumbling, the paint is lead-based, or the area is large and uneven.
A pro can assess damage, handle hazardous materials, and restore the surface properly.
One-sentence summary of best method
When you need a quick, safe removal, gently score and soften the paint with a heat gun or chemical stripper rated for plaster.
Then scrape with a flexible putty knife and finish by lightly sanding and cleaning the surface.
For clear guidance on how to get paint off plaster walls, proceed carefully, test a small area, work in thin layers, and protect adjacent surfaces and yourself.
When to call a professional
If the paint won’t soften, the plaster’s damaged, or the surface is large and awkward, call a professional—these situations need experience, the right tools, and safety measures you may not have.
Call a pro when paint is lead-based, mold or structural cracks exist, or delicate historic plaster’s at risk.
They’ll assess, use proper containment, and restore surfaces with minimal further harm.
Basic Understanding Paint on Plaster: What You Need to Know
Plaster is more brittle and porous than drywall, so you’ll need gentler methods to avoid crumbling or gouging the surface.
You might find latex, oil-based, or enamel paints on plaster, and each responds differently to solvents and scraping.
How the paint bonded—whether it soaked into the plaster or formed a hard surface film—will guide which removal technique will work best.
How plaster differs from drywall and why it’s delicate
Because it’s made from lime or gypsum mixed with sand and applied wet, plaster sets into a much harder, more brittle surface than drywall’s gypsum board.
Types of paint commonly found on plaster (latex, oil, enamel)
You’ll most often encounter three kinds of paint on plaster: water-based latex, oil-based (alkyd), and hard, glossy enamel—each behaves differently and calls for different removal methods.
Latex is flexible and water-cleanable when fresh.
Oil/alkyd is tougher, solvent-responsive and may yellow.
Enamel is very hard and chip-prone; it often needs careful mechanical or stronger chemical approaches to avoid surface damage.
How paint bonds to plaster and how that affects removal
Knowing the paint type is only half the story; how the coating bonds to the underlying plaster determines which removal methods will work and how aggressive you can be.
You’ll encounter mechanical adhesion, chemical bonding, and film formation. Softer, flexible paints peel easier; hard, cured enamels and oil paints grip tightly.
Match solvent, heat, or scraping to bond strength to avoid gouging or lifting plaster beneath.
Assess the Situation Inspect Before You Start
Before you start, inspect the plaster for soundness, hairline cracks, or any loose sections that need repair.
Identify the paint type with simple visual cues and a few quick tests, and assess lead-paint risk if the home is pre-1978.
Gather the right tools and safety gear—gloves, goggles, respirator, drop cloths, and scrapers—so you’ll be ready to work safely.
Identify plaster condition (sound, hairline cracks, loose areas)
Since plaster can hide problems under paint, take time to inspect the wall closely for sound areas, hairline cracks, and any loose or bulging sections before you start stripping paint.
Tap gently with a knuckle or small screwdriver—solid plaster sounds crisp.
Mark cracked, crumbling, or delaminated spots. Note areas needing patching or stabilization so you don’t worsen damage during paint removal.
Determine paint type (simple tests and visual cues)
If you want to choose the safest removal method, start by identifying the paint type—latex, oil-based, or lead-based—because each reacts differently to solvents and heat.
Scratch test: rub a hidden spot with a damp cloth—latex softens, oil resists.
Smell helps too: oil has a solvent odor.
Gloss and age also offer clues before you proceed with removal.
Check for lead paint risk
After you identify the paint type, check for lead risk—older layers, chipping, or repainting over original finishes raise the likelihood of lead-based paint.
You should treat suspect areas carefully and test before disturbing surfaces.
- Worry if paint flakes easily.
- Fear renovations in pre-1978 homes.
- Respect children’s exposure risks.
- Act by using a certified lead test kit or pro.
Tools and safety gear checklist

Gather the right tools and safety gear before you touch the wall so you won’t stop mid-job to hunt for essentials.
You’ll want gear that protects and performs so you feel confident, not anxious.
Prepare:
- NIOSH-rated respirator and goggles
- Disposable gloves and coveralls
- Soft scrapers, chemical stripper, and plastic scraper
- Drop cloths, painter’s tape, and good lighting
Safe Removal Methods Step-by-Step Procedures
Start by protecting the room and testing a small patch so you know how the plaster reacts.
Then you’ll move through gentle mechanical removal, targeted chemical strippers safe for plaster, and cautious heat-gun use at low settings.
For stubborn areas, combine methods in stages to remove paint without damaging the wall.
Step 1 Preparation: protect area and test a small patch
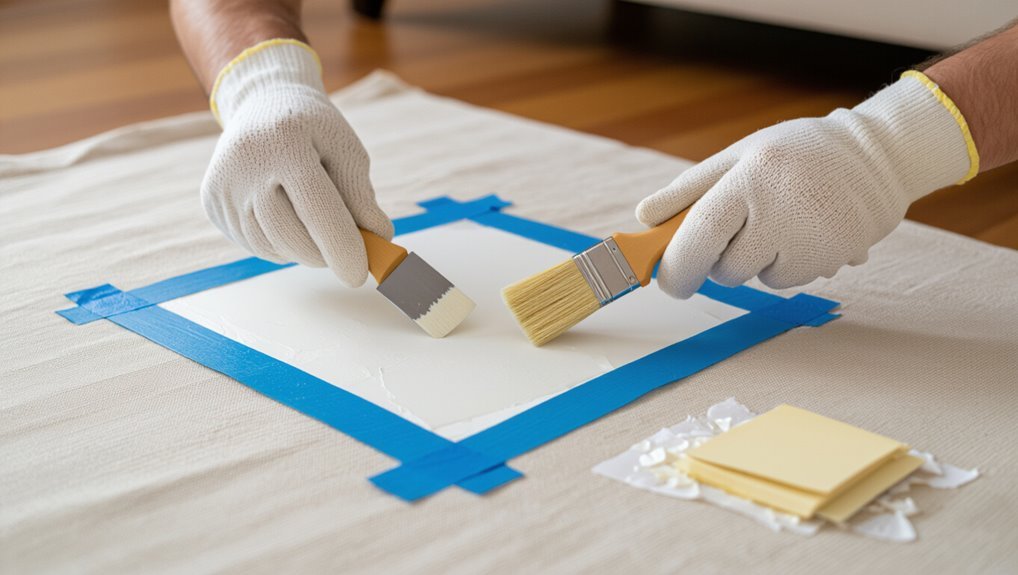
Before you touch the wall, clear the room and lay down drop cloths or plastic sheeting to protect floors, furniture, and fixtures from paint chips and cleaning solutions.
You’ll also ventilate, wear gloves and goggles, and test a hidden patch with your chosen cleaner to check adhesion and finish reaction.
- Breathe easier
- Stay safe
- Avoid surprises
- Protect your work
Step 2 Gentle mechanical removal: soft scraping and sanding techniques
Work slowly and use light pressure when you scrape or sand plaster to avoid gouging the surface; soft putty knives, plastic scrapers, and fine-grit sandpaper (180–220 grit) are usually enough to lift flaking paint without damaging the plaster underneath.
Hold tools shallowly, test frequently, and sand with the grain of any texture. Clean dust, inspect for stubborn spots, and repeat gently until smooth.
Step 3 Chemical strippers: choosing a plaster-safe stripper and application tips
If scraping and light sanding won’t remove old paint or you hit stubborn, multiple layers, a chemical stripper can soften coatings so you can lift them without aggressive abrasion.
Choose a low-odor, water-based or citrus stripper labeled safe for plaster.
Test a small area first, follow manufacturer timing, work with plastic scrapers, ventilate, wear gloves and eye protection, and neutralize residue as instructed.
Step 4 Heat methods: when to use a heat gun and safe settings
When scraping and chemical strippers haven’t done the job, a heat gun can soften paint so you can lift it with a plastic scraper.
You’ll want to use it only on solid, dry plaster and avoid prolonged exposure that can scorch the surface or release toxic fumes.
Hold the gun 6–8 inches away, set to low/medium (around 300–500°F), keep it moving, ventilate, and wear a respirator and gloves.
Step 5 Combination approaches for stubborn paint
Because stubborn paint often resists a single method, combine gentle mechanical, chemical, and heat techniques in short cycles so you can test results and protect the plaster.
Start with low-pressure scraping, follow with a mild stripper on a small area, then soften remaining film with brief, controlled heat.
Inspect frequently, adjust technique, and stop if plaster softens or powdering appears to avoid damage.
Step 6 Cleaning residue and neutralizing chemicals
Step 6 covers cleaning away residue and neutralizing any chemicals so your plaster isn’t left contaminated or weakened.
After removing paint, wipe surfaces with damp microfiber to lift particles. Rinse with plain water, then apply a mild vinegar solution if solvents were used to neutralize alkaline residues.
Pat dry, ventilate thoroughly, and inspect for lingering tackiness before proceeding.
Step 7 Repairing and preparing plaster for repainting
Assess the surface carefully and make any necessary repairs before you repaint so the finish will last and look professional.
Patch cracks and holes with plaster or joint compound, sand smooth when dry, and remove dust.
Prime patched areas with a suitable sealer, let it cure, then inspect for adhesion issues.
Once uniform, choose paint and apply thin, even coats for a durable, consistent finish.
Tools, Materials, and Products Recommended
You’ll want a mix of hand tools—scrapers, putty knives, and sanding blocks—for controlled removal and touch-ups.
Know when to use power tools sparingly, which chemical strippers or solvents are safe for plaster, and when they’re too aggressive.
Always wear proper safety gear—gloves, eye protection, respirators, and drop cloths—to protect yourself and the room.
Hand tools (scrapers, putty knives, sanding blocks)
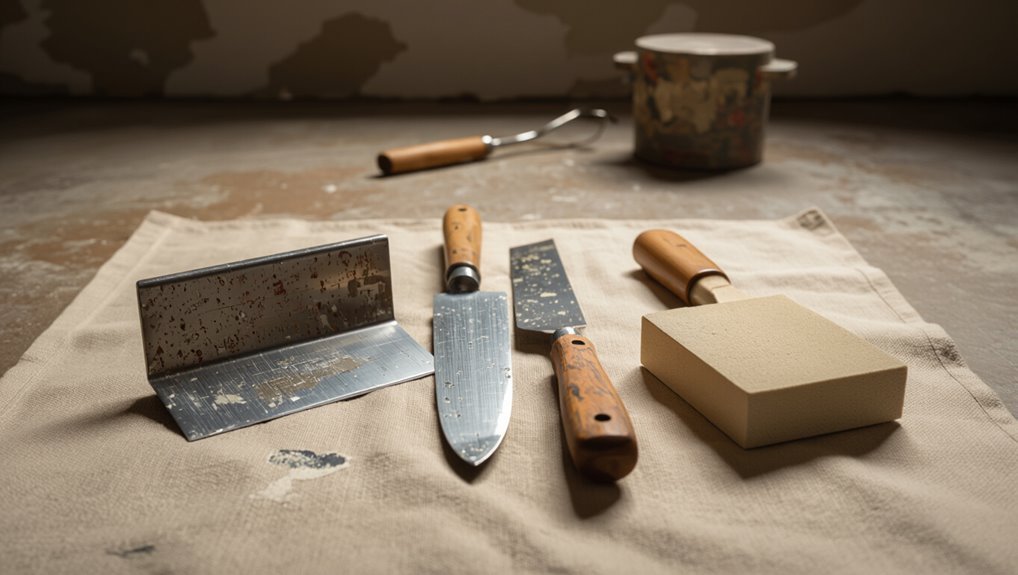
Grab a sturdy scraper, a few flexible putty knives, and a medium-grit sanding block before you start—these hand tools are the most reliable for removing loose or flaking paint from plaster without damaging the surface.
- Feel confident with controlled scraping.
- Use thin putty knives for tight spots.
- Sand gently to smooth edges.
- Clean debris to inspect progress.
Power tools and when to avoid them
Once you’ve removed the loose paint with hand tools, you might consider power tools for larger areas or stubborn coatings. They can speed the job but also increase risk to delicate plaster if used improperly.
Use an oscillating multi-tool or variable-speed sander on low settings. Test in an inconspicuous spot, keep pressure light, and avoid grinders or heat guns that can gouge, crack, or over-dry plaster.
Chemical strippers and solvents suitable for plaster
One of the most effective ways to remove multiple paint layers from plaster is to use a chemical stripper formulated for masonry or historic substrates; these products soften paint so you can scrape without damaging the plaster. Choose low-odor, water-rinseable or citrus-based strippers for delicate plaster. Test small areas first and follow manufacturer directions.
| Type | Example |
|---|---|
| Water-rinseable | NMP-free formulas |
| Citrus | D-Limonene-based |
Safety equipment and protective supplies
After you’ve chosen a stripper or solvent, gear up to protect yourself and the plaster—chemical removers and scraping kick up dust, fumes, and debris that can hurt skin, lungs, and eyes.
Don gloves, goggles, a respirator, and drop cloths. Stay safe and calm.
- Nitrile gloves
- Safety goggles
- P100 respirator
- Heavy-duty drop cloths
Comparison of Removal Methods Effectiveness vs. Risk
You’ll weigh mechanical, chemical, and heat methods by balancing their effectiveness against the risk of damaging fragile plaster.
For example, scrapers and sanding are strong on stubborn paint but can gouge soft surfaces, while chemicals loosen paint with less abrasion but carry fumes and cleanup concerns.
Heat works well on many coatings yet can scorch or blister plaster.
Match the method to the paint type and plaster condition to minimize harm and get the cleanest result.
Mechanical vs chemical vs heat: pros and cons
When deciding whether to remove paint from plaster with mechanical, chemical, or heat methods, weigh effectiveness against risk and effort: you’ll choose sanding for speed but risk gouging, strippers for control but need ventilation, or heat for stubborn layers with burn risk.
| Method | Pros | Cons |
|---|---|---|
| Mechanical | Fast | Damaging |
| Chemical | Controlled | Toxic fumes |
| Heat | Effective | Burn/crack risk |
Best choices by paint type and plaster condition
Because different paint types and plaster conditions respond very differently to removal methods, you should match technique to material:
- Flaking water-based on intact plaster — gentle scraper, low-pressure wash; relief.
- Gloss oil on stable plaster — solvent wipes, cautious sanding; controlled.
- Lead-aged or brittle plaster — professional abatement; anxious but safe.
- Multiple layers on soft plaster — chemical gel, patching; hopeful restoration.
Common Mistakes and How to Avoid Damage
Don’t sand aggressively or you’ll gouge the plaster—start with gentle methods and progress carefully.
Pick the correct stripper, avoid endless scrubbing, and always follow product instructions.
If the paint might contain lead, take proper precautions, and don’t rush repairs or skimp on surface prep.
Over-sanding and gouging the plaster
Sand carefully—over-sanding can quickly eat through the thin plaster skin and leave deep gouges that are hard to repair.
Use light pressure, fine-grit sandpaper, and a sanding block to keep surfaces even.
Check progress frequently and stop at feathered edges.
If you hit a low spot, patch with joint compound rather than sanding deeper to avoid worsening the damage.
Using the wrong stripper or excessive scrubbing
If you pick the wrong chemical stripper or scrub the wall too hard, you can strip off more than paint—you’ll damage the plaster’s finish, loosen fibers, or even dissolve the binder.
Test a small, hidden area with a mild remover first, use soft brushes or nylon pads, follow product instructions, and rinse thoroughly to prevent lingering chemicals that weaken plaster integrity.
Ignoring lead paint precautions
While choosing the right stripper and gentle tools protects plaster, overlooking lead paint safety creates a far greater health risk.
If your home was built before 1978, assume lead may be present. Test first, wear a proper respirator and gloves, contain dust with plastic sheeting, and avoid dry scraping.
Hire certified abatement pros for large areas to protect yourself and occupants.
Rushing repairs and poor surface prep
Because plaster and paint interact unpredictably, rushing repairs or skipping prep often causes more damage than the original problem, so take time to get surfaces ready.
You should clean, dust, and test a small area before scraping or using chemicals. Use proper patching compounds, sand lightly, and prime when needed.
Work methodically, avoid aggressive tools, and let materials cure fully.
Prevention and Best Practices for Future Painting
To avoid repeat headaches, you’ll want to prime properly and pick paints formulated for plaster so finishes bond cleanly.
Keep up simple maintenance—regular cleaning and prompt touch-ups make future stripping much easier.
Label cans and note locations and colors so anyone working on the house knows what was used.
Proper priming and paint selection for plaster
If you want paint to stick and last on plaster, start with the right primer and paint—plaster soaks up moisture unevenly, so a quality primer seals and evens the surface before you topcoat.
Use a high-quality acrylic or alkyd bonding primer, then choose a breathable, low-VOC latex or mineral paint suited for plaster.
Test adhesion on a small patch first.
Maintenance tips to avoid difficult removal later
Once you’ve primed and chosen the right paint, keep the job manageable by maintaining the surface over time.
Wipe stains promptly with mild detergent, avoid abrasive cleaners, and repair chips or cracks quickly with matching filler and touch-up paint.
Control humidity to prevent peeling, use felt pads on furniture, and clean walls gently every few months to prevent buildup that makes future removal harder.
Documentation and labeling of paint types in the home
When you note and label every paint—brand, color code, finish, and the wall or room it was used on—you save time and prevent mismatches during future touch-ups or full repaints.
Keep swatches, store receipts, and attach labels inside closets or on the back of baseboards.
Log date painted and prep notes in a simple file or app so you’ll replicate sheen and coverage precisely next time.
Troubleshooting What to Do If Something Goes Wrong
If you hit problems, don’t panic—you can repair plaster chips and larger damaged areas with patching compound and proper technique.
For stains or ghosting after paint removal, you’ll want to use a stain blocker or gentle bleaching solution before repainting.
If stubborn paint patches won’t come off, try a combination of careful scraping, heat or chemical strippers, and, if needed, spot-sanding or a professional assessment.
Dealing with plaster chips and large damaged areas
Start by evaluating the extent of the damage so you know whether you’re dealing with minor chips or a section that needs full patching.
For small chips, clean loose debris, apply bonding primer, and fill with lightweight spackling.
For larger areas, remove loose plaster, install metal lath or backing, apply base coat plaster, then finish with skim coat.
Sand, prime, and repaint.
Stains or ghosting after removal
Although you’ve removed the paint, you may still see discoloration or “ghosting” where old stains, tannins, or previous paint show through; these marks tell you the surface needs targeted treatment before repainting.
Clean with a mild trisodium phosphate solution, rinse, and dry.
Apply a stain-blocking primer or shellac-based sealer to lock stains.
Sand lightly, inspect, then repaint with quality primer and finish coats.
Persistent paint patches that won’t come off
When stubborn paint patches refuse to budge, don’t panic—you’ve got options to tackle them without damaging the plaster.
Try a gentle solvent spot test, working from least to stronger (water, mild detergent, denatured alcohol). If residue stays, lightly abrade with fine sandpaper or a nylon pad, then feather edges.
For large areas, consult a pro to avoid plaster harm.
FAQs
You might be able to remove paint from plaster yourself, but you’ll want to weigh the time, skill, and safety—especially if lead could be present.
Check for lead with a test kit or a professional inspection, and choose gentler methods for historic plaster since chemical strippers can harm delicate surfaces.
Below are quick answers on timelines, risks, and the least damaging approaches.
Can I remove paint from plaster myself or should I hire a pro?
Wondering whether to tackle paint removal yourself or call a pro?
You can handle small, stable areas with gentle methods—heat gun on low, chemical strippers rated for plaster, or careful sanding—if you’re patient and cautious.
Hire a pro for large jobs, fragile or ornate plaster, extensive damage, or if you lack tools or confidence to avoid cracking or gouging the surface.
How can I tell if the paint contains lead?
How can you tell if old paint on your plaster contains lead? You can test it: use a reliable home lead test kit following instructions, or collect a small scrap and send it to an accredited lab for X-ray fluorescence or lab analysis.
Homes built before 1978 are higher risk. If tests are positive, follow safety guidelines or hire a certified lead abatement professional.
Will chemical strippers damage the plaster?
If your lead test comes back negative and you decide to strip paint yourself, take care: chemical strippers can harm old plaster if used incorrectly.
Choose a mild, plaster-safe product, test a small hidden area first, follow manufacturer directions, and work in short passes.
Neutralize residues, rinse thoroughly, and allow full drying.
If plaster crumbles or softens, stop and consult a pro.
How long does it take to remove paint from a typical room?
Curious about the time commitment? For a typical 12×12 room, you’ll spend 6–12 hours removing paint depending on layers and tools: scraping, sanding, and cleanup.
Fresh single-coat jobs take less; multiple coats or stubborn enamel take longer. Allow extra time for repairs and drying.
Plan a full day or split into two sessions to avoid rushing and damaging the plaster.
What’s the least damaging method for historic plaster?
You’ve got a good sense of the time involved, but when the plaster is historic you’ll want the gentlest approach possible to preserve original fabric and decorative finishes.
Test small areas first, use mild, solvent-free strippers or poultices, soft scraping with wooden tools, and low-pressure steam.
Work slowly, document condition, and consult a conservation professional for fragile, ornate, or painted finishes to avoid irreversible damage.