
How to Paint a Brick Fireplace Wall: Transform Your Living Room on a Budget
You can refresh your brick fireplace wall on a budget by cleaning, repairing, priming, and using masonry or acrylic-latex paint; a DIY job typically takes a day or two and costs $50–$800 depending on supplies and whether you hire help. Identify brick type (raw, sealed, glazed, or previously painted) to choose proper prep and primer, use heat-resistant paint near the firebox, and apply two thin coats for even coverage — keep going for tips on tools, techniques, and design.
Quick Answer Can You Paint a Brick Fireplace Wall and What to Expect
Yes — you can paint a brick fireplace wall, and it’s a fairly straightforward DIY or contractor job.
Expect to spend roughly $100–$800 depending on materials and whether you hire help, take a day or two for prep and painting, and allow extra drying time.
A proper job lasts years with minimal touch-ups, though high-traffic or exposed chimneys may need more frequent maintenance.
Short summary of feasibility, cost range, time, and durability
If your brick is sound and you’re willing to invest a bit of time, you can definitely paint a fireplace wall—expect costs from about $50 for DIY supplies up to several hundred dollars if you hire a pro.
You’ll need a day or two for prep and painting (plus drying time), and a durable finish that can last 5–15 years with proper prep and heat-appropriate products.
You’ll follow how to paint a brick fireplace wall, assess surface condition, choose masonry primer and heat-tolerant paint, and plan for sealing and maintenance to maximize longevity.
Basic Understanding What Painting a Brick Fireplace Wall Involves
If you want to brighten or modernize your room on a budget, painting the brick fireplace is an easy option that can lighten and update the space.
You’ll first assess the brick surface—whether it’s raw/red, previously painted, glazed, or sealed—as that affects prep and adhesion.
Then choose a suitable paint like masonry paint or acrylic latex, and consider heat-resistant formulas if the fireplace gets hot.
Why paint brick? (aesthetic, lightening, modernizing, budget)
Refreshment is a simple, high-impact reason homeowners choose to paint a brick fireplace: it instantly updates the room’s look, brightens dark spaces, and brings a more modern or cohesive feel without the cost of a full remodel.
You’ll also hide stains, create contrast with decor, and make maintenance easier.
Painting’s a budget-friendly way to refresh style and lift your whole living area.
Types of brick surfaces (painted previously, raw/red, glazed, sealed)
Before you pick paint or prep methods, identify which type of brick you’re dealing with: previously painted, raw/red, glazed, or sealed—each needs a different approach.
If painted, check adhesion and peeling.
Raw/red absorbs primers and needs cleaning.
Glazed bricks resist paint and demand scuffing or etching.
Sealed surfaces require testing and often stripping or solvent etching before any coating.
Paint types suitable for brick (masonry paint, acrylic latex, heat-resistant options)
When choosing paint for a brick fireplace wall, pick a product formulated for masonry or one labeled for exterior/interior brick so it bonds and breathes properly.
Use acrylic-latex masonry paint for durability and easy cleanup, and opt for mineral or elastomeric coatings on porous or damaged brick.
For fireplaces that see heat, choose a heat-resistant topcoat rated for the expected temperature range to prevent peeling.
Planning and Preparation Tools, Materials, and Safety
Before you start painting your brick fireplace, gather the right tools and materials — scrub brush, primer, high-heat paint, drop cloths, and a good respirator.
Make sure the room is well ventilated, masks are worn, and the fireplace is fully cool and inspected for soot or damage.
Finally, estimate time and cost up front, including paint, prep supplies, and any labor if you’ll hire help.
Required tools and materials
Although a few basic tools will get you started, gathering the right supplies and safety gear upfront saves time and prevents mistakes later.
You’ll need paint formulated for masonry, primer, and a roller or sprayer for even coverage. Prepare brushes, a wire brush, filler, drop cloths, and painter’s tape.
- Primer, masonry paint, sealer
- Rollers, brushes, sprayer
- Wire brush, filler, drop cloths
Safety considerations (ventilation, masks, fireplace heat checks)
If you’ll be working with paints and primers on or near a fireplace, prioritize ventilation, respiratory protection, and confirming the hearth is cold.
Open windows, run fans to exhaust fumes, and avoid drafts that blow dust onto wet surfaces.
Wear an N95 or respirator for solvent-based products, gloves and eye protection, and double-check the firebox and flue are fully cooled before starting.
Estimating time and cost (materials, labor if hiring)
Estimate about a day or two for a DIY brick fireplace paint project, depending on prep and drying times, and budget for materials plus any hired help.
Tally primer, paint, brushes, rollers, caulk, and drop cloths — usually $50–$200.
If hiring pros, expect $200–$800 labor depending on complexity.
Factor curing time and contingency for repairs when scheduling and budgeting.
Step-by-Step Guide to Painting a Brick Fireplace Wall
Start by inspecting the brick and surrounding area for loose mortar, cracks, or soot so you know what repairs and cleaning you’ll need.
Clean the surface thoroughly—sweeping, vacuuming, and using a degreaser or TSP alternative—then repoint mortar, fill gaps, or replace loose bricks as required.
Finally, decide whether to etch or sand and pick the right primer and application method (brush, roller, or sprayer) before you paint.
Step 1 Inspect the brick and surrounding area
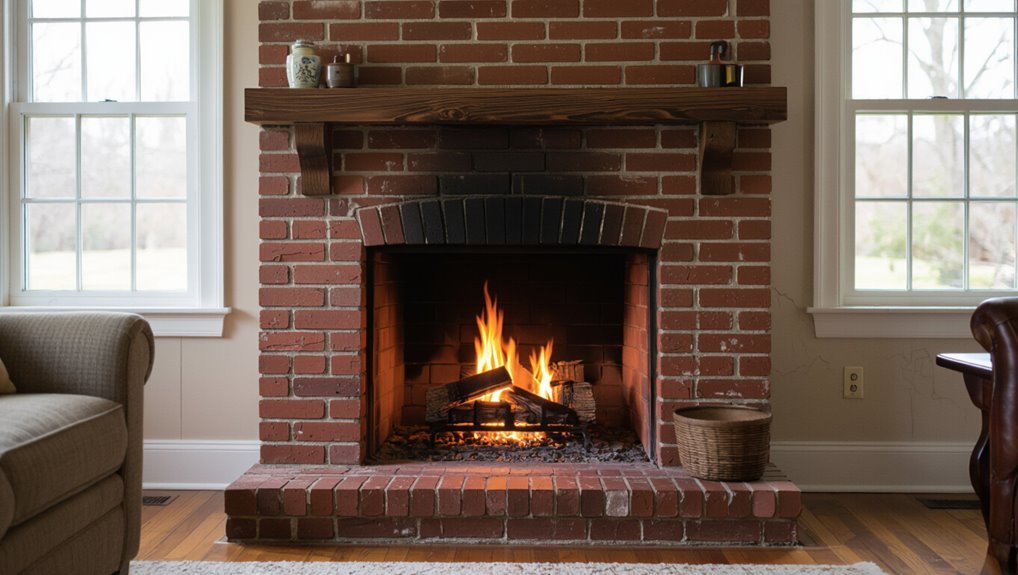
Before you lift a brush, take a close look at the brick and the area around the fireplace so you know what repairs and prep you’ll need.
Check for loose, cracked, or crumbling mortar and bricks, water stains, mold, or soot buildup.
Note gaps, damaged hearth edges, nearby trim or flooring that needs protection, and any structural concerns you’ll want to address first.
Step 2 Clean the brick thoroughly (sweeping, vacuuming, degreasing, TSP alternatives)
Now that you’ve inspected the brick and fixed any loose mortar or damaged areas, clean the surface thoroughly so paint will adhere and look even.
Sweep and vacuum to remove dust and cobwebs.
Degrease stains with a mild detergent or a TSP alternative (sodium carbonate or vinegar solution).
Rinse well, let dry completely, and wear gloves and eye protection while scrubbing.
Step 3 Repair and prep (repointing mortar, filling gaps, replacing loose bricks)
Tackle repairs next so your paint job looks smooth and lasts: repoint any crumbling mortar, fill hairline gaps with a compatible masonry caulk, and replace or reset loose bricks; these fixes create a stable, even surface that prevents paint from flaking or trapping moisture.
Remove old mortar to sound substrate, pack new mortar flush, tool joints for neatness, and let repairs cure fully before proceeding.
Step 4 Etching or sanding and when to use a primer/sealer
Start by deciding whether the brick needs etching or just a light sanding: etching (with a muriatic acid solution or a commercial etcher) roughens smooth, glazed, or previously sealed brick so paint will bond, while sanding or a wire brush works for slightly dusty or flaky surfaces.
After cleaning, apply a masonry primer/sealer if brick is porous, stained, or previously sealed to guarantee adhesion and uniform color.
Step 5 Choosing primer and paint application methods (brush, roller, sprayer)
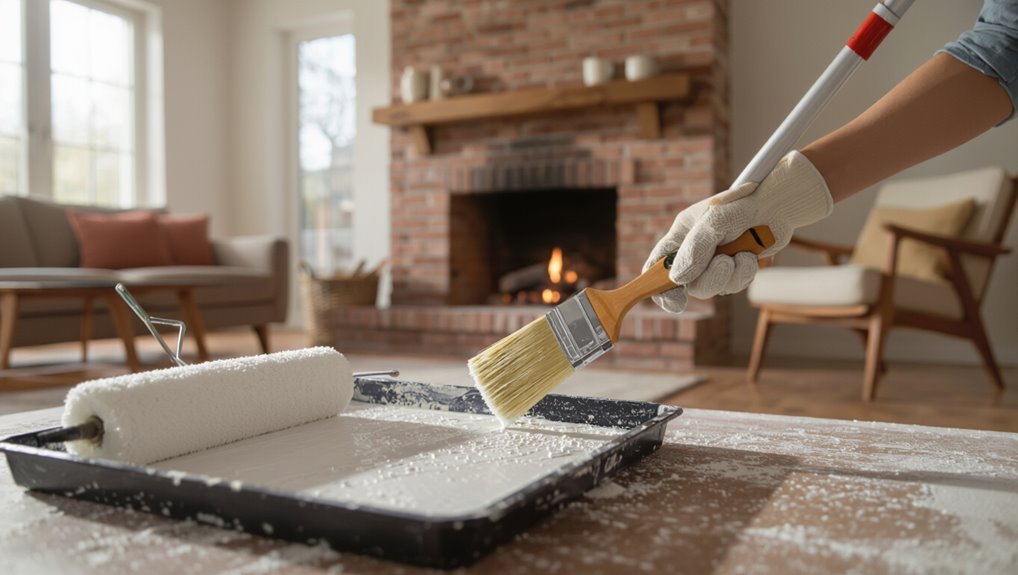
Usually you’ll pick your primer and application method together, because the brick’s texture and your desired finish determine whether you should brush, roll, or spray—and which primer will work best.
For rough, porous brick use a high-adhesion masonry primer and roll with a thick-nap cover or back-brush for coverage.
For smooth or detailed areas, spray then tip with a brush for even edges.
Step 6 Applying primer (how many coats, drying times)
One coat of the right masonry primer often does the job on previously sealed or smooth brick, but rough, highly porous, or repaired areas will need two coats for full penetration and uniform coverage.
Allow the first coat to dry fully (typically 1–4 hours for fast-drying latex primers, longer for oil-based or high-build products) before applying the second.
You’ll inspect for missed spots, sand glossy repairs, and recoat only where absorption or coverage demands it.
Step 7 Applying paint (technique for even coverage, number of coats)
Begin by loading your roller with a moderate amount of paint and work in small sections so you can back-roll or tip before the paint skins over; this helps push paint into the mortar and evens out texture differences between brick and grout.
Roll in overlapping W motions, then back-roll for uniformity. Apply two thin coats, allow full drying between coats, add a third only if coverage is uneven.
Step 8 Finishing touches (sealing, cleaning edges, removing tape)
Finish strong by sealing your work and tidying edges so the paint lasts and looks professional.
Brush a masonry sealer or clear topcoat over dried paint, following product directions.
Peel painter’s tape slowly at a 45° angle to avoid lifts. Use a utility knife to score stubborn lines, then touch up with a small brush.
Clean tools and remove dust for a crisp finish.
Step 9 Curing time and when to use the fireplace again
After the sealer and paint feel dry to the touch, give the fireplace ample time to cure—typically 48–72 hours for light use and up to 7 days for regular or high-heat use—so the coating fully hardens and bonds to the brick.
Test gradually: start with low, short fires, watch for odor or discoloration, and wait longer if you notice softness, tackiness, or fumes.
Design Options and Color Choices
You can choose timeless finishes like whitewash or limewash for a soft, textured look or go for full, solid coverage for a clean, modern feel.
Consider washed or distressed techniques if you want some brick character to show through.
Use accents—paint the mantel a contrasting shade, treat the hearth differently, or coordinate nearby wall colors—to tie the fireplace into the room.
Classic whitewash and limewash techniques
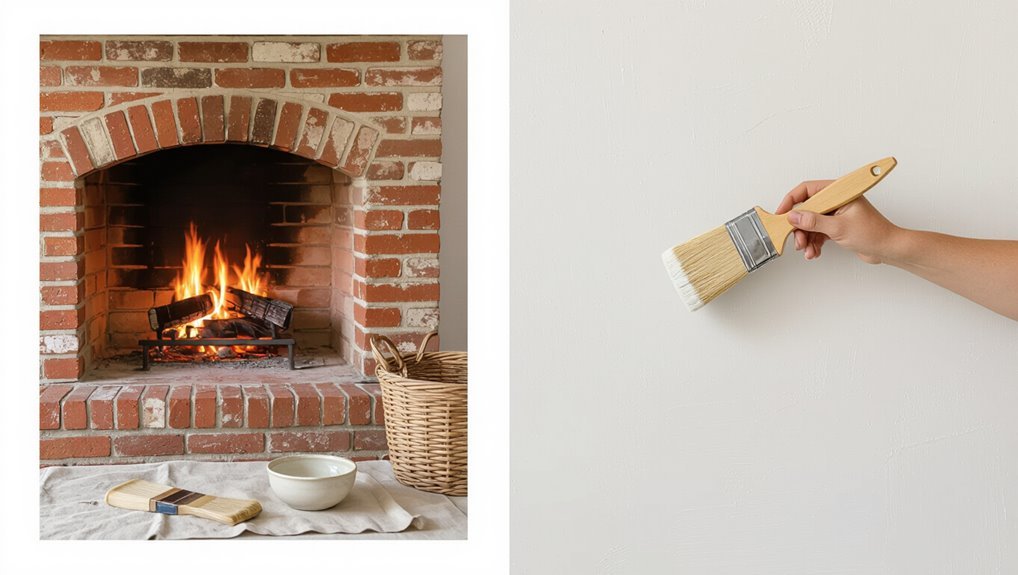
A soft, timeworn look comes easily with classic whitewash and limewash techniques, which let you tone down brick’s intensity while keeping its texture visible.
You’ll mix diluted paint or hydrated lime, test opacity, then apply thin layers with a brush or rag.
Wipe excess for variation, let each coat cure, and seal if you want mild protection without hiding the brick’s character.
Solid color coverage vs. washed or distressed looks
If you liked the soft, lived-in feel of whitewash or limewash but want bolder impact, consider where you fall between full solid coverage and a washed or distressed finish.
You’ll choose durability and uniformity or texture and character. Decide based on room style, maintenance, and how much brick texture you want to show.
- Solid: uniform, modern, easy clean
- Washed: translucent, textured, subtle depth
- Distressed: intentional age, high character, variable coverage
Accent strategies (mantel contrast, hearth treatments, complementary wall colors)
When you want the fireplace to pop, think beyond the brick itself and use accents—contrasting mantels, refreshed hearth treatments, and complementary wall colors—to frame the space and guide the eye.
Choose a mantel stain or paint that contrasts the brick, update the hearth with tile or stone, and pick wall hues that either recede to highlight the fireplace or complement its warmth for cohesive impact.
Cost Comparison DIY vs. Hiring a Professional
You can save on labor by doing the job yourself, but factor in materials, any tool rentals, and the hours it’ll take.
Hiring a pro raises upfront costs for labor, but you’ll gain time savings, expertise, and possible warranties.
Weigh those trade-offs against your budget and schedule before you decide.
DIY cost breakdown (materials, rental tools, time)
One clear way to decide whether to tackle your brick fireplace painting as a DIY project is to break costs into materials, rental tools, and your time, then compare that total to a pro’s quote so you can see the real savings (or lack of them). Estimate paint, primer, brushes; rental sprayer or sander; and hours spent.
| Item | Typical Cost |
|---|---|
| Materials | $40–$120 |
| Rental tools | $20–$80/day |
| Your time (valued) | $50–$200 |
| Total DIY | $110–$400 |
Professional service considerations (labor costs, warranties, time savings)
If you’d rather skip the prep work and uncertainty, hiring a pro bundles labor, skill, and cleanup into a predictable package—expect labor to be the biggest line item, typically $200–$600 for a standard brick fireplace depending on region and finish complexity.
You’ll save time, get professional techniques, and often receive a warranty for paint adhesion or workmanship, which can justify higher upfront costs.
Common Problems and How to Fix Them
You’ll likely run into issues like peeling, flaking, or bubbling paint and need to know what causes them and how to fix them.
Check for moisture and efflorescence before painting, and take steps to diagnose and prevent water problems.
If coverage is uneven or mortar lines show, use proper prep, primer, and application techniques to correct it.
Peeling, flaking, or bubbling paint causes and remedies
When paint peels, flakes, or bubbles on a brick fireplace wall, it’s usually a sign of poor adhesion, trapped moisture, or incompatible paint layers; identifying the root cause lets you choose the right fix.
Scrape loose paint, sand feathered edges, and clean with a degreaser.
Prime with a masonry primer and use compatible exterior-grade paint.
Repaint only when the surface is fully dry.
Efflorescence and moisture issues diagnosis and prevention
Peeling paint often signals moisture problems, and one common culprit on brick is efflorescence — a white, powdery salt deposit that forms as water draws minerals to the surface and evaporates.
Inspect for dampness, musty smells, or salt streaks.
Fix leaks, improve drainage and ventilation, apply a breathable masonry sealer, and clean deposits with a stiff brush and diluted vinegar before repainting.
Uneven coverage or visible mortar lines corrective steps
Address uneven coverage and show-through of mortar lines by adjusting your prep and application technique so paint lands evenly on both brick faces and recessed joints.
Clean and prime mortar separately, use a brush for joints, then roll brick faces.
Apply two thin coats, feather edges, and back-roll while paint’s wet.
Touch up with a small brush and inspect from different angles to guarantee uniform color.
Best Practices and Maintenance
To keep your painted brick looking its best, you’ll want a simple maintenance routine for cleaning and quick touch-ups.
Protect the finish from heat and sun to prevent discoloration and check for any heat-related damage regularly.
Use the right primer, keep good ventilation, and control moisture to extend the paint’s life.
Long-term care (cleaning painted brick, touch-ups)
Regular cleaning and timely touch-ups will keep your painted brick fireplace looking fresh for years, and a simple routine makes maintenance manageable.
Dust weekly with a soft brush or vacuum attachment, spot-clean stains with mild detergent, and rinse gently.
Inspect annually for chips or peeling; sand, prime, and repaint small areas promptly.
Store leftover paint for matching future touch-ups.
Preventing heat-related damage and paint discoloration
If your fireplace gets regular use, take steps to keep heat from degrading the paint and causing discoloration.
Position screens or glass doors to deflect direct radiant heat, and avoid placing combustibles or reflective metals too close.
Let fires burn at moderate temperatures, and inspect painted areas periodically for fading or blistering so you can address spots before damage spreads.
Tips for longevity (proper primer, ventilation, moisture control)
When you want the paint on your brick fireplace to last, start with the right primer, keep airflow steady while paints cure, and control moisture around the hearth.
- Use a masonry primer for adhesion and mildew resistance.
- Ventilate during and after painting; use fans to speed curing.
- Seal gaps, fix leaks, and run a dehumidifier to prevent efflorescence and peeling.
Alternatives to Painting
If you don’t want to paint, you can change the look of your brick with whitewashing, limewashing, staining, or sealing to alter color and texture while keeping some natural character.
You can also cover the brick with a cladding or facade like stone veneer, shiplap, or tile for a more dramatic change.
Below is a quick comparison to help you weigh durability, maintenance, and cost.
Whitewashing, limewashing, staining, or sealing brick
Besides painting, you can refresh brick with techniques that let its texture and character show through: whitewashing and limewashing add translucent color, staining deepens or evens tone without hiding texture, and clear sealers protect without altering appearance.
You’ll choose whitewash for a softened, bright look; limewash for a chalky, breathable finish; stains for lasting color; sealers for moisture and soot protection.
Cladding or adding a facade (stone veneer, shiplap, tile) quick comparison
You’ve got several solid alternatives to painting a brick fireplace—each adds a distinct look and level of work:
| Option | Quick notes |
|---|---|
| Stone veneer | Dramatic, moderate cost, needs proper backing |
| Shiplap | Clean, farmhouse vibe, easy DIY |
| Tile | Durable, versatile finishes, more prep and skill |
Choose based on budget, skill, and desired style.
Frequently Asked Questions
You’ll find answers here to common concerns like how long painted brick lasts, whether you can use regular interior paint, and if painting affects fireplace safety.
I’ll also cover how to remove paint if you change your mind and what to do with previously sealed brick.
Read on for straightforward, practical guidance.
How long does painted brick last on a fireplace?
How long a painted brick fireplace lasts depends on the quality of prep, paint, and maintenance you use; with proper cleaning, priming, and a durable masonry or latex paint plus a clear sealer, expect 8–15 years of good appearance before touch-ups or repainting are needed.
High-traffic rooms, wood-burning soot, or moisture can shorten that span; regular cleaning and prompt spot repairs extend it.
Can I use regular interior paint on brick?
Wondering if regular interior paint will do the job on brick? You can use interior latex, but brick’s porous, rough surface needs proper prep: clean, repair mortar, and apply a masonry primer or bonding primer.
Regular paint alone may peel or hide texture unevenly. For durability and even coverage, choose paint labeled for masonry or use an acrylic latex with a suitable primer.
Will painting brick make it unsafe to use the fireplace?
After prepping and priming brick properly, painting it won’t generally make your fireplace unsafe, but you do need to take a few safety precautions.
Use heat-resistant paint near the firebox, avoid sealing mortar joints that need to breathe, and keep flammable finishes away from open flames.
Inspect for cracks, maintain proper clearances, and consult a pro if you have an older chimney or heavy use.
How do I remove paint from brick if I change my mind?
Want to strip paint off brick? You can—use a chemical paint stripper formulated for masonry, a stiff nylon brush, and plenty of rinsing.
Test a small area first, wear gloves, eye protection, and a respirator.
For stubborn spots try a power washer on low pressure or a masonry grinder with a cup brush.
Repair mortar and seal or repaint when dry.
Can I paint a fireplace brick that has been previously sealed?
Can you paint over fireplace brick that’s already been sealed? Yes, but prep matters.
Test adhesion by scuffing a small area with sandpaper and applying primer designed for slick surfaces. Use a bonding primer; let it cure fully.
Then apply masonry paint or heat-resistant latex. If paint flakes or won’t stick, strip the sealer and reseal or consult a pro before repainting.
