How to Paint Wall Art at Home Like a Professional
You can paint wall art at home like a pro by planning your design, prepping the surface, and choosing the right paints and tools. Start by inspecting and cleaning the wall, patching holes, and applying primer. Block in large shapes first, then build mid-tones, blend edges, and add details and highlights. Use stencils, a projector, or tape for precise lines, and finish with a protective coat for durability. Keep going to learn techniques, materials, and troubleshooting tips.
Quick Answer Can You Paint Wall Art at Home Like a Professional?
Yes — you can paint wall art at home that looks professional by following a simple process: plan your design, prep the surface, block in shapes, add details, and seal.
Expect results that vary with time, cost, and skill — a basic mural can take a few hours and low cost, while a complex piece may take days and more supplies.
If you’re a beginner, you’ll get good results with practice and modest investment; intermediate painters can achieve near-professional finishes.
Short summary of process and expected results
If you follow a clear process—plan your design, pick suitable materials, prep the wall, block in large shapes, add details, and finish with a protective coat—you can produce wall art that looks polished and personal, though it may not exactly match the finesse of a seasoned pro.
Time, cost, and skill level at a glance
Now that you know the basic steps and likely results, here’s a quick snapshot to help you decide whether to tackle a wall painting:
You can finish small murals in a day; larger pieces take several sessions. Budget modestly for paints and tools. Beginners can achieve great results with patience and practice.
| Time | Cost | Skill |
|---|---|---|
| 1–8 hrs | $20–$100 | Beginner |
| Multiple days | $100–$500 | Intermediate |
| Weeks | $500+ | Advanced |
Understanding Wall Art Basics What, Why, and Styles
Wall art can mean murals, canvases, stencils, or decals, and each option changes how you plan and paint.
Painting your own pieces saves money, lets you personalize the look, and gives you a creative outlet that store-bought art can’t match.
Think about current styles and your room’s mood so you choose a design that fits the space and feels right to you.
What counts as wall art (murals, canvases, stencils, decals)
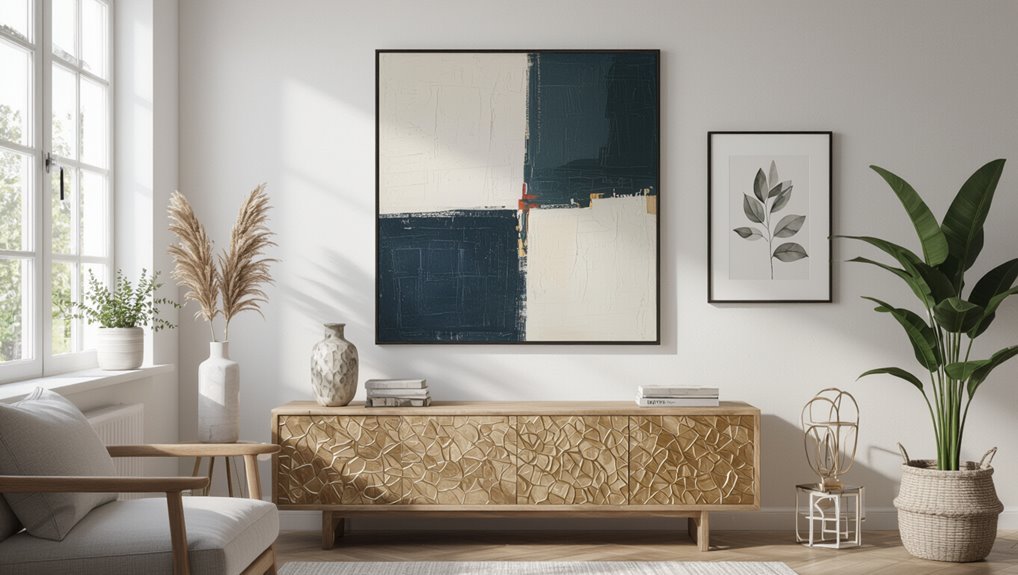
Art can take many forms on your walls — from bold murals that transform a whole room to framed canvases that anchor a space, plus quick-change decals and precise stencils that let you add pattern or detail without a full repaint.
You’ll choose murals for scale, canvases for focal pieces, stencils for repeatable motifs, and decals for temporary or rental-friendly updates.
Why paint wall art yourself (benefits vs buying pre-made)
If you’ve just weighed the options between murals, canvases, stencils, and decals, you might find painting your own wall art the most rewarding choice.
You control color, scale, and personal meaning, save money compared with custom pieces, and tailor work to fit imperfect walls.
Creating art boosts skills and pride, and lets you update looks easily without relying on mass-produced designs.
Popular styles and trends to consider
Because your space sets the mood, choosing a style helps you paint with purpose rather than guesswork.
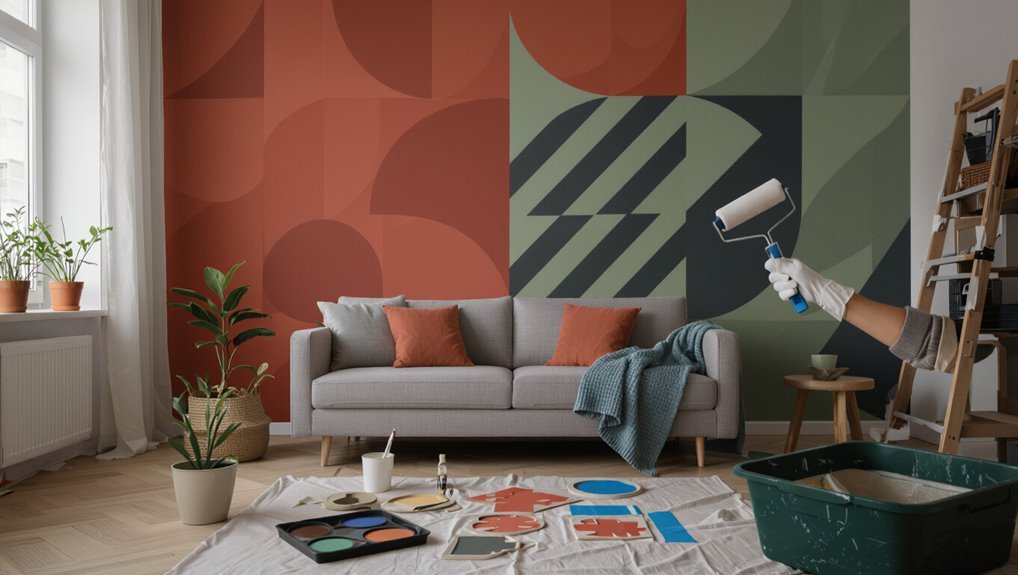
Explore minimalist geometrics for calm, bold abstracts for energy, botanical motifs for warmth, and mid-century modern accents for retro flair.
You can try textured impasto, muted Scandinavian palettes, or vibrant boho layers.
Follow current trends but adapt them to your taste and skills.
Choosing a style to match your space and mood
How should your wall art feel in the room—calm, energetic, cozy, or sleek?
Choose a style that supports that mood: soft palettes and minimal lines for calm, bold color and dynamic shapes for energy, warm textures and figurative themes for cozy, and geometric forms with restrained tones for sleek.
Match scale to room size and keep cohesion with existing décor.
Materials and Tools You Need
You’ll want to know which paints work best—acrylics for versatility, latex for walls, chalk for matte effects, and spray for quick coverage.
Gather brushes, rollers, spray tools and specialty applicators, plus primers, sandpaper and cleaners for proper surface prep.
Don’t forget safety gear and good ventilation, and consider optional extras like a projector, airbrush or stencils for advanced techniques.
Paint types explained: acrylic, latex, chalk, spray paint
Pick the right paint and your design comes alive: acrylics, latex, chalk, and spray each behave differently on walls and affect durability, finish, and cleanup. You’ll choose based on texture, permanence, indoor safety, and ease of correction.
| Type | Best for |
|---|---|
| Acrylic | Vibrant detail |
| Latex | Large areas |
| Chalk | Matte, vintage |
| Spray | Gradients, quick coverage |
Brushes, rollers, spray tools, and specialty applicators

Now that you know which paint suits your design, choose the right tools to make it behave — brushes, rollers, spray guns, and specialty applicators each shape texture, coverage, and control.
Use synthetic filaments for acrylics, natural for oils, foam or nap rollers for smooth/rough surfaces, and HVLP or aerosol for gradients.
Stencils, sponges, palette knives, and liners refine edges and effects.
Surface prep supplies: primers, sandpaper, cleaners
Preparation matters: get your walls clean, smooth, and primed so paint adheres and the finish looks professional.
You’ll need cleaners (trisodium phosphate or mild detergent), stain-blocking primer for repairs or stains, and a quality wall primer for uniform color.
Use varied grit sandpaper (120–220) and sanding blocks to feather edges.
Keep tack cloths to remove dust before priming and painting.
Safety gear and ventilation
Because paint fumes and dust can harm your lungs and skin, make safety gear and ventilation your first priority before you open a can or sand a wall.
Wear a respirator mask rated for solvents or particulates, safety goggles, disposable gloves, and long sleeves.
Open windows, run a box fan or exhaust, and use a HEPA air purifier when sanding or spraying to reduce airborne hazards.
Optional tools for advanced techniques (projector, airbrush, stencils)
If you want to take your wall art beyond freehand brushwork, a few optional tools can make complex designs faster and more precise:
Use a projector to trace photos or sketches at scale, ensuring composition and proportion.
Try an airbrush for smooth gradients and subtle shading.
Cut or buy stencils for repeatable patterns.
Practice technique and mask surfaces to protect edges.
Preparation Assessing and Preparing the Wall
Before you paint, inspect the wall for texture issues, damage, and what material it’s made of so you know what repairs and primer you’ll need.
Clean the surface, patch holes or cracks, and apply primer or a base color suited to your design.
Finally, mask edges and protect floors and furniture with tape and drop cloths.
Inspecting the wall: texture, damage, and substrate
Start by closely inspecting the wall’s texture, any visible damage, and the underlying substrate so you know what prep work’s required and what materials will bond properly.
Note roughness, popcorn or orange peel finishes, moisture stains, and loose paint. Identify drywall, plaster, concrete, or brick.
Photograph trouble spots, mark areas needing priming or special primers, and plan tools and products accordingly.
Cleaning and patching holes or cracks
Gather the right tools and tackle dirt, grease, and loose material so patches will adhere and paint will look smooth.
Wipe with mild detergent, rinse, and let dry.
Scrape flaking paint, widen hairline cracks slightly, then fill holes and cracks with appropriate filler or spackling.
Sand feathered edges after drying, remove dust, and inspect repairs so your design sits on a flawless surface.
Priming and choosing base color
With repairs sanded and dust-free, move on to priming and picking a base color that supports your design.
Apply a quality primer to seal patched areas and improve adhesion.
Choose a base shade that complements your palette and hides imperfections—neutral tones work well.
Test a swatch in different light, let it dry, and confirm contrast before layering your art.
Masking, taping, and protecting floors/furniture
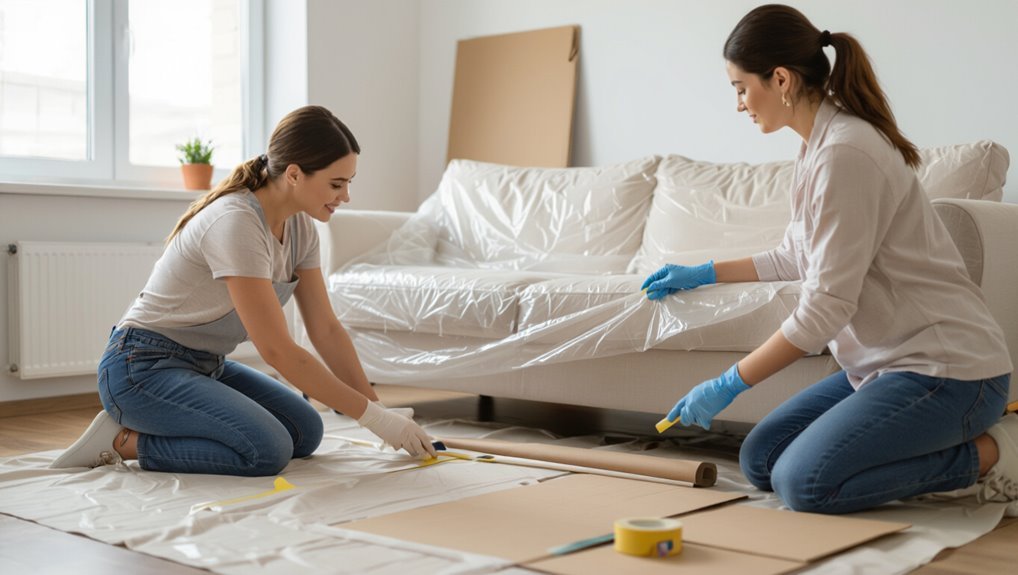
Before you lay down paint, protect nearby surfaces by masking edges, taping trim, and covering floors and furniture with drop cloths or plastic sheeting.
Press tape firmly for clean lines, remove loose dust, and use painter’s tape for delicate trim.
Weigh down coverings, create walk paths, and keep tools on a tray.
Inspect seals periodically to prevent drips and smudges.
Design Planning From Concept to Scaled Layout
Now that your wall’s ready, you’ll gather inspiration and shape a clear concept that fits the space and your style.
Pick a color palette and contrast rules, then sketch compositions freehand or use the grid method or a projector to transfer the design.
Finally, make a scaled mockup and paint test swatches to confirm proportions and colors before you start.
Sourcing inspiration and creating a concept
Although inspiration can come from anywhere, you’ll get the strongest wall art when you intentionally gather references, pick a clear mood, and sketch a focused concept that fits your space.
Use these steps to narrow ideas:
- Collect photos, textures, and shapes you love.
- Define the artwork’s purpose and emotional tone.
- Sketch scale-accurate thumbnails on grid paper.
- Choose a single focal idea and refine composition.
Choosing color palettes and contrast principles
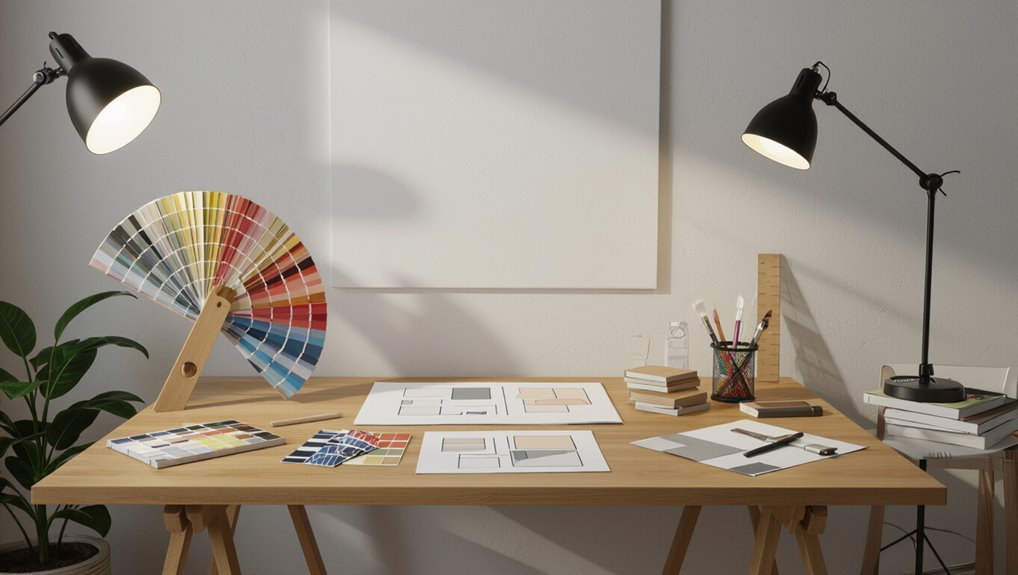
How will your painting feel when someone walks into the room? Choose a dominant hue that sets mood, add one or two accent colors for energy, and use neutrals to balance.
Apply contrast deliberately: light vs. dark, warm vs. cool, or saturated vs. muted. Test small swatches on the wall, consider surrounding furnishings, and guarantee contrasts guide the eye toward focal points.
Sketching ideas: freehand, grid method, and projector transfer
1 clear sketch will save you hours later, so pick a transfer method that fits your confidence and the wall’s scale.
Freehand works for loose, organic designs and lets you adapt as you go.
Use the grid method to break complex images into manageable squares.
A projector transfers precise outlines quickly, ideal for large or detailed compositions when accuracy matters most.
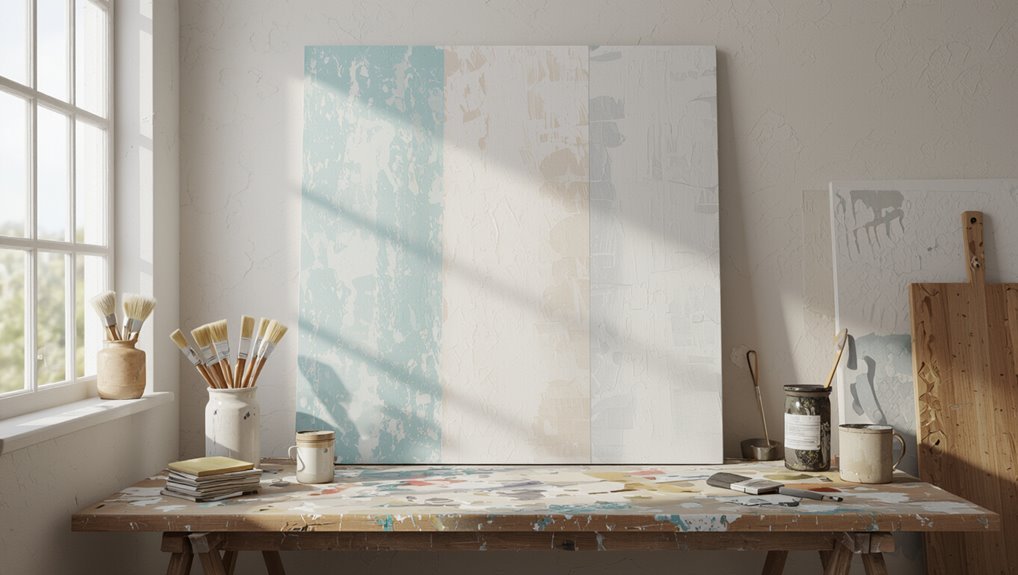
Creating a scaled mockup and test swatches
Before you paint on the wall, make a scaled mockup and a few test swatches so you know how the design, colors, and proportions will read in the actual space.
Tape paper to the wall at scale, sketch the layout, and try color mixes. Step back, view from different angles, and note adjustments.
Use swatches to confirm opacity, finish, and drying shifts.
Step-by-Step Painting Process
Start by blocking in the large shapes and background to set your composition and color relationships.
Then build mid-tones and gradients, add details and highlights, and refine edges and shifts for a clean look.
Finish with texture techniques like sponging, dry brushing, or stippling to give the piece depth and interest.
Step 1 Blocking in large shapes and background
Once you’ve sketched your composition, block in the large shapes and background to establish the painting’s overall values and color relationships.
Use a large brush and thinned paint to lay flat, confident areas—keep edges crisp where shapes meet and soft where forms recede.
Focus on main color families and relative lightness, resist detailing, and correct proportions before moving on.
Step 2 Building mid-tones and gradients
When you’ve got the big shapes down, begin adding mid-tones to connect the lights and darks so forms read convincingly; use slightly smaller brushes and smoother, thinner strokes to blend gradients where planes turn or recede.
Work quickly while edges remain wet, feather shifts, check values from a distance, and adjust color temperature subtly so volumes feel natural before you move on to finer work.
Step 3 Adding details and highlights
Bring your focus in and work with smaller brushes and thinner paint as you refine forms—this is where details and highlights give your piece its polish.
Observe light direction, pick a limited highlight palette, and apply confident strokes to enhance texture and shape.
Add crisp accents, tiny reflections, and soft glazes for depth.
Step back often to check balance and restraint.
Step 4 Refining edges and transitions
4 focuses on sharpening the boundaries and smoothing the changes between colors so your composition reads clearly—start with a slightly damp, medium brush and take care to define the edges that need crispness while softening those that should recede.
Work in small sections, feathering paint into adjacent tones. Clean the brush often, and step back frequently to judge shifts and correct any hard lines.
Step 5 Texture techniques: sponging, dry brushing, stippling
Add texture to give your wall art depth and visual interest using three simple techniques: sponging, dry brushing, and stippling.
For sponging, dab a natural sponge with paint and press lightly for soft mottling.
Dry brush with minimal paint on bristles for subtle streaks.
Stipple by tapping with a stiff brush or sponge for granular texture.
Blend edges gently as you go.
Step 6 Finishing touches and protective coatings
Now finish your piece by refining details and sealing it for longevity: inspect edges, sharpen any soft lines with a fine brush, remove stray drips, and decide on a protective coating that suits your paint type—matte, satin, or gloss—applying it evenly once the paint is fully dry.
Test the finish on a scrap, apply thin even coats, allow proper curing, and clean tools promptly.
Techniques for Specific Wall Art Types
Now you’ll learn techniques tailored to different wall art styles so you can pick the right tools and approach.
For geometric and modern murals you’ll use stencils and tape.
For realistic work you’ll rely on a projector and careful blending.
For abstract or textured pieces you’ll mix media, pastes, and layers.
I’ll also cover chalkboard or removable methods so you can create temporary designs without committing to paint.
Simple geometric and modern murals (stencils and tape)
When you want bold, clean shapes without advanced brushwork, stencils and painter’s tape let you create crisp geometric and modern murals quickly and precisely.
Plan a repeatable pattern, measure and level, and apply high-quality tape for sharp edges.
Use stiff brushes or rollers with light coats, remove tape while paint’s tacky, and touch up small gaps for a professional, modern finish.
Realistic murals and portraits (projector and blending techniques)
If you want lifelike murals or portraiture, a projector combined with careful blending gives you accurate proportions and smooth shifts without needing years of freehand practice.
Project your image, trace key lines, then block in midtones. Gradually build values with soft brushes and glazing techniques, feathering edges for skin and fabric.
Step back often, adjust contrast, and seal with a matte varnish.
Abstract and textured pieces (mixed media, paste, and layering)
Shifting from precise portraits to abstract, textured work lets you prioritize surface, movement, and material over exact likeness; here you’ll use tools like modeling paste, collaged papers, and found objects to build depth and interest.
Start with a toned ground, layer paste for relief, scrape and sand for variation, then glaze or dry-brush color.
Seal with matte or satin varnish to preserve texture.
Chalkboard or removable wall art methods
Although you might think wall art has to be permanent, chalkboard and removable methods give you flexibility to change visuals as often as you like; they’ll let you experiment, plan, and update without committing to paint.
Use chalkboard paint, vinyl decals, repositionable wallpaper, or magnetic primer with painted panels.
Sketch, erase, swap designs, and test colors until you finalize a permanent piece.
Common Mistakes and How to Avoid Them
Before you start, be aware of a few common mistakes that can ruin a mural: skipping surface prep, using the wrong paint or inconsistent sheen, overworking areas until colors go muddy, and getting scale or proportion wrong.
You’ll learn simple fixes for each problem—sanding and priming, choosing compatible paints and finishes, working wet‑into‑wet or letting layers dry, and checking proportions with grids or templates.
Use quick corrective actions like spot‑sanding, touch‑ups, or adjusting scale before committing to the whole wall.
Mistake: Poor surface prep consequences and fixes
If you skip proper surface prep, paint won’t adhere well and your wall art will peel, bubble, or show every imperfection underneath.
Clean grime, sand rough spots, and fill holes with lightweight spackle. Prime stained or patched areas and let everything dry fully.
Tack cloth before painting to remove dust. These steps guarantee smooth adhesion, crisp edges, and a durable, professional-looking finish.
Mistake: Wrong paint choice or inconsistent sheen
Choosing the wrong paint or mixing finishes can wreck your wall art’s look and longevity, so pick the right type and keep sheen consistent across your design.
Use interior acrylics for durability, alkyds for richer texture, and match sheen—matte with matte, satin with satin—to avoid patchy reflections.
Test swatches, follow manufacturer’s recommendations, and use proper primers for adhesion and true color.
Mistake: Overworking paint and muddy colors
Don’t keep scrubbing or reworking a wet area—doing too much blending or layering while paint’s still wet is the fastest way to muddy colors and kill contrast.
Let layers dry, work in thin glazes, and test mixes on scrap. Use clean brushes, limit color mixing on the wall, and decide when to stop.
Controlled strokes preserve vibrancy and keep edges crisp.
Mistake: Scale and proportion errors
Once you’ve learned to stop overworking wet paint, the next trap is misjudging scale and proportion—getting elements too big, too small, or oddly spaced can throw the whole composition off.
Step back often, compare your work to the wall, and use simple guides—grids, thumbnail sketches, or measuring tape—to guarantee harmony.
Keep main shapes dominant and supporting details appropriately scaled.
Quick corrective actions for each common problem
When a mistake shows up, act quickly: small fixes now save big headaches later.
Spot drips, uneven edges, or scale issues and address them immediately. Blot drips, sand and repaint edges, adjust proportions with guides or thin washes, and step back often.
Use gentle corrections—thin layers, small brushes, masking—and let each layer dry before reassessing to avoid compounding errors.
Tips, Best Practices, and Time-Saving Strategies
You’ll pick up practical color-mixing shortcuts and palette habits that cut guesswork and waste.
Plan an efficient workflow—batch similar layers, stagger drying times, and use simple tricks to keep edges sharp and texture consistent.
I’ll also cover quick ways to photograph your finished piece and cost-saving hacks that don’t skimp on quality.
Color-mixing shortcuts and palette management
Although mastering color mixing looks tricky, simple shortcuts and smart palette management will save you time and keep colors consistent across a piece.
Limit your working palette to primary plus two neutrals, note mixes with ratios, and pre-mix base tones.
Use a wet palette or airtight trays to extend usability, label jars, and photograph mixes so you can replicate hues later without reworking.
Efficient workflow: batching layers and drying times
If you plan your painting in batches, you’ll cut down idle time and keep layers consistent across the whole piece.
Group tasks: base coats, midtones, details, varnish. Work on multiple sections while others dry, use hairdryer sparingly, and choose fast-drying acrylics or add dryer medium.
Track drying times, label mixes, and schedule breaks so you maintain momentum and avoid accidental smudges.
Maintaining clean sharp lines and consistent texture
When you want crisp edges and an even surface, choose the right tools and control your paint’s consistency from the start.
Use high-quality angled brushes, painter’s tape, and a steady hand. Thin coats prevent texture buildup; sand lightly between layers.
Keep a damp cloth to clean edges, work from background to foreground, and test on scrap before committing to final lines.
How to photograph and document your finished work
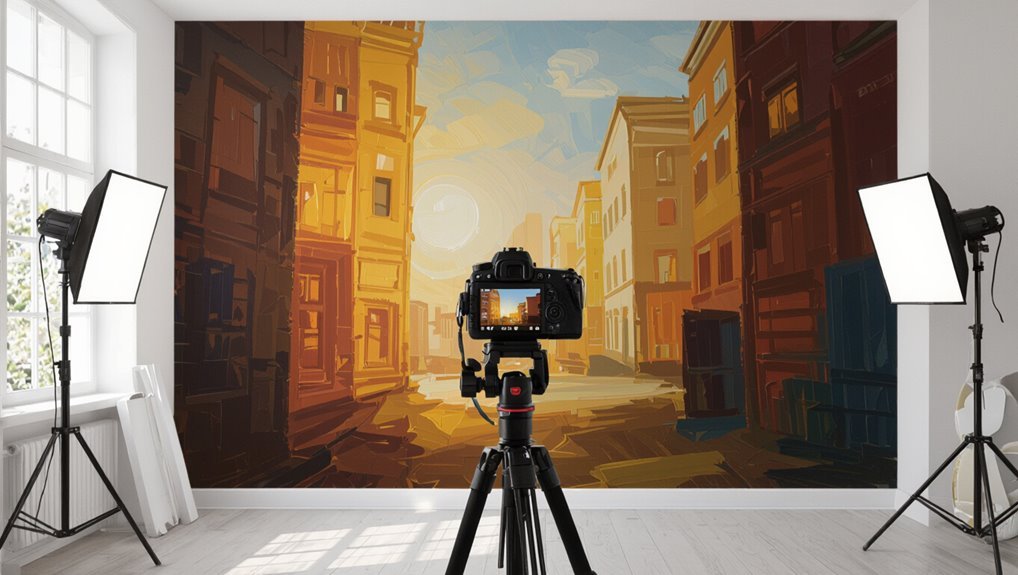
Want your finished piece to look as good in photos as it does in person? Use natural, even light—shoot near a north-facing window or during golden hour.
Level your camera, shoot straight-on and at detail close-ups, and include a scale reference.
Edit minimally for color accuracy, catalog files with title, date, medium, and size, and back up originals.
Cost-saving hacks without sacrificing quality
Although you can spend a lot on materials and tools, smart choices let you keep quality high while cutting costs.
Buy student-grade paints for practice and upgrade only for final pieces. Reuse canvases, stretchers, and frames after sanding and gessoing.
Share or swap specialty tools with friends. Shop sales, buy in bulk, and use primers to extend paint life—small steps save money without sacrificing finish.
Maintenance, Repair, and Removal
To keep your wall art looking its best, you’ll want to know how to clean painted surfaces safely without damaging the finish.
Learn quick fixes for chips, scratches, and faded areas so small problems don’t get worse.
And when touch-ups won’t cut it, I’ll explain how to repaint or remove the piece cleanly.
Cleaning painted wall art safely
When dust or stains appear on your painted wall art, act promptly and gently to avoid damaging the paint or finish.
Use a soft microfiber cloth or dry brush for dust. For light spots, dampen the cloth with distilled water and blot—don’t rub.
Test any mild soap in an inconspicuous area first.
Avoid harsh chemicals, excessive moisture, and abrasive scrubbing to preserve colors and varnish.
Repairing chips, scratches, and faded areas
If chips, scratches, or faded patches show up, you can restore the look without repainting the whole piece by addressing each flaw based on its size and severity.
For small chips, clean, sand lightly, and fill with matching acrylic or latex.
For scratches, feather edges and touch up with thin layers.
For fading, use color-matched glazing or light varnish to blend and protect.
When and how to repaint or remove wall art
Although repainting or removing wall art can feel like a big step, you can decide quickly by weighing the damage, your attachment to the piece, and the surface beneath it.
If salvageable, spot-repair faded areas with matching paint and sealant.
If removal’s best, score edges, use a putty knife gently, patch and sand, then prime before repainting to guarantee a smooth, lasting finish.
Project Ideas and Difficulty Levels
You’ll find project ideas for every skill level, starting with beginner pieces that include a simple step-by-step checklist.
For intermediate projects, I’ll outline typical timing and exact materials so you can plan sessions.
For advanced work I’ll explain what’s realistic to tackle at home and when it’s smarter to hire a pro.
Beginner projects with step checklist
Start with three simple projects that build core skills—an abstract color-block piece, a stenciled botanical panel, and a small landscape—so you can practice brush control, layering, and composition without getting overwhelmed.
- Gather supplies.
- Sketch composition.
- Block in base colors.
- Add details and seal.
Follow this checklist step-by-step, pacing yourself and refining technique.
Intermediate projects with timing and materials
Move on to three intermediate projects that push your skills—an acrylic layered portrait, a geometric mixed-media mural, and a plein air study—each designed to teach timing, surface prep, and material choices.
For each, plan drying times, layer order, and sealants. Choose appropriate primers, brushes, and fast-drying versus slow-building pigments.
Schedule sessions to respect curing and fixative steps.
Advanced projects and when to hire a pro
When you’re ready to tackle advanced wall art, pick projects that challenge composition, scale, and material mastery—like large-scale murals, multi-panel installations, or works incorporating metal and light—and plan for longer prep, specialized tools, and possible permits.
Choose projects that match your skills; hire a pro for structural work, electrical integration, or tight deadlines.
Budget realistically and inspect permits, insurance, and warranties.
Tools, Materials, and Cost Comparison
You’ll want to compare budget, mid-range, and professional kits to match quality with what you’re willing to spend.
Think about which tools you’ll buy outright, which you can upgrade later, and which specialty items—like airbrushes or scaffolding—you might rent.
I’ll also point you to reliable retailers and rental options so you can shop smart.
Budget vs. mid-range vs. professional kit
Choosing the right kit comes down to what you want to spend and how serious you are about the results: budget kits give you basics to experiment with, mid-range sets add better pigments and tools for cleaner work, and professional kits supply artist-grade materials that last and perform under repeat use.
| Kit | Feel | Outcome |
|---|---|---|
| Budget | Curious | Fun |
| Mid-range | Confident | Neat |
| Professional | Proud | Lasting |
Where to buy or rent specialty gear
If you want pro results without overspending, look for specialty gear to buy or rent from local art supply stores, community maker spaces, and online retailers that cater to painters.
Compare rental daily rates for lifts, sprayers, and scaffolding against purchase prices of quality brushes, rollers, and airbrush kits.
Factor shipping, maintenance, and return policies to pick the most cost-effective option.
FAQ Common Questions from DIY Painters
You’ll have practical questions—how long a project takes, which paints are safest indoors, and whether you can paint over wallpaper or textured surfaces.
You’ll also want simple methods for scaling a small design to a large wall and to know if a projector is necessary for realistic murals.
Let’s answer these frequently asked DIY painter questions so you can plan and start confidently.
How long does a typical wall art project take?
How long a wall art project takes depends mostly on the design, size, and your prep work.
Simple stencils or single-color geometric pieces can take a couple of hours.
Mural-sized, detailed, or layered works need days for painting and drying between coats.
Allow extra time for taping, priming, and cleanup.
Plan sessions to match your energy and drying times.
What paints are safest for indoor walls?
Because you’ll be spending time in the room, choose low-VOC or zero-VOC latex paints designed for interior use; they release far fewer harmful fumes than oil-based paints and still offer good coverage and durability.
Also pick water-based acrylic blends for faster drying and easier cleanup.
Look for Green Seal or GREENGUARD certifications, test a small area, and guarantee proper ventilation while you paint.
Can I paint over wallpaper or textured walls?
Yes — but you should usually remove wallpaper or sand down heavy texture before painting for the best, longest-lasting results.
If wallpaper’s glued well and smooth, prime with a bonding primer first.
For light texture, fill major grooves, sand, and prime.
Heavy texture often shows through paint and can cause adhesion issues.
Removing or skimming creates a stable, paintable surface.
How do I scale a small design to a large wall?
Wondering how to make a small sketch look right on a big wall? Measure the wall and your sketch, then pick a scale factor.
Create a grid on your sketch and replicate a proportional grid on the wall with light pencil or chalk. Transfer each square’s content one at a time.
Check proportions from a distance, adjust lines, then refine and paint.
Is a projector necessary for realistic murals?
Do you need a projector to paint a realistic mural? You don’t. A projector speeds layout and accuracy, especially with complex proportions, but skilled scaling, grids, pouncing, or freehand can achieve realism.
Choose based on budget, surface texture, and comfort with tech. Practice observational drawing and value studies; they’ll matter more than any gadget for convincing, lifelike results.