
Does Peel and Stick Wallpaper Damage Paint When Removed?
You can usually remove peel-and-stick wallpaper without wrecking paint if you prep properly and pick a removable adhesive, but damage can happen on brittle, chalky, freshly painted, or moist surfaces. Test a small patch, avoid high humidity or extreme cold, and peel slowly at a low angle; use heat or mild solvents for stubborn spots. Long installs and strong adhesives raise risk, so follow brand guidance and test first — keep going for tips on prevention and repair.
Quick Answer: Does Peel-and-Stick Wallpaper Damage Paint?
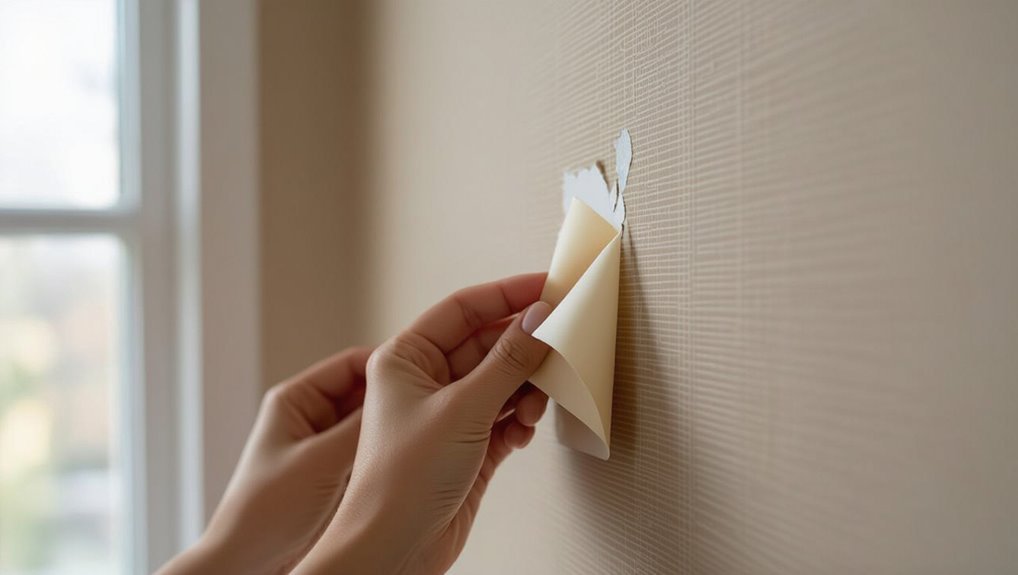
If you peel off peel-and-stick wallpaper carefully and your paint was fully cured and in good condition, it usually won’t cause significant damage; however, improper removal or weak/poorly adhered paint can lead to peeling, chipping, or adhesive residue.
You should focus on wall preparation, know adhesive types, test a small area, peel slowly at low angle, and use heat or solvent gently to protect paint.
Short Summary: Key Risk Factors at a Glance
You’ve already seen that careful removal and good paint condition matter; here’s a compact checklist of the main risk factors to watch for:
poor surface preparation, old or brittle paint, high-adhesion wallpapers, painted repairs or peeling edges, humid or freshly painted walls, and prolonged adhesion time.
Check these risk factors before applying and remove gently to minimize paint damage.
Signs Your Paint Is High Risk Before You Apply
When paint’s brittle, chalky, or already lifting at the edges, it won’t hold up under peel-and-stick wallpaper and you’ll likely pull paint away during removal; look for cracking, flaking, powdery residue when you rub the surface, soft spots from moisture, and recent repairs or multiple paint layers that haven’t adhered well.
You should assess paint condition and surface texture to judge risk.
How to Test a Small Patch Before Full Installation
Pick a discreet test area that represents the wall’s typical condition, like a corner or behind furniture.
Apply a small patch of the peel-and-stick paper following the same steps you’d use for the full installation.
After 24–48 hours, remove the patch and inspect for paint lift, residue, or surface damage.
Select A Test Area
Before committing to a whole wall, test a small patch to confirm adhesion, color match, and removability on your surface.
Choose an inconspicuous spot that reflects typical surface conditions and paint age.
Try different test methods to judge stick and peel.
- Corner near trim
- Mid-wall inconspicuous area
- Behind furniture or appliance
Apply A Small Patch
Start by cutting a 6–12 inch square of wallpaper and press it firmly onto your chosen test spot, smoothing from the center outward to eliminate bubbles.
Let it sit undisturbed for several days to gauge adhesion.
Use simple patch techniques—edge alignment and gentle pressure—to avoid stressing paint.
Document the area and monitor wall integrity before committing to full installation.
Remove And Inspect
After a few days, gently peel the test patch back at a corner and lift it slowly to see how it comes away. You’ll perform a quick wall inspection and note adhesive properties.
Then:
- Check for paint lifting or residue.
- Smell and feel the adhesive for tackiness.
- Re-press area if fine; remove fully if paint peels.
How Peel-and-Stick Adhesive Works on Painted Walls
When you press peel-and-stick wallpaper onto painted walls, its pressure-sensitive adhesive forms an immediate bond that relies on surface contact and texture rather than chemical curing.
You’ll encounter different adhesive types—removable, repositionable, and permanent—each balancing tack and peel strength. The adhesive grabs paint at microscopic peaks; good surface preparation and compatible paint finishes reduce lifting, residue, and paint pull during removal.
Why Wall Preparation Before Application Matters
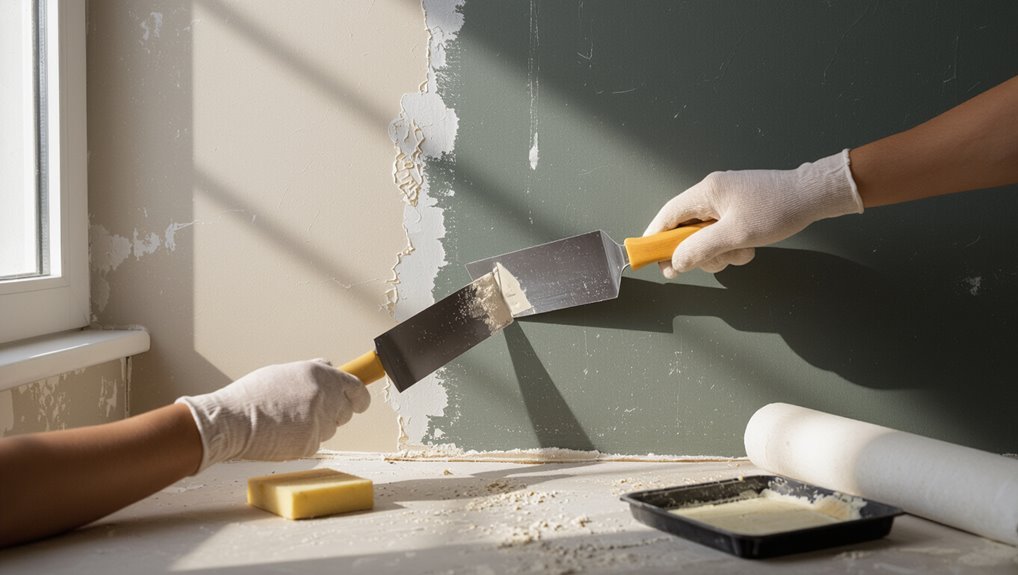
Because peel-and-stick wallpaper bonds directly to whatever you put it on, prepping the wall first prevents adhesion problems, visible seams, and paint damage when you remove it.
You’ll consider wall texture and match adhesive types to your paint finish.
- Smooth surfaces reduce trapped air.
- Repair dents and loose paint.
- Test a small sample to confirm clean removal.
Prep Your Wall: What To Do First
You’ve checked texture, repaired chips, and tried a test peel; now get your wall truly ready by cleaning, smoothing, and marking out the area you’ll cover.
Wipe grime, remove dust, and sand glossy spots so the wall surface is even. Note high-moisture zones and choose wallpaper placement accordingly.
Understand adhesive types to match surface conditions and reduce removal risk later.
How Primer Type Changes Peel Risk
If you want your peel-and-stick wallpaper to stay put (or come off cleanly later), the primer you choose makes a big difference.
You’ll weigh Primer types against Adhesive properties and Surface textures, plus Paint compatibility, Application techniques, and Environmental factors.
Consider:
- High-seal primers for low peel risk.
- Bonding primers for rough textures.
- Universal primers when conditions vary.
Do Latex and Oil-Based Paints Behave Differently?
You’ll notice latex and oil-based paints grip peel-and-stick wallpaper differently, which affects adhesion and how easily the paper comes off.
Oil-based finishes are more solvent-resistant and can hold adhesive longer, while latex may soften or lift with moisture.
That difference also changes removal technique—what works on a latex-coated wall mightn’t on an oil finish.
Paint Type Adhesion
One key factor in peel-and-stick wallpaper adhesion is the type of paint on your wall—latex and oil-based finishes do behave differently, and that affects how well the adhesive grabs.
You’ll notice differences in paint compatibility across wallpaper types:
- Latex: generally better grip, less brittle removal.
- Oil-based: smoother surface, can reduce adhesion.
- Test a small area first to confirm.
Solvent Resistance Differences
Because latex and oil-based paints react differently to solvents, you’ll see distinct effects when removing or cleaning peel-and-stick wallpaper: latex resists water-based solvent types but can soften with harsher cleaners, while oil-based paints tolerate solvents differently and may craze or lift.
You should know adhesive properties interact with paint chemistry, so choose compatible solvents and test small areas to avoid peeling or finish damage.
Removal Technique Impact
Having matched solvents to the paint type, next consider how removal methods themselves affect latex versus oil-based finishes.
You’ll want careful removal techniques for paint preservation. Consider:
- Slow peel: gentler on latex, reduces lift.
- Heat gun: loosens adhesive but can soften oil finishes.
- Solvent swab: targets residue; test to avoid dulling both paints.
Adjust technique to the paint and surface condition.
Which Paint Finishes Resist Adhesive Removal Best
When you’re choosing paint for walls that might later get peel-and-stick wallpaper, the finish matters more than color: you’ll prefer finishes that maximize paint durability and work with modern adhesive technology to minimize lift.
| Finish | Resistance |
|---|---|
| Gloss | High |
| Semi-gloss | High |
| Satin | Moderate |
| Matte/Flat | Low |
How Paint Age Affects Likelihood of Damage
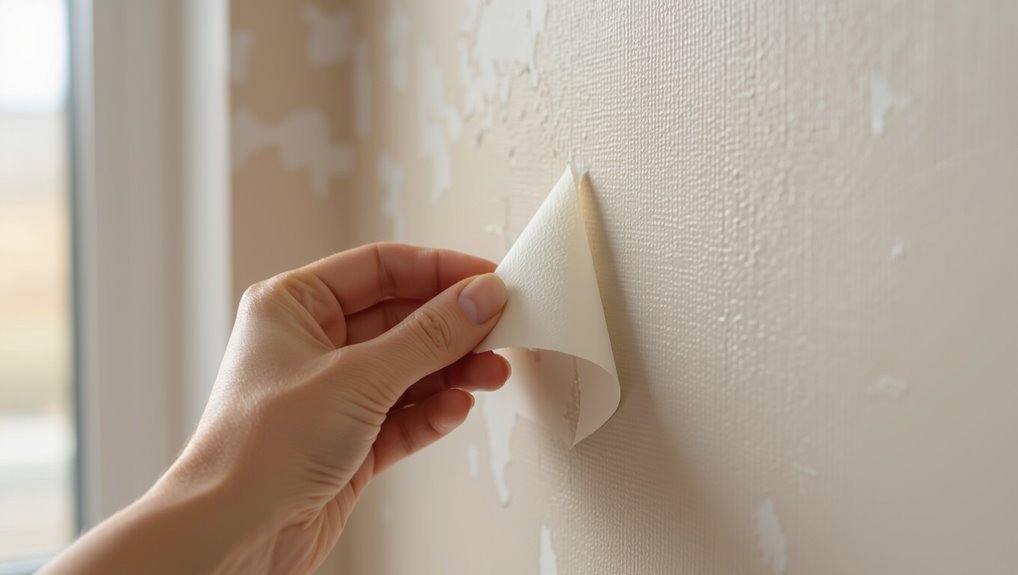
If you apply peel-and-stick wallpaper to a freshly painted wall, it’s less likely to pull up paint because the finish is still well-bonded.
Paint that’s a few years old can be hit-or-miss—some layers hold, others lift depending on wear and surface prep.
Very old or chalky paint is most at risk of coming off, so you’ll want to test a hidden spot before committing.
Freshly Painted Surfaces
Because paint continues curing for weeks to months after application, freshly painted surfaces are more vulnerable to damage from peel-and-stick wallpaper than older, fully cured paint.
You should take safety precautions and assess wall conditions before applying.
Consider these steps:
- Wait recommended cure time.
- Test a small corner.
- Use low-tack adhesive or release liner to minimize pull.
Moderately Aged Paint
After waiting the recommended cure time and testing a corner, consider how moderately aged paint behaves under peel-and-stick wallpaper.
You’ll find paint durability has improved, so removals usually peel cleanly if adhesion wasn’t excessive.
Still, monitor edges and seams; temperature and humidity affect bonds.
Choosing high-quality paper boosts wallpaper longevity and reduces removal risk, but proceed carefully to avoid surprises.
Very Old Or Chalky
When paint’s very old or has developed a chalky surface, expect peel-and-stick wallpaper to pull loose paint and leave residue behind; you’ll need to test small areas first and plan for repair.
You should assess Chalky walls and Old paint, prioritize Surface preparation, and consider Adhesive longevity.
- Test adhesion.
- Strip compromised paint.
- Reprime before applying.
How Humidity and Temperature Influence Adhesion and Removal
Although peel-and-stick wallpaper feels simple, humidity and temperature have a big say in how well it sticks and how cleanly it comes off.
You’ll notice humidity effects swell backing and weaken glue, while temperature fluctuations make adhesives firmer or gooier.
Those adhesion variables change removal challenges: high humidity can cause tearing, cold can make adhesive cling, so time removal for stable, moderate conditions.
Does Brand or Adhesive Strength Affect Paint Damage?
Because brands vary in adhesive formulas and backing materials, the likelihood of paint damage can change considerably. You’ll want to evaluate both the sticker type and the adhesive strength before applying.
Consider these points:
- Compare adhesive types—removable vs. permanent—when doing brand comparisons.
- Test a small sample patch for peel resistance.
- Prefer brands with clear removal guidelines to minimize damage.
How Long-Term Installation Changes Removal Outcomes
If you’ve had peel-and-stick wallpaper up for months or years, the adhesive has often fully cured and bonded more tightly to the wall.
That longer exposure can weaken the paint film underneath, making it more likely to lift when you pull the paper off.
You’ll need to adjust your removal technique—slower peeling, heat, or adhesive solvent—to reduce damage.
Adhesive Cure Time
When peel-and-stick wallpaper stays up for months or years, the adhesive changes: it cross-links, hardens, and bonds more firmly to paint and wallboard, so removal becomes harder and riskier.
You’ll notice adhesive longevity varies by product and surface compatibility. Consider:
- Heat speeds cure, increasing bond.
- Porous walls soak adhesive, anchoring it.
- Painted vinyl repels some adhesives, easing peel.
Paint Film Degradation
As adhesives harden over months or years, they start to interact more aggressively with the paint layer beneath, and that changes how removal plays out.
You’ll find prolonged contact reduces paint durability, especially on poorly primed surfaces. Good wall preparation initially helps, but long-term adhesive creep can embrittle the film, increasing flaking or lifting during removal and making repairs more extensive.
Removal Technique Impact
Because long-term peel-and-stick installations change adhesive behavior and paint condition, you’ll need to adjust removal technique to avoid making damage worse.
You should assess adhesive properties, test a corner, and proceed slowly.
Consider these removal techniques:
- Heat gently to soften adhesive.
- Use low-angle peeling to reduce paint lift.
- Clean residues with mild solvent and soft cloth, then touch up as needed.
Peel-and-Stick Removal: Step-by-Step to Avoid Paint Loss
1 simple, careful approach will keep your paint intact while you remove peel-and-stick wallpaper: work slowly, test a small area, and use the right tools and solutions. Focus on wall preparation and gauge adhesive strength before proceeding. Peel gently at low angle, apply heat sparingly, and clean residue without scrubbing.
| Step | Action | Result |
|---|---|---|
| 1 | Test | Assess paint adhesion |
| 2 | Peel | Minimize lift |
| 3 | Heat | Soften adhesive |
| 4 | Clean | Remove residue |
| 5 | Inspect | Confirm paint okay |
Tools and Supplies for Damage-Free Peel-and-Stick Removal
Gather a handful of reliable tools and a few gentle cleaning supplies before you start removing peel-and-stick wallpaper so you won’t be forced into rushed, damaging fixes mid-job.
You’ll want specific removal tools matched to adhesive types and paint condition. Pack essentials and follow a calm process:
- Plastic scraper, microfiber cloths
- Mild detergent, rubbing alcohol
- Painter’s tape, touch-up paint
When To Use Heat, Solvents, or Slow Peeling
If the adhesive won’t budge, you can warm the wallpaper with a hair dryer to soften it before peeling.
Use a mild solvent on leftover gummy residue, testing first to protect the paint.
When paint looks fragile, peel slowly at a low angle to avoid lifting or gouging the surface.
Use Heat For Stubborn Adhesive
When adhesive won’t budge with slow peeling, apply gentle heat to soften the glue and lift the wallpaper more easily.
You’ll protect paint compatibility by controlling temperature and prepping surfaces.
Try these removal techniques:
- Use a hairdryer on low for focused heat application.
- Work in small sections for gradual adhesive breakdown.
- Pause, cool, and inspect wall preparation before continuing.
Apply Solvents For Residue
After you’ve tried slow peeling and gentle heat, reach for solvents to tackle stubborn adhesive and residue you can’t lift by hand.
Test solvent application in an inconspicuous spot, follow manufacturer instructions, and ventilate the room.
Apply small amounts, let it soften the residue, then wipe gently with a soft cloth.
Rinse the area and dry to prevent paint damage.
Peel Slowly To Preserve Paint
Although it’s tempting to rip off stubborn peel-and-stick wallpaper, slow, steady peeling gives you the best chance of preserving the paint underneath.
You should check paint adhesion first, then decide whether to use heat, mild solvent, or gentle peeling to protect paint and maintain wallpaper longevity.
- Test a corner slowly.
- Apply low heat sparingly.
- Use solvent for residue only.
How To Handle Stubborn Adhesive Residue Without Harming Paint
Sticky residue from peel-and-stick wallpaper can feel stubborn, but you can remove it without damaging paint if you act carefully and use the right materials.
Start with gentle adhesive removal methods: warm soapy water, rubbing alcohol, or a citrus-based cleaner.
Test a hidden spot, work slowly with a soft cloth or plastic scraper, and follow paint protection techniques like rinsing and drying to prevent softened or lifted paint.
Quick Fixes for Minor Paint Tearing After Removal
Start by evaluating the damage to see how deep the paint tearing goes and whether the substrate is exposed.
If the tear is minor, you can quickly sand, apply a thin layer of spackling or patch compound, and sand smooth once dry.
Finish with a matching touch-up paint applied in thin coats so the repair blends with the surrounding wall.
Assess The Damage
Wondering how bad the paint tearing is after you pull off peel-and-stick wallpaper?
Do a quick damage assessment and plan paint protection for nearby trim. Check adhesive residue, surface gouges, and loose flakes.
- Residue: wipe a small area with soapy water.
- Gouges: press gently to test stability.
- Flakes: tap to see if more will lift.
Quick Patch Techniques
Now that you’ve assessed residue, gouges, and loose flakes, you can move on to quick, practical fixes that restore the paint without a full repaint.
Lightly sand edges, remove lingering adhesive with a gentle solvent, and fill small tears with spackle.
Smooth and prime patched spots to match texture. These steps help preserve adhesive longevity elsewhere and protect the overall wall surface.
Paint Touch-Up Tips
If the tear in the paint is small, you can repair it quickly with just a few tools and a steady hand.
Prep, match, and blend to restore wall aesthetics and guarantee long-term paint maintenance.
- Sand lightly.
- Apply primer and matched paint.
- Feather edges and dry, then inspect for touch-ups.
Repairing Larger Paint Removal: Patching and Blending Tips
When a sizable patch of paint has come off with your peel-and-stick wallpaper, you’ll want to prep the area, fill any gouges, and blend the repair so it disappears once painted.
Sand edges, assess wall condition, and use joint compound to rebuild surface.
Match paint texture with a sponge or brush stipple, sand smooth, prime, then apply paint in thin coats for an invisible repair.
When To Repaint Versus When To Touch Up
Decide whether to repaint or just touch up by evaluating the size of the damage, how many spots need work, and whether the existing paint color and sheen match your repair area.
Use this guide to make repainting decisions and apply touch up techniques efficiently:
- Small, isolated chips — touch up.
- Multiple mismatched spots — repaint.
- Large peeled sections — repaint after proper prep.
Cost and Time Estimates for Repairs After Removal
After you’ve chosen between touching up or repainting, estimate the budget and timeline for repairs after removing peel-and-stick wallpaper.
Check surface damage, necessary primer, patching, and paint quantities to calculate repair costs.
For minor touch-ups expect a few hours and low material expense; full repainting can take days and higher labor or paint costs.
Get quotes to confirm realistic time estimates and budgets.
How To Choose Peel-and-Stick Wallpaper If You Plan Temporary Use
If you’re planning a temporary install, start by checking the wallpaper’s material compatibility with your wall surface—vinyl and fabric-backed papers behave differently on painted drywall, plaster, or textured walls.
Pick an adhesive strength labeled for temporary or removable use to minimize residue and make removal easier.
These choices help you avoid damage and lower repair costs when you take the paper down.
Material Compatibility Guide
Wondering which surfaces will let you remove peel-and-stick wallpaper cleanly? You’ll check material compatibility and match adhesive types to substrate.
Consider these common options:
- Smooth painted drywall — usually safest for temporary use.
- Semi-gloss or satin — tolerates removal if paint is cured.
- Textured or bare plaster — higher risk; test a small patch first.
Adhesive Strength Choices
While choosing peel-and-stick wallpaper for temporary use, match adhesive strength to your surface and removal goals so you won’t damage paint or leave residue; light- or medium-tack adhesives are usually best for cured, smooth paints, whereas high-tack options suit rougher substrates but raise the risk of tearing or paint lift.
You should test a small patch, favoring temporary bonding and easier removal.
Renter-Friendly Alternatives to Peel-and-Stick Wallpaper
Because peel-and-stick can still risk residue or paint damage, you’ll want alternatives that give style without jeopardizing your deposit.
Since peel-and-stick can still harm paint, choose renter-friendly alternatives that add style without risking your deposit.
Try options that’re easy to remove and renter-friendly:
- Removable decals for accents and playful patterns.
- Temporary art hung with command strips or poster putty.
- Fabric panels or tapestries mounted on removable hooks to change mood without glue.
Five Myths About Peel-and-Stick Damage: Busted
If you’ve hesitated over peel-and-stick wallpaper because of horror stories, you’re not alone — but many common warnings are exaggerated.
You’ll learn myth busting: it isn’t always peel-off destruction, low-tack options exist, and proper removal matters.
Don’t assume expensive repainting is inevitable. Address adhesive misconceptions, test a small area, and follow manufacturer guidance to protect paint and avoid needless panic.
Real-World Case Studies: No-Damage Versus Damaged Removals
When you compare real-world removals side by side, clear patterns emerge: some jobs come off clean with no paint loss, while others strip primer or pull chips.
You’ll use damage assessments and case comparisons to judge risks. Typical findings:
- Smooth surface, low adhesive — no damage.
- Poor primer, old paint — chips.
- High-adhesion vinyl — mixed results, often minor pull.
Checklist: Prevent, Remove, and Repair-What To Do Before You Buy
Before you buy peel-and-stick wallpaper, run a quick checklist: inspect the wall surface for smoothness and sound primer, test a hidden spot for adhesion and paint pull, and confirm the product’s adhesive strength and removal claims so you can weigh repair risks and prep needs.
Then note wall preparation required, compare adhesive types, plan tools, buy patching supplies, and budget time for careful removal to minimize paint damage.
Frequently Asked Questions
Will Peel-And-Stick Damage Textured or Plaster Walls Differently Than Smooth Drywall?
Subtle surfaces soothe: you’ll typically see peel-and-stick behave better on smooth drywall than textured or plaster; texture compatibility matters, and careful surface preparation prevents peeling, residue, or plaster pulls when you remove adhesive.
Can Adhesive Interactions With Trim, Baseboards, or Crown Molding Cause Damage?
Yes — you can damage trim and molding if adhesive bonds strongly; use trim protection and slow removal to minimize adhesive residue, test a corner first, warm adhesive with a hairdryer, and peel gently to avoid gouging paint.
Do Paints With Lead or Other Hazardous Pigments Change Removal Methods?
Yes — if you suspect lead paint or hazardous pigments, you should assume different removal methods: you’ll use testing, containment, and professional abatement rather than DIY scraping, minimizing airborne dust and following local hazardous-waste rules.
Will Sunlight Exposure (UV) During Installation Affect Future Removability?
Yes — prolonged UV sunlight can bake adhesive, increasing future adhesion and making removal harder. You’ll use careful installation techniques like shading, gradual application, and UV-resistant primers to minimize long-term bonding and simplify later removal.
Are There Eco-Friendly Adhesive Removers Safe for Painted Walls?
Like finding a needle in a haystack, you’ll discover eco friendly options such as citrus-based, soy, or water-soluble removers that’re gentle on painted walls; match remover choice to adhesive types and test a hidden spot first.
