
How to Paint Over Smoke-Stained Walls So the Stains Don’t Bleed Through
First, identify where the smoke started and mark the full stain area. Clean up soot with a HEPA vacuum, then wipe and degrease so oils don’t re-bleed. Let everything dry completely. Spot-test and apply a stain-blocking primer (often shellac or an oil-based or specialty formula), using a roller for even coverage and sanding glossy spots until dull. Patch and sand repairs, then paint with thin, uniform coats. If stains still show, you may need another blocking layer—keep going to learn the best options.
Identify the Smoke Stain Source and How Far It Spread
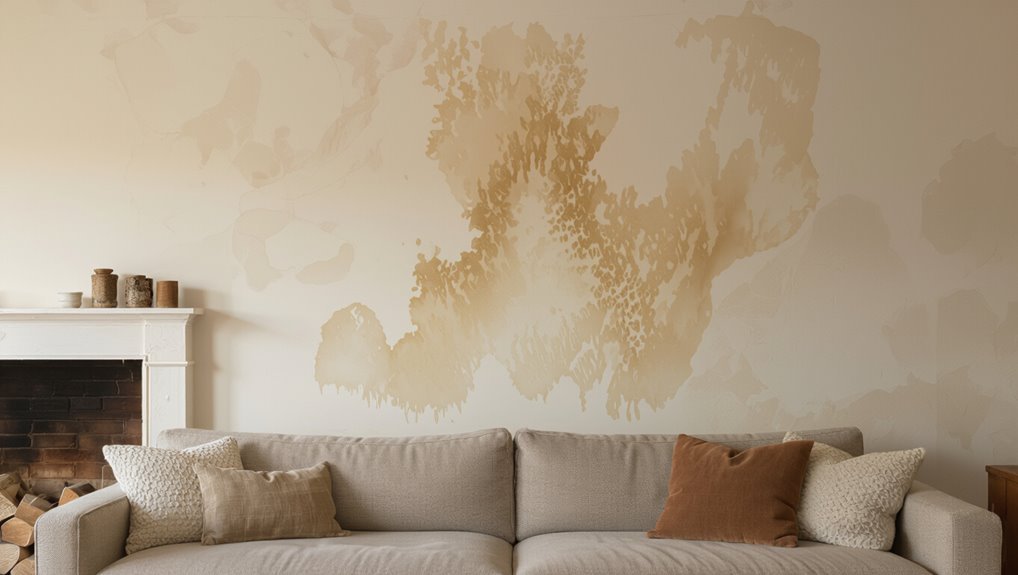
First, you need to figure out where the smoke stain started and how far it spread before you paint over it. Inspect the wall at eye level, then crouch and check corners, ceilings, and trim where the smoke source likely lingered.
Look for the darkest spot first; that usually marks the origin. Trace outward slowly, noticing any gradient in color, tacky spots, or visible streaks. Use bright light and a flashlight from the side to reveal faint edges.
Mark the full area with painter’s tape so you cover the entire stain spread. Photograph it for reference.
Decide If You Must Use Stain-Blocking Primer
Check the severity of the smoke staining—light, medium, or heavy—to decide whether paint alone will cover it.
If the marks are bold or you can still see discoloration after cleaning, choose a stain-blocking primer rated for smoke and tannin bleed.
After priming, verify it cures properly before you paint so the stain won’t seep through.
Assess Stain Severity Level
Smoke stains don’t all behave the same, so you need to judge their severity before you paint. Use stain assessment to spot whether discoloration is light tan, dark brown, or near-black. Do a severity evaluation by checking how far the mark reaches, whether it’s shiny, and if it spreads when you add a damp cloth. Compare areas: some will dry flat; others feel tacky or leave a smoky odor.
| Wall area | What you notice |
|---|---|
| Small light spots | Faint yellowing |
| Tea-brown streaks | Noticeable bands |
| Dark patches | Thick, stubborn tint |
| Waterlike smears | Wet-looking edges |
Choose Stain-Blocking Primer
If your smoke stain looks dark, smells lingering, or bleeds into new paint, you should use a stain-blocking primer before you roll on color.
Start by matching the primer options to the stain types: for tannin-like discoloration, choose a shellac-based or oil-based blocking primer; for greasy residues, use an oil or specialty stain-blocking formula.
If the wall has water damage plus smoke, pick a bonding primer with stain-blocking properties.
For ceilings and tight areas, consider fast-drying versions, but follow the label.
Don’t skip this step—primer prevents reactivation.
Verify Primer Cures Properly
Once you’ve selected the right stain-blocking primer, you still need to confirm it cures fully before you paint over it—otherwise the stain can reappear or bleed through.
Check the label for curing times; don’t rush. After priming, keep the room dry and evenly heated so the primer types you chose can set correctly.
Touch-test near edges and corners: the surface should feel hard, not tacky or rubbery.
Then wait the full recommended window, plus extra time if the wall was heavily smoke-damaged or moisture is high.
If you see color transfer, re-prime locally and verify again.
Protect Floors, Vents, and Furniture Before You Clean
Before you touch a single stain, protect the areas smoke residue can spread to—start by covering your floors with plastic sheeting or a drop cloth and taping the edges tight.
This floor protection keeps ash and soot from embedding in carpet fibers or marring hardwood. Move small items away from the walls, then use furniture covering—plastic or sealed tarps—to shield dressers, counters, and upholstered pieces.
Next, cover vents with painter’s tape and a disposable plastic guard so residue can’t get pulled into ducts. Seal return grilles and protect ceiling fans too.
Dry-Vacuum Soot, Then Wipe Loose Residue Away
Dry-vacuum the soot thoroughly with a HEPA vac so you don’t grind it into the wall.
Then wipe the area using a clean, slightly damp cloth to remove all loose residue, repeating until nothing transfers.
After that, protect the surface with fresh, clean coverings so the wall stays ready for primer and paint.
Dry Vacuum Soot Thoroughly
Dry-vacuuming first is the fastest way to stop smoke staining from bleeding into your new paint—use a HEPA-filter vacuum and work the surface slowly in overlapping passes. This dry vacuum step drives soot removal deeper into the bin, not into the wall. Move from top to bottom so nothing re-lands.
Follow these steps:
- Hold the nozzle close, without scraping.
- Vacuum corners, seams, and vents carefully.
- Re-pass any dark patches until the airflow stays clear.
- Empty the canister outdoors if it fills up.
Then you’ll be ready to tackle the next stage confidently.
Remove Loose Residue Completely
Once you’ve knocked out soot with your HEPA vacuum, you need to remove whatever loose residue remains.
Switch from suction to wiping: lightly dampen clean microfiber cloths with plain water or a mild degreaser, then wipe from top to bottom. Use firm, even passes, and change cloths often so you don’t redistribute grime.
For residue removal in corners, use a soft brush attachment, then immediately wipe.
Let the wall dry fully before any primer. This step is essential to prevent bleeding and choose the right cleaning methods for smoke fallout.
Protect With Clean Surface
Before you touch a brush or roller, protect your finish by starting with a truly clean surface: use a HEPA vacuum to pull out dry soot, then wipe away any remaining loose residue with clean, slightly damp microfiber cloths.
This surface preparation is your best defense during wall cleaning. Work from top to bottom so debris doesn’t re-soil areas you’ve already cleaned.
- HEPA-vacuum corners, seams, and trim.
- Lightly damp-wipe in small sections.
- Swap cloths often to avoid smearing.
- Let walls dry fully before priming.
Degrease Walls to Stop Oily Smoke Stain Bleed-Through
Degreasing the walls is your first line of defense against oily smoke stain bleed-through, because smoke deposits often leave a greasy residue that paint can’t seal.
Use strong cleaning techniques to break down that oil, not just wipe dust. Mix a degreasing cleaner with warm water, scrub with a soft brush, and work from top to bottom.
Rinse thoroughly until runoff feels clean, then let the surface dry fully. This surface preparation removes contamination, reduces staining, and helps primer grip.
If you spot shiny patches, repeat—oily areas will bleed unless you fully degrease.
Wash Smoke Contamination With the Right Cleaner
After you tackle oily residue, you still need to remove the smoky film that leaves dull, discolored marks.
Use a cleaner made for smoke damage so the residue lifts instead of smearing. Mix according to label directions, then scrub with a sponge in steady strokes.
Focus on grayed corners and ceiling edges where wall restoration starts. Rinse only with clean, damp wiping to avoid soaking.
Follow this sequence:
- Pre-wipe with dry cloth
- Apply cleaner; dwell 5 minutes
- Scrub until color fades
- Wipe with water-damp rag
Rinse Thoroughly to Protect Primer Adhesion
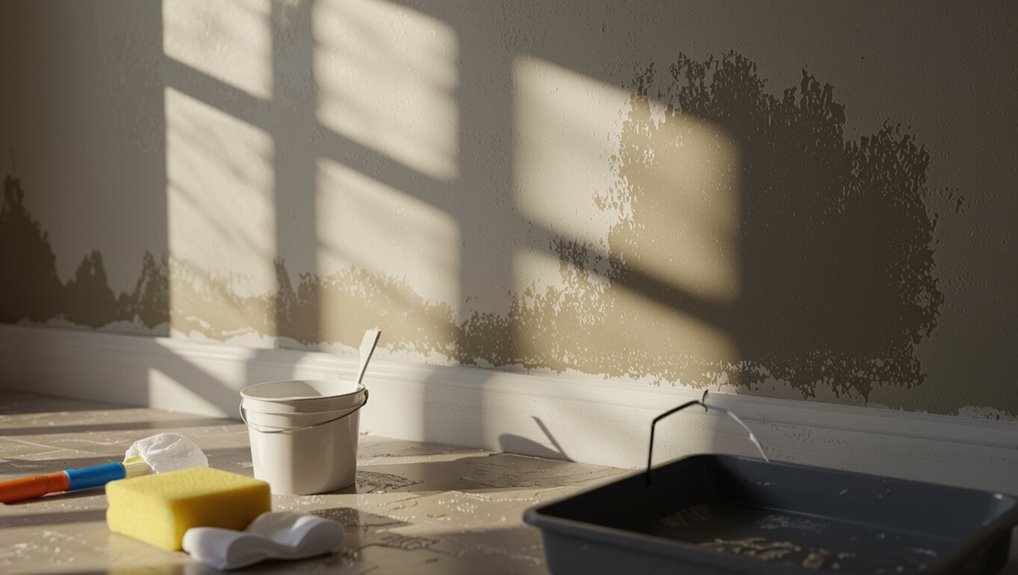
Rinse thoroughly once the smoke film loosens, because leftover cleaner and soot can weaken how well primer sticks.
After scrubbing, flush the wall with clean water using a sponge or pump sprayer, working top to bottom. Wipe away suds and residue as you rinse, and don’t let dirty water drip back into stains.
If you see gray runoff, repeat rinsing until it runs clear. Then let the surface drain and remove excess water with clean towels or a microfiber.
This wall preparation step protects primer adhesion for the next coating.
Dry Completely Before Any Primers or Paint
Let the wall dry completely before you apply any primer or paint, because trapped moisture can interfere with adhesion and promote bubbling or peeling.
Use solid drying techniques: run fans, keep windows cracked, and maintain steady room temperature until the surface feels uniformly dry.
Press a clean tape strip against the wall; if it lifts residue or feels cool/damp, you’re not done yet.
Then confirm primer adhesion by checking for chalky residue, soft spots, or lingering odors.
Follow this checklist:
1) Ventilate
2) Dehumidify
3) Air-dry
4) Recheck before priming
Spot-Test a Stain-Blocking Primer on One Section
Before you commit to rolling primer across the whole wall, spot-test a stain-blocking primer on a small, inconspicuous section first. You’ll learn fast whether your spot test techniques work and judge primer effectiveness before you waste time. Pick a 2 ft by 2 ft spot, clean it, and apply primer evenly. Let it dry fully, then check for discoloration, bleeding, or sheen changes.
| Check after drying | What to look for |
|---|---|
| Day 1 | faint brown reappearing |
| Day 2 | darkening edges |
| Day 3 | damp-looking bleed |
| Day 4 | spots through topcoat |
| Day 5 | stable, uniform surface |
Sand Peeling Paint and Feather the Edges
Before you prime or paint, scrape off any loose peeling paint so you’re back to solid, well-adhered material.
Lightly sand the surrounding area and feather the edges until the shift feels smooth to the touch.
Wipe away dust, then you’re ready to move on without trapping flaky paint under your new coat.
Remove Loose Peeling Paint
Start by scraping off any loose, peeling paint so the surface can grip your new coat. You want solid, sound material before you do any surface preparation.
Work with steady pressure, pulling flaking edges until they stop. Vacuum dust, then wipe with a damp rag and let the wall dry fully.
If you see blistering, keep removing loose paint until you reach stable layers. Focus on clean boundaries where peeling paint started, not just the center of the patch.
Follow this checklist:
- Scrape loose areas.
- Cut back to firm edges.
- Vacuum and wipe down.
- Let dry completely.
Feather Remaining Edges Smoothly
Once you’ve removed the loose layers, sand the remaining edges so they blend gradually into the surrounding wall. Use 120-180 grit to taper every peeled spot, then switch to finer grit to smooth scratches.
Vacuum dust, then wipe with a tack cloth so new primer bonds well. Apply a stain-blocking primer, working beyond the damaged area, and feathering techniques matter: lightly brush or roll outward to create a soft gradient instead of a hard ridge. Let it dry fully.
For edge blending, inspect with side light, then spot-sand high edges before you paint.
Scrape Loose Residue to Prevent Bubbling Later
Scrape off any loose, flaky residue from the smoke-stained area so your new paint can grip the surface. Use firm pressure with a putty knife or scraper, and collect dust as you go. These residue removal techniques prevent trapped smoke residue from bubbling later.
Follow these surface preparation tips:
- Scrape until the wall feels solid and uniform.
- Vacuum edges and corners thoroughly.
- Wipe with a damp cloth, then let dry completely.
- Inspect under bright light for remaining powdery spots.
When you remove that loose material now, your finish stays tight. Don’t rush drying time.
Patch Cracks and Holes With Compatible Filler
After you’ve cleared the loose residue, patch any cracks and holes with a filler that’s compatible with your wall type—spackle for small imperfections on drywall, or a cement-based patch for deeper masonry damage.
Choose the right filler types first, then follow tight application techniques: press filler into voids, overfill slightly, and smooth with a putty knife feathering edges outward.
Let it cure fully per label directions, not “until it looks dry.” Sand flush, wipe dust away, and check under angled light for pinholes.
Repeat patching only where you still see gaps or shadow lines.
Choose Oil-Based Primer for Heavy Smoke Stains
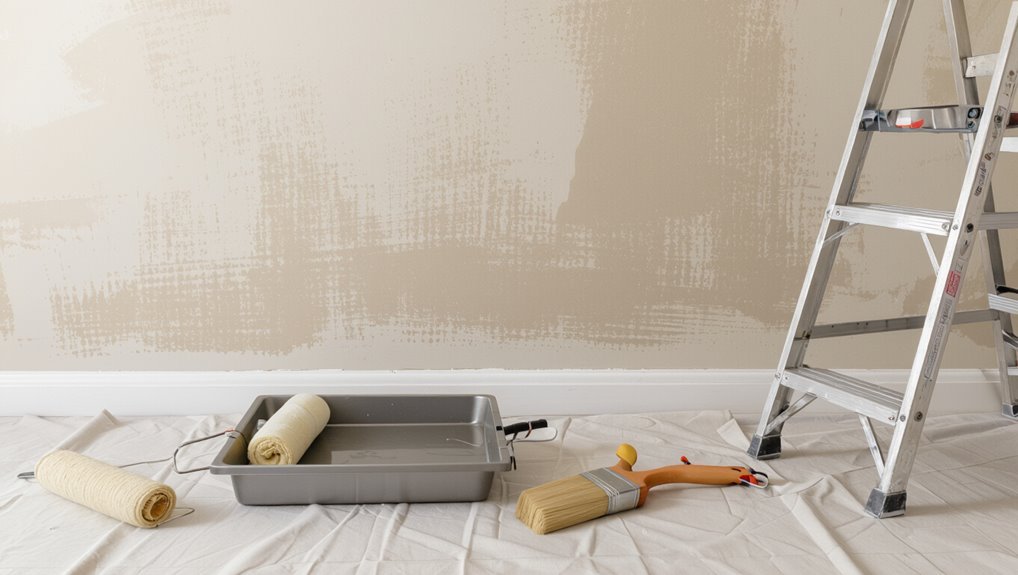
You’ll get the best results when you seal heavy smoke stains with an oil-based primer that blocks staining before your topcoat goes on.
Don’t skip the stain-blocking film thickness—apply enough to fully cover the discolored areas so they can’t bleed through.
If you prep and prime this way, your new paint stays even and looks clean.
Seal With Oil-Based Primer
Before you paint, seal the stains with an oil-based primer built for heavy smoke damage. You’ll get strong oil based benefits when you seal the surface before any color touches it.
Do careful primer application: clean the wall, then sand glossy spots until dull, and vacuum dust. Apply primer with a thick, even coat using a roller or brush, working from top to bottom. Let it dry fully, because incomplete curing can let odors and discoloration creep back.
- Spot-prime drips
- Cover halos thoroughly
- Maintain full coverage seams
- Let cure hard before painting
Block Stains Before Topcoat
Blocking smoke stains starts with a stain-blocking oil-based primer designed for heavy discoloration, not a basic bonding primer.
Start by finishing surface preparation: wash soot residue, let walls dry fully, and scrape any loose paint.
Then apply the primer in a thick, even coat over the stained areas, using a brush for edges and a roller for coverage.
Let it cure according to the label before you topcoat. This stain prevention step seals nicotine, soot, and odors, so your finish stays clean and uniform, without bleeding through later.
Recoat once if stains still ghost.
Use Stain-Blocking Film Thickness
To stop heavy smoke discoloration from ghosting through later coats, pick an oil-based stain-blocking primer and apply it thick enough to fully seal the stain.
You’ll win with the right stain blocking techniques and film thickness, not thin, quick passes.
- Stir the primer until uniform, then load a dense nap roller.
- Work in overlapping rows, keeping a wet edge.
- Target heavier coats at burn lines and near ceilings where residue pools.
- Let it cure fully, then sand lightly only if needed.
Maintain consistent film thickness so smoke can’t bleed through.
Use Shellac-Based Primer for Stubborn Yellowing
If smoke staining keeps bleeding through your paint, you’ll get the best lockup by using a shellac-based primer.
Shellac advantages matter here: it seals stubborn nicotine and yellowing fast, even when stains refuse to quit.
Before you prime, clean the wall thoroughly and let it dry completely.
Then perform primer application in thin, even coats, keeping a wet edge so you don’t miss tiny spots.
Use a brush for corners and a roller for flats, and overlap each pass.
Let it cure fully, then lightly sand any raised areas before topcoating.
This prevents bleed-through under your finish.
Pick a Water-Based Stain-Blocking Primer for Easier Cleanup
Pick a water-based stain-blocking primer so cleanup stays simple when you inevitably get drips or splatters.
You’ll want an easy-clean formula that washes up with soap and water, instead of harsher solvents.
That choice also helps you seal smoke stains fast so your topcoat looks even.
Choose Water-Based Primer Formula
Once you’re ready to block smoke stains, choose a water-based, stain-blocking primer so you can seal odors and discoloration without harsh cleanup.
Look for a formula designed for smoke and tannins, then confirm it’s compatible with your finish coat. You’ll get water based benefits because cleanup stays simple and misty residue wipes up.
For the best primer application, match these cues:
1) high-build coverage
2) bonding for slick surfaces
3) stain-sealing additives
4) low-odor ventilation.
Stir thoroughly, apply with steady strokes, and let it dry fully before you paint.
Prioritize Easy Cleanup Walls
To keep your prep work painless, use a water-based stain-blocking primer that wipes clean as soon as you finish rolling. You’ll save time and reduce mess while you tackle smoke marks.
Choose a primer labeled for easy cleanup strategies, and apply it with clean tools you can rinse right away. If drips happen, wipe while the primer is still wet—don’t let it dry on the floor or trim.
This simple habit supports wall maintenance by preventing residue buildup and sticky spots. After priming, let the surface fully cure, then paint using your usual method for a stain-stopping finish.
Know When Latex Paint Fails Without Blocking Primer
Latex paint often looks fine at first, but you’ll still see smoke stains creep back through when the soot or tannins haven’t been sealed.
Before you skip blocking primer, watch for warning signs. If you notice yellowing, brown halos, glossy spots, or a musty odor returning, latex can fail fast.
You may also run into primer adhesion issues that make any finish paint peel or blister.
Use a quick checklist:
1) Fresh stain bleed within days
2) Paint softens or lifts
3) Odor persists after sanding
4) Tinted spot keeps expanding
Choose latex paint alternatives only after sealing.
Apply Primer With the Right Roller/Brush/Sprayer Technique
Start by applying blocking primer with the right application method, because coverage and wet film thickness decide whether stains stay sealed. Use tool selection that fits the wall: for broad areas, roll with steady pressure (roller application) and maintain coverage consistency; don’t overload. For corners and nail heads, switch to a brush technique, then lightly edge blend. If you spray, use the sprayer method in overlapping passes, watching primer thickness closely. Match existing drywall texture, not smooth gloss, using texture matching.
| Method | Best Use |
|---|---|
| Roller | Walls |
| Brush | Edges |
| Sprayer | Large rooms |
| Blend | Changes |
Apply Two Smoke-Stain Blocking Coats When Needed
When smoke staining is heavy—or you still see discoloration through the first coat—apply two smoke-stain blocking coats instead of one. You need steady coverage, tight edges, and proven blocking techniques so the smoke stain can’t bleed through.
After the first coat dries, inspect under bright light and feel for tacky spots. Then do the second coat with the same method you used before, working in sections to avoid holidays.
- Spot-check every wall corner.
- Use overlapping brush strokes.
- Keep coats even, not thick.
- Recoat after full tack-free dry.
Let Primer Cure Fully Before Painting Over It
After you prime, let it cure fully before you paint over it.
Follow the manufacturer’s drying time, then check for any lingering odor and a tacky feel.
If it still smells strong or feels tacky, wait longer so your new finish bonds cleanly.
Allow Primer To Cure Fully
Let the primer cure fully before you paint, because rushing this step can trap smoke stains and cause peeling or uneven sheen.
You should choose primer types suited for stain blocking, then respect the curing time so the coating sets through.
Watch the surface for firmness, consistent color, and no tackiness. If you paint too soon, solvents can reactivate and lift residue.
Do this instead:
- Apply primer evenly, no thin spots.
- Keep airflow moderate and steady.
- Verify the finish feels dry to the touch.
- Wait out the full curing time before adding topcoat.
Follow Manufacturer Drying Time
Respect the manufacturer’s drying and curing schedule before you paint over smoke-stained walls. After primer, don’t rush; you need the full drying time and cure so smoke residues stay locked. Match your product instructions, and keep the room ventilated and dry. If you’re unsure, add extra time rather than painting early.
| Primer condition | Next coat timing |
|---|---|
| Dry to touch | Still wait |
| Fully cured | Paint normally |
| Cool, humid air | Extend drying time |
| Hot, dry air | Follow label |
Use solid surface preparation first, then verify your primer is ready before rolling on topcoat.
Check For Odor And Tack
Before you paint, you need to confirm the primer’s ready: check for lingering odor and for any tackiness when you lightly touch an inconspicuous spot.
Do odor detection slowly: stand close, breathe, and sniff again after a minute; smoke smell that lingers means the coating isn’t fully cured.
Next, run a careful tack assessment with a fingertip—primer should feel dry, not gummy.
Then verify cure conditions with these checks:
- Confirm room ventilation
- Wait full cure window
- Recheck odor detection after curing
- Repeat tack assessment if you feel any drag
Once it passes, you can paint confidently.
Paint in Thin, Even Coats for Uniform Coverage
Apply your stain-blocking primer first, then paint over it using thin, even coats.
You’ll get the best paint application when you apply each layer with steady pressure and keep a wet edge, so coverage stays uniform.
Use a roller for large areas, back-roll lightly, and cut in neatly along corners to avoid holidays.
Use a roller on large areas, back-roll lightly for even finish, and cut in cleanly at corners to prevent holidays.
Work in small sections, overlapping slightly, and resist overworking the surface.
Two or three thin coats beat one thick coat because smoke residue can telegraph through if the paint application traps uneven thickness.
Let each coat dry fully.
Choose Sheen That Won’t Highlight Smoke-Stain Discoloration
Sheen choice makes a big difference on smoke-stained walls because light reveals imperfections. When you do sheen selection, choose a flat or eggshell finish to mask discoloration instead of reflecting it back at you.
High-gloss sheens spotlight uneven patches, so they often make stains look worse. Prioritize paint durability so your coverage stays even through cleaning and everyday scuffs.
For the best results, follow this checklist:
- Use flat/eggshell, not satin or gloss.
- Match sheen across the whole room.
- Apply primer, then topcoat consistently.
- Let coats cure fully before evaluating.
Ventilate the Room to Reduce Odor and Speed Drying
Ventilating helps you cut smoke odor and keeps paint from lingering too long while it cures. Open windows and use fans to pull fumes out, not across wet coats. Aim a box fan toward the exit, and crack doors to improve airflow.
If you can, run HVAC on fresh-air intake and turn off recirculation. Monitor comfort and safety: wear a mask if needed, and stop if the room gets too harsh.
These ventilation techniques support odor removal and help paint dry faster, reducing the time stains can migrate.
Prevent Flashing and Lap Marks on Smoke-Stained Walls
Once the smoke stains start to bleed, you need to stop them from reappearing as flashing or lap marks. Use flashing prevention by priming fully, not spot-checking edges. You’ll prevent uneven absorption that telegraphs through paint.
- Skim and sand any glossy spots; feather 2 inches around discoloration.
- Apply a stain-blocking primer in one uniform coat, keeping a wet edge.
- Let primer cure fully before topcoats; don’t rush recoat timing.
- Use smooth roller coverage and cross-roll lightly; avoid overworking.
Choose solid lap mark solutions by maintaining consistent pressure and coverage throughout.
Fix Primer Failures and Stop Fast Smoke-Stain Re-Bleed
If the smoke stains come back fast, you likely have primer bond issues—check for loose, powdery, or glossy spots before you paint.
Scrape and sand down to stable material, then re-coat with a blocking primer so stains can’t bleed through again.
After that, stick to your topcoat schedule and let each layer cure fully so the bond holds.
Diagnose Primer Bond Issues
Before you repaint smoke-stained walls, figure out why the primer won’t bond—primer failure usually comes from surface contamination, inadequate prep, or moisture that keeps pushing stains back through.
Check for chalky residue, glossy patches, and damp drywall edges. Scrape test spots: if paint peels under light pressure, you lack primer adhesion. Confirm the wall is dry with tape patches and feel for coolness.
Then redo surface preparation: scrub soot, rinse, dry, and scuff-sand to a uniform dull finish.
Use these clues:
- Rub off marks
- Bubbling or peeling
- Dark halo returns
- Paint won’t wet out
Seal With Blocking Primer Re-Coat
After you confirm the primer isn’t bonding, you can seal the staining at its source with a blocking primer re-coat.
Spot prime every affected patch first, then feather the edges so your next coat levels out.
Use solid blocking techniques: keep a stain-blocking product at the right thickness, don’t stretch it thin, and apply in smooth, even passes.
Let the re-coated primer cure fully, not just dry—rushing causes re-bleed.
If the wall feels sandy, lightly re-sand, wipe clean, and repeat primer application.
Then repaint with your finish coat, maintaining consistent coverage.
Add a Second Blocking Layer If Yellowing Returns
Even with a solid first coat, some smoke stains can ghost back through over time, especially as the wall continues to release trapped oils.
If you see yellowing again, don’t just repaint—upgrade your Stain Prevention with a Second Layer. You’ll keep pigments and oils from punching through your topcoat.
- Spot-check the yellow areas after drying fully.
- Scuff lightly, then vacuum dust.
- Recoat with a fresh blocking primer as your Second Layer.
- Let it cure completely before painting.
Maintain the Finish to Prevent Smoke Stains Coming Back
Once your second blocking layer cures, you can stop smoke stains from returning by maintaining a stable, clean surface.
After painting, keep indoor humidity moderate and fix leaks fast, because moisture reactivates stains.
Dust walls gently and wash lightly with a mild cleaner; don’t flood the surface.
If you see scuffs, touch them up with the same paint system to protect the sealed film.
Use preventive measures like air-filtration and proper ventilation, and follow maintenance tips by inspecting quarterly for discoloration or peeling.
When you catch early wear, you prevent bleed-through before it spreads.
Frequently Asked Questions
How Long Should I Wait After Cleaning Before Priming?
Wait 24 hours after you finish cleaning techniques and the surface feels completely dry. Wipe again if needed, then start priming tips right away. Don’t trap moisture under primer; check corners and edges for lingering dampness.
Can I Use Regular Paint Without Any Stain-Blocking Primer?
Yes, you can use regular paint, but don’t count on it. Smoke staining often bleeds due to poor stain-blocking alternatives. You’ll get paint absorption and discoloration. Test a spot, then prime with a stain-blocking product for reliable results.
Will Smoke Odor Fully Disappear After Repainting, or Require Odor Treatment?
Repainting won’t always fully remove smoke odor; you’ll usually need odor absorption methods like activated charcoal or ozone treatment. Use stain-blocking primers for smoke stain prevention, ventilate well, and let sealers cure before judging lingering smell.
What’s the Best Way to Remove Nicotine Stains From Textured Drywall?
Nickotine stains are stubborn vines; you can uproot them. Scrub textured surfaces with degreasing cleaner, then prime with a stain-blocking shellac or oil-base primer, letting it cure fully. Repeat cleaning if needed, then repaint.
Do I Need to Repaint the Whole Wall if Only One Spot Stains?
No—you don’t need to repaint the whole wall. Do spot repair only where the stain shows, then prime with a stain-blocking primer for stain prevention. Feather edges, let it cure fully, and finish with matching paint.
Conclusion
Once you’ve found the source and blocked the stain correctly, you’ll usually stop bleed-through for good—especially with stain-blocking primer plus a clean prep. Here’s a fun stat: smoke particles are so fine they can cling deep into drywall pores, which is why “just painting” often fails without blocking. Keep your finish maintained with regular gentle cleaning, and you’ll dramatically reduce the chance of yellowing returning.
