
How Long Should You Let Paint Dry Before Hanging Pictures on the Wall?
You should let your paint fully cure before hanging pictures, not just feel dry. For interior latex, plan on 24–48 hours, and longer if it’s humid. Oil-based paint usually needs 7–14 days to cure. “Dry to the touch” only means the surface stopped feeling wet. If you hang too soon, you risk smudges, dents, and tacky marks from frames and hardware—keep going to learn safer timing tips.
How Long Should You Let Paint Dry Before Hanging Pictures on the Wall?
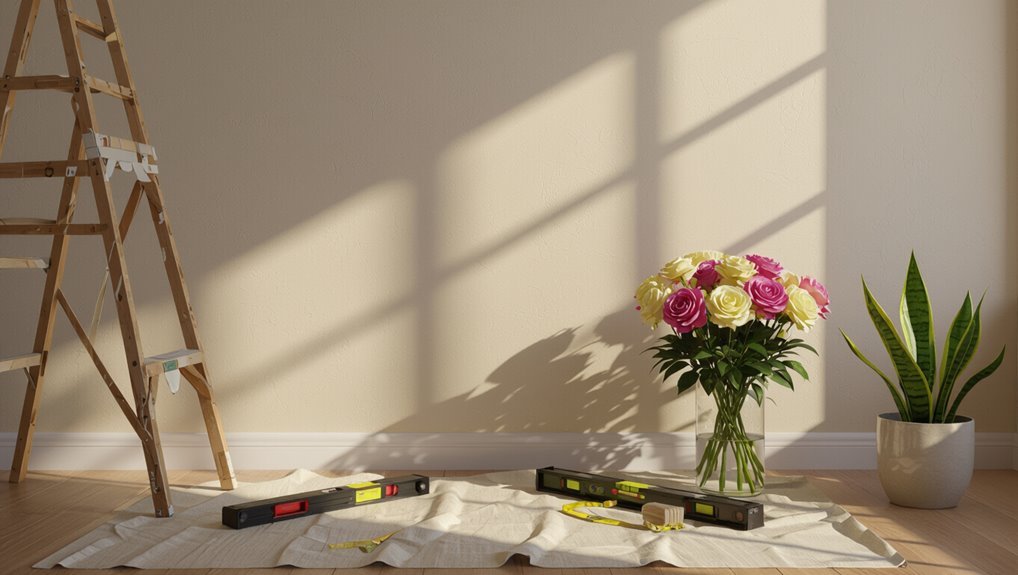
Before you hang any pictures, you should wait until the paint has fully cured—not just dried to the touch.
Let paint fully cure before hanging pictures; drying to the touch isn’t enough to prevent smudges and damage.
For most interior latex paints, you should plan on about 24–48 hours of paint drying, then allow longer if humidity runs high or the coat feels cool or tacky.
For oil-based paint, you’ll need more time, often 7–14 days, to prevent smudging and dents.
Check the manufacturer’s label for specific cure guidance, and press a clean thumb to an inconspicuous spot.
When it’s truly cured, you can mount wall decor confidently without sticking.
Why “Cure Time” Matters More Than Dry Time?
You might think “dry” means you’re ready, but cure time is when the paint fully hardens and reaches its true strength.
If you hang pictures too soon, you risk smudges, dents, and marks—even if the surface looks dry to the touch.
Dry Time Vs Cure Time
Even if paint looks dry to the touch, it often hasn’t cured yet, and that difference matters when you hang pictures.
Dry time is when the surface stops feeling wet; cure time is when the paint’s chemistry finishes hardening. You can speed dry with drying techniques like fans, airflow, and light heat, but curing process depends on thickness, humidity, and temperature.
If you hang too soon, you may trap moisture, soften edges, and compromise adhesion.
Follow product labels for cure time, not just touch-dry cues. Plan for full cure before mounting frames, especially with oil-based or multi-coat paints.
Preventing Smudges And Marks
Cure time matters because smudges and marks usually form when the paint’s surface has only dried, not fully hardened—so a fingertip, a tape edge, or the back of a frame can slightly shift or soften fresh paint. Prioritize smudge prevention and mark avoidance: wait for real curing before handling or mounting.
| Risk | What you notice |
|---|---|
| Finger contact | shiny streak |
| Tape removal | raised edge |
| Frame/back contact | smudged border |
| Hanging too soon | tacky smear |
Use clean, lint-free cloths, avoid masking until cured, and test with gentle touch on scrap if you’re unsure.
Achieving Full Paint Strength
Because paint can feel dry before it reaches its full strength, you should treat “cure time” as the real safety window—not the time it looks set.
After you finish rolling or brushing, leave the wall alone long enough for full cure. This is when the coating hardens, bonds firmly, and delivers strong paint adhesion.
If you hang pictures too soon, screws and hooks can tear the surface, causing chips, dents, or uneven sheen.
Check the can’s schedule, then add extra days for thick coats, cool rooms, or high humidity.
Prioritize wall protection and your hardware will hold better.
Check the Can’s Dry-To-Touch and Recoat Times
Read the can’s dry-to-touch time first, and make sure the surface feels tack-free before you handle anything.
Then check the recoat window and remember that full cure time still matters, especially for durable coatings.
Finally, verify the paint type’s exact requirements so you don’t hang pictures on paint that looks dry but isn’t ready.
Read Dry-To-Touch Time
Start by checking the paint can for the dry-to-touch time and the recoat window, since those labels tell you when the surface feels dry and when you can safely apply additional layers.
You should treat dry-to-touch as your first signal, not final readiness. Press a fingertip lightly in an out-of-sight spot; if it doesn’t tack or smudge, you’re close.
Use proper drying techniques—good airflow, moderate temperature, and thin coats—to speed that moment.
Remember that paint types matter: latex, enamel, and oil-based formulas often feel dry at different rates.
Always verify before handling or masking.
Check Recoat And Cure
- Look for “Recoat after” hours on the label.
- Confirm it’s dry enough to accept a new coat.
- Track the longer “Cure” period before heavy handling.
After curing fully, the finish hardens, resists damage, and holds pictures securely.
Verify Paint Type Requirements
Before you hang anything, verify the paint type on the label and follow its exact dry-to-touch and recoat-time guidance—those numbers vary a lot by brand and finish (latex vs. oil-based, enamel vs. acrylic).
Check dry-to-touch first: you want it cured enough not to mar when you press brackets or tape.
Then follow the recoat time if you’re layering coats; skipping it can harm paint compatibility.
After the final coat, build in extra time for full set, especially in humid rooms.
Use proper surface preparation to guarantee adhesion, then test a hidden spot before proceeding.
How to Match Paint Type to Waiting Time
Matching your paint type to a realistic waiting time determines whether your wall can handle the weight and vibration of hanging pictures. You should check how your paint types cure, not just how they feel dry. Different finishes release moisture at different speeds, and your waiting times must match that pace.
Use these guidelines:
- Water-based latex usually accepts hooks sooner after a full cure window.
- Oil-based paint often needs longer waiting times before mounting anything.
- High-gloss and enamel finishes may feel dry fast but still cure slowly.
When in doubt, wait longer than the label suggests, then test a small anchor point before adding heavier frames.
How Drying Temperature Changes Your Waiting Time?
When you raise the drying temperature, the paint forms a skin and cures faster, so you can wait less time before hanging.
When conditions are cooler, that same process slows down, meaning you need longer to reach a safe level of dryness.
You should adjust your waiting time based on the room temperature and check the surface before you mount anything.
Warmer Temperatures Dry Faster
Warmer temperatures usually speed up paint drying because evaporation happens faster, so you’ll often be able to hang pictures sooner.
As temperature rises, the surface skins quicker, helping your temperature effects line up with shorter wait times. You still need to check for cure, not just touch-dry, especially on thicker coats.
Use smart drying techniques to get the most out of the heat.
- Aim for moderate warmth in the room before you start
- Improve airflow with a fan to move moist air away
- Keep coats thin to reduce drying time and cracking risk
Cooler Conditions Need Longer
Cooler conditions slow evaporation, so you can’t rely on touch-dry paint alone.
When you paint in cool temperatures, moisture lingers and the surface can feel dry while the layers underneath stay soft. You should extend your drying times by checking the label’s recoat and cure guidance, then waiting longer for hanging.
Instead of rushing, give the wall airflow and steady room temperature, but keep the paint protected from drafts and humidity swings.
If you press lightly and it dents or feels tacky, stop and wait.
In general, colder rooms require extra curing before you mount anything.
How Humidity Affects Paint Drying Speed?
Humidity strongly influences how fast paint dries because water vapor in the air slows evaporation from the paint film.
Humidity slows paint evaporation—higher moisture keeps the film tacky longer, so even “dry” surfaces may need more time.
That directly changes humidity effects and the quality of your drying conditions. You’ll notice high moisture keeps the surface tacky longer, even if it looks dry to the eye.
To manage it, you should:
- Use a fan to circulate air, not just move it around.
- Run a dehumidifier if the room feels damp.
- Wait longer when walls are cold and humid together.
Lower humidity helps moisture escape faster, so paint skins over sooner.
How to Spot Soft Spots Before Hanging Anything
Before you hang anything, check for paint tacky patches by lightly touching a corner in an inconspicuous spot.
Then press gently with your fingertips—if it dents, feels rubbery, or transfers to your skin, the paint isn’t ready.
If you spot soft spots, wait longer and recheck so your wall holds up.
Check For Paint Tacky Patches
When you think the paint is dry enough, press a fingertip or the back of your knuckle lightly on a small, hidden spot—if it feels sticky or tacky, don’t hang anything yet.
You need to watch for a tacky texture and poor paint adhesion, especially on edges, corners, and thicker roller areas. Check around where moisture or dust might’ve trapped under the surface.
- Feel for drag when you lift your finger.
- Watch for stringy residue or smears.
- If it dents easily, wait longer, then recheck before mounting.
Press Test For Soft Spots
After you pass the tackiness check, you should press gently in a few painted spots with a clean fingertip or the back of your knuckle.
Do this across corners and near edges where drying can lag. Watch for soft spot indicators: if the paint feels springy, dents, or smears, you’re not ready yet.
Then, check the surface texture—dry paint should feel firm and consistent, with no grit transfer to your finger.
If you find a soft spot, wait longer, then repeat the press test before you hang anything.
Wait Longer for Thick Coats and Multiple Layers
If you’ve applied thick coats or stacked multiple layers, you can’t rely on the “time listed on the can” alone. You need extra drying time so the surface cures all the way through, not just on top.
When you rush, you can trap moisture under the finish, and your wall won’t hold up for hanging.
- Let each coat dry fully before adding the next layer
- Give longer intervals for thick coats, especially in cool or humid rooms
- Check by feel and wait, even if it looks dry
For best results, follow the manufacturer guidance and add buffer time.
Don’t Hang Pictures on Still-Tacky Paint
Before you hang anything, you need to check that the paint feels fully dry to the touch and looks set.
Even if the surface dries, you shouldn’t hang pictures until the paint cures, because tacky paint can smudge, chip, or pull away.
Take a little extra time to wait for curing, not just dryness.
Check Dryness Fully
Let your paint dry completely before you hang anything—don’t trust a surface that feels dry to the touch, since paint can stay tacky underneath. You should check dryness fully so your picture hardware won’t smear the paint or pull it away.
Run a clean fingertip across a hidden corner and notice the paint texture: it should feel uniform, not sticky or tacky. Also, consider wall conditions like humidity or cool temperatures, which slow drying.
- Press lightly, then release
- Wipe with a dry cloth
- Inspect for dents or smudges
Wait Until Paint Cures
Even when the wall feels dry, paint may still be soft underneath—so don’t hang pictures on still-tacky paint. You need paint curing, not just surface drying.
After you finish wall preparation and painting, give the coat time to harden completely. Follow the can’s cure timeframe, since humidity, temperature, and paint type change it.
Press a fingernail lightly in an unseen spot: if it dents or feels tacky, wait longer. When the paint cures fully, it resists scratches from picture hooks, anchors, and smudges during mounting.
How Long to Wait After Touch-Up Paint Jobs
Once you finish a touch-up paint job, you should give the surface enough time to cure before you hang anything or press items against the wall.
Touch up timing matters, because fresh paint application can stay soft underneath the topcoat. For best results, wait longer than the dry-to-touch window, especially on vertical spots where paint thickens.
Touch up timing matters: paint can remain soft beneath the topcoat—so wait beyond dry-to-touch, especially on vertical, thicker areas.
Follow these checks:
- Press a clean fingertip lightly; if it feels tacky, wait.
- Look for full sheen consistency with surrounding areas.
- Aim for at least several days for thorough curing, longer in cool or humid rooms.
Wait 24, 48, or 72 Hours: What to Expect
After your touch-up job, you’ll see different results depending on how long you wait before hanging pictures, pressing decor, or reinstalling hardware. If you rush, you risk soft paint marks and smudges. Use solid wall preparation and matching drying techniques. After 24 hours, most latex coatings feel firm, but deeper layers may still be curing. After 48 hours, your surface usually handles light pressure. After 72 hours, paint typically resists dents and minor friction.
| Wait time | What to expect |
|---|---|
| 24 hrs | Soft feel, caution |
| 48 hrs | Better stability |
| 72 hrs | Durable, low risk |
Signs It’s Ready to Hang Pictures Safely
Before you hang anything, check for a surface that’s fully dry and no longer soft: press a clean fingertip or masking-tape edge lightly in an inconspicuous spot—if it doesn’t leave residue, smudge, or feel tacky, you’re in good shape.
Use solid picture hanging safety cues like these:
Use reliable safety cues—uniform matte paint, hard-dry edges, and respect any recoat window—before mounting to avoid trapping moisture.
- Paint looks uniformly matte, not glossy or patchy
- Edges of drying areas feel hard, not cool or springy
- If you used paint drying techniques, follow any recoat window on the can
When these signs show up, you can mount confidently without trapping moisture.
Do a Press, Tap, and Smell Readiness Test
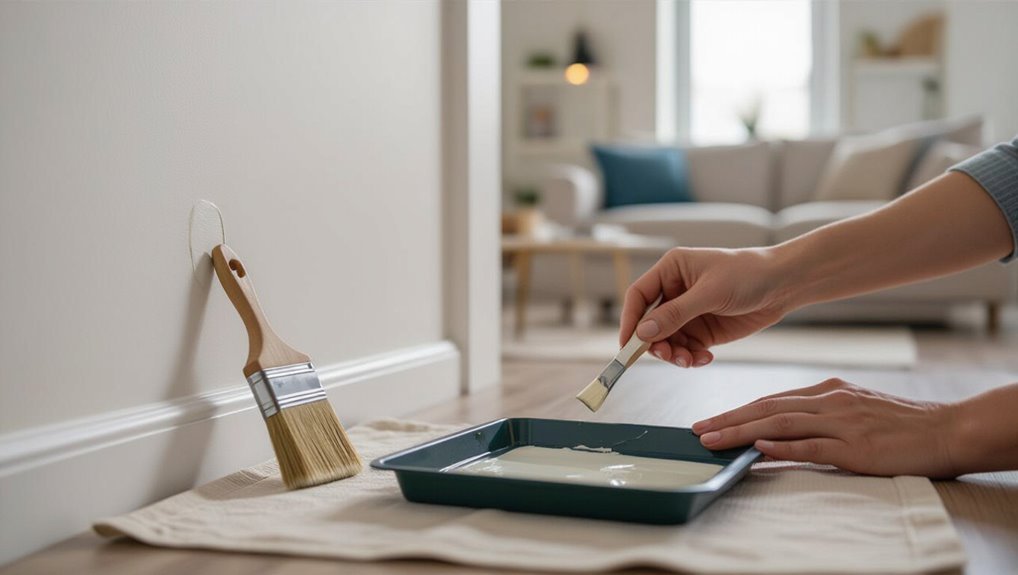
Use a simple press, tap, and smell check to confirm your paint won’t trap moisture. Press gently on the wall: if the paint texture feels cool, tacky, or leaves marks, wait. Tap lightly with a knuckle; if you hear a soft thud or feel tackiness through the topcoat, keep drying. Finally, smell nearby—strong solvent odor means the surface still needs drying techniques time.
| Test | What you notice | Action |
|---|---|---|
| Press | Tack/tags | Wait |
| Tap | Soft sound | Wait |
| Smell | Strong odor | Wait |
| Touch | Dry surface | Hang |
Choose Hardware That Won’t Scuff New Paint
Even if the paint feels dry, new finishes still scratch easily, so you’ll want to pick hardware that won’t scuff the surface. When you plan your mounting options, prioritize soft-touch contact points and stable alignment, then install carefully.
Even if paint seems dry, it still scratches easily—choose soft-touch, well-aligned hardware and install carefully to avoid scuffs.
Some hardware types still press metal directly onto paint, so protect the wall.
- Use picture hanging strips or felt-backed hooks to buffer contact.
- Choose wall anchors with a snug fit that won’t forcefully pry.
- Add painters tape “guards” while marking holes, then remove after mounting.
Test each spot before final tightening, and keep tools clean and dry to prevent smears or chips.
Start With Lighter-Hold Hanging Methods First
Start with lighter-hold hanging methods so you don’t damage the fresh finish while you test placement. Use painter’s tape, removable adhesive strips, or tack-and-hang hooks rated for temporary use.
You’ll adjust quickly without scraping paint, and lighter methods help prevent chips when you lift the frame. Mark your preferred height lightly, then press the temporary hangings in place for a short test.
Step back, check level, and confirm picture placement before you commit. Once everything looks right, switch to the final hardware you planned, keeping pressure gradual and even.
Avoid Anchors That Dent or Rip Tender Paint
Before you drill or hammer anything, take a hard look at your options—some anchors can dent, chip, or even tear tender paint right when you install them.
You should prioritize paint protection by using hardware that doesn’t bite into the finish. Choose soft anchors if you’re working near fresh coats, and avoid oversized plastic plugs.
- Press gently and pre-mark the spot
- Use a drill stop to control depth
- Match anchor size to the weight, not the wall type
Test on a hidden area first. If the paint flexes, switch methods.
Prime and Clean Well When Switching Paint Colors
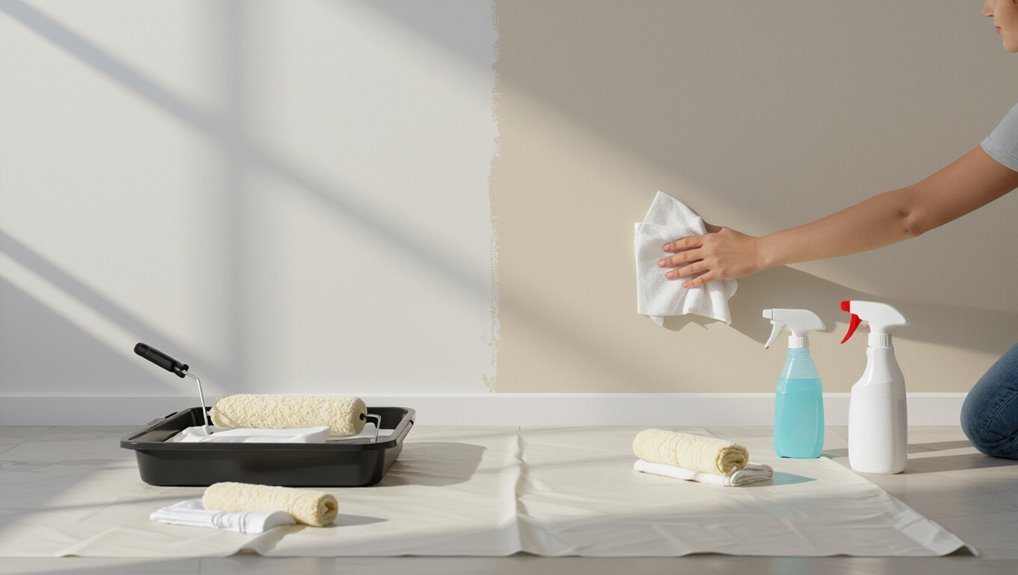
Clean the surface thoroughly and prime any spots where old color shows through. When you switch paint colors, you need solid paint preparation so the new coat bonds evenly.
Start by washing walls with a mild cleaner, then rinse and let them dry completely. Scrape off loose paint, sand glossy areas, and wipe away dust with a damp cloth.
Start by washing walls with a mild cleaner, then rinse and let them dry completely. Scrape loose paint, sand glossy areas, and wipe dust away.
If stains bleed through or the old tone remains visible, apply a spot primer or stain-blocking primer. This step smooths your color shift and prevents patchiness, peeling, and uneven sheen.
Prime edges and repairs, then check for drips before you paint.
What to Do If You Smear Fresh Paint
If you smear fresh paint, don’t panic—catching it early helps. Act fast: blot gently with a clean, damp cloth, then wipe in the direction of the grain so you don’t spread color.
If the smear already starts to set, use mild soap and water or a manufacturer-recommended cleaner. For stubborn marks, lightly sand the spot once it’s fully dry, then do paint touch ups to match the sheen.
- Blot first; don’t scrub hard
- Use soapy water for quick smudge removal
- Sand after drying, then repaint
Frequently Asked Questions
Does Latex Paint Need Longer to Dry Than Oil-Based Paint?
Yes—latex paint usually needs longer to dry fully than oil-based, especially for paint durability. You must follow drying conditions like humidity, airflow, and temperature; otherwise you risk tacky surfaces. Wait until it’s hard and dry to touch.
Can I Speed Drying With a Fan Without Affecting Adhesion?
Yes, you can speed drying with a fan, but use gentle airflow and place it several feet away. Keep the surface dust-free and avoid blasting thick paint. Use drying techniques like cross-ventilation, not heat, to protect adhesion.
Should I Wait Longer for Primer-Only Walls Before Hanging Pictures?
Yes—wait longer on primer-only walls; different primer types and wall textures control cure, not just surface dryness. Give it extra time until it feels fully hard and tack-free. Then hang pictures, using appropriate anchors for your texture.
Will Picture-Hanger Pressure Leave Marks on “Mostly Dry” Paint?
Yes—mostly dry paint can still scuff. Pressure from picture hangers works like cautious thieves, leaving pressure marks and risking wall damage. Wait until paint fully cures, or use felt pads, then mount gently. Otherwise, you’ll undo your effort.
How Long After Washing Walls Should Paint Dry Before Hanging?
Let your walls dry completely after washing—usually 24 hours—before hanging pictures. Use proper wall preparation and choose based on paint types: latex often dries faster, but oil-based needs longer. Confirm surfaces feel firm, not cool or damp.
Conclusion
Before you hang pictures, you should treat “dry to touch” like a minimum, not a finish line—cure time matters more. Check your paint can for recoat and cure guidance, and factor in temperature and humidity. If you smear, you’ll know fast why patience pays off—fresh paint can smear like a disaster movie. Start with lighter-hold methods, use clean, proper anchors, and wait longer than you think.
