Can I Use Wall Paint on Metal? Proper Methods Explained
You can use wall paint on clean, non‑rusted metal if you prep it properly and pick compatible products. Start by degreasing, sanding or de‑rusting, then apply a metal primer (etching, epoxy, or zinc‑rich as needed) and thin, even topcoats of a durable finish like satin or semi‑gloss. Bonding agents help on slick surfaces and test a small area first. Follow proper prep, primer and paint steps for long‑lasting results, and more practical tips follow below.
When Wall Paint Can (and Can’t) Be Used on Metal
When you’re deciding whether wall paint will work on metal, start by checking the surface condition and the type of paint you have.
You’ll use wall paint on clean, non-corroded ferrous or non-ferrous metal if you confirm paint compatibility and apply a suitable primer.
Avoid porous or oily metal types; they’ll need specialized coatings for durable adhesion and corrosion resistance.
Why Metal Needs Different Prep Than Walls
You can’t treat metal like drywall when prepping for paint because the surface chemistry and texture are totally different.
Metal needs rust removal, degreasing, and sometimes etching to guarantee proper adhesion and prevent corrosion under the finish.
Follow specific prep steps and primers so your wall paint will stick and the metal won’t fail later.
Surface Preparation Differences
Because metal and drywall behave so differently, you can’t treat their prep the same way: metal needs degreasing, rust removal, and often a primer designed for bare metal, while walls generally just need cleaning and a skim of joint compound.
You’ll address metal surface differences and paint adhesion challenges by following three key steps:
- Clean and degrease
- Sand and remove rust
- Prime for metal
Corrosion And Adhesion
Those prep steps also guard against two separate problems metal brings: corrosion and poor adhesion.
You’ll tackle corrosion types like rust and galvanic attack by cleaning, neutralizing, and priming. You’ll control adhesion factors—surface profile, cleanliness, and compatible primers—so paint bonds.
Skipping these risks flaking, undercutting, and failure; proper prep makes wall paint perform on metal long-term.
Prep: Clean, Degrease, and Remove Rust
Start by thoroughly cleaning the metal surface—remove dust, grease, and loose paint so the wall paint can adhere properly.
You’ll degrease with solvent, strip rust, and apply rust converter or primer before painting.
Consider spray application for even coverage and choose compatible protective coatings afterward.
Steps:
- Degrease
- Remove rust
- Apply primer/convertor
Prep: Sanding and Deglossing for Adhesion
After you’ve cleaned and degreased the metal, remove any remaining surface contaminants with a tack cloth or solvent to guarantee paint bonds properly.
Lightly sand glossy or smooth areas with fine-grit sandpaper using even strokes, then wipe away dust to create a slightly roughened profile.
If sanding isn’t practical, use a chemical deglosser per the manufacturer’s instructions to dull the sheen and improve adhesion.
Surface Contaminant Removal
Before you paint metal with wall paint, remove oils, rust, and old finishes so the coating can bond.
You’ll perform surface cleaning focused on contaminant types: grease, corrosion, and chalky coatings. Use appropriate cleaners, rust remover, and solvent-soaked rags, then rinse and dry.
Follow this simple checklist:
- Degrease
- Neutralize rust
- Remove loose finish
Proper Sanding Techniques
1 simple sanding step will make the paint stick: abrade the metal just enough to dull glossy surfaces and remove remaining mill scale or flaking finish.
Use consistent sanding techniques—start with 120–150 grit for rust or rough areas, then 220–320 grit to refine surface smoothness.
Sand along contours, wipe debris, and inspect for remaining high spots so primer and wall paint bond evenly.
Effective Deglossing Methods
Anyone can improve adhesion by deglossing glossy metal surfaces so primer and wall paint can bite—this means dulling the sheen and removing residues that repel coatings.
You’ll use deglossing techniques and surface treatments to prep properly.
Choose one method:
- Sand with fine grit.
- Use liquid deglosser.
- Scuff with abrasive pad, then clean and prime.
Primers That Bond to Metal (And When to Use Them)
When you’re painting metal, choosing the right primer matters because it creates the chemical bond and prevents peeling, rust, and poor adhesion.
You’ll pick primer types like etching, epoxy, or zinc-rich formulas; bonding agents improve adhesion on slick metal surfaces.
Use proper application techniques—cleaning, degreasing, thin even coats—and select primers matched to substrate and exposure for durability.
Wall‑Paint Finishes That Work on Metal and Compatible Topcoats
When you paint metal, choose a sheen that balances adhesion and durability—satin and semi‑gloss usually stick better and resist scuffs than flat finishes.
You can often protect the color with a compatible clear topcoat like water‑based polyurethane or acrylic varnish, but check compatibility with your specific wall paint.
Test a small area to confirm adhesion and the final look before finishing the whole piece.
Sheen Levels And Adhesion
Although sheen doesn’t change a paint’s chemistry, it affects how well coatings hide surface flaws and bond to metal.
So you’ll want to choose finishes and topcoats with adhesion in mind.
Consider a quick sheen comparison and key adhesion factors:
- Flat: hides flaws, lower durability
- Satin: balance of hide and scrub resistance
- Semi‑gloss: best for cleaning and toughness
Compatible Clear Topcoats
If you want durable, attractive metal surfaces, pick a clear topcoat that’s chemically compatible with your wall paint and the metal substrate.
Choose from polyurethane, acrylic poly, or waterborne alkyd topcoat options, matching solvent systems.
Prep thoroughly, then follow recommended application techniques: thin, even coats, proper flash times, and light sanding between coats.
Test adhesion on a scrap piece first.
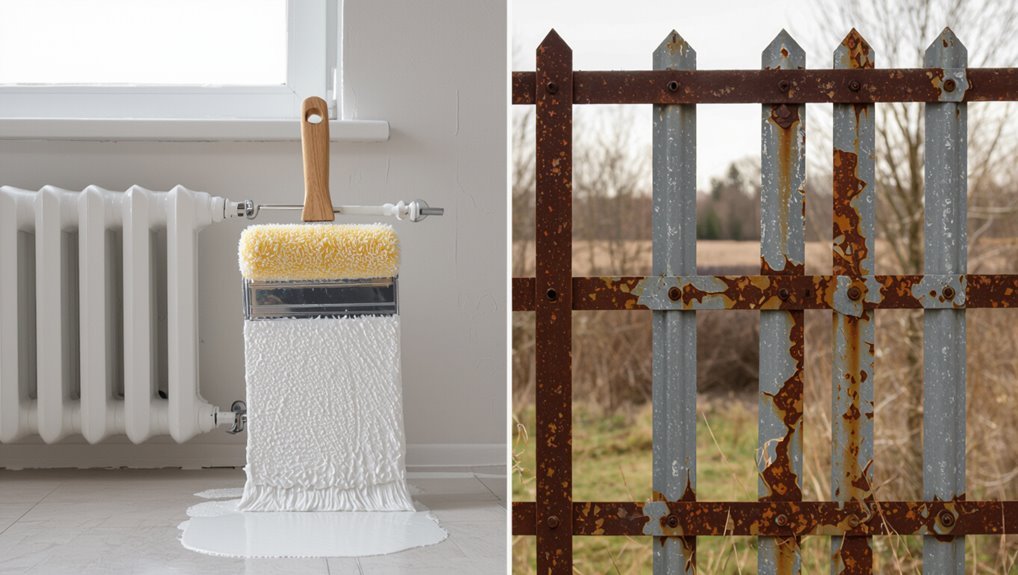
Methods by Project: Radiators, Doors, and Outdoor Railings
Tackle each metal painting project with the right method—radiators, doors, and outdoor railings all need different prep, paint types, and application techniques to hold up and look good.
Below you’ll find focused guidance for each so you can pick the right approach and avoid common pitfalls.
- Radiators: choose radiator colors and smooth metal textures; use heat-resistant primer.
- Doors: focus on door durability; sand, prime, use enamel or durable topcoat.
- Railings: pick corrosion-resistant railing finishes; brush or spray outdoors.
Common Problems (Peeling, Rust Bleed, Uneven Finish) and Fixes
Now that you’ve matched prep and paint to the project—radiators, doors, railings—you’ll run into a few recurring problems: peeling, rust bleed, and uneven finishes.
If you see peeling paint, strip and reprime to fix adhesion issues.
Treat rust, use rust prevention primer, and sand to restore surface compatibility.
For uneven texture, sand lightly and apply thin even coats to improve finish durability.
Quick Materials List and Tools Checklist
One compact kit will keep you efficient and safe: gather your chosen metal paint and primer, rust converter (for corroded spots), sandpaper in varying grits (80–400), wire brush, tack cloth, appropriate brushes and rollers (foam or high-density for smooth metal), a paint tray, painter’s tape, drop cloths, respirator or mask, gloves, and a small can opener and stir sticks.
Choose materials types based on surface and note tool functions: sanding removes old finish; primer promotes adhesion; proper applicators give smooth coverage.
- Prep tools
- Protection gear
- Application supplies
Short Decision Flow: DIY vs. Pro Help and Final Tips
If you’re comfortable sanding, priming, and spraying or brushing in a well-ventilated space, you can probably handle most metal-painting jobs yourself; but if the piece has heavy rust, structural damage, complicated finishes, or comes from a valuable or safety-critical object, call a pro.
| Task | DIY Considerations | Professional Advice |
|---|---|---|
| Prep | doable | recommended |
| Rust | limited | essential |
| Finish | simple | complex |
Frequently Asked Questions
Can Wall Paint Be Used on Metal Appliances Like Refrigerators?
Yes — you can repaint refrigerators, but you’ll need proper surface preparation and primers so paint adhesion holds. You’ll sand, clean, prime, and use suitable paint; otherwise flakes, poor coverage, and damaged finish won’t last.
Will Wall Paint on Metal Affect Fire Resistance or Flammability?
Think of a cloak altering a knight: you shouldn’t assume paint won’t change risk. You’ll usually see no major fire safety change if paint’s nonflammable and has good paint adhesion, but check labels and ventilation precautions.
Can I Paint Metal With Wall Paint in High‑Humidity Bathrooms?
Yes — you can, but use proper adhesion techniques and consider humidity considerations: clean, sand, prime with a rust‑inhibiting primer, choose a moisture‑tolerant topcoat, and guarantee ventilation to prevent peeling and corrosion.
How Long Before Painted Metal Can Be Exposed to Heavy Use?
Metaphorically speaking, you’ll wait like a patient gardener: after surface preparation and proper primer, allow 24–48 hours for touch-safe curing, but 7–14 days of drying time before heavy use guarantees toughness and longevity.
Do VOC Levels Differ When Using Wall Paint on Metal Versus Walls?
Yes — VOC levels can differ because formulations vary for metal versus walls; you’ll need to check VOC regulations and choose products rated for metal. Proper surface prep improves paint adhesion and can affect off-gassing and compliance.
Conclusion
You can sometimes use wall paint on metal, but only if you’re realistic about limits and do the prep right. Investigate the truth of the claim that “paint sticks if it looks clean”: you’ll find surface cleanliness alone isn’t enough—degreasing, rust removal, sanding, and a metal primer matter more. Skip shortcuts and you’ll face peeling and rust bleed. When you follow the right steps and pick compatible products, wall paint can work on some indoor metal projects.