
Does Hot Glue Damage Painted Walls? Safer Alternatives to Try
Yes — hot glue can damage painted walls, especially older, flat, or poorly bonded finishes, so you should treat it cautiously. Hot glue’s heat and tack can soften paint, seep into pores, and pull or dull the finish when removed. Test a hidden spot, use tiny dots, and peel slowly if you must use it. Safer options include removable adhesive strips, picture hooks, mounting putty, or low-temp glue sticks, and below you’ll find practical tips and alternatives.
Quick Answer Can Hot Glue Damage Painted Walls?
Yes — hot glue can pull paint off if you remove it carelessly.
It’s most likely to cause damage on older, poorly bonded, or flat/matte finishes and on paint that’s already peeling.
If your paint is newer, glossy, or well-adhered, you’re much less likely to have a problem.
Direct short verdict
Although hot glue can sometimes lift or peel paint, it usually won’t cause permanent damage if you remove it carefully and the paint has fully cured.
If you’re worried about does hot glue damage painted walls, test a hidden spot first.
Use gentle heat and a plastic scraper, clean residue with mild solvent, and proceed slowly to minimize lifting or finish dulling.
When damage is most likely (paint type, age, finish)
When you press hot glue onto a wall, the risk of paint lifting depends mainly on the paint type, how long it’s cured, and the finish:
fresh or poorly adhered paint, soft finishes like matte or eggshell, and water-based paints that haven’t fully cured are most vulnerable, while fully cured, durable finishes—high-gloss or oil-based—stand up better.
Test a hidden spot first; peel slowly.
How Hot Glue Interacts with Painted Surfaces Basic Understanding
Hot glue is a thermoplastic adhesive that melts with heat and sticks by flowing into surface pores, so you’ll want to reflect on how that interacts with your paint.
Different paints and finishes—latex, oil-based, enamel and sheens like eggshell, satin or gloss—vary in hardness and how well they bond, which affects whether glue will pull paint off.
Higher temperatures, leftover adhesive residue, and poor original paint adhesion all raise the chance of damage.
What hot glue is made of and how it adheres
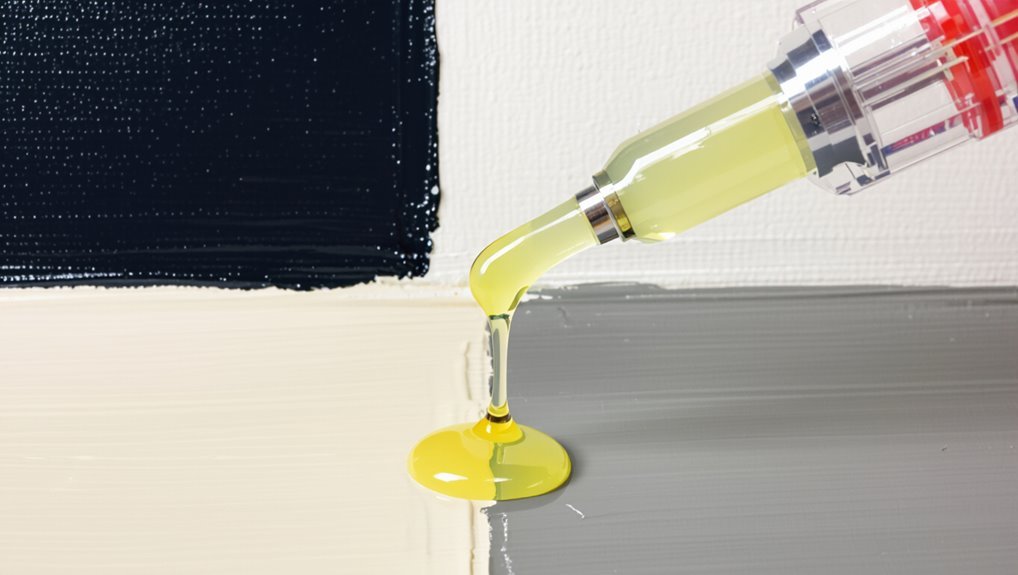
Because it’s a thermoplastic made from polymers like ethylene-vinyl acetate (EVA), hot glue melts when heated and solidifies as it cools, creating a physical bond with surfaces.
You apply molten beads that flow into microscopic surface irregularities; as they cool, interlocking and surface tension secure adhesion.
Bond strength depends on wetting, pressure during application, and cooling rate, not chemical bonding.
Types of wall paint and finishes (latex, oil, enamel, eggshell, satin, gloss)
Paint finishes affect how adhesives grip, so you’ll want to contemplate paint type before using hot glue on a wall.
Smooth, glossy enamel or high-gloss latex usually resist glue and can peel when peeled. Satin and semi-gloss offer moderate adhesion.
Eggshell and flat finishes absorb more and bond better but can lift fragile paint layers.
Oil-based paints cure hard, altering stickiness.
Factors that increase risk of damage (temperature, adhesive residue, paint adhesion quality)
Having matched glue behavior to finish types, you’ll want to contemplate conditions that raise the odds of harm.
High glue temperature can soften or lift paint; prolonged contact leaves residue that bonds to surfaces. Poorly adhered or old paint peels more easily when stressed.
Humidity, heat, and textured surfaces amplify risk. Test discreetly, use low-temp sticks, and remove glue gently to minimize damage.
Common Damage Scenarios and How They Occur
When you peel hot glue off painted walls you can pull fresh paint away or leave flakes behind.
The heat and adhesive can also discolor paint, leave impressions or small indentations, and create sticky residue that traps dirt and stains over time.
Knowing these typical outcomes helps you choose safer application and removal methods.
Peeling or flaking paint when removing glue
If you pull hot glue off too quickly or use a tool that grips the surface, you’ll often lift or flake the top paint layer right along with the adhesive.
That happens because the glue bonds to loose or thin paint rather than the drywall.
To avoid this, soften glue gently, peel at a low angle, and support surrounding paint so you don’t tear away edges.
Paint discoloration or heat marks
Because hot glue applies heat directly to paint, you can get discoloration or heat marks even without peeling — the heat alters pigments, softens binder, or causes a faint sheen change that stays once the area cools.
You’ll notice dulled color, slightly darker patches, or glossy spots where the finish reacted. Mild heat damage may be subtle but often remains visible without repainting.
Surface texture changes (impressions, indentations)
Although hot glue sits briefly on the surface, it can leave lasting impressions or indentations by compressing softer paint layers and the underlying substrate as it cools and hardens.
You might press a glue bead or object against the wall, and the cooled mass will hold a dented shape.
On thin drywall or fresh paint, these texture changes can be permanent without resurfacing.
Residue that attracts dirt or stains over time
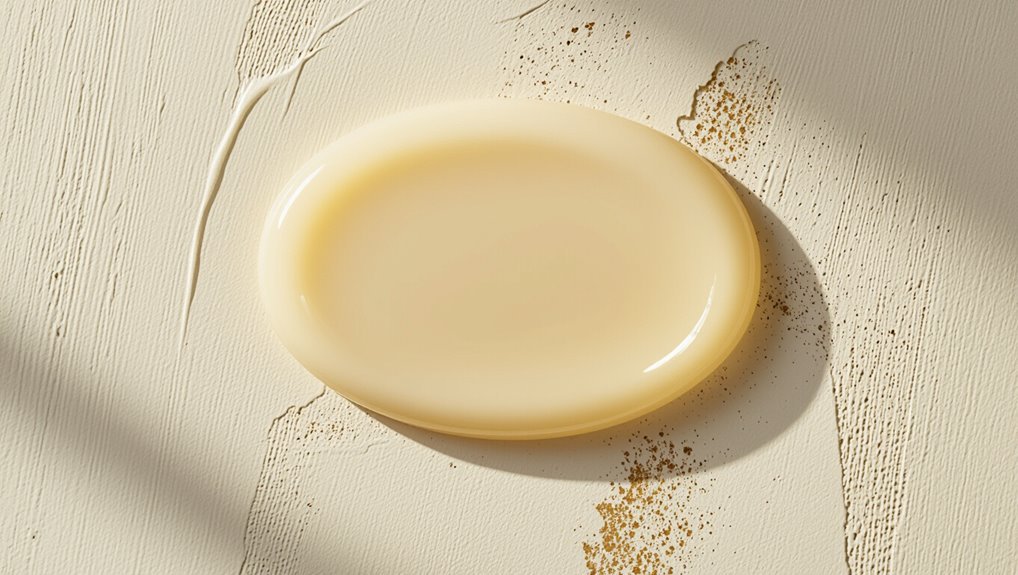
How does hot glue leave walls looking grim over time?
You’ll often leave a thin, tacky residue when peeling glue or removing drips. That residue traps dust, grease and fingerprints, creating dark smudges around bond sites.
Over weeks it darkens and spreads, making painted surfaces look dirty even after cleaning.
Use nonsticky alternatives to avoid buildup and staining.
Step-by-Step: How to Use Hot Glue on Painted Walls More Safely
Before you glue anything, assess the wall—check the paint type, age, and any past repairs so you know what you’re working with.
Test a tiny, hidden spot, then clean and temper the surface so the glue bonds less aggressively.
Use only small dots of glue, avoid keeping the gun pressed against the paint, and plan safe removal (heat, freezing, or appropriate solvents) if you need to take it off.
Step 1 Assess the wall (paint type, age, previous repairs)
1 quick check of your wall can save you from peeling paint or a messy repair later.
Look for paint type (latex vs. oil), age, and any prior touch-ups or cracked areas. Older or poorly bonded paint peels easily when adhesives are applied.
Note textured finishes and moisture stains—these indicate weak adhesion.
Record findings before you proceed with any gluing.
Step 2 Test a small, inconspicuous area
Since paint adhesion can vary across a wall, you’ll want to try the hot glue on a tiny, out-of-the-way spot first.
Apply a small dot, let it cool fully, then peel gently to check for paint lift, residue, or finish change.
Wait a day to watch for delayed reactions. If damage appears, stop and use a safer alternative.
Step 3 Prepare the surface (cleaning, temperature control)
Next, get the surface ready by cleaning it and controlling the temperature so the glue sticks without harming the paint.
Wipe the area with a lint-free cloth and mild detergent, then dry thoroughly.
Make certain the room and wall are at moderate temperature (about 60–75°F/15–24°C) to prevent thermal shock or poor adhesion.
Remove dust, grease, and loose paint before gluing.
Step 4 Apply minimal glue and avoid prolonged contact
When you’re ready to glue, squeeze only tiny dots or thin lines of hot glue so the adhesive bonds without soaking or lifting the paint; keep each contact brief and press your item into place immediately to avoid dragging a warm bead across the finish.
Work quickly, let glue cool undisturbed, and avoid piling glue or long contact that softens paint.
Step 5 Safe removal techniques (heat, freezing, solvents)
You can remove most hot-glue residues from painted walls without damaging the finish by using controlled heat, cold, or mild solvents—choose the gentlest method that suits your paint type and test it in an inconspicuous spot first.
- Use low heat to soften glue, peel gently.
- Freeze with an ice pack to chip off.
- Dab mild solvent sparingly; rinse.
- Sand lightly only as last resort.
Safer Alternatives to Hot Glue for Hanging and Mounting
If you want to avoid hot glue altogether, try removable adhesive hooks and strips for most hanging jobs or painter’s tape and mounting putty for very lightweight items.
For craft projects, low-temperature glue sticks and craft glues are gentler on paint, while picture hanging hardware and wall anchors give secure support for heavier pieces.
You can also use Velcro strips or magnetic solutions for items you need to remove and reattach frequently.
Removable adhesive hooks and strips (e.g., Command)
Looking for a damage-free way to hang things? You can use removable adhesive hooks and strips that hold frames, keys, and decor without peeling paint when removed properly. They distribute weight, peel cleanly, and come in rated strengths. Check compatibility with your paint finish and follow removal directions.
| Item | Weight | Best use |
|---|---|---|
| Small hook | 1–2 lbs | Keys |
| Medium strip | 3–5 lbs | Frames |
| Large hook | 7–10 lbs | Coats |
Painter’s tape and mounting putty for lightweight items
Want a quick, low-risk way to hang lightweight items without risking paint damage? Use painter’s tape for temporary paper or lightweight decorations; it peels off cleanly when removed promptly.
For small photos, posters, or lightweight ornaments, press mounting putty into corners to secure edges without nails or glue. Both methods leave minimal residue and let you reposition items easily.
Low-temperature glue sticks and craft glues
Painter’s tape and mounting putty work great for lightweight, short-term hanging, but tougher or longer-lasting jobs call for stronger adhesives that still protect your paint.
You can use low-temperature glue sticks or craft glues; they bond gently without scorching finishes. Test a small, hidden spot first, apply sparingly, and peel slowly—these glues reduce heat risk and often release cleaner than high-temp hot glue.
Picture hanging hardware and wall anchors for heavier items
If you need to hang heavier frames or shelves, use proper picture-hanging hardware and wall anchors instead of hot glue—they’ll hold far more weight and won’t risk peeling paint.
Choose hooks, D-rings, or French cleats matched to weight. For drywall, pick toggle bolts or molly anchors; for studs, use wood screws.
Install level and secure to distribute load evenly.
Velcro strips and magnetic solutions
When you need a damage-free way to hang lightweight items, Velcro strips and magnetic mounts give you a strong, removable option that won’t peel paint like hot glue can.
You’ll enjoy easy adjustments and clean removal.
- Confidence: secure hold without fear
- Relief: no paint tears
- Joy: simple repositioning
- Pride: neat, professional look
Comparison: Hot Glue vs. Common Alternatives
When you’re choosing between hot glue and other options, weigh adhesion strength and how much weight each will hold.
Think about the risk to your paint and how easily the adhesive can be removed without damage.
Also compare cost, convenience, and which choice fits your specific use case.
Adhesion strength and load capacity
While hot glue bonds quickly and works well for lightweight decorations and crafts, it can’t match the shear and tensile strength of many common alternatives; you’ll find that epoxy, construction adhesive, and heavy-duty double-sided tape typically hold heavier loads and resist peel forces better on painted walls.
| Adhesive | Typical load |
|---|---|
| Hot glue | Light |
| Epoxy/Construction | Heavy |
Risk of paint damage and removability
Although hot glue peels away faster and with less solvent than many adhesives, it can still lift or mar paint—especially newer, poorly cured, or latex-based finishes—when you pull it off or pry it loose. You should test first; heat, slow peeling, or citrus solvent reduce risk.
| Adhesive | Damage Risk | Removability |
|---|---|---|
| Hot glue | Medium | Peel/solvent |
| Double-sided tape | High | Solvent/heat |
| Command strips | Low | Pull tab |
Cost, convenience, and suitability by use case
Because hot glue melts fast and sticks instantly, it often wins on speed and low upfront cost for quick craft or temporary fixes.
However, you should weigh that against its limitations: bond strength on smooth or painted surfaces can be inconsistent, removal risks paint damage, and it’s not formulated for long-term structural loads.
You’ll prefer hot glue for crafts, double-sided tape for lightweight decor, and construction adhesive or screws for permanent, heavy-duty needs.
Mistakes to Avoid When Using Any Adhesive on Painted Walls
Before you stick anything, test the adhesive on a hidden patch so you know how the paint reacts.
Don’t use excessive heat or huge glue blobs, and avoid yanking adhesive off quickly or at a sharp angle.
Always follow the manufacturer’s instructions and respect weight limits to prevent paint damage.
Applying adhesive to untested areas
Ever wondered what can go wrong when you skip testing adhesives first? If you apply glue without testing, you risk peeling paint, staining, or chemical reactions that weaken finishes.
Always try adhesives on an inconspicuous scrap or hidden corner, wait for full cure, then inspect. That simple test prevents costly damage and helps you choose a safer product for your painted walls.
Using high heat or large glue blobs
When you squeeze out huge globs of hot glue or hold the gun on a high setting, you’re more likely to scorch paint, create thick ridges that don’t adhere well, or leave lumpy spots that peel later.
Use low temperature and small dots or lines instead, pressing gently for brief contact. That gives cleaner bond, less surface stress, and easier removal without gouging paint.
Pulling adhesive off quickly or at the wrong angle
If you yank tape, adhesive strips, or a hot-glue blob off too fast or pull at a sharp angle, you’ll lift paint or leave chunks behind.
To remove adhesives safely, peel slowly and close to the wall surface, supporting the paint with your other hand.
Warm stubborn spots slightly, use a plastic scraper, and work gradually to minimize tearing or blistering.
Ignoring manufacturer instructions and weight limits
Peeling carefully helps protect paint, but that’s only part of the story — you also need to follow the adhesive maker’s instructions and respect weight limits.
If you ignore guidance, you risk overload, falls, and paint damage. Check recommended substrates, temperature ranges, cure times, and max load.
When in doubt, choose a stronger mounting method or distribute weight across multiple anchors to protect finishes.
Prevention and Best Practices for Protecting Painted Walls
Before you glue anything, test a small hidden spot and clean the surface so the adhesive sticks where you want it.
Pick an adhesive suited to your paint and wall material, and plan a safe removal method to avoid peeling.
If you do get minor damage, you can often fix it with spackle and touch-up paint.
Prepping and testing surfaces before use
When you’re getting ready to use hot glue on painted walls, take a few minutes to prep and test the surface so you won’t be surprised by peeling or stains later.
Clean with mild soap, rinse, and dry.
Test a small, inconspicuous patch with a dab of glue, let it cool, then check for finish damage or residue.
Wait 24 hours before full application.
Choosing the right adhesive for the job and wall type
Although hot glue works for lightweight crafts, you’ll want a different adhesive for heavier items or delicate finishes; match the glue type to the wall material and the load it must bear.
Use removable picture hooks or command strips for painted drywall, construction adhesive for masonry, and low-VOC, paint-safe adhesives for trim.
Test in an inconspicuous spot first to confirm bond and finish compatibility.
Safe removal methods to minimize damage
Picking the right adhesive is only half the job — you also need a removal plan that protects the paint underneath.
Work slowly: warm glue with a hairdryer to soften it, then peel gently at a low angle.
Use plastic scrapers and adhesive remover sparingly, testing hidden spots first.
Clean residue with mild soap and water, avoiding harsh chemicals that strip paint.
Repair tips for minor damage (touch-up painting, spackle)
If you find small gouges or paint lifts after removing hot glue, you can quickly restore the finish with simple touch-up techniques and a bit of spackle.
Clean the area, apply lightweight spackle with a putty knife, sand smooth when dry, prime bare spots, then match and feather paint using a small brush or roller.
Work in thin layers for an invisible repair.
When to Call a Professional
If you notice peeling paint, large blisters, or crumbling drywall after hot-glue use, you’ll want to call a professional.
They can assess whether the damage is cosmetic or structural and recommend repair or full repainting.
A pro can match paint, repair underlying substrate, and guarantee the finish lasts.
Signs of extensive paint failure or wall damage
When paint peels in large sheets, crumbles to powder, or shows widespread bubbling and discoloration, you’re looking at more than a small touch-up — it’s a sign of extensive paint failure or underlying wall damage that likely needs professional assessment.
You should also watch for softened plaster, spreading stains from moisture, deep cracking, or structural movement; these indicate problems beyond simple surface fixes and need expert evaluation.
Professional repair and repainting options
Large-scale paint failure or structural damage is beyond most DIY fixes, so you’ll want to call a professional to assess the extent of deterioration and recommend repair and repainting options.
A contractor will evaluate substrate integrity, remove compromised paint, patch or replace damaged drywall, apply appropriate primers, and match finish coats.
They’ll also advise on timelines, warranties, and moisture mitigation to prevent recurrence.
Frequently Asked Questions (FAQ)
You probably have a few quick questions about glue and paint, like whether hot glue will peel new paint or if a hair dryer can lift glue safely.
You’ll also want to know about low-temp glue guns, which solvents won’t harm your finish, and how to repair small paint chips from glue.
Read on for concise answers and practical steps you can use right away.
Will hot glue peel off new paint?
Curious whether hot glue will lift fresh paint? If paint isn’t fully cured—typically under two weeks—hot glue can bond with and pull off soft paint when removed.
You should wait until the paint hardens, test an inconspicuous spot first, and avoid forcing the glue off.
For newly painted surfaces, patience and gentle testing prevent accidental peeling and finish damage.
Can I use a hair dryer to remove hot glue without damaging paint?
Wondering if a hair dryer can lift hot glue without harming painted walls? You can often soften glue with low, steady heat and gently peel it away using a plastic scraper or fingernail.
Keep the dryer moving, hold it several inches back, and test a hidden spot first. Avoid high heat and excessive scraping to prevent paint blistering or lifting.
Are there hot glue guns with safe temperature settings for walls?
Looking for a hot glue gun that won’t scorch paint? You can get low-temp models (around 250°F/120°C) designed for crafts and delicate surfaces.
Use a temperature-controlled gun and low-temp glue sticks, test on a hidden spot first, and keep contact brief.
Even then, avoid direct application on fresh or glossy paint to minimize peeling or shine changes.
What solvent removes hot glue without harming paint?
What solvent will lift hot glue without damaging your paint?
You can try isopropyl alcohol (70–90%) applied sparingly with a soft cloth; it softens glue without usually harming finished paint.
Test a hidden spot first.
For stubborn residue, try a citrus-based adhesive remover labeled safe for painted surfaces, again testing first.
Avoid acetone or lacquer thinner—those can strip paint.
How do I fix small paint chips caused by glue?
If a bit of glue has nicked the paint, you can usually repair small chips quickly with basic touch-up steps: clean the area, sand lightly, apply primer if bare, then feather on matching paint with a small brush.
Let layers dry between coats, blend edges, and finish with a light scuff or clear coat if needed. Patience guarantees an invisible repair.
