
How to Clean Exterior Walls Before Painting Properly
You’ll start by defining your paint goal and identifying the wall material, then protect yourself with gloves, eye protection, and a mask. Rinse loose dirt, scrub mildew and chalk with mild detergent or TSP substitute, and use a pressure washer carefully on softer siding. Scrape or strip flaking paint, sand and feather edges smooth, spot-prime repaired areas, and confirm surfaces are fully dry and tack-free before painting; continue for step-by-step prep, safety, and timing tips.
Decide Your Paint Goal and Identify Wall Material
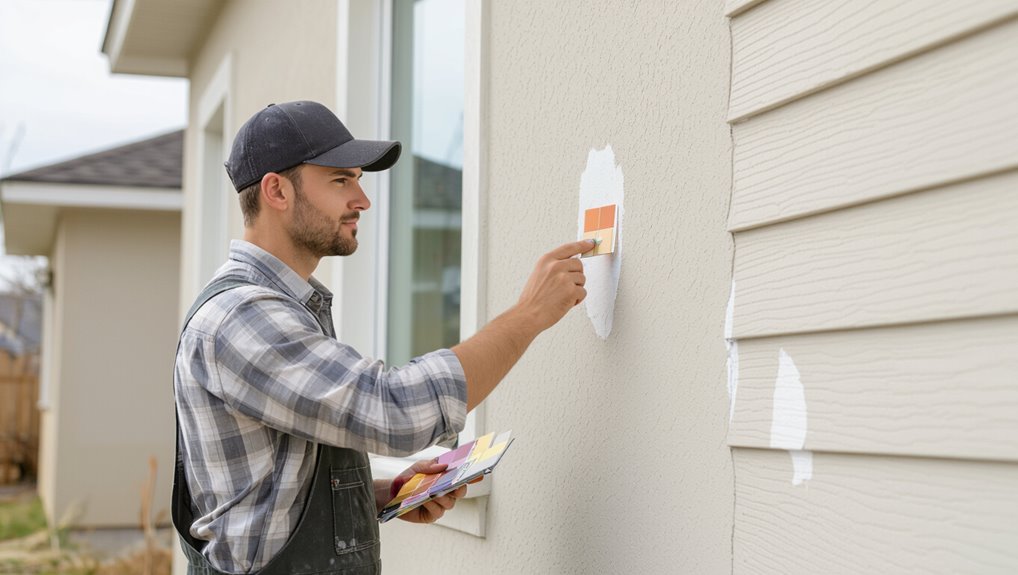
Start by deciding what you want the finished paint job to achieve—durability, improved curb appeal, or just a color refresh—and then identify the wall material (wood, brick, stucco, vinyl, or fiber cement).
You’ll match paint types to each substrate and note wall textures that affect adhesion.
Pick primers and finishes suited to moisture, porosity, and the existing surface for lasting results.
Test for Lead Paint and Asbestos : When to Call a Pro
If your house was built before 1978 you should suspect lead paint and take precautions before scraping or sanding.
Look for brittle, crumbling siding, old textured finishes, or insulation and ceiling materials that could contain asbestos, and don’t disturb anything that looks degraded.
If you see these signs or want reliable testing, hire a certified inspector to sample and guide safe removal.
When To Suspect Lead
When your home was built before 1978 or you see chalky, peeling, or disturbed layers of paint, assume lead could be present and take precautions before sanding, scraping, or pressure washing.
If you notice deteriorated paint, children’s handprints, or renovation dust, limit access, avoid dry sanding, and test with a certified kit.
Reduce lead exposure and treat paint hazards seriously; hire a pro if unsure.
Recognizing Asbestos Signs
Lead paint and asbestos often coexist in older homes, so after suspecting lead you should also consider asbestos before scraping or pressure washing. You’ll watch for brittle insulation, crumbly siding, or textured coatings. Don’t disturb suspect materials; use visual asbestos identification cues and call a pro for testing. If confirmed, plan licensed asbestos removal to protect yourself and your crew.
| Sign | Location | Action |
|---|---|---|
| Brittle insulation | Attic/ducts | Don’t touch |
| Crumbly siding | Exterior | Test first |
| Textured coating | Walls/ceilings | Hire removal |
Hiring A Certified Inspector
Because testing for hazardous materials requires specialized training and equipment, you should hire a certified inspector before scraping, sanding, or pressure washing suspect surfaces.
You’ll verify inspector qualifications, licensing, and insurance, and request an inspection checklist detailing sampling methods and reporting.
A pro reduces exposure risk, tells you whether containment or abatement’s needed, and gives clear next steps so you can clean or paint safely.
Use Proper Safety Gear and Precautions
Before you start scrubbing or sanding, put on proper safety gear and take basic precautions to protect yourself and others.
You’ll minimize risks by following simple precaution measures and staying aware of hazards.
- Wear gloves, eye protection, a dust mask, and non-slip shoes.
- Use ladders safely; have a spotter and secure footing.
- Keep children and pets away; ventilate enclosed areas.
Tools for Washing Exterior Walls (Pressure Washer, Cleaners, Brushes)
When you’re prepping exterior walls for paint, choosing the right tools makes the job faster and protects the surface: a pressure washer handles heavy grime, soft-bristled brushes and scrubbers tackle stubborn spots, and the right cleaners—mild detergent, TSP substitutes, or a mildew-specific solution—remove stains without damaging siding. Use proper cleaning techniques matched to wall materials.
| Tool | Use | Caution |
|---|---|---|
| Pressure washer | Heavy grime | Low pressure on soft siding |
| Brush | Spot cleaning | Avoid abrasive scrubs |
| Cleaner | Stain removal | Match to material |
When to Clean vs. Strip Old Paint
Before you decide whether to clean or strip, check how well the existing paint is sticking — loose or flaking areas usually mean stripping is needed.
Consider lead-paint risk, especially on homes built before 1978, and plan safe testing or abatement if there’s a chance.
Also inspect for rot, blistering, or deep damage that cleaning won’t fix and will require repair or full removal.
Assess Paint Adhesion
If paint flakes, bubbles, or peels away under light pressure, you need to decide whether to clean and prime or strip down to bare substrate.
You’ll test adhesion, then choose appropriate paint adhesion techniques and surface preparation methods.
- Probe several spots with a scraper.
- Sand marginally bonded areas and retest.
- Strip or chemically remove where adhesion fails consistently.
Check Lead Paint Risk
After testing adhesion and deciding whether to clean or strip, check for lead paint before you begin work on older surfaces.
If the house predates 1978, use a certified test kit or pros to confirm.
If lead is present, follow local safety regulations, limit dust, and avoid dry scraping to reduce lead exposure.
Hire licensed abatement when required.
Evaluate Surface Damage
Start by evaluating how much the existing paint and substrate are compromised so you can decide whether to clean or fully strip the surface.
Do a thorough surface inspection and damage assessment:
- Scrape loose paint; test adhesion and depth of rot.
- Probe for soft substrate, widespread blistering, or multiple failures.
- If issues are localized, clean and spot-prime; if extensive, strip to sound material.
Pre-Rinse, Soap Wash, and Pressure-Wash Technique
When you’re prepping exterior walls for painting, begin with a systematic three-step wash: a quick pre-rinse to loosen dirt, a targeted soap scrub to remove oils and mildew, then a pressure-wash to rinse away residue and expose any areas that need repair.
Use appropriate cleaning techniques and gentle detergents for effective wall preparation. Rinse thoroughly, work top-to-bottom, and let surfaces dry completely before inspecting.
Remove Mildew, Algae, and Tough Stains Effectively
Tackle mildew, algae, and stubborn stains with a focused cleaning solution and the right tools to protect your paint job; you’ll want to kill and lift biological growth rather than just smear it around.
Follow steps for safe mildew removal and algae treatment:
- Apply a bleach-based or oxygen cleaner, let sit 10–15 minutes.
- Scrub with a stiff brush.
- Rinse thoroughly and let dry.
Fix Chalking, Peeling, and Flaking Paint Before Repainting
After removing mildew and stubborn stains, inspect the surface for chalking, peeling, or flaking paint—these problems will keep new paint from adhering and must be corrected.
Use a stiff brush and detergent to remove chalk residue, applying chalking remedies as needed.
For loose paint, lift and clear all failing material, then apply appropriate primers and peeling solutions to stabilize edges before repainting.
Sand, Scrape, and Feather Edges for a Smooth Base
Start by scraping and sanding to remove any loose paint so your new coat will adhere properly.
Smooth rough edges with medium-grit sandpaper, then feather changes with finer grit to blend old and bare surfaces.
Take your time on these steps—properly prepared edges make the finish look professional.
Remove Loose Paint
Scrape and sand away any flaking or peeling paint until only firmly adhered coatings remain; this gives you a stable surface for new paint to grab onto.
Focus on paint scraping and surface preparation to prevent future peeling. Use tools and technique to remove loose material cleanly.
- Scrape with a stiff blade.
- Sand edges lightly.
- Vacuum and wipe dust.
Smooth Rough Edges
Once you’ve removed all loose paint, smooth any remaining edges so the new coat will lay flat and hide repairs.
Use a scraper, medium-grit sandpaper, and a sanding block to level raised areas. Apply gentle pressure and work with the grain.
Employ smoothing techniques to remove ridges, then wipe dust away.
Inspect edge finishing for uniformity before priming and painting.
Blend Feathered Transitions
Before you prime, blend any feathered edges so the repair disappears under the new coat: sand with medium-grit paper, scrape lightly where needed, and feather the perimeter until shifts are smooth and level with the surrounding surface.
- Use feathering techniques to soften seams.
- Match texture, then focus on blending colors at overlap.
- Wipe dust, inspect in daylight, and touch up before priming.
Prime and Spot-Treat Repaired Areas for Adhesion
Prime repaired patches with a compatible primer and spot-treat seams to guarantee the paint will bond evenly; this prevents flashiness and peeling that often shows where repairs meet intact siding.
After sanding and cleaning, you’ll apply primer to patched areas, use targeted sealant on gaps, and follow repair techniques that improve paint adhesion so the finish looks seamless and lasts longer.
Final Inspection Checklist and Drying Times Before Painting
After your patched and primed areas have fully cured, do a systematic final inspection so you catch any missed debris, poor feathering, or tacky spots that could ruin the finish.
Check surface readiness and note drying times, weather, and humidity before painting.
- Verify adhesion and smooth feathering.
- Confirm no residual contaminants.
- Ascertain manufacturer drying times and ideal conditions.
Frequently Asked Questions
Can I Wash Exterior Walls in Freezing or Near-Freezing Temperatures?
You shouldn’t wash exterior walls in freezing or near-freezing temperatures. You’ll risk ice, surface damage, and ineffective cleaning; follow temperature considerations and gentle cleaning techniques, waiting for above-freezing, dry conditions to guarantee safe, effective results.
How Long After Heavy Rain Should I Wait to Clean Walls?
I’d wait 24–72 hours after heavy rain before cleaning walls. I once delayed like a gardener after storms, and weather considerations plus wall materials determine drying; porous surfaces need longer, nonporous ones dry faster.
Will Cleaning Remove Graffiti or Permanent Markers?
Yes, you can often remove graffiti and marker stains, but results vary; you’ll need suitable graffiti removal solvents, scrubbing, pressure washing, or repainting for permanent marker, and you might hire pros for stubborn or large areas.
How Do I Protect Nearby Plants During Exterior Washing?
About 75% of plant damage from pressure washing comes from chemical exposure; you’ll protect plants by covering them with tarps, rinsing gently, using plant-safe detergents, and positioning runoff away—combine these washing techniques and plant protection measures.
Can I Use Household Bleach Instead of Specialty Cleaners?
You can use household bleach cautiously, but bleach alternatives often reduce plant and surface damage; prioritize cleaning safety, wear protective gear, dilute correctly, rinse thoroughly, and test a small area before treating large exterior walls to avoid harm.
Conclusion
You’ve prepared the tough and the tender—scraped stubborn flakes and rinsed away soft grime—so your walls can wear fresh color like armor and invitation. You’ll move from gritty repair to smooth primer, from cautious testing to confident brushstrokes, alternating effort with patience, elbow grease with drying time. Trust the process, keep safety first, and admire how clean surfaces turn hard work into a new beginning; then pick up the paint and start.
