How to Paint a Fake Brick Wall for a Realistic Look
You can make a fake brick wall look real by prepping a smooth, clean base, priming it, and taping out brick courses to scale. Paint a consistent base color, then layer darker glaze in mortar lines and use sponges, stippling brushes, and dry-brushing to add texture, chips, and color variation. Feather stains and highlight edges for depth, then seal with a matte or satin acrylic. Keep going to pick up tips on pattern, weathering, and fixes.
What a Faux Brick Wall Can Do for Your Room
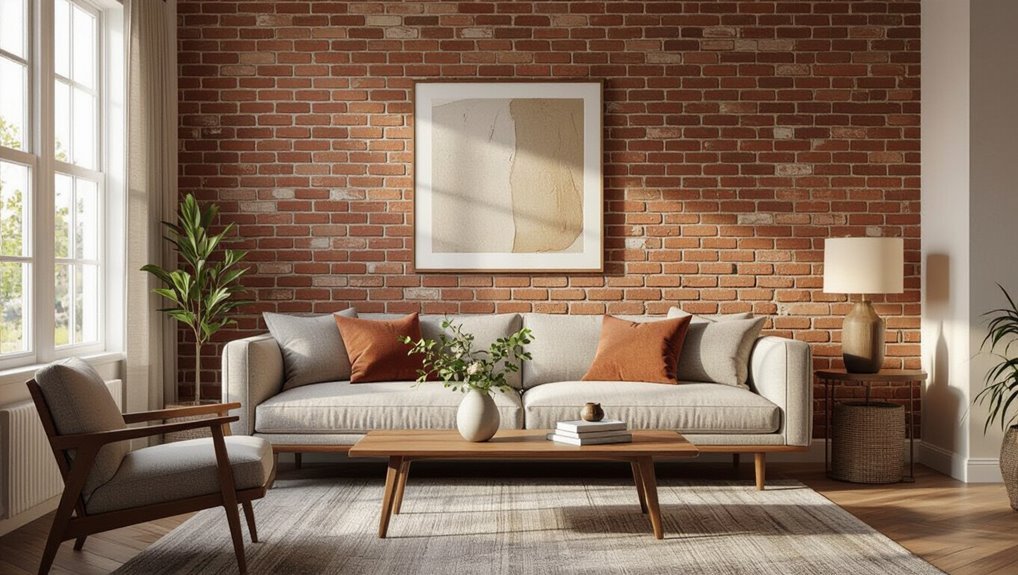
A faux brick wall can instantly change a room’s mood, giving you the warmth and texture of real brick without the mess or cost.
You’ll get visual depth, a focal point for furniture and art, and a versatile backdrop that suits industrial, rustic, or modern styles.
You’ll enjoy faux aesthetics that elevate lighting and color, enabling a focused room transformation that feels intentional and affordable.
Choose the Best Base Surface for a Faux Brick Wall
Now that you know the visual impact a faux brick wall can bring, pick the right base surface to secure your finish looks realistic and lasts.
Consider base surface options like drywall, plaster, concrete, or plywood — each accepts paint differently.
Inspect for damage, clean, sand, and prime; thorough surface preparation secures adhesion and longevity so your faux brick stays convincing.
Tools and Materials for a Faux Brick Wall
Start with the essentials you’ll rely on most: quality brushes and rollers, a versatile paint tray, painter’s tape, drop cloths, and a selection of paints and glazes in your chosen brick and mortar tones.
You’ll also want sponges, stippling brushes, a grout float or sculpting tool, mixing cups, and rags.
These tools support faux brick decorative techniques and clean, controlled application.
Plan Brick Size, Pattern, and Focal Area
Decide on brick size first—larger bricks give a rustic look while smaller ones read as more traditional.
Sketch a pattern on paper or tape a few courses on the wall to see how the scale works in the room.
Place your focal area where eyes naturally land, like around a fireplace or TV, and let the pattern simplify toward the edges.
Brick Size Options
Choose the brick size and pattern before you mix paint or tape off a single course, because the scale you pick will determine the overall look and how many bricks you’ll need to mask and shade.
You’ll base choices on brick dimensions and aesthetic preferences; smaller bricks read busy, larger ones feel bold.
Consider these options:
- Standard modular
- Thin veneer
- Oversized format
- Herringbone tiles
- Stacked bond
Focal Area Placement
Once you’ve settled on brick size and pattern, pick where the eye should land before you tape or paint—your focal area will guide how you scale, shade, and arrange courses.
Choose a focal point like a fireplace, artwork, or behind furniture. Emphasize it with slightly larger bricks, richer mortar contrast, and deeper shading to create visual interest while keeping surrounding courses subtler for balance.
Prep Your Wall: Clean, Patch, and Prime
Before you start painting, clean the wall thoroughly, patch any holes or cracks, and apply a primer so the faux brick will adhere evenly and look authentic.
You’ll use effective cleaning techniques, choose priming options for porous or glossy surfaces, and guarantee a smooth base for texture and paint.
- Remove dust and grease
- Fill cracks and sand smooth
- Wash and rinse
- Choose oil or latex primer
- Tape edges and protect floors
Mix Brick Paint Colors (Sample Mixes Included)
With your wall prepped and primed, it’s time to mix paint that will give your faux brick believable color and depth.
Start with a warm base—red, brown, and a touch of ochre—then create two or three variations by adding gray, black, or cream.
Use color blending to add subtle shifts; plan for texture contrast by saving darker mixes for recessed mortar areas.
Create Brick Shapes: Stencils, Tape, and Grids
You’ll pick a stencil size and pattern that matches the brick look you want, from narrow subway tiles to wider, rustic blocks.
Use painter’s tape to build a grid when you need straight rows, and try a removable stencil for repeating patterns.
Measure and mark consistent spacing before you paint so your faux bricks line up evenly.
Stencil Patterns And Sizes
Choose the method that matches your skill, time, and the look you want: pre-cut stencils for speed and uniformity, painter’s tape grids for crisp, custom layouts, or hand-drawn grids when you want a more rustic, imperfect brick appearance.
Pick stencil types and pattern variations to control size, spacing, and mortar lines.
- Full brick stencil
- Half brick stencil
- Modular sizes
- Randomized patterns
- Narrow joints
Tape Grid Techniques
Three basic approaches will get you crisp, consistent brick shapes: stencils, tape grids, or freehand lines.
For tape grid techniques, mark horizontal and vertical courses, then use careful tape application to create mortar lines. Press edges firmly to prevent bleed.
Check grid alignment as you go, peeling and repositioning short sections for straight, repeatable rows that make your faux brick look convincing.
Measuring And Spacing Tips
When laying out your brick pattern, measure twice and mark once so your courses stay even and the stagger aligns across the wall.
Use precise measuring techniques and clear spacing guidelines so bricks look consistent.
Mark horizontal courses, set vertical spacing, test a full row, adjust stagger, and use a level.
- Use a tape measure
- Draw chalk lines
- Create a stencil
- Check level frequently
- Note mortar gap sizes
Apply Base Brick Color and Layer Highlights
Start by laying down a consistent base color for your bricks so you’ve got a unified foundation to work from.
Use color mixing to match desired tones, thinning paint for smooth coverage.
Once dry, add subtle highlights with a dry brush or glaze, applying highlight techniques sparingly to suggest wear and depth.
After drying, gently add highlights with a dry brush or glaze, using restraint to suggest subtle wear and depth.
Step back often to balance contrast and keep it believable.
Add Mortar Lines and Realistic Grout Texture
After your bricks look convincingly weathered, mark and paint the mortar lines to lock in the pattern and add depth; use a narrow brush or a masking guide to keep edges crisp and work in small sections so the grout looks consistent.
You’ll blend mortar texture with subtle shading and use careful grout application for realism.
- Use a straightedge
- Thin paint for seepage
- Vary joint width
- Dab for texture
- Clean edges promptly
Sponge and Dry-Brush for Depth and Weathering
Now you’ll use a sponge to layer subtle color variations, tapping on darker and lighter tones to build irregularity and age.
Then dry-brush over raised areas with a nearly dry brush to lift highlights and suggest worn edges.
Together these techniques create depth and believable weathering on your faux bricks.
Sponge Layering Technique
Layer a sponge and a dry brush to build realistic texture and subtle weathering on your faux brick wall; the sponge applies irregular mid-tones and highlights while the dry brush scuffs edges and lifts color for depth.
You’ll use sponge color mixing for natural shifts and texture variation to avoid flatness.
- Dab irregularly
- Vary pressure
- Blend wet into dry
- Work in layers
- Step back often
Dry-Brush Weathering
Pull a dry brush across the raised brick faces to scuff and lift pigment, creating the worn highlights and soft edge weathering that convinces the eye your faux brick has history.
Use dry brush techniques sparingly: tap off excess, stroke lightly along edges and mortar, and vary pressure.
Combine with subtle sponge tones for layered weathering effects that add age, depth, and believable imperfection.
Add Chips, Stains, and Color Variation for Realism
Because perfectly uniform bricks read as fake, you’ll want to introduce chips, stains, and subtle color shifts to sell the illusion.
Use texture techniques and careful color blending to add age and depth. Chip edges with a stiff brush, sponge thin stains, dry-brush highlights, dab moss tones, and vary mortar hues.
- Stipple chips
- Thin wash stains
- Dry-brush highlights
- Moss dab accents
- Mortar variation
Which Sealer to Use and How to Apply It
When you’re satisfied with the paint and weathering, choose a sealer that matches the finish you want and the surface you’ll be sealing: use a matte or satin acrylic clear coat for indoor faux brick to preserve texture without shine, and opt for a durable exterior polyurethane or spar urethane if the wall faces moisture or heavy wear.
Select sealer types carefully, test on a scrap, then apply thin even coats using a brush, roller, or spray.
Common Mistakes and How to Fix Them Fast
You’ll run into two common issues: uneven mortar lines and blotchy brick color.
For uneven lines, use a small artist’s brush or a grout pencil to redefine edges and wipe away excess quickly.
If bricks look splotchy, feather new color with a damp sponge or blend with a thin glaze to even the tone.
Uneven Mortar Lines
If your mortar lines look wobbly or inconsistent, it usually comes down to uneven pressure or misaligned guides during stenciling or taping.
You can fix uneven texture and get consistent mortar color by re-taping, scraping excess, and feathering edges.
Quick steps:
- Re-align stencil guides
- Apply even pressure
- Scrape raised ridges
- Feather with a damp brush
- Touch up with matching mortar color
Blotchy Brick Color
Uneven mortar lines are often an easy fix, but blotchy brick color can make the whole wall look amateurish if you don’t address it quickly.
To fix blotchy texture, work while paint’s wet, feather edges with a damp sponge, and layer thin glazes.
Practice color blending on scrap board, adjust tones gradually, and step back frequently to guarantee consistent, natural-looking bricks.
Maintenance, Touch-Ups, Time, and Cost Estimates
Maintenance for a fake brick wall is straightforward and won’t eat up much time: you’ll do periodic dusting, occasional spot-cleaning of scuffs, and minor touch-ups to paint or sealant every few years depending on wear.
Do routine inspections and learn touch up techniques to stay ahead of fading.
Do routine inspections and learn simple touch-up techniques to prevent fading and keep your faux brick looking fresh.
- Inspect yearly
- Clean spills promptly
- Use matching paint
- Re-seal every 3–5 years
- Budget: $20–$200
Frequently Asked Questions
Can I Paint Faux Brick Over Wallpaper Without Removing It?
Yes — you can sometimes paint faux brick over wallpaper, but wallpaper durability affects paint adhesion. If wallpaper’s secure, clean, sand, prime with a bonding primer, and use proper masonry-style paints for best, lasting results.
Will Faux Brick Painting Work on Exterior Surfaces?
Yes — you can use faux brick painting outdoors if you choose durable materials; you’ll prioritize faux brick durability and exterior paint compatibility, sealing surfaces with weatherproof primers and topcoats so the finish withstands moisture, UV, and temperature changes.
Can I Use Spray Paint for Faster Faux Brick Application?
Yes—you can use spray paint for faster faux brick application; coincidentally, spray paint techniques speed coverage and blend textures, and you’ll enjoy faux brick advantages like quicker layering, uniform mist, and easier weatherproofing on many surfaces.
How Do I Match Faux Brick to Existing Real Brick Outdoors?
You match faux brick to existing real brick outdoors by using color blending techniques and texture matching tips: sample outdoors, layer washes and dry-brushing, add mortar tint, replicate weathering, and adjust tones until shifts look seamless from different angles.
Are There Eco-Friendly or Low-Voc Paint Options for Faux Brick?
Yes — you can use eco friendly options and low VOC paints for faux brick; you’ll choose water‑based acrylics or mineral‑based lime paints, apply breathable primers, and seal with low‑odor, low VOC clear coats for durability.
Conclusion
You’ve got everything to turn a flat wall into a convincing faux brick focal point that’ll anchor your room like a well-worn storybook. Tackle prep, choose the right base and colors, add chips and stains for character, seal for durability, and expect quick fixes along the way. With patience and a few smart tools, your painted brick will age beautifully—ready to warm the space and steal the show.