
How to Paint a Skimmed Wall for a Smooth, Professional Result
You’ll get a salon‑smooth finish by prepping, priming and painting skimmed walls methodically. Clean and repair, sand trowel marks and fill pinholes, then remove dust. Use a plaster‑specific primer to seal porosity and improve adhesion, let it cure fully, and pick a quality acrylic or low‑VOC paint. Roll with a 10–12mm nap and cut in neatly, keeping a wet edge. Follow touch‑up and tool‑care steps below to finish like a pro and learn practical tips.
Quick Answer: Get a Salon‑Smooth Skimmed Wall
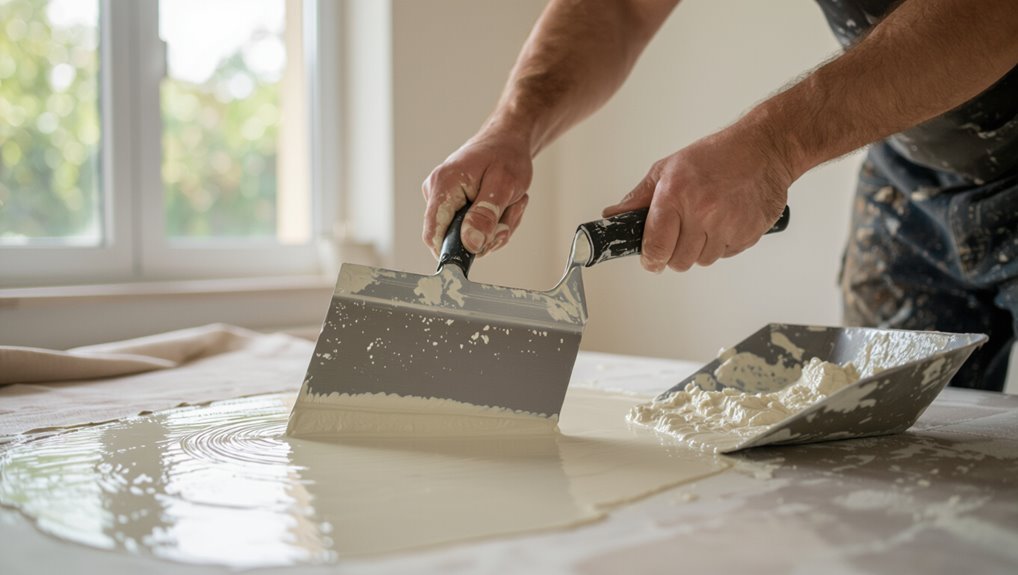
Want a salon-smooth skimmed wall fast? You’ll follow focused skimming techniques and thorough wall preparation: clean, repair cracks, and remove loose paint.
Apply thin, even coats of joint compound, feather edges, and sand lightly between passes. Use a wide trowel for consistent pressure, work top-to-bottom, and finish with a fine sand before priming so paint lays perfectly.
Overview: What This Guide Covers and Who It’s For
This guide is for DIYers and trade painters who want a smooth, professional finish on newly skimmed walls.
You’ll get a clear step‑by‑step on preparation, priming, paint choice, and application techniques plus troubleshooting tips.
Basic painting skills and attention to detail are all you need to follow it safely and successfully.
Who This Guide Serves
If you’ve just skimmed a wall or are planning to, this guide walks you through painting it so the finish looks professional and lasts—no prior pro experience required.
You’ll get clear, practical painting techniques and wall preparation tips. This guide suits DIYers, new painters, landlords, and renovators who want reliable, step-by-step instruction to achieve consistent, long-lasting results without wasted time or materials.
What The Guide Covers
You’ll get a clear, step-by-step roadmap covering surface inspection, patching and sanding, priming, paint selection, brushing and rolling techniques, and final touch-ups so your skimmed wall looks smooth and uniform.
You’ll learn skimming techniques, how to judge paint consistency, tools, timing, and common fixes so you can achieve professional results.
- Surface prep
- Priming tips
- Paint choice
- Application methods
- Final inspection
Required Skill Level
Assess your comfort level before you start: painting a skimmed wall sits between basic DIY and intermediate skill, so you should be comfortable with prepping surfaces, using a roller and brush, and doing light sanding and patching.
Do a quick skill assessment: if you know basic painting techniques and can follow steps precisely, you’ll handle this project. Otherwise, consider practice or help.
Inspect Fresh Skim Coats for Defects and Dryness
Once the skim coat feels firm, you should scan the surface for trowel marks or ridges that’ll show through paint.
Don’t start painting until the plaster is completely dry—check by touching and noting any color change or damp patches.
If you find marks or damp areas, sand or spot-fill and wait longer before priming.
Check For Trowel Marks
1 quick sweep of the wall after the skim coat sets will show whether any trowel marks or ridges need attention; run your hand gently and look from different angles to spot shallow lines, ridges, or shiny spots that indicate uneven compound or under-sanded areas.
Use trowel techniques and a careful wall inspection to mark defects for repair.
- Feel for ridges
- Check sheen
- Note lines
- Mark spots
- Smooth shallow defects
Confirm Complete Dryness
Before you paint, make sure the skim coat is completely dry by checking both surface and depth—touch the wall, look for color changes, and press a strip of clear tape to catch any tackiness; if the compound feels cool, damp, or darker where it’s thick, it needs more drying time. Use drying techniques and moisture testing to avoid sealing in dampness.
| Test | Result |
|---|---|
| Touch | Dry/tacky |
| Tape | Pulls residue |
| Color | Dark spots |
| Temp | Cool areas |
| Meter | % readout |
When to Wait: Curing Times for Skimmed Plaster
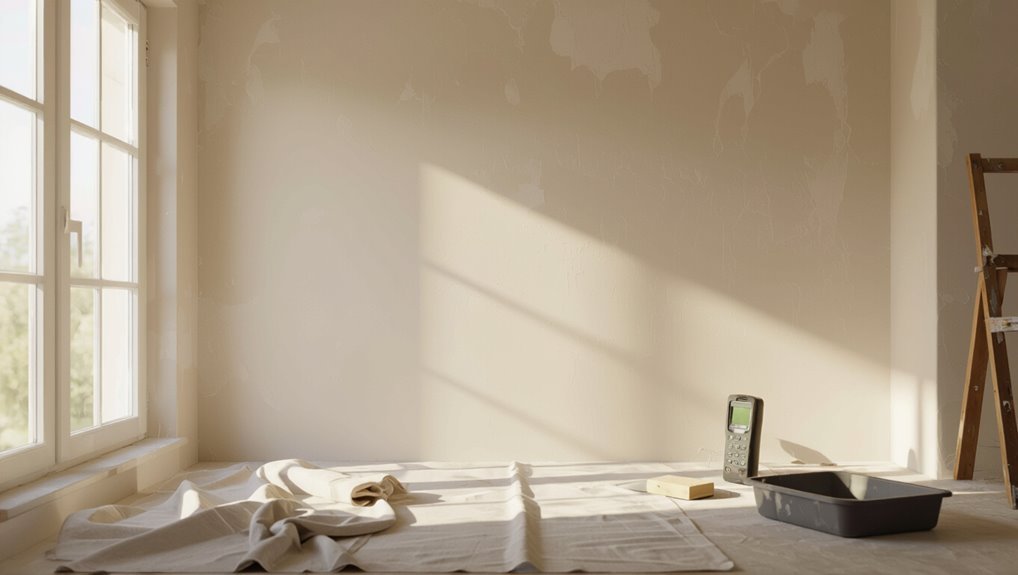
Although the skim coat may look dry within a day, you should wait the proper curing time before painting to avoid adhesion problems and surface cracks.
You’ll monitor curing duration and account for drying factors like humidity, temperature, coat thickness, ventilation, and substrate moisture.
Wait at least 7–14 days for standard thin coats; longer for thicker applications.
- Humidity
- Temperature
- Coat thickness
- Ventilation
- Substrate moisture
Tools and Materials You’ll Need
Once your skim coat has cured properly, you’ll want the right gear on hand so the painting stage goes smoothly.
Gather quality brushes, rollers (suitable nap), trays, a pole, sanding blocks, filler and a dust sheet.
Include tack cloths and masking tape for surface preparation.
Match tools to paint types you’ll use, and keep clean water, cloths and a sturdy ladder nearby.
Choosing the Right Primer for Skimmed Walls
When you’re ready to paint, pick a primer formulated for new plaster or skimmed surfaces so it seals porosity, improves adhesion, and creates an even base for your topcoat.
You should compare primer types and follow recommended application techniques for consistency, drying time, and coverage.
- Sealant primers
- Acrylic primers
- Alkyd primers
- Water-based primers
- High-build primers
Best Paint Types and Finishes for a Smooth Look
Now you’ll pick the paint type that suits both the skimmed surface and the room’s use, with emulsions and water-based eggshells often the best bets.
Choose a finish—matte, eggshell, satin, or semi-gloss—based on how much light reflection and washability you need.
You can also consider specialty options like scrubbable formulations or stain-blocking paints for problem areas.
Best Paint Types
Choosing the right paint and finish is the single most important step to getting a truly smooth, skimmed wall—pick a high-quality paint formulated for interior plaster or drywall, and you’ll minimize brush marks, roller texture, and uneven sheen.
You should favor acrylic paints, low VOC paints, and eco friendly options for paint durability and color selection while avoiding heavy texture effects.
- Matte finishes
- Satin sheen
- Acrylic paints
- Low VOC paints
- Eco friendly options
Ideal Finish Selection
Want the smoothest possible look? You’ll pick finish types that hide imperfections yet reflect light evenly. Matte and eggshell minimize texture; satin gives gentle sheen without exaggerating flaws. Consider durability for traffic areas. Compare properties below to match room function and desired sheen levels.
| Finish | Best for |
|---|---|
| Matte | Low-reflective, hides flaws |
| Satin | Durable, subtle sheen |
Specialty Paint Options
After you’ve picked a general finish like matte or satin, consider specialty paints that enhance smoothness and hide remaining imperfections: low-VOC latex with higher solids lays down evenly, micro-fill or leveling formulations reduce brush and roller marks, and flat acrylic enamel offers a velvety surface that resists scuffing.
- specialty finishes for leveling
- micro-fill for texture
- high-solids latex
- flat acrylic enamel
- eco friendly options
Brushes and Rollers That Won’t Leave Marks
One simple rule will save you time: pick tools that lay paint evenly and release it smoothly—good brushes and rollers mean fewer brushstrokes, no roller marks, and a flatter finish on skimmed walls. Focus on roller selection and brush types that suit smooth surfaces; nap 6–12mm, synthetic filaments, and quality frames reduce texture.
| Tool | Nap | Use |
|---|---|---|
| Roller | 8mm | Smooth walls |
| Brush | Synthetic | Cut in cleanly |
| Frame | Sturdy | Even pressure |
Prep the Room: Protect Floors, Trim, and Fixtures
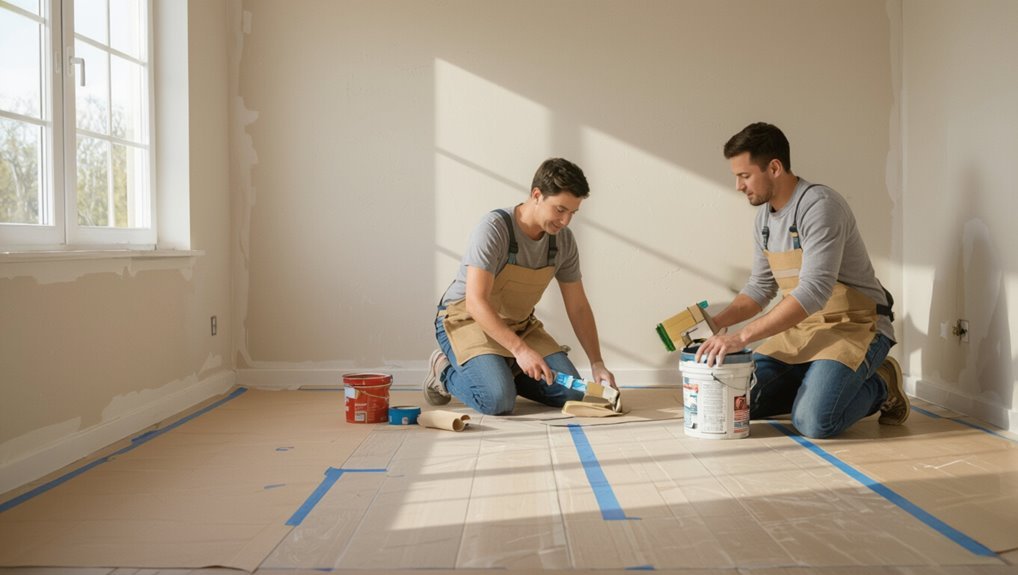
Before you open a tin, clear the room and cover everything you want to keep clean—floors, trim, light fittings, and furniture—so dust and stray paint won’t cause extra work.
Use tape, drop cloths, and plastic sheeting for floor protection and fixture shielding. Mask skirting, vents, sockets, and exposed trim. Secure edges to avoid paint bleed.
- Tape edges tightly
- Lay drop cloths
- Cover fixtures
- Remove small items
- Check seams
Surface Prep: Sanding, Filling Pinholes, and Dust Removal
With the room protected, get ready to smooth the skimmed surface so paint will stick and look even.
Use progressive sanding techniques—start with medium grit, finish with fine—to level trowel ridges.
Choose appropriate filler types for pinholes and shrinkage, apply thin, feathered layers, sand flush when dry.
Remove dust thoroughly with vacuum and tack cloth so the surface’s clean and ready for priming.
Apply Primer Evenly to Skimmed Plaster
Start by choosing a quality primer formulated for skimmed plaster and mix it thoroughly so pigments and solids are evenly distributed; you’ll get better adhesion and a uniform finish.
Use consistent primer application techniques, work in sections, and keep a wet edge for even coverage as part of skimmed wall preparation.
- Roll long strokes
- Cut in neatly
- Thin only if recommended
- Check sheen
- Allow full drying
Tinting, Coverage, and Hide for Skimmed Plaster
Once you’ve primed the skimmed plaster, you’ll want to get the tint right by testing small patches in the room light to guarantee a match.
Check the paint’s stated coverage per coat so you can plan how many coats you’ll need, especially over a new, absorbent skim finish.
Use proper technique and quality paint to achieve good hide without wasting product.
Tint Matching Tips
Wondering how to get a consistent color on skimmed plaster? Use careful tint selection and precise color matching to avoid patchiness.
Test small panels, view in different light, and record formulas. Prime first if needed to unify absorbency.
- Test samples on wall
- Compare in daylight and artificial light
- Note batch numbers
- Use same tint formula
- Prime uneven areas
Coverage Per Coat
Coverage per coat varies a lot with tint strength and the skimmed plaster’s porosity, so you’ll want to plan for lower spread rates than on smooth, primed walls.
Test a small area to gauge wet hide and absorption. Use consistent coverage techniques—thin, even passes with a loaded roller or brush.
Apply ideal layers based on tests rather than assumptions to avoid waste.
Achieving Good Hide
When you want a clean, even finish on skimmed plaster, focus first on tinting and test patches so you can judge true hide and absorption.
Skimmed surfaces often drink paint and show unevenness, so adjust tint strength and coat thickness based on trial results rather than assumptions. Use tinting to aid hiding imperfections and enhancing coverage.
- Test small areas
- Note soak-in rate
- Strengthen tint if needed
- Apply consistent coats
- Reassess before finishing
Cut In Clean Edges Without Visible Brush Strokes
Start by loading your angled sash brush lightly—dip only the tip into the paint and wipe the excess on the can’s lip—so you get a controlled, even bead that won’t drip or leave thick ridges.
Use steady, short strokes and blend outward before paint skins.
Practice brush techniques for edge precision, feathering the bristles to avoid strokes and maintaining a consistent paint load.
Roll Technique for Skimmed Walls: Avoid Lap Marks
Keep a wet edge and work in manageable sections so your roller always overlaps slightly into still-wet paint; this prevents lap marks on the subtle texture of a skimmed wall.
Always keep a wet edge and overlap into wet paint to avoid lap marks on skimmed walls.
Use the right roller choice for even coverage, apply consistent pressure, and follow a tested roll technique for lap mark prevention.
- Use 10–12mm nap
- Load evenly
- Maintain steady pressure
- Work quickly
- Back-roll lightly
Keep a Wet Edge and Work in Manageable Sections
Having the right roll technique down makes the next step easier: work in manageable sections and always maintain a wet edge so each pass blends into the last.
Start at a corner, paint a 3–4 foot area, then overlap slightly into the next section while paint is still damp.
Move steadily, keep consistent pressure, and feather edges to prevent lap marks.
How Many Coats to Apply and How to Judge Coverage
After the first coat dries, check for thin spots, roller marks, and any uneven sheen to assess coverage.
If you can still see the skimmed texture or previous color showing through, you’ll need another coat.
Use that assessment to decide whether two coats suffice or if a third is necessary for an even finish.
Assess Coverage After First Coat
Once you’ve rolled on the first coat, step back and scan the wall for evenness and opacity to judge whether a second coat is needed.
Use a systematic coverage evaluation and a quick coat inspection to spot thin areas, lap marks, or uneven sheen before paint dries.
- Check opacity under natural light
- Look for streaks and thin spots
- Inspect edges and corners
- Note texture differences
- Mark areas needing touch-up
Determine Total Coat Requirements
Decide how many coats you’ll need by combining paint type, wall porosity, and your inspection from the first coat: low‑VOC or high‑hide paints may cover in one, while porous or heavily skimmed surfaces usually need two or three.
Do a quick coat calculation: note thin spots, sheen differences, and tape test. Your layer assessment tells you whether to stop, touch up, or apply another full coat.
Common Mistakes That Ruin a Smooth Finish (And Fixes)
Even with a well-skimmed wall, small mistakes can undo hours of work, so you’ll want to know the usual culprits and how to fix them quickly.
Learn common pitfalls and quick remedies to keep finishes flawless. Address dust, uneven primer, poor drying, wrong tools, and temperature issues promptly.
- Dust left on surface
- Thin primer coat
- Paint applied too fast
- Wrong brush/roller
- Painting in extreme temps
Fixing Roller Stipple, Brush Marks, and Sheen Issues
When your freshly painted skimmed wall shows roller stipple, visible brush marks, or uneven sheen, you can usually correct it without redoing the whole job; assess the problem, pick the right tools and technique, and act while the paint’s still workable.
Lightly sand high spots, use a quality brush or nap suited to your roller technique, feather edges, and recoat to restore sheen balance.
Troubleshooting Color Variation and Patchy Coverage
If your wall shows blotches or uneven tone, start by checking the primer—thin or missed areas will make topcoat colors look patchy.
You should also watch your paint application for thin spots or too-light passes that leave streaks.
Fixing primer gaps and using consistent, well-loaded strokes will help you get even coverage.
Uneven Primer Coverage
Although primer’s job is to create a uniform base, you’ll sometimes see streaks, thin spots, or color variation after it dries; these signs point to application or surface issues that you can fix before topcoating.
Check for uneven texture and correct primer application:
- Sand glossy patches
- Clean dust or grease
- Apply thinner coats
- Use proper nap roller
- Allow full dry time
Patchy Paint Application
Once your primer looks even, you’ll want the topcoat to go on just as smoothly. However, patchy paint application can still cause color variation and blotchy coverage.
To fix patchy spots, keep a wet edge, use consistent pressure and overlap, and thin thick paint if needed.
Sand any uneven texture, apply another thin coat, and inspect under varied light to confirm uniform color.
When to Sand Between Coats : What Grit to Use
You should sand between coats whenever the previous layer leaves brush marks, dust nibs, or a slightly rough texture that could telegraph through the next coat.
Use gentle sanding techniques and follow grit recommendations: start with 220–240 for primer, 320–400 for finish, and light hand pressure.
- Remove nibs
- Smooth edges
- Even sheen
- Clean dust
- Light strokes
Finishing Touches: Trim, Touch‑Ups, and Blending Repairs
After the main coats have dried and been lightly sanded, it’s time to focus on trim, touch‑ups, and blending repairs so the skimmed wall looks seamless. Choose trim options that match sheen, use small brushes for touch up techniques, and feather edges to hide overlaps.
| Task | Tip |
|---|---|
| Trim | Match sheen |
| Touch‑ups | Feather edges |
Cleaning and Storing Tools for Future Touch‑Ups
Gather your brushes, rollers, trays, and scrapers and clean them right away so dried compound and paint don’t harden and ruin your tools.
Rinse, reshape bristles, and use appropriate solvents; tool maintenance prevents waste.
Dry completely, label and pack for easy access.
Consider simple storage solutions to keep tools ready for touch‑ups.
- Clean immediately
- Use correct solvent
- Dry fully
- Label sets
- Store upright
Estimated Time and Cost Checklist Per Wall/Room
With tools cleaned and stored, plan the time and cost for each wall or room so touch‑ups won’t become surprises.
List square footage, prep, primer, and paint needed. Add labor minutes per task to aid time management.
Include supplies, disposal, and contingency for mistakes for accurate cost estimation.
Tally totals per wall/room, set realistic schedules, and track actuals to refine future estimates.
When to Call a Pro vs DIY for Skimmed Wall Painting
If you’re comfortable sanding, priming, and cutting in clean lines, you can probably tackle a skimmed wall yourself; call a pro when the surface has extensive imperfections, structural cracks, or you need a flawless finish for resale or high‑visibility rooms.
Use a Professional Assessment if unsure. Trust your DIY Confidence for minor jobs.
- visible structural cracks
- uneven skim coat
- textured remnants
- tight timelines
- high-stakes rooms
Frequently Asked Questions
Can I Paint a Skimmed Wall in High Humidity or Rainy Weather?
You can, but you shouldn’t during high humidity or rainy weather because humidity effects reduce paint adhesion; wait for drier conditions or use dehumidifiers and fast-drying primer so your paint bonds properly and the finish stays smooth and durable.
Is Special Ventilation Required When Painting Newly Skimmed Plaster?
By all means, yes — like a Victorian airing cupboard, you’ll need ventilation techniques to control moisture; you’ll use fans, trickle vents and dehumidifiers to speed drying times, and you’ll avoid sealing too soon.
Can Wallpaper Be Applied Over Skimmed and Painted Plaster?
Yes—you can apply wallpaper over skimmed and painted plaster if you use proper wall preparation techniques like sanding, priming, and ensuring paint is fully cured; choose suitable wallpaper adhesive options (paste-the-wall or pre-mixed paste) for adhesion.
How Long Should Furniture Remain Away From Freshly Painted Skimmed Walls?
Keep furniture placement back for at least 24–48 hours, avoid leaning items for 3–7 days, and delay heavy placement for 7–14 days; respect drying time, prevent scuffs, and guarantee paint cures properly before returning.
Do Heated Drying Lamps Damage Skimmed Plaster or Paint?
Heated drying lamps can damage skimmed plaster or paint if you use them excessively; you should avoid rapid drying. Rely on gentle drying techniques, respect plaster curing times, and use low heat with good ventilation.
