How to Paint an Uneven Ceiling So It Looks Smooth and Even
Start by inspecting your ceiling with bright light and a straightedge to mark bumps, dips, and water stains, then clean dust and any mold spots. Repair holes, loose tape, and small sagging with patches and joint compound, sand smooth, and prime with a stain-blocking, high-build primer. Use a 3/8″–1/2″ nap roller and flat paint, work thin coats and feather edges to avoid lap marks, and consider skim-coating or resheeting for major issues if you want a truly flawless finish—keep going to learn how.
How to Paint an Uneven Ceiling So It Looks Smooth and Even
You can often make an uneven ceiling look smooth enough by using the right paint, primer, and techniques, but you’ll want to know when painting will only mask the problem.
If the irregularities are superficial—minor texture, small cracks, or stains—painting and skim-coating can usually fix the appearance.
If you’ve got sagging drywall, large cracks, or structural damage, you’ll need repairs before paint will help.
Quick Answer Can you make an uneven ceiling look smooth by painting?
Wondering if a fresh coat of paint can hide an uneven ceiling? Yes—painting can visually minimize minor texture and color variations if you follow how to paint an uneven ceiling techniques: use tinted primer, flat paint, and roller stippling to blur shadows.
Don’t expect miracles for deep waves or structural defects; paint helps appearance, not physical leveling or major repairs.
When painting can fix appearance vs when structural repair is needed
Although paint can disguise shallow texture and minor discoloration, it won’t fix structural problems; you should rely on painting when the unevenness is cosmetic—light waves, small bumps, or shadow-causing texture—but call for repairs if there are large dips, sagging drywall, cracks wider than a hairline, or movement that indicates framing or moisture issues.
If cosmetic, use primer, flattening finishes, and careful lighting; otherwise hire a pro.
Understanding Uneven Ceilings
You’ll first want to identify why your ceiling is uneven—common causes include settling, visible drywall joints, varied texture, or botched repairs.
These imperfections change how paint lays down and can make flaws stand out. They also affect how light reflects, so the same paint can look different depending on the surface.
Common causes of uneven ceilings (settling, drywall joints, texture, previous repairs)
When ceilings look uneven, a few predictable causes usually explain what you’re seeing: house settling that shifts framing, visible or poorly taped drywall joints, uneven texture from spray or hand-applied finishes, and previous patchwork that wasn’t feathered or sanded correctly.
Settling creates bowed joists and nail pops.
Poor drywall taping shows seams.
Inconsistent texture reads as bumps.
Old patches stick out.
Water damage warps areas.
How unevenness affects paint appearance and light reflection
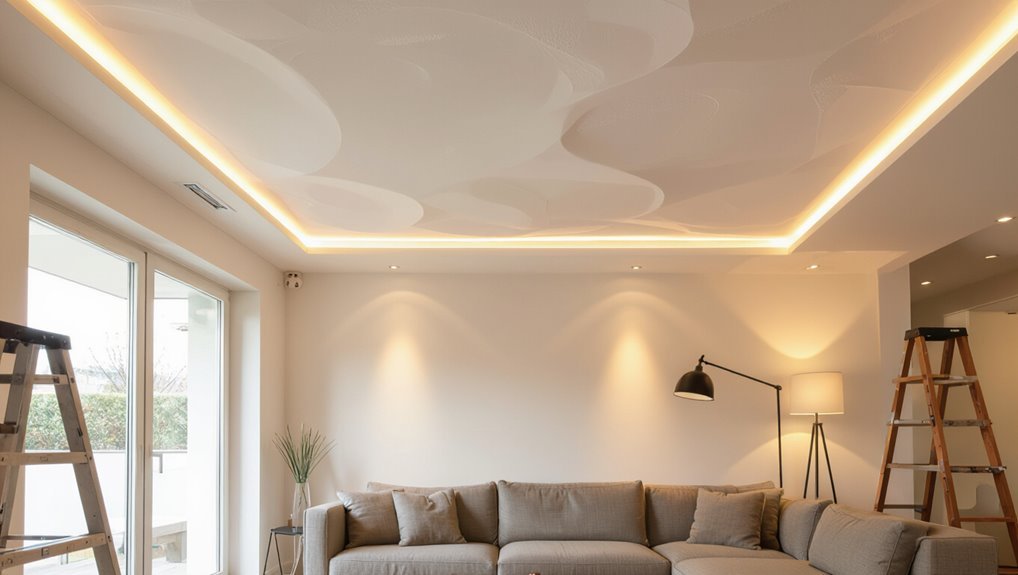
Because light skims across ceilings, even small irregularities jump out and make paint look blotchy, streaky, or variegated.
You’ll notice shadows, highlights, and tonal shifts where bumps, seams, or texture catch light. That contrast exaggerates flaws and alters color perception.
To minimize this, smooth or prime surfaces, choose low-sheen paint, and plan lighting to reduce grazing angles that emphasize unevenness.
Assessing the Ceiling Before You Start
Before you grab paint, take time to inspect the ceiling for bumps, dips, and texture changes using a bright light, a long straightedge, and your hands to feel for irregularities.
Measure how severe the problems are — small cosmetic flaws can be skimmed or filled, while large gaps, widespread cracking, or sagging suggest structural concerns.
If you spot extensive sagging, water damage, or anything that looks like it compromises the ceiling’s integrity, call a professional before painting.
How to detect bumps, dips, and texture variations (tools and techniques)
Wondering where those uneven spots are hiding? Use simple tools and techniques to find bumps, dips, and texture changes before painting.
- Shine a bright flashlight across the ceiling to reveal shadows.
- Run your hand (or a straightedge) lightly to feel irregularities.
- Use a step ladder to inspect corners and seams closely.
- Take photos at low angle for reference.
- Note areas needing skim or sanding.
Measuring severity: cosmetic vs structural issues
Now that you’ve located bumps, dips, and texture changes, decide whether they’re just cosmetic or signs of a bigger problem.
Check for hairline cracks, paint flaking, small nail pops, and localized unevenness—these are usually cosmetic.
Measure sagging depth: under 1/4 inch is often fixable with filler and sanding.
Note moisture stains; they may need addressing before painting, but aren’t always structural.
When to call a pro (structural damage, extensive sagging)
If you spot wide cracks, spreading sagging, sections that feel soft or spring when pressed, or visible water damage that keeps returning, call a pro—these signs often point to structural issues like joist failure, roof leaks, or hidden mold that DIY fixes won’t resolve safely.
You should stop painting, document damage, and contact a licensed contractor or structural engineer to assess repairs before proceeding.
Materials, Tools, and Paint Choices
Before you start, gather the right tools—rollers, angled brushes, a drywall knife, sander, joint compound, and primer—to make repairs and speed the job.
Choose flat or matte paints and specialty primers that help hide imperfections, and pick texture materials like skim coat compounds or texture sprays if you need to even out surface variations.
I’ll explain which primers and undercoats work best and how each tool and product should be used.
Tools checklist (rollers, brushes, drywall knife, sander, joint compound, primer)
A compact toolkit makes fixing an uneven ceiling much easier, so gather rollers, angled and flat brushes, a drywall knife, a sander, joint compound, and a good primer before you start.
You’ll use each tool for specific steps: skim, sand, and prime. Pack essentials and keep them handy.
- Roller (extension)
- Angled brush
- Drywall knife
- Random-orbit sander
- Joint compound and primer
Best paint types and sheens for hiding imperfections
Once you’ve prepped, skimmed, sanded, and primed the ceiling, choose paints and sheens that help mask remaining flaws.
Use flat or matte latex for greatest blemish camouflage; they minimize light reflection.
For kitchens or bathrooms, pick an eggshell or low-sheen washable formula to balance durability and concealment.
Avoid high-gloss finishes — they highlight every dip, bump, and texture.
Primers and undercoats: what to use and why
Choose primers and undercoats that match the ceiling’s condition and the paint you’ll apply, since they control adhesion, hide stains, and create an even base so the topcoat disguises imperfections better.
Use stain-blocking primer for water or smoke marks, high-build undercoat for minor texture, and bonding primer on glossy or repaired areas.
Let each coat dry fully before painting.
Texture materials and specialty products (skim coat compounds, texture sprays)
After the primer’s sealed and smooth, you’ll need the right texture materials to actually correct uneven ceilings—skim coat compounds and texture sprays tackle different problems, so pick based on the surface and your skill level. Use skim for deep dips; spray for light orange-peel. Match finish and grit, practice on scrap, and sand between coats.
| Product | Use |
|---|---|
| Skim coat | Deep repairs |
| Texture spray | Light texture |
Step-by-Step: Prepping an Uneven Ceiling
Before you paint, clear the room and cover floors and furniture to protect them from dust and drips.
Next, clean the ceiling of dust, stains, nicotine, and mold, then repair major defects like holes and loose drywall.
Finish by sanding and feathering edges and applying joint compound or a skim coat where the surface needs smoothing.
Step 1 Clear the room and protect surfaces
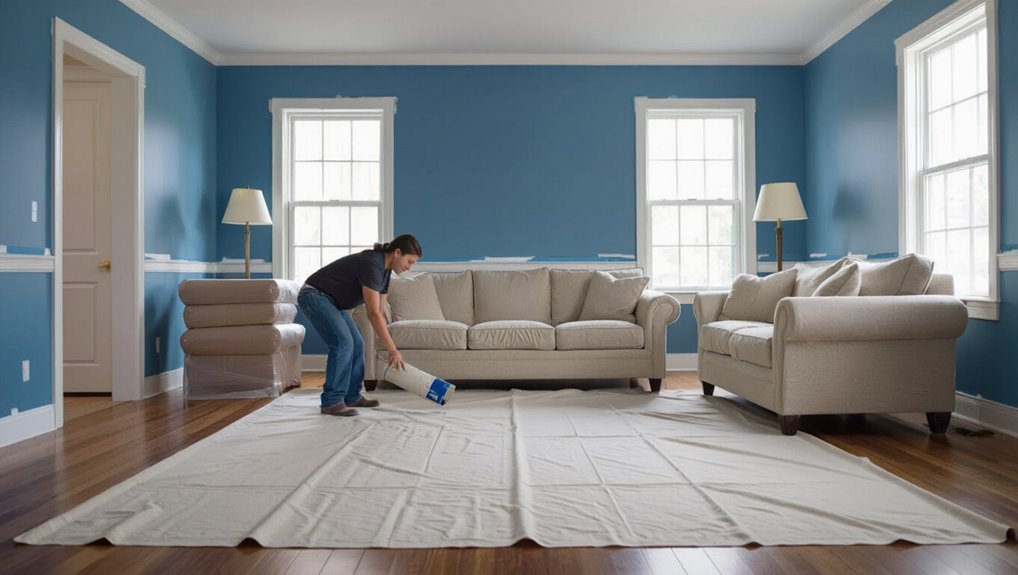
- Clear the room and protect surfaces before you paint to avoid drips, dust, and damage.
- Remove furniture or move it center and cover with drop cloths
- Take down light fixtures or shield them with plastic
- Tape trim, vents, and outlets
- Cover floors with breathable canvas sheets
- Wear safety goggles and a mask to protect yourself
Step 2 Clean the ceiling (dust, stains, nicotine, mold)
With the room cleared and surfaces protected, you can move on to cleaning the ceiling so paint will stick and look even.
Dust with a long-handled brush, vacuum seams, and wipe with a mild detergent.
For nicotine or stains use trisodium phosphate substitute; rinse thoroughly.
Treat visible mold with a diluted bleach solution, ventilate, and let the ceiling dry completely before priming.
Step 3 Repair major defects (patch holes, secure loose drywall)
Start by inspecting the ceiling closely for sagging drywall, large cracks, and holes so you can prioritize repairs.
Remove loose drywall or tape, fasten seams to joists with screws, and trim damaged paper.
For holes, apply an appropriate patch (mesh or backing) and use joint compound to fill.
Let repairs cure fully before moving to finishing steps.
Step 4 Sanding and feathering edges for smoother transitions
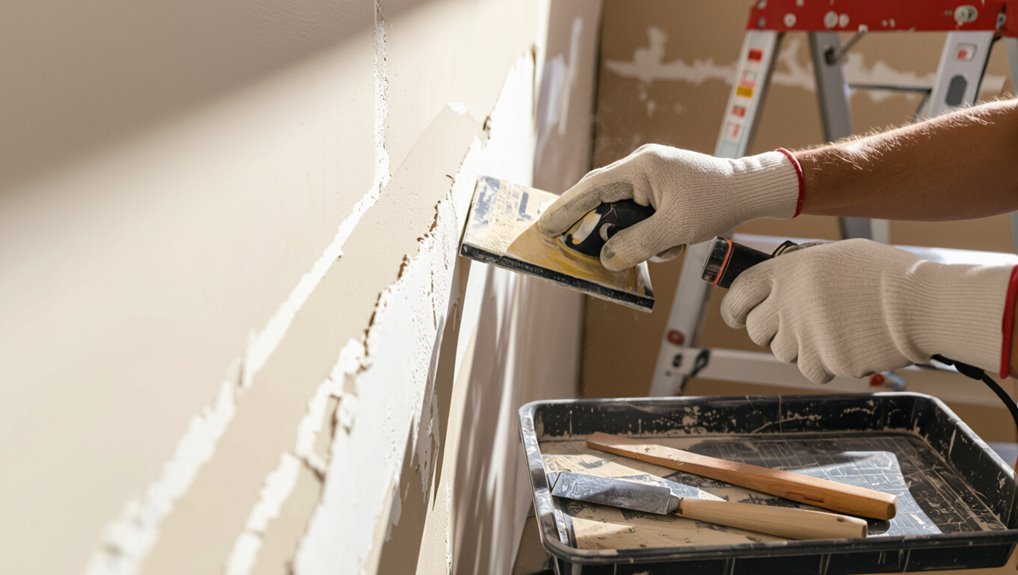
Grab a sanding block and 120–150 grit sandpaper and smooth the patched areas until their edges blend into the surrounding ceiling; you want a gentle slope rather than a hard ridge so paint won’t reveal the repair.
Work light, feathering outward from the patch, checking with angled light. Clean dust, recheck connections, and repeat gentle sanding until seams are visually seamless and tactilely smooth.
Step 5 Applying joint compound or skim coat for moderate unevenness
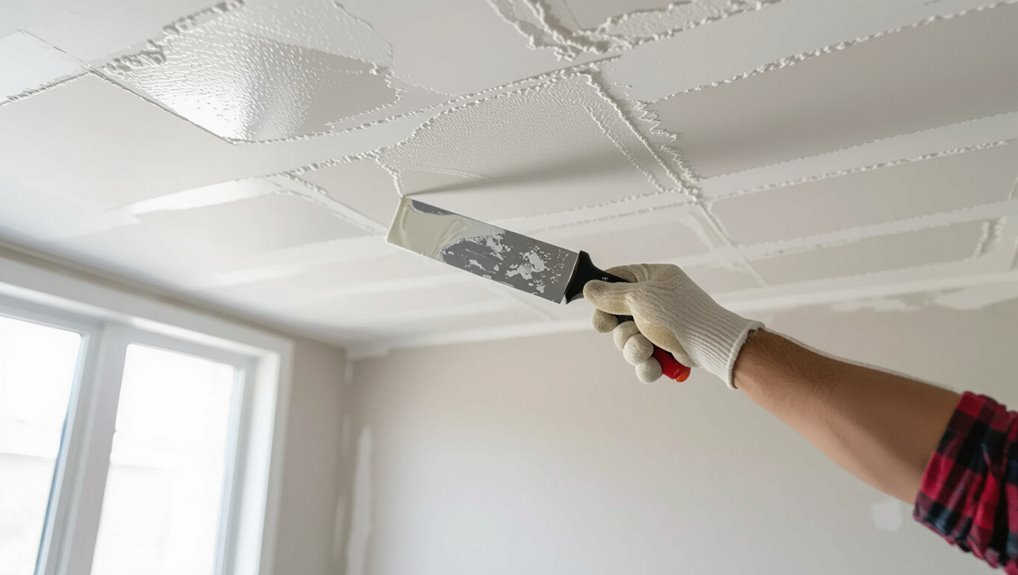
After sanding the patched edges until they blend smoothly, you’ll move on to building up and evening out larger low spots with joint compound or a skim coat.
Mix compound to a creamy, spreadable consistency, apply thin coats with a wide trowel or knife, feather edges, let dry fully, sand lightly between coats, and finish with a final smooth pass ready for primer and paint.
Step-by-Step: Painting Techniques to Minimize Visible Imperfections
Now that your ceiling’s prepped, you’ll pick a quality primer and roll it on evenly to create a consistent base.
Use the right roller nap and cutting-in technique to keep a wet edge, and apply multiple thin coats instead of one thick one for smoother coverage.
If imperfections still show, consider texturing methods like stippling, knockdown, or orange-peel to mask flaws.
Step 6 Choose the right primer and apply uniformly
Because an uneven ceiling highlights every brushstroke and seam, choosing the right primer and applying it uniformly is critical to getting a smooth final finish.
Pick a high-build, stain-blocking primer suited for drywall or plaster.
Roll or brush evenly, maintain wet edges, and back-roll to level texture.
Let the primer fully dry and inspect for missed spots before painting.
Step 7 Use the proper roller nap and technique for ceilings
1 simple but essential choice will make a big difference: pick the right roller nap and use consistent technique to avoid accentuating bumps and seams.
Use a 3/8″–1/2″ nap for light texture, thicker for heavy texture.
Roll in straight, overlapping strokes, maintain even pressure, and reload often to avoid dry patches.
Finish with gentle cross-rolls for uniform coverage.
Step 8 Cutting in and maintaining a wet edge
When you cut in, keep a wet edge so your brushed edges blend seamlessly with the rolled paint; this prevents lap marks and obvious seams on an uneven ceiling.
Work in small sections, cutting a neat strip then immediately rolling into that area.
Maintain a steady pace, reload brushes and rollers before they dry, and feather strokes to hide texture differences.
Step 9 Applying multiple thin coats vs one thick coat
If you want smooth, even coverage on an uneven ceiling, apply several thin coats instead of one heavy one; thin layers dry faster, level better, and dramatically reduce drips, runs, and visible texture differences.
Let each coat fully dry and lightly sand any raised nibs before recoating. Thin coats let you build opacity and control sheen, so imperfections blend without pooling or sagging.
Step 10 Special techniques: stippling, knockdown texture, or orange-peel to hide flaws
After building smooth, thin layers, you can use texture techniques to mask remaining irregularities rather than trying to hide every imperfection with more paint.
Choose stippling for subtle raised dots, orange-peel for fine uniform texture, or knockdown for flattened peaks.
Practice on scrap drywall, adjust hopper pressure and knockdown timing, then blend edges carefully for a cohesive ceiling finish.
Alternative Solutions When Painting Alone Isn’t Enough
If painting won’t hide the flaws, you can consider structural fixes like installing a suspended ceiling or adding a new drywall layer (resheeting) instead of just skim coating.
You might also choose decorative coverings—tongue-and-groove planks, beadboard, or shiplap—to mask unevenness while changing the room’s style.
Think about cost, ceiling height loss, and how much prep you want before picking the best option.
Installing a suspended ceiling or ceiling tiles
When patching and paint won’t hide major irregularities, you can install a suspended ceiling or lay ceiling tiles to create a smooth, uniform surface below the existing ceiling plane.
You’ll drop a grid, fit lightweight panels, and hide wires, ductwork, or uneven plaster. It’s fast, reversible, and improves acoustics, though it reduces ceiling height and may need professional help for lighting or HVAC integration.
Adding a new drywall layer (resheeting) vs skim coating
Suspended ceilings and tiles can mask big bumps, but if you want to keep full room height and a seamless finish, you’ll need to choose between adding a new drywall layer (resheeting) or skim coating the existing ceiling.
Resheeting gives a straight, durable surface but costs more and needs framing.
Skim coating is cheaper and preserves structure but demands skill for a flat, paint-ready finish.
Decorative options: tongue-and-groove planks, beadboard, shiplap
Although painting can hide minor flaws, you’ll often get a better, more characterful result by covering an uneven ceiling with decorative planks—tongue-and-groove, beadboard, or shiplap—because these materials create a uniform, intentionally textured surface that masks imperfections and adds style.
You can install painted or stained planks to suit your decor, improve insulation, and simplify future repairs while embracing visible joints as design features.
Common Mistakes and How to Avoid Them
Don’t skip proper prep and patching, or you’ll amplify cracks and texture.
Avoid glossy sheens, heavy coats, or letting edges dry first, and watch how light will expose every flaw.
If you do make mistakes, sand, spot-repair, and recoat promptly to restore a smooth finish.
Mistake 1 Skipping proper prep and patching
If you skip proper prep and patching, the paint will highlight every crack, stain, and uneven seam instead of hiding them.
You need to clean, sand, and fill imperfections with joint compound or spackle, then sand smooth.
Prime repaired areas to seal stains and promote adhesion.
Don’t rush; proper patching guarantees a uniform surface so your finish looks consistent and professional.
Mistake 2 Using glossy paint or wrong sheen
Sheen matters more than color when you’re trying to hide flaws—glossy or high-sheen paints will highlight every bump, ripple, and patch on an uneven ceiling.
Choose a flat or matte ceiling paint to minimize reflections and disguise texture.
If you need washable surfaces, opt for an egg-shell or low-luster finish sparingly, testing a small area first to confirm it conceals imperfections.
Mistake 3 Applying paint too thick or letting edges dry first
While choosing the right sheen helps hide surface flaws, how you apply the paint matters just as much.
Don’t overload your roller or brush; thick coats accentuate drips, texture, and lap marks. Work wet edges, maintain a consistent pressure, and use thin, even passes.
Apply multiple thin coats, let each dry fully, and feather edges to blend for a uniform ceiling.
Mistake 4 Ignoring lighting that reveals flaws
How will lighting affect how your newly painted ceiling looks? You’ll reveal bumps, brush marks, and uneven sheen if you ignore light direction and fixture type.
Inspect under natural and artificial light at painting height. Position temporary lamps to mimic final lighting, paint when shadows are minimal, and choose a flat or low-sheen finish to hide imperfections under typical room lighting.
How to recover from paint mistakes (sanding, spot repairs, recoat)
Catch mistakes early and fix them deliberately: small runs, drips, missed spots, or uneven texture can usually be corrected without stripping the whole ceiling.
Sand smooth, spot-prime, and feather new paint into surrounding areas. If needed, recoat the entire panel for uniform sheen.
- Sand lightly with fine grit
- Clean dust before painting
- Use matching primer
- Blend edges with thin coats
- Check under good light
Tips and Best Practices for Long-Lasting, Smooth Results
Pick a dry, mild day to paint so the primer and topcoat cure properly, and avoid humid or very cold conditions that can cause laps and peeling.
Use directional lighting or soft, even lamps while you work to hide minor bumps and check your progress from different angles.
After painting, keep a small can of touch-up paint and recheck the ceiling yearly so you can fix scuffs or thin spots before they become obvious.
Best timing and environmental conditions for ceiling painting
Choose a dry, mild day and plan to paint when humidity is below 50% and temperatures stay between 50–85°F (10–30°C), because paint cures best under stable, moderate conditions.
Ventilate well to speed drying and reduce fumes, using fans or open windows.
Avoid painting during dust storms, heavy pollen days, or extreme heat/cold.
Work in even shifts to maintain a wet edge.
Lighting tricks to minimize perceived unevenness
When you want to hide small bumps and texture variations, aim for indirect, diffused lighting rather than harsh, direct light; soft, even illumination reduces shadows that highlight imperfections.
Use recessed fixtures, wall washers, or frosted covers to spread light. Position fixtures away from low spots, choose warm white bulbs for gentle contrast, and add dimmers so you can fine-tune brightness for the smoothest look.
Maintenance and touch-up strategies to preserve appearance
Although small chips and stains can sneak up over time, staying on top of maintenance and quick touch-ups will keep your ceiling looking freshly painted and minimize the need for a full redo.
- Inspect annually for hairline cracks and stains.
- Keep spare mixed paint for seamless touch-ups.
- Sand and prime before patching any spots.
- Use a light, even roller stroke to blend repairs.
- Clean gently with a damp microfiber to avoid damage.
Cost, Time, and Effort Estimates
Expect prep and repairs to take most of the time—often several hours to a full day—while painting can be done in a few hours to a day depending on coats and drying.
DIY costs usually run much lower than hiring pros, but professional rates cover labor, equipment, and faster turnaround.
Bigger repairs, higher-quality materials, and taller or hard-to-reach ceilings will raise both time and price.
Typical time breakdown for prep, repair, and painting
Plan on spending most of your time on prep and repairs rather than the actual painting—taping, priming, patching, and sanding uneven spots usually takes two to four times longer than rolling a coat of paint.
Expect prep and repairs: 4–12 hours for a typical room, depending on damage.
Painting and drying add 2–6 hours per coat; allow extra cure time before reinstalling fixtures.
Cost ranges for DIY vs hiring professionals
With prep and repairs often taking the bulk of the time, cost decisions hinge on whether you’ll do the work yourself or hire pros. DIY saves on labor but costs time and tools; pros charge more but speed and finish improve. Compare roughly:
| Option | Typical Cost | Time |
|---|---|---|
| DIY | Low–moderate | Longer |
| Pro | Moderate–high | Shorter |
Factors that increase cost (extent of repairs, materials, ceiling height)
Because uneven ceilings often hide multiple issues, the true cost comes down to how much repair work you need, the materials you pick, and how high the ceiling is.
If you need drywall patching, skim coats, or mold remediation, labor and time rise.
Premium primers, texture compounds, and scaffolding for tall rooms add expense.
Plan for contingencies and expect higher quotes for difficult access.
FAQ
You’ll find answers to common concerns like whether flat paint hides imperfections better than eggshell or satin and whether texture can cover stains or mold.
We’ll cover how many primer and paint coats you’ll likely need and when to skim coat versus spot-repair.
You’ll also get tips for matching repaired areas to the rest of the ceiling.
Will flat paint hide ceiling imperfections better than eggshell or satin?
Curious whether flat paint will hide those ceiling flaws better than eggshell or satin?
Yes—flat paint absorbs light and reduces sheen, so it masks minor bumps, hairline cracks, and texture variations more effectively than eggshell or satin.
But flat finishes scuff and stain easier and can be harder to clean.
For ceilings with more wear, balance concealment with durability when choosing your finish.
Can texture application cover water stains or mold spots?
If flat paint helps hide minor surface flaws, you might wonder whether adding texture can also hide bigger issues like water stains or mold spots.
Texture can mask discoloration visually, but it won’t fix underlying moisture or mildew. You should clean and treat stains, repair leaks, and apply a stain-blocking primer before texturing so the problem doesn’t return or bleed through the finish.
How many coats of primer and paint are usually needed?
How many coats do you really need?
Typically one coat of stain-blocking primer suffices unless stains or bare drywall show through; use two if coverage is uneven.
For paint, two thin coats of ceiling-grade flat paint give uniform color and hide imperfections.
Let primer and first coat fully dry, sand light if needed, then apply the second coat for best, even results.
Is it better to skim coat the entire ceiling or spot-repair?
Wondering whether to skim coat the whole ceiling or just patch the trouble spots?
If the surface has widespread texture, multiple repairs, or you want a truly uniform finish, skim coating the entire ceiling is worth the time.
For isolated dents, cracks, or small imperfections, spot repairs save effort.
Consider time, budget, and desired smoothness when deciding.
How do I match a repaired area to the rest of the ceiling?
Want the patch to disappear? Match texture, primer, and paint.
Feather joint compound into surrounding texture, sand lightly, then apply a stain-blocking primer. Use the same sheen and formulation as the existing ceiling.
For textured finishes, replicate pattern with the same tool (brush, roller, or sponge) while paint is wet.
Blend edges and inspect under varied lighting to confirm a seamless match.