
How to Prevent Orange Peel in Paint for a Smooth Finish
You can stop orange peel by prepping and spraying smart: strip incompatible coatings, sand and clean until the surface is smooth, then use a viscosity cup and thin paint only as needed for your gun and climate. Match nozzle size, pressure, spray distance and overlap, and allow proper flash-off between coats. Control temperature and humidity, wet-sand and polish any light texture, and know when to fully sand and recoat. Keep going to pick up detailed steps and tips.
Quick Fixes to Stop Orange Peel Now
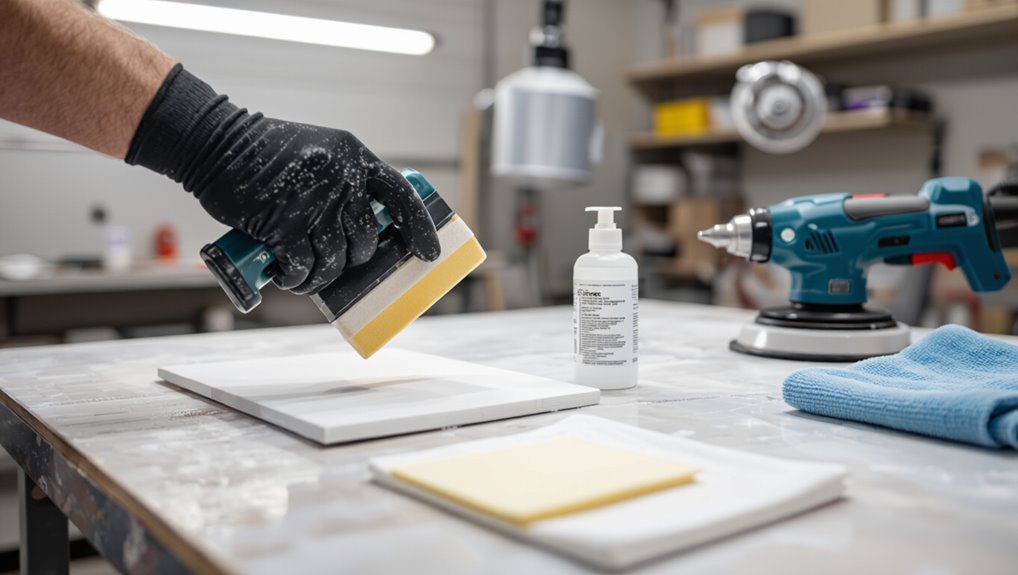
If you’re dealing with orange peel right now, act quickly with a few targeted fixes: you can wet-sand lightly with fine grit, then buff for a fast recovery.
For quick application, use a fast-acting solvent wipe and allow proper flash time.
Adjust spray technique and consider compatible paint additives to improve flow and leveling.
Test on a hidden area before full correction.
Surface Prep: What to Strip, Sand, and Clean
Before you paint, strip any flaking or incompatible old coatings so the new finish can bond properly.
Sand smooth to remove imperfections and feather the edges, then wipe or wash the surface to remove dust, oils, and residue.
If the substrate isn’t clean and sound, you’ll almost always get texture problems like orange peel.
Remove Old Coatings
Start by stripping any loose, flaking, or crumbling coatings down to a stable base so your new paint can adhere properly.
Use appropriate stripping techniques for different coating types—chemical strippers, heat guns, or mechanical methods—and remove failed layers to expose sound substrate.
Sand remaining edges smooth and feather junctions; prioritize a solid, uniform surface so fresh paint lays flat and minimizes orange peel risk.
Thoroughly Clean Surface
Now that you’ve removed failing coatings and smoothed edges, thoroughly cleaning the surface will make the difference between a smooth finish and orange peel.
Remove dust, grease, and other surface contaminants with tack cloths and appropriate cleaning solutions. Rinse and dry completely.
Inspect for residue, then sand lightly if needed. A contamination-free surface guarantees paint lays flat and reduces orange peel risk.
Paint Viscosity and Thinning to Avoid Orange Peel
Before you spray, check the paint’s viscosity with a viscosity cup or gauge so it flows smoothly and levels out.
Pick a thinner recommended for your paint type and climate, and only thin in small increments until you hit the right consistency.
Finally, adjust your spray pressure and nozzle size to match the thinned paint so you don’t create orange peel.
Check Paint Viscosity
One key factor in preventing orange peel is keeping your paint at the right viscosity; if it’s too thick it won’t flow out smoothly, and if it’s too thin it can sag or reduce coverage.
Check viscosity before paint application using a viscosity measurement cup.
Tips:
- Stir thoroughly
- Test spray
- Adjust slowly
- Re-measure often
- Record settings
Proper Thinner Selection
If you want paint to lay out smoothly and avoid orange peel, choose a thinner that’s formulated for your paint type and the application conditions.
Match thinner types to solvent- or water-based systems, and adjust only within manufacturer recommendations.
Thin incrementally, test on a sample panel, and use consistent application techniques to maintain flow and leveling without over-thinning or introducing runs.
Adjust Spray Settings
Matching your thinner to the paint was a smart move; now you’ll need to tune spray settings and viscosity so the coating lays out without orange peel.
- Check spray pattern for even overlap.
- Adjust nozzle size to match material viscosity.
- Thin incrementally; test on scrap.
- Lower air pressure to reduce misting.
- Keep consistent gun distance and speed for uniform film.
Choose the Right Spray Gun for Orange Peel
Because the spray gun sets the foundation for your finish, pick one that matches the coating and project size to minimize orange peel.
Choose among spray gun types (HVLP, LVLP, conventional) based on transfer efficiency and atomization.
Match nozzle sizes to viscosity and desired film thickness.
Use a quality gun with consistent air pressure and well-maintained tips to guarantee uniform atomization and fewer surface defects.
Set Spray Distance and Overlap for Smooth Coats
When you set the spray distance and overlap correctly, you’ll lay down even, wet coats that level out instead of creating orange peel.
- Aim for ideal distance based on nozzle size and gun pressure.
- Use a consistent overlap pattern to control coat thickness.
- Maintain steady spray angle and smooth spray technique.
- Watch drying time between passes.
- Adjust for surface contours and airflow.
Spray Like a Pro: Speed, Angle, and Passes
If you control your gun speed, tilt the cup correctly, and plan your passes, you’ll get flatter, smoother coats that resist orange peel.
Use consistent spray technique: steady, overlapping strokes at the right angle.
Use steady, overlapping strokes at the correct angle for even coverage and a smooth, professional finish
Adjust nozzle selection for droplet size and coverage.
Keep pass speed uniform, maintain gun angle perpendicular or slightly tilted to contours, and dry even layers for a professional, peel-resistant finish.
Control Temperature and Humidity to Prevent Orange Peel
You’ve got the motion and technique down, but environmental control makes the difference between a good spray and one that shows orange peel.
Use Humidity control and Temperature regulation to create ideal conditions. Rely on Environmental monitoring in your Spray booth and apply Ventilation techniques.
Consider Climate considerations and Weather impact when planning.
- Check hygrometer/readings
- Adjust heater/AC
- Seal booth
- Increase airflow
- Time your runs
Flash-Off and Dry Times Between Coats
Although it seems simple, timing the flash-off and dry intervals between coats is critical to prevent orange peel and guarantee a smooth, even surface; let solvents evaporate enough for tack-free handling but not so long that adhesion or wet-edge is lost.
You’ll use proven flash off techniques and follow recommended drying times for your product, testing tack and recoat windows to maintain uniform film build.
Test and Identify Mild Orange Peel Issues
Start by giving the painted area a careful visual surface inspection to spot any uneven texture or tiny dimples.
Then run your hand lightly over the finish to check for a subtle orange peel feel.
Finally, view the surface from different light angles to reveal imperfections that aren’t obvious straight on.
Visual Surface Inspection
Before you decide on corrective steps, do a close visual surface inspection to test and identify mild orange peel issues. You’ll spot visual defects and subtle surface imperfections by scanning under good light.
Check for:
- evenness of sheen
- size of dimples
- pattern consistency
- edge shifts
- shadow behavior
Record findings to guide targeted fixes.
Touch And Texture Check
After your visual scan, run your fingers lightly over the surface to feel for subtle dimpling and texture differences that light alone might miss.
Use Touch Testing systematically—move palm, fingertips, even a knuckle—to map problem areas. Note consistency, directionality, and severity.
Apply simple Texture Techniques like gentle sanding or re-spray planning where touch reveals mild orange peel, then document locations for correction.
Light Angle Examination
How can you spot mild orange peel that still hides under even good lighting? Use angled checks, moving the light source to change light direction and reveal texture.
Inspect glossy and matte areas against reflective surfaces. Test small sections, note shadow bands, and mark defects for correction.
- Move light slowly
- Vary angles 15–45°
- Use glossy panels
- Compare adjacent panels
- Photograph reflections
Fix Mild Orange Peel Without Repainting
When the orange peel is light and the finish is otherwise sound, you can often smooth it out without stripping and repainting the whole panel; small-area sanding, mild compounding, and careful polishing will restore a near‑factory sheen while preserving the surrounding paint.
Assess texture under varied light, then wet-sand with fine grit, use a quality compound, refine with polish, and address spray technique or paint additives if recurring.
When to Sand and Recoat Fully
If the texture is deep, widespread, or paired with paint defects like poor adhesion, runs, or bubbling, you’ll need to sand back to a sound substrate and recoat the panel; spot repairs won’t hide structural problems and will leave uneven gloss and edges.
Use proper sanding techniques and recoating methods:
Use correct sanding and recoating: strip to solid paint, feather edges, clean dust, prime, then refinish.
- Strip to solid paint
- Feather edges uniformly
- Clean dust thoroughly
- Apply primer coat
- Refinish with controlled coats
Tools, Materials, and Pro Tips for a Mirror Finish
One clean, well-chosen set of tools and the right materials make the difference between a good finish and a mirror finish—so you’ll want quality sandpaper (400–2000 grit), foam sanding blocks, microfiber cloths, tack rags, a dual-action or HVLP spray gun, compatible primers and basecoats, a properly matched clear coat, and appropriate respirator and masking supplies.
Use steady spray techniques, proper gun settings, warm flash times, and light wet sanding.
For finishing touches, polish with fine compound and microfiber, inspect under strong light, and correct flaws before curing.
Frequently Asked Questions
Can Orange Peel Recur After Professional Repair?
Yes — orange peel can recur after professional repair if repair methods were rushed or surface preparation was inadequate; you’ll notice texture returning, so insist on proper sanding, correct spray technique, and controlled drying to minimize recurrence.
Can Clear Coat Differences Cause Orange Peel Later?
Sure — yes, different clear coat types and sloppy application techniques can later cause orange peel; you’ll love it when a glossy finish betrays you, so pick compatible coats and steady, correct application techniques to avoid recurrence.
Does Paint Brand Affect Orange Peel Tendency?
Yes — paint brand can influence orange peel tendency; you’ll find differences in paint viscosity and how forgiving the formulation is, so adjust your application technique and thinning to match the brand for a smoother, more consistent finish.
Can Additives Permanently Prevent Orange Peel?
No — additives can’t permanently stop orange peel. Imagine gardeners mixing soil; you’ll choose additive types and refine application techniques, but you’ll still need sanding, curing and control, because environmental and skill factors keep texture from being immutable.
Is Orange Peel Harmful to Underlying Materials?
No, orange peel usually isn’t harmful to underlying materials, but it can trap moisture and contaminants, which causes orange deterioration over time; you’ll use repair techniques like sanding, cleaning, and recoat to protect surfaces and restore finish.
Conclusion
You can get a mirror-like finish without spending days or hiring pros — yes, even if you’ve never sprayed before. Start with proper prep, correct viscosity, and the right gun, then test and adjust distance and overlap. If you see slight orange peel, wet-sand and polish it; save full recoats for deep texture. With patience and these steps, you’ll avoid common pitfalls and finish strong, turning frustration into pride in one project.
