
How to Remove Nano Tape From Painted Walls Without Pulling off the Paint
You can remove nano tape without pulling paint by working slowly and gently: warm the tape with a hair dryer from 6–8 inches away to soften the adhesive, lift an edge with your fingernail or a plastic scraper, and peel back at a low 30–45° angle, pausing if you feel resistance. Use rubbing alcohol or a mild adhesive remover on a soft cloth to remove residue, rinse with soapy water, and test first on a hidden spot if you want more tips.
Quick Steps to Remove Nano Tape Safely
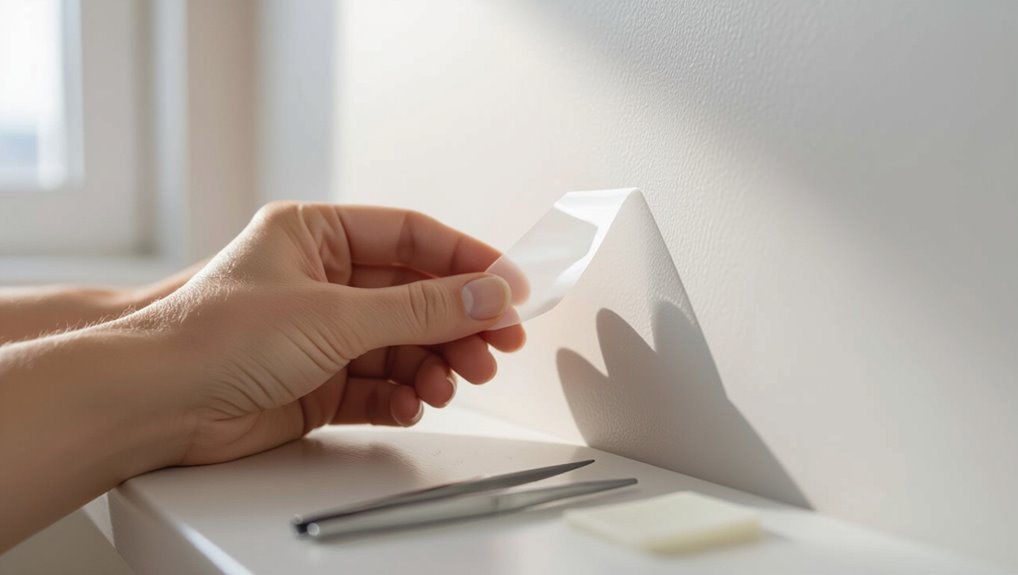
Start by peeling a corner of the nano tape slowly and low, keeping the strip close to the wall as you pull to reduce stress on the paint.
Move steadily, warming stubborn sections with a hair dryer. If residue remains, use gentle adhesive remover or soapy water.
Consider tape alternatives for future use and prioritize wall protection with low-tack options and testing on an inconspicuous spot.
Who This Guide Is For and What to Expect
Now that you know the basic removal steps and how to handle residue, here’s who this guide is for and what to expect:
It’s aimed at renters, homeowners, and anyone who uses nano tape on painted or delicate surfaces and wants to remove it without damage.
You’ll get clear Guidance expectations and a defined Target audience.
- Quick precautions
- Tools list
- Step timing
- Damage limits
How to Test Paint Before Removing Tape
Before you pull any nano tape off the wall, spot test an inconspicuous area to see how the paint reacts.
Check whether the adhesive lifts cleanly or peels paint, and note the finish—matte, satin, or gloss can behave differently.
If the test shows any damage or poor adhesion, adjust your removal method accordingly.
Spot Test Inconspicuous Area
When you’re about to remove nano tape, check an inconspicuous spot first to make sure the paint won’t lift or stain; testing on a hidden area lets you confirm compatibility without risking visible damage.
- Clean spot gently.
- Apply small tape piece.
- Wait an hour, remove slowly.
- Inspect for residue, finish change.
Use spot test techniques to verify paint compatibility.
Assess Adhesion And Finish
After a successful spot test, move on to evaluating how well the tape grips and how the paint finish will react under stress.
Gently lift a tape corner at 45 degrees for adhesion assessment, noting resistance and any paint lift.
For finish evaluation, press a damp cloth nearby and check gloss changes or softening.
Repeat in multiple spots before full removal.
Tools and Supplies You’ll Need
You’ll need a few basic tools and supplies to remove nano tape cleanly and safely: a hair dryer or heat gun, a plastic scraper or old credit card, adhesive remover (like rubbing alcohol, Goo Gone, or citrus solvent), clean microfiber cloths, and—if the paint is delicate—painter’s tape and a soft sponge.
- Inspect adhesive properties and wall finishes.
- Gather tools.
- Protect edges.
- Test remover.
Use Heat to Loosen Tape Safely
If the tape’s stuck tight, warm it first to soften the adhesive so it peels away cleanly; aim a hair dryer on low heat about 6–8 inches away, moving continuously to avoid overheating paint.
Gently lift an edge with a plastic scraper while applying heat. Test a small area first.
Consider tape alternatives for future use, like removable mounting strips, if heat isn’t suitable.
Use Rubbing Alcohol to Dissolve Residue
Apply rubbing alcohol to a soft cloth or cotton pad and dab the sticky residue, letting it sit for a minute to break down the adhesive.
Dab rubbing alcohol on a soft cloth, let sit a minute, then gently rub to lift the adhesive.
You’ll gently rub in small circles until residue removal progresses, then wipe clean and let dry.
Test first on a hidden spot.
- Dab
- Wait
- Rub
- Wipe
Use Oil or WD‑40 Safely on Painted Walls
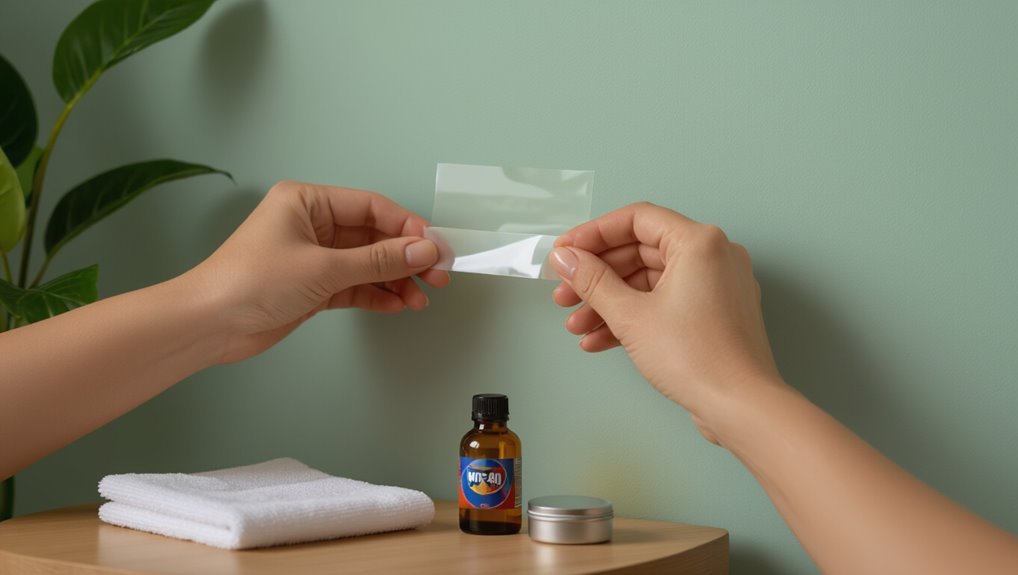
Before using oil or WD‑40 on painted walls, test a hidden spot to make sure the finish won’t soften or discolor.
Use only a small amount on a cloth so you don’t oversaturate the paint.
Wipe the area afterward with a gentle cleaner to remove any oily residue.
Test Surface First
Want to avoid damaging paint when using oil or WD‑40 on nano tape residue? You should test surface first on an inconspicuous spot to check paint compatibility and reaction.
Follow these quick steps:
- Clean a small hidden area.
- Apply a tiny oil or WD‑40 dab.
- Wait 10–15 minutes for changes.
- Inspect for softening, discoloration, or sheen change.
Use Minimal Oil
If the spot test shows no damage, proceed with the smallest amount of oil possible to loosen the nano tape residue; you’ll reduce the chance of softening paint or leaving an oily film.
Dab sparingly using a cotton swab, testing oil types like mineral oil or a dedicated adhesive remover first.
Monitor for discoloration, ventilate the area, and avoid repeated heavy oil application.
Clean Residue Gently
Loosen leftover adhesive by applying a tiny amount of oil or WD‑40 to a cotton swab and working it into the residue in slow, circular motions; you’ll lift the tacky bits without scrubbing hard.
- Test a hidden spot first to protect paint.
- Use minimal oil for precise residue removal.
- Blot excess with a clean cloth; don’t rub.
- Finish with mild soap and water to remove cleaning techniques traces.
How to Lift Tape Edges Without Damaging Paint
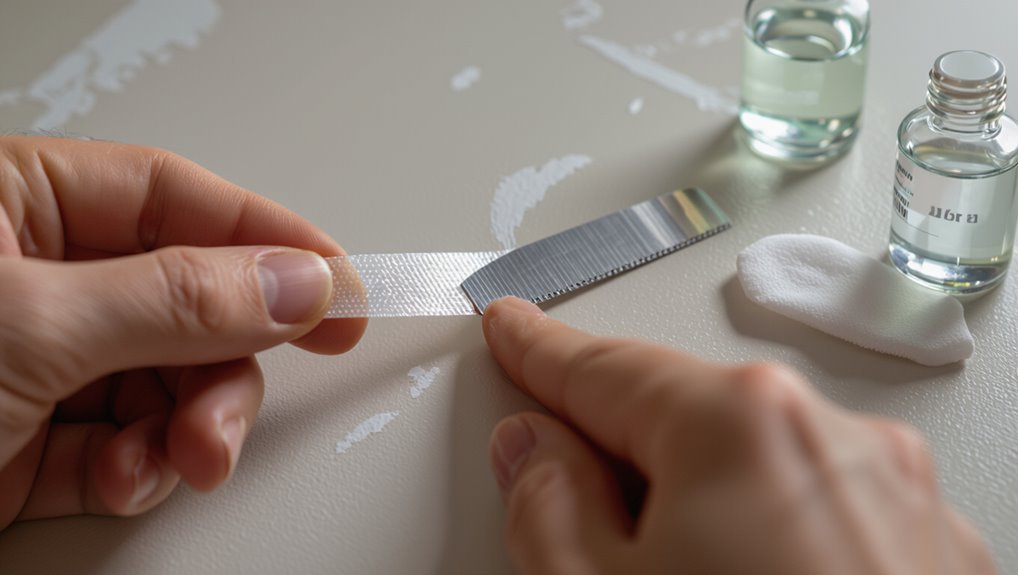
Start by working slowly and gently: slide a fingernail, plastic putty knife, or credit card under the tape edge at a very shallow angle to lift it without pulling paint. Use short, steady lifts to focus on edge lifting and paint preservation; avoid yank.
| Tool | Purpose |
|---|---|
| Fingernail | Small lifts |
| Card/putty knife | Gentle leverage |
| Patience | Prevent damage |
How to Peel Tape at the Right Angle and Speed
When you peel, pull the tape back over itself at a low, steady angle—about 30 to 45 degrees—so the adhesive releases gradually; move slowly and evenly rather than yanking, and adjust speed if resistance increases to avoid lifting paint.
- Use consistent peeling techniques.
- Keep tape angles shallow.
- Pause if adhesive tugs.
- Support nearby paint with your free hand.
How to Loosen Stubborn, Aged Nano Tape
If the nano tape won’t budge after regular peeling, apply targeted heat and a slow, steady pull to soften the adhesive and reduce paint stress. Use a hair dryer on low to medium heat from about 6–8 inches away, moving it back and forth for 30–60 seconds before lifting a small corner and continuing at a 30–45° angle.
Then test a solvent like isopropyl alcohol sparingly to weaken adhesive properties, blotting gently.
Consider nano tape alternatives if damage risk is high.
Use Plastic Scrapers and Dental Floss Without Scratching
After loosening the tape with heat and a solvent, bring in plastic scrapers and dental floss to remove the adhesive without harming paint.
You’ll choose safe plastic types and gentle scraping techniques. Use dental floss like a saw, hold edges taut, glide scrapers at low angle, and switch to softer plastics near edges to avoid scratches.
- Work slowly
- Keep flat angle
- Replace worn tools
- Test first
Clean Nano‑Tape Residue Without Harming Paint
Although the tape may be gone, sticky residue can cling stubbornly to paint, so you’ll want to remove it gently to avoid damage.
Test mild cleaning techniques on an inconspicuous spot. Use a soft cloth with warm soapy water, rubbing alcohol, or a citrus-based solvent, working slowly to break down adhesive properties.
Rinse and dry, repeating sparingly until all tackiness is gone.
Treat Glossy, Semi‑Gloss, and Flat Paint Differently
Because paint finishes react differently to cleaning, you should tailor your removal method to glossy, semi-gloss, or flat surfaces.
- For shiny surfaces, use gentle glossy paint techniques—mild soap and soft cloths.
- Try low-abrasion semi gloss solutions for semi-gloss areas to avoid scuffs.
- Use minimal moisture with flat paint strategies to prevent sheen loss.
- Always assess paint finish considerations before testing in an inconspicuous spot.
Protect Trim, Furniture, and Baseboards During Removal
Before you start pulling tape, cover nearby furniture and trim with drop cloths or a sheet to catch any adhesive or debris.
Use painter’s tape to mask edges and hold protective coverings in place without damaging paint.
Take extra care around baseboards—press protection tightly into gaps so removal won’t tug at the base or leave residue.
Cover Nearby Surfaces
When you remove nano tape, cover trim, furniture edges, and baseboards to stop adhesive residue and accidental scuffs from spreading—use painter’s tape and drop cloths for a quick, protective barrier.
Use surface protection and consider tape alternatives for delicate finishes.
- Lay drop cloths
- Mask edges lightly
- Pad corners with cloth
- Keep tools off painted areas
Use Painter’s Tape
Stick painter’s tape along trim, furniture edges, and baseboards to create a clean barrier that keeps adhesive residue and scuffs off finished surfaces during nano tape removal.
You’ll press the tape firmly, overlap corners, and remove it slowly after cleaning.
Highlight painter’s tape benefits—easy peel, low residue—and consider painter’s tape alternatives like masking film or craft paper when wider coverage or different adhesive strength is needed.
Protect Baseboards Carefully
If you want to avoid gouges, paint chips, or sticky residue on trim and baseboards, cover them with painter’s tape or thin protective film before you pull off nano tape.
Protect baseboards carefully to prevent adhesive damage and accidental knocks. Remove tape slowly, heat edges, and inspect for residue.
- Mask edges
- Use film
- Apply heat
- Clean residue
Fix Small Paint Lifts and Scuffs Yourself
Don’t panic over tiny paint lifts or scuffs — you can usually repair them yourself with a few simple tools and a steady hand.
For quick paint repair, gently sand raised edges, clean the area, apply matching primer or touch-up paint with a fine brush, and feather the edges.
Regular wall maintenance prevents worsening; let layers dry fully before evaluating and reapplying as needed.
Prevent Paint Damage When Using Nano Tape
To avoid peeling paint, choose low-tack nano tape designed for delicate surfaces.
Before applying widely, test a small hidden area and wait a few hours to see if the finish lifts.
If the test shows any damage, pick a gentler product or skip the tape.
Choose Low-Tack Options
Choosing a low-tack nano tape gives you strong hold without risking paint lift, so opt for products labeled “removable,” “low-adhesive,” or “for delicate surfaces.”
You’ll protect finishes by selecting low tack options and considering tape alternatives when needed.
- Look for “removable” branding.
- Prefer foam-backed low tack.
- Use paper-based tape as alternative.
- Avoid long-term exposure.
Test Small Hidden Area
Want to make sure your paint survives nano tape? Test a small hidden area first.
Pick a spot behind furniture or in a closet, apply a short strip, wait 24 hours, then peel slowly at a low angle.
Observe for residue, lifting, or finish change. This checks paint types and adhesive properties so you avoid broader damage.
Common Mistakes That Cause Paint to Peel
When you rush the prep, you’re inviting the tape to lift paint—skipping cleaning, ignoring loose or chalky surfaces, or applying tape over fresh paint all cause failures.
- Poor surface prep harms paint adhesion.
- Pulling tape too fast defeats safe removal techniques.
- Using overly aggressive tape or long-term adhesion stresses the finish.
- Ignoring manufacturer’s cure times and surface compatibility leads to peeling.
When to Stop and Call a Pro
If you’re facing peeling that keeps spreading, deep gouges in the drywall, or stubborn adhesive that won’t budge without tearing paint, stop and call a pro—these signs mean DIY fixes could make things worse or hide underlying damage.
You should hire professional services for paint restoration and structural repair so the job’s fixed correctly and future problems are prevented.
Quick Troubleshooting for Common Removal Problems
Anyone can run into sticky residue, paint lift, or tape that snaps instead of peeling cleanly, but you can fix most issues with a few simple tweaks.
- Warm with a hairdryer to loosen adhesive; test small area for your wall finishes.
- Use citrus solvent for residue; avoid on delicate paint.
- Lift slowly at low angle; different tape types behave differently.
- Stop if paint peels; patch and consult a pro.
Frequently Asked Questions
Can Nano Tape Damage Textured or Popcorn Ceilings?
About 30% of adhesives leave residue; yes, nano tape can damage textured or popcorn ceilings if removed improperly. You’ll risk adhesive residue and ceiling damage, so you should pull slowly, use heat, and test first.
Is Nano Tape Safe on Wallpaper or Vinyl Wallcoverings?
Yes — it can be safe on wallpaper or vinyl, but you’ll need careful wall protection and gentle removal techniques; test a small hidden area, avoid prolonged adhesion, peel slowly at low angle, and use heat if adhesive resists.
How Long Can Nano Tape Stay Applied Before Becoming Irreversible?
Sticky span surprises: short stays shorten stress. You’ll usually find tape longevity around weeks to a few months; after that adhesive bonds build. Use careful removal techniques and gentle heat to prevent permanent problems.
Will Solvents Affect Paint Sheen or Discolor White Paint?
Yes — solvents can alter paint sheen or yellow white paint; you’ll assess paint durability and choose solvent types carefully. Test small area first, avoid strong solvents on sensitive finishes, and use mild cleaners or isopropyl.
Can Pets or Children Cause Issues During Tape Removal?
Yes — pets or children can cause issues during tape removal; you’ll need pet supervision and manage child distractions, because sudden bumps or curious hands can yank tape, damage paint, or startle you, so secure the area first.
