
How to Cover Up Peeled Paint on a Wall So It’s Invisible
You can make peeled paint vanish by scraping loose flakes, sanding and feathering edges, then cleaning the area so filler bonds well. Use spackling for small nicks or patching compound for larger voids, smooth and sand to blend. Prime with a compatible or stain-blocking primer, then repaint in thin, even coats with matched sheen, feathering into surrounding paint. Match texture before finishing for an invisible repair, and if you want more step-by-step guidance keep going.
Quick Checklist: Tools to Fix Peeled Paint
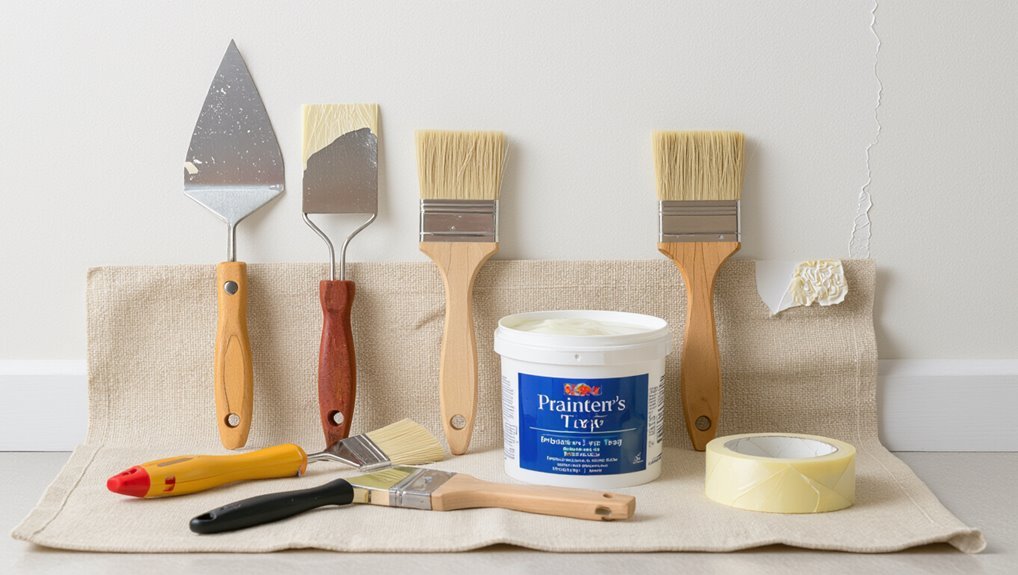
Before you start repairing peeled paint, gather the right tools so the job goes smoothly: you’ll need a putty knife or paint scraper, sandpaper (80–120 grit and 220 for finishing), a patching compound or spackling, a primer, matching paint, brushes or a roller, painter’s tape, drop cloths, a damp cloth for cleanup, and safety gear like gloves and a mask.
You’ll choose paint types, prep properly, and follow maintenance tips to prevent future peeling.
Is the Peel Cosmetic or Structural?
Now that your tools are ready, you need to figure out whether the peeling is just surface-level or indicates a deeper problem.
Inspect for cosmetic issues like flaking finish and poor color matching versus structural concerns such as plaster cracks or moisture problems.
Assess paint types, evaluate wall preparation and finish durability, and determine peeling causes so you choose repairs that address root issues, not just appearance.
Prep Safely: Clean, Tape, Protect Surfaces
Start by clearing the area and protecting everything you don’t want painted: move furniture out or toward the room’s center and cover it with drop cloths, tape seams tight, and lay a cloth or paper runner to catch debris.
Next, use gentle cleaning techniques—mild detergent and a sponge—to remove dust and grease.
Apply painter’s tape for crisp edges; prioritize surface protection before any repairs.
Remove Loose Paint and Feather Edges
Check the surrounding paint by tapping and gently pressing to assess adhesion so you know what needs removing.
Scrape away any loose flakes with a putty knife, then sand the edges smooth.
Feather the remaining paint into the surrounding surface so repairs blend cleanly before priming.
Assess Paint Adhesion
Before you paint over peeled areas, make sure the remaining finish is firmly stuck to the wall: press gently with your fingernail or a putty knife and scrape any loose flakes away.
Check adhesion across the patch, tapping for hollow spots and noting weak edges. Good surface preparation improves paint durability; mark areas needing full removal or sanding so repairs bond and finish looks seamless.
Scrape Loose Edges
Scrape away all loose paint and work the edges until they’re feathered smooth so new paint can bond evenly.
Use a sturdy scraper and putty knife, removing flakes without gouging. Match your approach to paint types and wall textures—harder scrapers for oil-based, gentler for delicate finishes.
Clear debris as you go, wipe dust, and inspect the perimeter for any remaining lift before priming.
Sand And Feather
Sand the perimeter of the peeled area until the remaining paint is smooth and the edges are feathered into the surrounding wall so new primer and paint can create an invisible connection.
Use fine-grit sandpaper, remove dust, and inspect for adhesion.
Match paint types and apply compatible primer.
Feather carefully to blend junctions, then employ blending techniques with thin coats to achieve a seamless finish.
Choose Filler for Small, Medium, Large Peels
Pick a filler that matches the size and depth of each peel so you won’t waste effort or end up with an uneven repair.
For hairline chips use lightweight spackling; for medium hollows choose vinyl or acrylic filler; for large gouges pick patching compound or joint compound.
Match filler types to material, and follow proper application techniques for adhesion and drying before painting.
Sand and Blend for a Seamless Surface
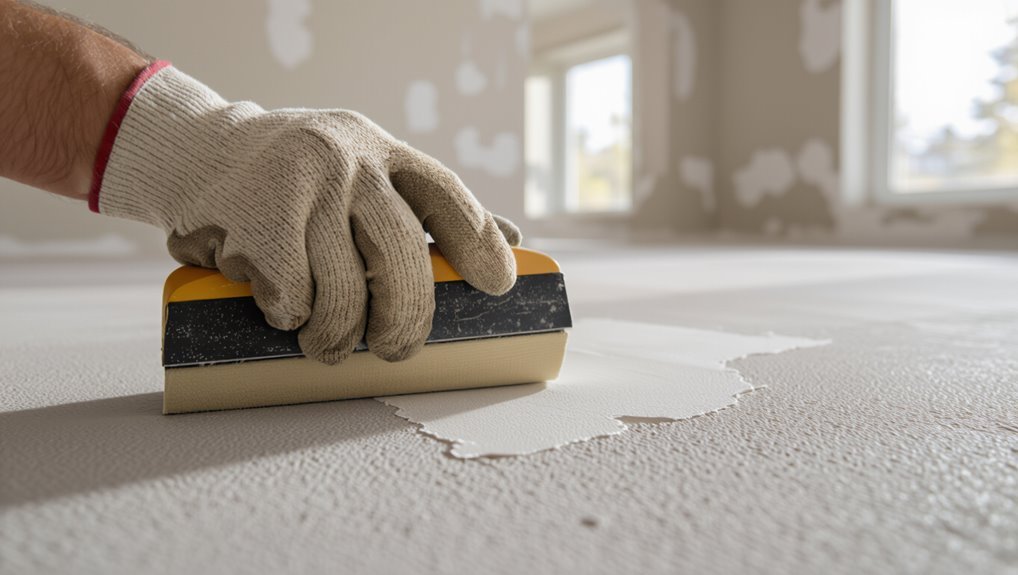
Once your filler has fully cured and feels firm to the touch, smooth the repair so it disappears into the surrounding wall. Use light sanding techniques, check edges, and feather outward with fine grit. Employ blending methods to match texture. Test by running your hand over the patch; it should be indistinguishable.
| Tool | Grit | Motion |
|---|---|---|
| Sandpaper | 120–220 | Circular |
| Sponge | Fine | Blend |
| Brush | Soft | Feather |
Pick the Right Primer for Peeled Paint
Now pick a primer that matches your wall’s surface—drywall, plaster, or previously painted wood each need different formulas.
Choose one with strong stain-blocking power if you’ve got water marks, smoke, or tannin bleed.
A compatible, stain-sealing primer will give your topcoat a smooth, lasting finish.
Surface Compatibility
Choosing the right primer starts with matching it to the wall’s surface—drywall, plaster, wood, or previously painted metal each need different formulations to bond and seal properly.
You’ll check surface types, consider paint compatibility, and pick oil- or water-based primer accordingly.
Test adhesion on a small area, follow manufacturer instructions, and guarantee the primer you choose bonds, seals, and creates a uniform base for topcoat success.
Stain-Blocking Power
Because stains from water, smoke, or tannins can seep back through fresh paint, you’ll want a primer that specifically blocks them, not just one that seals or evens out color.
You should pick one rated for varied stain types to guarantee paint longevity.
Consider:
- Oil-based primer for severe water stains
- Shellac primer for smoke/tannin
- Latex-blocking for mild stains
- Specialty stain-blocker for mold/odor
Repaint Tips to Hide Repairs and Brush Marks
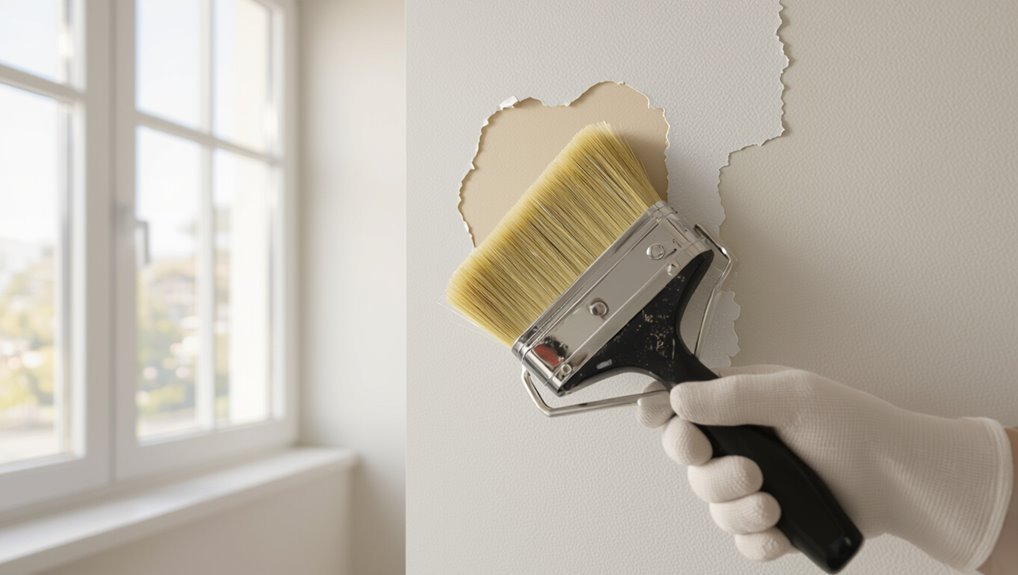
When you repaint after patching peeled paint, work in thin, even coats and feather the edges so repairs blend with the surrounding finish.
Use proper brush techniques—light pressure, long strokes, and minimal reloading—to avoid visible marks.
Practice color blending at the repair edges, overlap slightly with surrounding paint, and sand between coats when necessary to achieve a seamless, invisible repair.
Match Wall Texture and Paint Finish
To make your repair disappear, mirror both the wall’s texture and the paint’s sheen before you touch up the color.
Match the wall’s texture and paint sheen first, then touch up the color for an invisible repair.
Use matching texture techniques and test finish options on scrap.
Then follow these steps:
- Feather joint compound to match stipple or orange peel.
- Sand lightly for smooth walls.
- Prime patched area.
- Apply matching sheen paint in thin, even coats.
Troubleshooting and When to Call a Pro
If your touch-up still stands out after matching texture and sheen, troubleshoot methodically: check for differences in paint age, underlying stains, or uneven primer coverage, and retest on a small patch before repeating full repairs.
Perform a damage assessment, refine wall preparation, and try alternate repair techniques and paint selection.
Weigh DIY options against professional help, considering cost considerations and project timeline before hiring.
Frequently Asked Questions
Can I Use Wall Stickers to Hide Peeled Paint Temporarily?
Yes — you can use wall stickers as a temporary solution; they’ll hide peeled paint and act as wall decor. Just prep the surface, choose adhesive-safe stickers, and know they’re not a permanent fix, so replace when needed.
Will Peel Repair Affect Indoor Air Quality or Fumes?
Yes — peel repair can raise fume levels, especially with strong solvents or primers, and you should guarantee good indoor ventilation. Open windows, run fans, and wear a respirator if products list VOCs or strong odors.
Can Peeled Paint Cover-Ups Be Done on Exterior Walls?
Yes—you can repair peeled paint on exterior walls, but you’ll prep, prime, and use exterior paint with good weather resistance so your patch blends, adheres, and withstands sun, rain, and temperature changes for lasting protection.
How Long Before Repainted Area Fully Cures and Hardens?
Like a slow sunrise, the repainting’s fully cured usually takes 2–4 weeks; paint drying times start in hours, but full paint curing (hardening) can need weeks depending on type, humidity, and temperature—you’ll want patience.
Are There Eco-Friendly or Low-Voc Fillers and Primers?
Yes — you can use eco friendly options like water-based spackles and clay or gypsum fillers, and low VOC alternatives such as acrylic primers and shellac-based sealers; they work well and reduce fumes for safer indoor use.
