
How to Texture Walls Before Painting for a Flawless Look
Before you paint, first identify your wall’s existing texture by shining a flashlight at a low angle and matching its pattern. Repair dents, cracks, and tape-line defects until the surface feels level. Clean and degloss so joint compound bonds well—vacuum, wipe, then lightly sand if needed. Use the right compound and feather patch edges smoothly. Apply consistent thin texture layers, let each coat cure fully, then lightly sand, dust, and spot-prime so patch lines don’t show—keep going to perfect the process.
Identify Your Wall Texture Type Before Patching
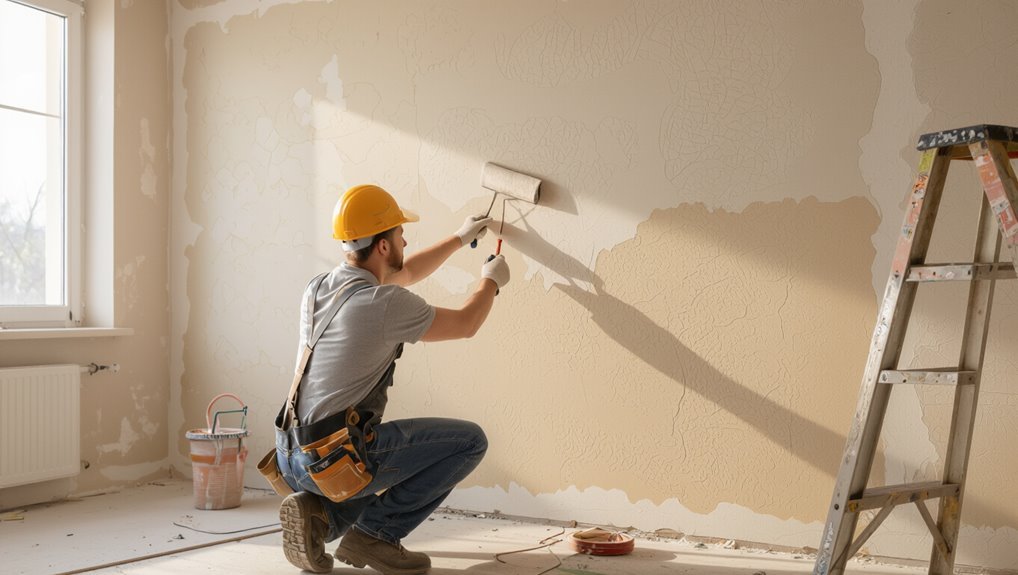
Before you patch anything, identify your wall’s texture type so you can match it correctly. Start by shining a flashlight across the surface at a low angle; the shadows reveal your wall texture.
Look for patterns: smooth or lightly orange-peel, popcorn, knockdown, or skip-trowel. In a small, hidden spot, lightly rub with your hand or a soft brush to feel how the bumps release.
If the texture looks uniform, you can blend patch material more easily. Match texture types by comparing size, spacing, and ridge direction, then plan your topping technique before you begin repairs.
Find Dents, Cracks, and Tape-Line Defects
Walk the wall carefully under good light and mark any dents, cracks, or holes you spot.
Repair the damage by filling and smoothing until the surface feels level.
Then check seams and taped edges for tape-line imperfections and scrape or re-mud them so paint won’t highlight the flaws.
Inspect Walls For Dents
Start by running your hand lightly over the wall and watching the surface from an angle under bright light; this quick check helps you spot dents, cracks, and tape-line defects before you texture.
For wall inspection, feel for soft spots, bumps, or sharp edges—dents often hide behind paint sheen.
Then examine taped lines: press along them and look for raised ridges or gaps where texture will catch.
Use a straightedge or level to confirm flatness and mark problem spots with painter’s pencil.
This surface preparation step prevents lumpy texture and uneven highlights.
Repair Cracks And Holes
Fix cracks and holes by first locating them with the same bright-light inspection you used to check for dents. Run your fingernail along every seam, and note movement or shadows to guide your crack assessment. For small cracks, widen slightly, dust out, then fill with spackle or joint compound; let it dry fully, then sand flush. For holes, remove loose edges, backfill as needed, and perform hole repair with layered compound. Use a damp rag to clean borders.
| Issue | Action |
|---|---|
| Hairline | Fill & sand |
| Open crack | Widen & patch |
| Pin hole | Spot fill |
| Medium void | Layer compound |
| Deep defect | Backfill + patch |
Fix Tape-Line Imperfections
Before you texture or paint, you need to identify tape-line imperfections along every joint—dents, pinholes, raised ridges, and tiny gaps that cast shadows in side light.
Run your palm and a flashlight across seams. Mark trouble spots with a pencil.
Scrape high ridges, then fill low dents and pinholes with spackle or joint compound using tape techniques that feather edges.
After it dries, sand smooth with fine-grit paper, then do line smoothing by wiping dust and applying a thin skim coat over the entire repaired run.
Recheck under oblique light, and touch up until seamless.
Clean and Degloss So Joint Compound Sticks
Clean the surface so the joint compound has something solid to grip. Use effective cleaning techniques: vacuum dust, wipe with a damp microfiber, then let it dry fully.
Stubborn residue needs proper degloss methods—use a drywall sponge or 120–150 grit sanding to dull shine without gouging edges.
Next, remove all sanding debris with a vacuum and final wipe. If the surface feels slick, repeat light sanding and wiping.
After sanding, vacuum thoroughly and wipe clean; if it still feels slick, repeat light sanding and wiping.
You’re aiming for a matte, clean base so compound repairs grab tightly and won’t peel.
Choose the Right Joint Compound for Smooth Repairs
Choosing the right joint compound makes or breaks your repairs, because different products sand, shrink, and cure in different ways. You need the right mix of joint compound types for the job, then you use smart application techniques so repairs blend into your existing texture.
Start by matching compound to thickness: thin coats for hairline cracks, thicker compound for deeper divots. Next, pick a cure schedule you can respect. Finally, test-sand a small patch to confirm smoothness.
Use:
- Lightweight for fast sanding
- Setting-type for no-shrink fills
- All-purpose for general bridging
Feather Patch Edges So Lines Don’t Show
Feathering patch edges is what keeps your repair from telegraphing through the texture and paint, so you blend the compound into the surrounding wall instead of ending with a hard ridge. Use feathering techniques: apply compound wider than the damaged spot, then taper each pass thinner. Pull a flat knife lightly over edges, keeping pressure even. Let it dry, then sand just the junction, not the whole area. Reapply if you see pinholes, and repeat until seamless.
| Area | Goal |
|---|---|
| Center | Build repair |
| First edge | Taper thickness |
| Second edge | Smooth junction |
| Final pass | Disappear lines |
Use blending methods and wipe dust clean.
Match or Choose: Smooth vs. Retexture
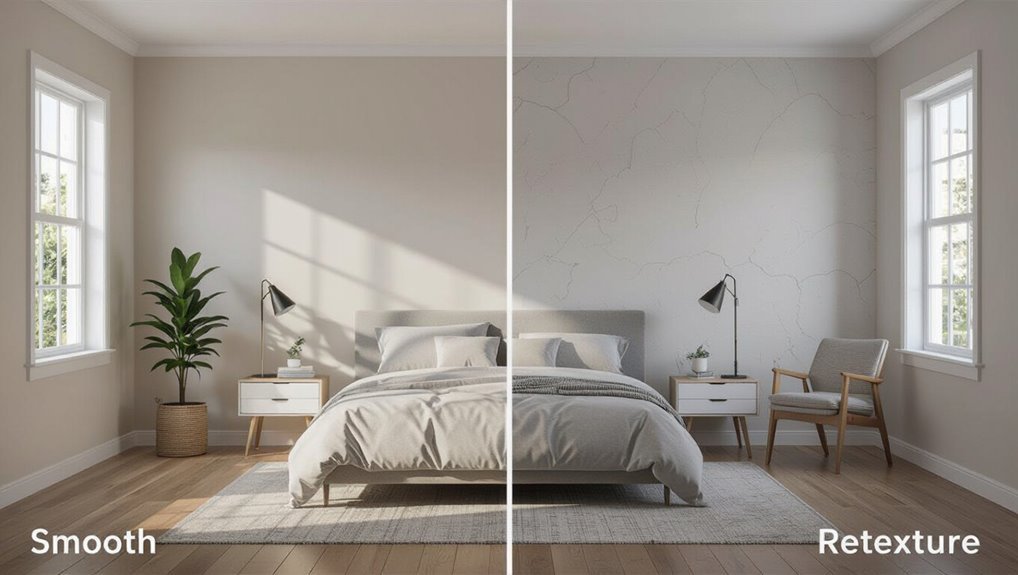
Check your wall’s current smoothness by running your hand over patched spots and seams, and note any dips, ridges, or rough texture.
Then decide whether you can match the existing texture or whether you need to retexture the whole area so the finish stays uniform.
Finally, blend edges carefully—feather changes and sand smooth where needed—so the paint looks consistent across the entire wall.
Evaluate Current Wall Smoothness
Before you paint, you need to evaluate how smooth your wall already feels. You’ll want to evaluate wall imperfections first, because your finish depends on them.
Run your palm over the surface in daylight, then repeat after lighting changes. Next, check for bumps, pinholes, and ridges along seams and corners.
Use a 2-foot straightedge or level to spot waviness. Finally, assess surface preparation by pressing tape on suspected spots and lifting it—loose paint signals trouble.
- Feel for ridges and drafts
- Sight lines for waves
- Test adhesion with tape
Decide Between Matching Or Retexturing
So, how do you decide between matching the existing finish and retexturing the wall? Start by checking what you want to hide.
If the wall already looks uniform and only needs a light patch, use matching methods like skimming, feathering compound, and spot sanding so the texture stays consistent.
Choose retexturing options when you find peeling, heavy ridges, or mixed patterns that can’t blend evenly.
If coverage matters more than preserving the original look, go with full-wall retexture, then paint.
Your goal is one coherent surface, not a patchwork.
Blend Edges For Consistency
Once you’ve decided whether you’ll match or retexture, you still have to blend the edges so the repair doesn’t stand out. You’ll want clean blending lines using proven edge blending techniques and solid consistency tips.
Start with a light skim coat over feathered margins, then stop slightly short of the surrounding texture. Feather again after it tacks, so the ridge disappears.
Use a damp sponge or drywall knife to blur the boundary, not to recreate a sharp spot. Finally, check under raking light, and adjust with a second pass if needed:
- Feather edges
- Skim lightly
- Recheck lighting
Fix Peeling Paint and Exposed Drywall Right
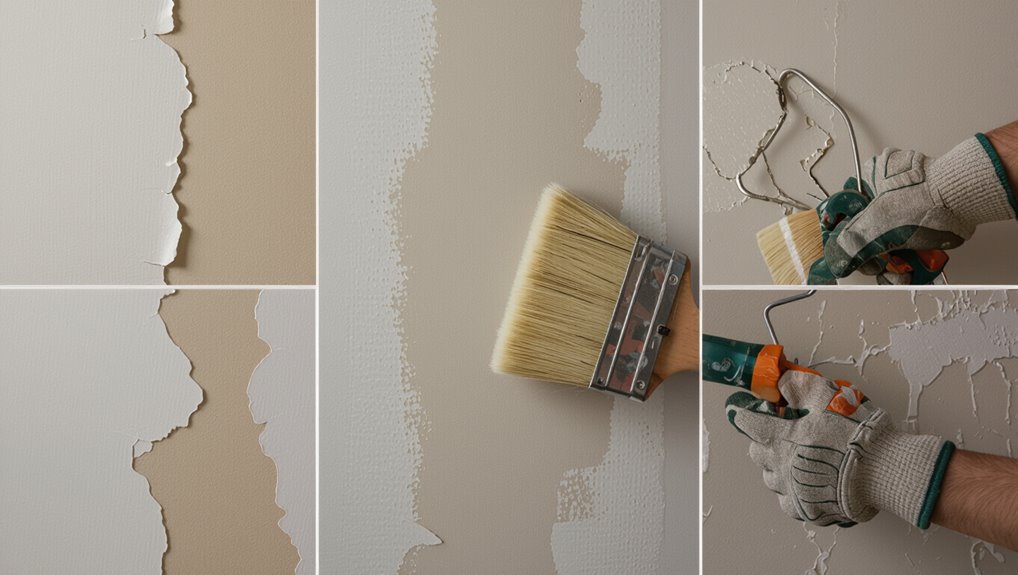
Stop peeling paint and protect your drywall by addressing the damage first: scrape off loose or flaking material, then sand the edges smooth so the new coating grips solid surface. Use peeling solutions sparingly to soften stubborn spots, then rinse and dry fully. Patch exposed drywall with joint compound in thin layers, letting each coat cure. Feather the repair outward so texture blends later.
| Step | What you do | Goal |
|---|---|---|
| 1 | Scrape loose paint | Remove weak edges |
| 2 | Sand feather | Smooth gradient |
| 3 | Spot prime | Block stains |
| 4 | Patch drywall | Fill voids |
| 5 | Let cure | Strong bond |
Seal Repairs to Prevent Flashing and Uneven Color
Seal your repairs before you move on to finish paint, because patching compound and bare drywall can absorb color differently and create flashing or uneven sheen.
You want consistent porosity, so do a careful sealant application at feathered edges, not just the center. Use a drywall sealer or bonding primer, then let it dry fully. This flashing prevention step makes your finish coat look uniform across repairs.
- Clean dust, then wipe with a damp rag.
- Apply sealer thinly with a brush or roller.
- Spot-check sheen under light before painting.
Spot-Prime, Then Prime for an Even Base
After your repairs are fully sealed, you’ll get the most even finish by spot-priming first, then priming the whole wall.
Use spot prime techniques: brush or roll on stain-blocking primer only over patches, sanding dust, and any discolored spots. Feather edges so the surface feels uniform to your hand. Let those spots dry completely, then inspect under angled light.
Spot-prime only patches and discolored areas, feather edges for smoothness, let dry fully, then check under angled light.
Next, choose primer selection based on your wall type and texture: use a bonding primer for slick drywall, and a stain-blocking base for repairs.
Apply one consistent coat across everything, keeping a wet edge to prevent lap marks.
Apply Texture Layers the Same Way Every Time
You’ll get more reliable results when you plan a consistent application pattern before you start.
Work in the same direction each pass and keep your texture layer coverage even so you don’t create thin spots or heavy ridges.
If you stick to that routine every time, your wall will prep uniformly for painting.
Plan Consistent Application Pattern
Build a repeatable routine so every wall gets the same texture coverage, thickness, and finish.
Before you start, map your pattern and lock in consistent techniques so your texture behaves the same across rooms.
Set up your application tools and keep your motion identical: start, stop, and overlap points must match every time.
Use this checklist to plan your consistent application pattern:
- Mark reference lines for top-to-bottom passes.
- Choose a fixed “wet edge” width and overlap.
- Maintain the same roller/sprayer angle and pressure.
Follow your marks, and you’ll avoid streaks, ridges, and patchy areas.
Maintain Even Coverage Layers
Maintain even coverage by applying each texture layer with the same pace, thickness, and overlap from one pass to the next.
Keep your sprayer or trowel moving steadily, and don’t stop mid-stroke. Reload the material at consistent intervals so your sheen and drag match.
Watch for striping; adjust your distance or speed immediately when you spot it. Use proven texture techniques—corner-to-center, then backroll lightly—to blend edges.
As you layer, follow layering tips: light first coats, even second coats, and full drying between passes.
Finish with a uniform skim if needed.
Use the Right Tool for Knockdown or Orange Peel
Choosing the right tool for knockdown or orange peel determines how smooth—or textured—your walls look after the paint cures. You need to match your spray pattern to your goal. Use the right tool, and you control the texture instead of fighting it later.
- For a clean knockdown technique, use a knockdown knife or drywall blade, then lightly drag while the texture is wet.
- For orange peel, choose a stiff roller texture pad or an airless sprayer with the right tip and pressure.
- Test on scrap board to dial thickness, speed, and distance before you commit.
Let Each Coat Cure Before Sanding or Coating
After you apply a coat, let it cure fully so the texture firms up and won’t smear.
Don’t sand too soon—check dryness first, and wait until the surface feels consistent and solid.
Before you add another coating, verify it’s properly cured so you don’t trap moisture or weaken the finish.
Let Each Coat Cure
Once you’ve applied a coat of paint or primer, give it enough time to cure before you sand or add another layer.
Don’t rush your texture techniques; proper application timing keeps the surface stable and prevents uneven sheen.
Follow these checks:
- Let the coat reach a firm, dry-to-touch state, not just surface dryness.
- Verify full cure by reading the label’s time for your temperature and humidity.
- Avoid trapping moisture by re-coating too soon; it can cause soft spots.
When each coat cures, you get cleaner lines, better adhesion, and a smoother finish you’ll be proud to show.
Avoid Sanding Too Soon
Rushing to sand or recoat can undo all your prep, so wait until the paint or primer has truly cured. You should follow the label’s drying time, then give extra time if humidity runs high.
When the surface feels firm but isn’t tacky, you can sand lightly for cleanup. Use controlled sanding techniques: feather edges, don’t grind, and keep pressure even.
If you see smearing, you’re sanding too soon—stop, let it cure longer, and check again. By respecting cure time, you prevent bumps, pinholes, and adhesion problems.
Then your next coat bonds cleanly.
Check Dryness Before Coating
Before you apply another coat, check that the current layer has fully cured—dry to the touch isn’t always ready to sand or coat.
You want a stable surface, so check moisture and confirm it’s truly set. Test a small patch first, then let the wall rest longer if it feels cool or slightly rubbery.
After curing, you can sand lightly to knock down ridges, but don’t trap uncured texture under fresh paint.
Use this checklist:
- Check moisture with a quick tape test.
- Assess adhesion by pressing and listening for flex.
- Wait again if it smears or dulls under sanding.
Sand, Dust, and Spot-Prime Repair Areas
To prep your walls for paint, you need to deal with sanded dust, loose particles, and any spot-areas that got damaged or patched.
Use smart sanding techniques: lightly sand repairs until smooth, then feather edges so texture blends.
Lightly sand repairs until smooth, then feather the edges for seamless texture blending before you move on.
Wipe everything with a damp cloth or tack cloth, then let it dry; brushing alone often leaves grit.
Spot-prime only the repaired zones using matching priming methods—apply thin, even coats and extend slightly beyond the patch.
Let primer cure fully.
After that, check for tiny ridges by running your hand across the surface before you move on.
Paint Textured Walls Without Showing Patch Lines
Blend the repair seamlessly by matching the existing wall texture and then painting in a way that hides shifts.
Start by dry-fitting your roller nap and spray pattern so your paint application lands the same peaks and valleys.
Use these texture techniques to prevent patch lines:
- Mist-lightly feather edges after spot-priming so the surface reads uniform.
- Apply paint in thin coats, keeping a wet edge to avoid lap marks.
- Use a stipple or knockdown pass over fresh paint, then stop before it dulls.
Let each coat flash fully, then inspect under angled light.
You’ll blend repairs invisibly.
Frequently Asked Questions
Can I Texture Over Existing Paint Without Sanding or Deglossing?
Yes, you can texture over existing paint without sanding or deglossing only if it’s solid, clean, and well-adhered. Test paint compatibility: adhesion, then bond. Otherwise, scrub or lightly sand to prevent peeling, bubbles, and uneven texture techniques results.
What’s the Best Primer to Stop Drywall and Patch Color Bleed?
Choose a bonding drywall primer or a dedicated color sealant: it acts like a shield, stopping stains and patch bleed. Apply one even coat to bare drywall, let it dry fully, then top with your finish paint for true color.
How Do I Prevent “Ghosting” When Retexturing Near Corners and Ceilings?
Prevent ghosting by feathering compound thinly at junctions, keeping texture consistent. Use tight corner techniques with a small knife, then blend edges on a slightly damp surface. For ceiling methods, mist lightly, overlap passes, and match knockdown patterns closely.
Should I Use Spackle, Joint Compound, or Setting-Type Compound for Small Holes?
Use spackle for small pinholes and shallow dents; it dries fast and sands easily, offering spackle advantages. For larger holes or repairs that need strength, choose joint compound or setting-type compound; do compound comparisons based on cure time and shrink resistance.
How Long Should Patches Cure Before I Apply Final Texture and Paint?
Let patches cure fully before final texture application: spackle often needs 24 hours, joint compound 24–48, and setting-type compound 48 hours. Test hardness, sand smooth, then proceed. Don’t paint or texture until dry throughout.
Conclusion
You’ll get that flawless look only if you slow down: match your wall texture, patch smart, degrease well, feather edges, and let each coat cure like it means it. Then sand, dust, and spot-prime so your paint doesn’t rat out every repair. When you finally roll or spray, keep a steady hand and don’t chase perfection like it owes you money—your textured wall will thank you. Now go enjoy the compliments.
