How Long Does Cement Take to Dry Before Painting
You should usually wait about 28 days for concrete to cure before painting, though the surface often feels dry in 2–5 days and thin patches can be ready in 1–2 weeks. Check moisture with a meter or tape test and confirm consistent color, no damp spots, and sound surface before priming. Consider temperature, humidity, thickness, and mix. Follow primer instructions and let it cure fully—keep going for details on tests, prep, and troubleshooting.
Quick Answer: When to Paint Cement?
If you’re painting new or recently repaired cement, wait until it’s fully cured—usually 28 days for standard concrete—before applying paint. You’ll check moisture with a meter or tape test, ensuring surface feels dry and stable.
You shouldn’t paint over sealers or contaminants; clean, etch, or prime as needed. In restorations, consider historical significance when matching finishes and materials. Also respect cultural variations in color and texture choices for heritage sites.
Exterior projects need longer cure time and favorable weather. If you follow these steps, your paint will adhere properly and last, avoiding premature peeling or failure.
Drying vs. Curing: What’s the Difference?
You’ve already learned to wait for concrete to cure before painting; now let’s clarify two different processes that affect timing. Drying means surface moisture evaporates; you can touch it and it feels dry, but internal hydration continues.
Curing is the chemical reaction that strengthens cement over weeks; it’s what really dictates paint adhesion and longevity. You’ll check moisture with a meter and follow manufacturer guidelines, not just surface feel.
Historical techniques and cultural influences shaped traditional curing practices—like wet burlap or lime washes—which still inform modern methods. Respect curing time to avoid peeling, staining, or premature failure of paint.
How Mix Ratio and Cement Type Affect Drying
When you change the cement-to-aggregate or water ratio, you directly alter how quickly moisture leaves the mix and how long hydration continues, so choosing the right proportions matters for drying and eventual paintability. You’ll prefer lower water/cement ratios for faster drying, but remember Cement composition affects setting speed and porosity. Higher cement content can speed initial set yet increase shrinkage. Consider Environmental factors like humidity and airflow when selecting mixes. Use the table to compare common choices:
| Mix Type | Drying Tendency | Paint Readiness |
|---|---|---|
| Lean (more aggregate) | Slower | Later |
| Rich (more cement) | Faster | Risky |
How Temperature Alters Drying and Curing
Although temperature doesn’t change the chemistry of hydration, it controls the rate at which reactions proceed and moisture leaves the concrete, so you’ll see big differences in both drying time and final strength depending on conditions.
You should expect warmer temperatures to speed curing, letting you paint sooner, but very high heat can trap moisture gradients that weaken surface strength.
Cold slows reactions, extending wait times and risking incomplete strength gain.
When using cement coloring or applying decorative finishes, adjust timing so pigments set evenly and toppings bond properly.
Always follow manufacturer temperature recommendations to avoid premature failure or color mottling.
How Humidity and Ventilation Change Drying Speed
High humidity slows cement drying by keeping moisture trapped, so you’ll notice longer wait times before painting.
You can speed things up by increasing ventilation—open windows, use fans, or run dehumidifiers to move moist air away.
Aim for steady airflow and lower relative humidity to help the surface reach paint-ready dryness sooner.
High Humidity Effects
If you’re working in a damp environment, moisture in the air slows cement’s evaporation and can double or even triple drying times compared with dry conditions.
You’ll notice prolonged surface dampness raises the risk of cement discoloration and can promote surface cracking if cycles of wetting and drying occur.
High humidity reduces evaporation from the cement paste, delaying strength gain and extending the safe wait before painting.
You should monitor humidity levels and measure moisture content rather than guessing.
Expect variability: cooler temperatures plus high humidity slow curing more, so plan longer drying windows to avoid cosmetic and structural issues.
Improving Airflow Practices
Because humidity and ventilation directly control how fast moisture leaves cement, improving airflow is one of the simplest ways you can speed drying and reduce risk of staining or delayed painting. You’ll boost evaporation with fans, dehumidifiers, or opening windows, watching cement texture and color consistency as moisture leaves. Move air slowly to avoid surface craze; steady circulation dries evenly. Check temps and avoid cold drafts that trap damp spots. Use barriers to direct flow and shield curing surfaces from rain. Monitor with moisture meters, and wait until readings match paint manufacturer’s specs before applying finish.
| Hope | Relief | Pride |
|---|---|---|
| Drying | Even tone | Finish |
| Calm | Consistent | Joy |
Why Thickness Matters: Paint Readiness by Thickness
Thickness matters because thicker cement takes much longer to dry than thin layers, so you can’t just judge readiness by the surface.
You’ll often see the top feel dry while the core still holds moisture, which can trap solvents and cause paint failures.
Aim for recommended drying durations based on thickness—thin coats may be ready in days, while slabs can need weeks to fully cure.
Thickness Affects Dry Time
When you lay down a thicker coat of cement, it holds moisture longer and slows the curing process, so you can’t paint as soon as a thin skim coat would be ready.
You should assess thickness because denser layers need more time for moisture to migrate out; otherwise paint adhesion fails or blisters. Measure depth, follow manufacturer drying charts, and allow extra days per additional millimeter.
Also remember that cement coloring and decorative finishes can mask slight surface dampness but won’t prevent trapped moisture from compromising paint.
Patience with thicker applications protects finish longevity and avoids costly rework.
Surface vs Core Drying
You’ve already seen that thicker applications hold moisture longer; now consider where that moisture hides. On the surface, cement looks dry while cores stay damp, so you might paint too soon and trap moisture.
You should probe thickness before finishing: cores slow curing, affecting adhesion and risking cracks that compromise cement reinforcement.
Drying gradients also change vapor paths, so ventilation and curing methods matter.
Think about environmental impact too—accelerating cures with heat or chemicals can raise emissions or damage structure.
Assess depth with moisture meters or test patches, and wait for uniform dryness across the full section before painting.
Recommended Drying Durations
Although thicker cement sections take longer to shed moisture, you can estimate paint readiness by relating drying time to layer depth.
For thin render (5–10 mm), expect 1–2 weeks; medium coats (10–25 mm) need 3–6 weeks. Structural pours over 25 mm often require months before safe painting.
Adjust for cement composition, ambient humidity, and temperature—portland mixes dry differently than blended cements.
Test with a moisture meter and the paper-tape method to confirm surface and core dryness.
Wait longer if you see damp spots or risk of color fading from trapped moisture; better patience prevents peeling and uneven finish.
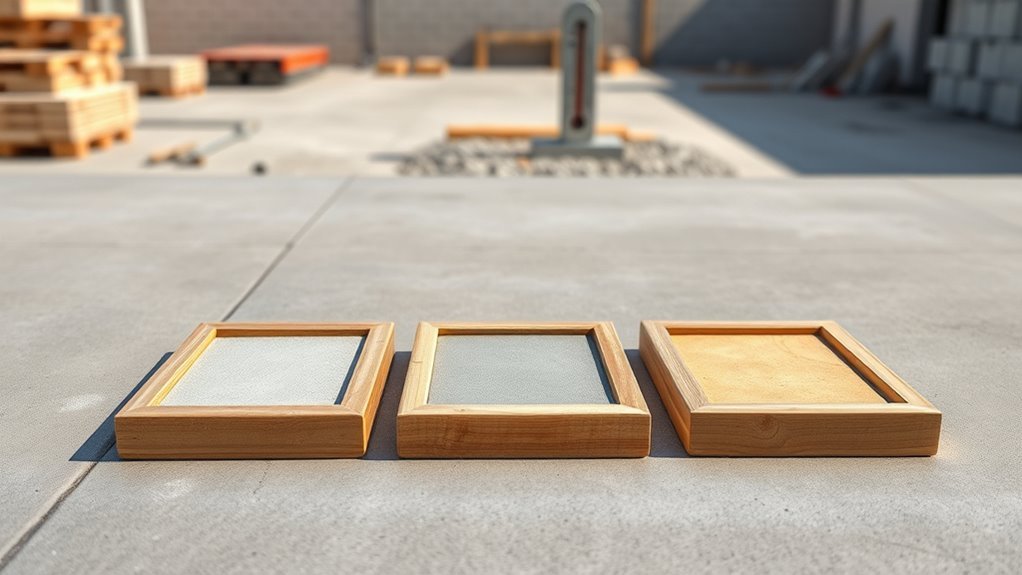
Typical Timelines: Thin Render, Mortar, Concrete Slab
If you’re planning work on different cement surfaces, understanding typical drying timelines helps you schedule painting and avoid failures.
Thin render usually cures surface-dry in 24–48 hours but needs 7–14 days before painting to reduce blistering. Note that historical uses favored lime renders with different moisture behavior and lower environmental impact.
Mortar joints set in 24–72 hours and generally need 7–28 days depending on thickness and mix. Avoid sealing too soon.
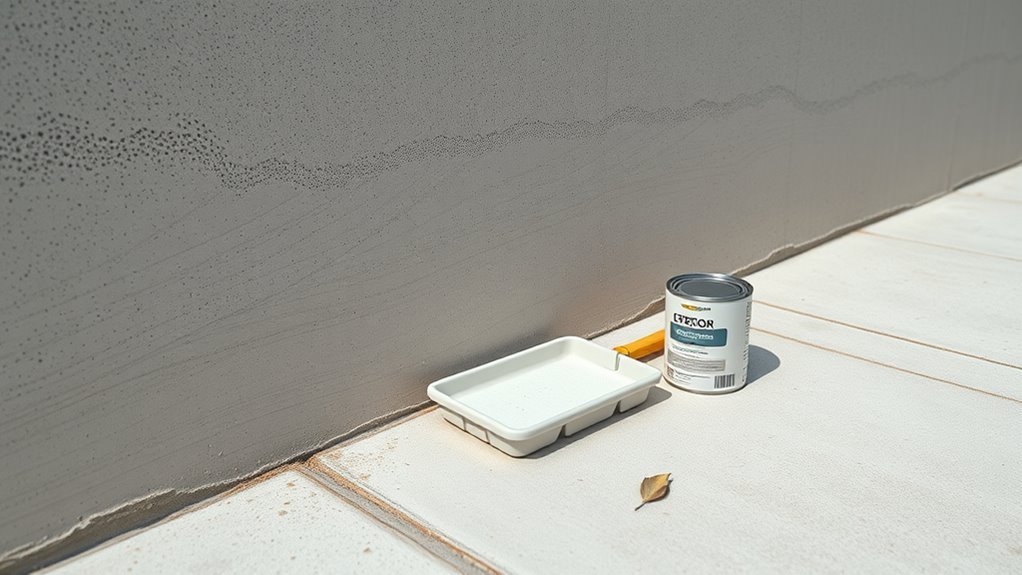
Concrete slabs often reach surface-dry in 2–5 days but require 28 days to achieve design strength and proper moisture reduction before applying paint or coatings for durable adhesion.
Signs Cement Is Ready to Paint (Visual and Tactile)
When the cement looks uniformly pale and feels dry to the touch, you can start checking for paint readiness with a few simple tests.
Look for consistent color and the absence of dark, damp patches; hairline shrinkage cracks are fine, wide cracks aren’t.
Press gently with a fingernail—no powder or indentation means surface set.
Smell for persistent damp or mildew; a neutral, earthy scent suggests dryness.
Consider historical context: older mixes may cure differently, so compare to nearby cured areas.
Also note environmental impact—painting too soon can trap moisture and promote failures, so wait until tactile and visual cues confirm readiness.
Simple Home Moisture Tests You Can Do
Because moisture can hide below a dry-looking surface, you’ll want to run a few quick home tests before painting cement. These simple checks help protect cement aesthetics and guarantee reliable color matching by revealing damp spots you might miss.
- Tape test: Stick clear plastic to the cement for 24 hours; if condensation forms, it’s damp.
- Touch test: Press a cold metal spoon to the surface; warmth or prolonged coolness suggests moisture.
- Paper test: Tape paper and inspect for darkening after a day.
- Smell test: Musty odors near the surface often mean trapped moisture—delay painting.
Using a Moisture Meter: Safe Readings to Paint
Although visual checks help, you’ll get the most reliable reading with a moisture meter designed for concrete; these tools measure moisture content or relative humidity in the slab so you can decide if it’s safe to paint. Use the meter alongside observations of cement texture and color consistency to confirm curing progress. Aim for manufacturer-recommended limits (often ≤4% for moisture content or ≤75% RH). Take multiple readings across the slab, especially near edges and joints. Calibrate the meter, follow insertion or surface probe instructions, and wait after testing to ensure stable readings before painting.
| Location | Safe Threshold |
|---|---|
| Center | ≤4% / ≤75% RH |
| Edge | ≤4% / ≤75% RH |
Choosing a Primer for Newly Cured Cement
Now that you’ve confirmed acceptable moisture levels, pick a primer that bonds to cured cement and matches your topcoat. You’ll want a product formulated for masonry, one that seals cement dust and resists alkali. If oxide stains are present, choose an alkali-blocking primer or one with stain-sealing properties.
After confirming moisture, use a masonry primer that bonds to cured cement, seals dust, and resists alkali.
Prep by cleaning, removing loose dust, and treating rust or heavy stains. Apply per manufacturer instructions, watching coverage and recoat times.
Consider these primer features:
- Masonry-specific adhesion and breathability
- Alkali resistance to prevent efflorescence and seal oxide stains
- High solids for dust sealing
- Compatible recoat window and topcoat adhesion
Best Paints for New Cement Surfaces
When you’re ready to finish a newly cured cement surface, choose paints formulated for masonry that offer breathability, alkali resistance, and strong adhesion.
You’ll want elastomeric or masonry acrylics for exterior walls and water-based acrylics for interiors; both handle moisture movement and resist chalking.
Use pigmented tint systems or cement coloring stains when you want long-lasting color that penetrates rather than just coats.
For textured or accent areas, select paints compatible with decorative finishes—silicate paints bond chemically to mineral substrates for durability.
Always verify compatibility with your primer and check manufacturer specs for substrate preparation and application conditions.
How Long to Wait After Priming Before Topcoat
Before you apply the topcoat, make sure the primer has fully cured rather than just feeling dry to the touch. Most water-based primers need 1–4 hours to dry and 24 hours to cure.
Oil-based or alkyd primers commonly require 8–24 hours to dry and up to 48–72 hours to cure. High-humidity or low-temperature conditions can extend these times. You’ll want confident curing to avoid adhesion issues on cement surfaces.
Consider these steps:
- Check manufacturer cure times on the can.
- Perform a light adhesion test in an inconspicuous area.
- Address surface porosity for consistent cement branding.
- Plan decorative techniques after full cure.
Safe Fast-Drying Methods: Heat, Dehumidifiers, Airflow
You can speed curing by adding controlled heat, but don’t overdo it or you’ll crack the cement. Use fans to boost airflow and run a dehumidifier to pull moisture out of the room for faster, more even drying.
I’ll explain safe temperature ranges, placement tips, and timing so you get paint-ready concrete without damage.
Accelerated Drying With Heat
Although speeding up cement drying with heat, dehumidifiers, and good airflow can markedly cut wait times, you need to apply these methods carefully to avoid surface cracking or weak curing. You’ll use gentle, even heat—portable heaters or radiant panels—keeping temperatures steady to protect cement aesthetics and long-term strength while minimizing environmental impact by avoiding excessive fuel use.
Monitor moisture with probes and follow manufacturer temperature limits. Don’t blast fresh cement with high heat. Balance curing rate and strength.
Practical steps:
- Start slow, low-grade heat.
- Maintain uniform temperatures.
- Use moisture monitoring.
- Reduce heater runtime when targets met.
Optimizing Airflow And Dehumidifiers
When you combine steady airflow with a dehumidifier, moisture leaves the slab more predictably and you cut drying time without overheating the cement. Aim for gentle, consistent air movement across the surface and keep the dehumidifier sized for the room so it pulls humidity down evenly.
You’ll position fans to move air parallel to the slab, preventing cold spots and uneven curing that hurt surface texture. Run dehumidifiers continuously, monitoring relative humidity and temperature.
Consider compatible cement additives only when recommended by manufacturers. Check for trapped moisture with a moisture meter before painting, and adjust ventilation until readings stay within safe limits.
When Not to Speed Up Curing (Risks)
If you rush curing to save time, you’ll often create problems that are harder and costlier to fix than the delay you avoided. You shouldn’t force curing when conditions or materials make it unsafe. Consider environmental impact and historical uses of cement — some mixes and restorations need slow, natural cure to maintain integrity.
- Surface cracking: accelerated drying raises shrinkage cracks that weaken finishes.
- Adhesion failure: paint or coatings may delaminate from improperly cured cement.
- Structural risk: fast cures can trap moisture, causing long-term durability loss.
- Restoration mismatch: historic repairs demand original cure methods to preserve authenticity.
Prep the Surface: Clean, Repair, and Profile
Before you paint, clean, repair, and profile the cement so the coating can bond and last; start by removing dirt, loose material, efflorescence, and any old paint or curing compounds, then patch cracks and spalls with compatible repair mortar and roughen smooth areas to create a keyed surface for adhesion. You’ll clean with mild detergent or pressure wash, use compatible patching mixes, and abrade glossy finishes. Consider historical techniques for lime washes on heritage work and eco friendly materials like low-VOC primers. Test adhesion with a small area first and follow manufacturer drying times before priming.
| Task | Tool | Tip |
|---|---|---|
| Cleaning | Pressure washer | Use low pressure |
| Repair | Repair mortar | Match substrate |
| Profiling | Abrader | Create texture |
| Test | Patch area | Check adhesion |
| Finish | Primer | Low-VOC option |
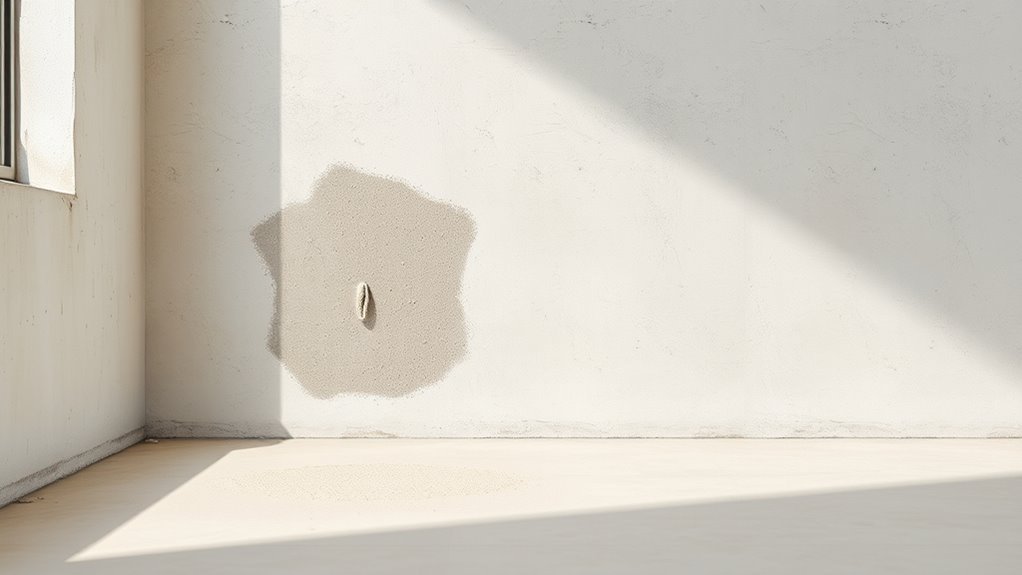
Dealing With Efflorescence and Salt Problems
While efflorescence looks like harmless white powder, it signals moisture moving through the cement and carrying soluble salts that can interfere with paint adhesion and cause staining. You should address efflorescence prevention before painting: stop leaks, improve drainage, and allow the substrate to dry fully.
For salt deposits removal, dry-brush then wash with a mild acid solution, rinse thoroughly, and let the surface dry. After treatment, test with a moisture meter and salt test patch.
If salts recur, investigate water sources and consider a vapor-permeable sealer. Follow manufacturer guidelines before applying primer and paint.
- Identify source
- Dry-brush
- Wash/rinse
- Test dryness
Painting Exterior Cement in Cold or Wet Seasons
When temperatures drop or humidity rises, you’ll need to change how you prep and paint exterior cement to guarantee proper adhesion and curing.
You should postpone work if freezing or heavy rain’s expected; moisture and cold extend cure times and can trap salts that worsen environmental impacts.
Clean and dry the surface thoroughly, checking surface texture for frost, dust, or laitance that’ll prevent bonding.
Use cold-weather-rated primers and slow-curing paints, and consider temporary shelters or heaters to maintain recommended temps.
Allow extra drying time between coats, monitor weather forecasts, and follow manufacturer guidelines to avoid peeling and premature failure.
Painting Interior Cement Floors and Walls: Tips
When painting interior cement floors and walls, start by preparing the surface with cleaning, patching cracks, and sanding to guarantee adhesion.
You’ll want to test for moisture using a tape or calcium chloride test and only paint when levels are acceptable.
Choose a paint and sealer formulated for concrete and for the room’s moisture and traffic conditions to get durable results.
Surface Preparation Steps
Before you open a can of paint, make sure the cement surface is clean, dry, and sound; this prevents adhesion problems and uneven finish. You’ll prep to ensure color blending and texture smoothing across walls or floors. Follow these steps:
- Sweep and vacuum, then degrease stains with appropriate cleaner.
- Patch cracks and holes with cementitious filler; sand for smooth transitions.
- Etch or scuff glossy areas so primers bond; remove dust thoroughly.
- Prime with a breathable, alkali-resistant primer suited for cement.
After prepping, let the primer cure per instructions before painting to ensure durable results.
Moisture Testing Methods
After the primer has cured, check moisture levels in the cement so your paint will adhere and won’t blister or peel. Use a moisture meter (pin or pinless) across several spots, reading depth-specific moisture percentages.
For quick checks, tape a plastic sheet for 24–72 hours and inspect for condensation or darkening. Record results and compare to paint manufacturer limits.
Consider how historical applications used simple sheet tests before modern meters evolved—know their limits. Also weigh environmental impacts of repeated testing in sensitive areas and choose noninvasive methods when possible.
If readings exceed limits, delay painting and improve drying or ventilation.
Paint And Sealer Selection
Although paint choice often seems purely aesthetic, selecting the right paint and sealer is essential to durability and moisture control for interior cement floors and walls. You’ll pick primers that block moisture, breathable sealers for damp substrates, and finishes that resist abrasion.
Consider historical techniques for lime-based finishes in heritage spaces, but choose modern formulations when moisture is a concern. Look for eco-friendly solutions like low-VOC epoxy alternatives or water-based polyurethanes.
Evaluate adhesion, flexibility, and cure times before applying.
- Primer type and moisture tolerance
- Sealer breathability vs. film strength
- Finish durability and slip resistance
- VOCs and environmental impact
Troubleshooting Paint Failure After Early Painting
If you painted too soon and now see peeling, blistering, or poor adhesion, don’t panic—you can often fix the problem by diagnosing the root cause and taking corrective steps.
First, assess cement color and surface texture; uneven curing or trapped moisture often alters color and leaves a damp, rough feel. Scrape loose paint, then test for moisture with a meter or tape test. If damp, wait until fully dry.
Clean, etch, or sand to restore profile. Prime with a breathable masonry primer, then repaint using appropriate exterior masonry paint.
Recheck after 24–48 hours for proper adhesion.
Maintenance Tips to Protect Painted Cement
Once you’ve repaired any adhesion problems and repainted, protecting that finish saves time and money down the road. You’ll want routine care that preserves color, limits cement color variation, and maintains any decorative finishing you’ve applied.
Follow simple steps to prevent moisture, abrasion, and UV damage so surfaces stay uniform.
- Wash gently with mild detergent and soft brush every 6–12 months.
- Reseal joints and cracks promptly with compatible caulk to block water.
- Apply a breathable clear sealer after 2–3 years to protect decorative finishing.
- Touch up chips fast to avoid spread and uneven cement color variation.
Step-by-Step Checklist to Confirm Readiness and Paint
Before you pick up the brush, run through a concise checklist to confirm the cement’s surface, moisture level, and repairs are ready for paint.
Inspect for dust, efflorescence, cracks; sweep and wash.
Check for dust, efflorescence, and cracks — then thoroughly sweep and wash before painting.
Use a moisture meter—under 4% for interior, per product specs—otherwise wait.
Probe patched areas after curing; sand and reapply filler if needed.
Test adhesion with a tape pull in an inconspicuous spot.
Choose primer suited to cement and consider eco friendly alternatives like low-VOC primers.
Review historical applications on similar substrates to match technique.
Only paint when all checks pass to guarantee durable, even coverage.
Frequently Asked Questions
How Long After Rain Should Exterior Cement Dry Before Painting?
You should wait 24–72 hours after rain before painting exterior cement, depending on weather conditions and surface preparation; make sure it’s dry to the touch, clean, and free of moisture before you apply primer and paint.
Can I Paint Over Cement Previously Sealed With Acrylic Sealer?
Yes — but check sealer compatibility first: if the acrylic sealer’s film’s intact, you’ll strip or scuff it. Surface preparation matters: clean, sand, and use a compatible primer so your new paint will properly adhere and last.
Does Rebar Corrosion Affect Paint Adhesion on Concrete?
Yes — rebar corrosion undermines paint adhesion by causing rust staining, cracking, and delamination; you’ll need to address corroded rebar, repair concrete, and use appropriate primers and coatings so paint will properly bond and last.
Will Painted Cement Outgas Odor After Sealing a Basement Slab?
Yes — you might notice temporary odor after sealing; you’ll reduce it by choosing sealer compatibility with paint and low-VOC products. Proper ventilation and allowing cure time will aid odor elimination and improve long-term results.
How Does Nearby Vegetation Affect Drying and Paint Adhesion?
Nearby vegetation increases vegetation interference and moisture retention, so you’ll get slower drying and higher dampness at the slab edge, which reduces paint adhesion; you should trim plants, improve airflow, and use moisture-tolerant primers.
Conclusion
So, ready to paint? Wait until the cement’s surface is dry to the touch and the slab has cured enough—usually 7 days for light traffic or 28 days for full strength—then prime and paint. Remember moisture, mix, and temperature all affect timing, so test with a moisture meter or tape test first. Want the paint to last and look great? Be patient, follow the checklist, and schedule painting when conditions are right.