Does Humidity Affect Paint Drying
Yes — humidity affects paint drying a lot. If you’re painting in high humidity, water‑based paints dry slower because moisture in the air limits evaporation and delays film formation, leaving tacky, soft surfaces and longer recoat times. Oil and alkyd paints also cure more slowly since trapped moisture and solvents impede oxidation and hardening. Control ventilation, temperature, or use appropriate additives to speed proper drying; keep going and you’ll find practical fixes and timing tips.
Quick Answer: Does Humidity Affect Paint Drying?
Although paint always needs time to cure, humidity changes how fast that happens: high humidity slows drying for water-based paints and can speed tackiness in oil-based ones. You’ll notice waterborne finishes feel sticky and take longer to harden when moisture’s high, while solvents in oil-based formulations evaporate differently.
Check humidity sensors before you start; they help you pick the right day or adjust conditions. Also consider paint formulations—some include additives to resist humidity’s effects.
If you control ventilation and temperature, you’ll reduce drying issues and get consistent results, whether brushing, rolling, or spraying.
How to Use This Guide
Use this guide to skim the quick answer first, then read the sections that matter to your situation. You’ll find simple explanations, practical tips, and clear tables to help you decide when and how to paint.
Follow the short checklists to put the advice into action on your next project.
How To Read
Wondering how to get the most from this guide? You’ll find short sections that explain humidity levels, moisture absorption, and their effects on drying stages.
Read headings to spot quick answers, skim bolded tips for actions, and check the simple charts for typical timelines.
Use the “Quick Tips” boxes when you need immediate steps and the “Why it matters” notes to understand trade-offs.
Each subsection builds: basics first, then common scenarios. You can jump to the scenario that matches your conditions or read straight through for full context.
Refer back to charts when planning paint jobs.
Getting Practical Use
Now that you know how the guide is organized and where to find quick answers, this section shows how to apply the information to real painting projects.
Use this guide to plan timing, avoid common humidity myths, and pick the right paint color for conditions.
Follow simple steps before you start so you’re not guessing mid-job.
- Test a small area at expected humidity and temperature.
- Adjust ventilation or wait for a lower-humidity window if drying stalls.
- Note drying times and finish changes on a sample card.
Apply findings, record results, and you’ll get predictable, professional outcomes.
How Paint Dries: Evaporation vs. Chemical Curing
When you paint, the coat dries either because solvents evaporate or because the binder undergoes a chemical change; understanding which process your paint relies on helps you control drying time and final durability.
You’ll find evaporation dominates in solvent- and water-based paints: volatile components leave, forming a film. Chemical curing occurs in alkyds, epoxies, and two-part systems where binders crosslink into a durable network.
Environmental factors and paint formulations determine which path is primary and how fast it happens.
Know your product’s label—touch-dry times reflect evaporation, while full-cure timelines indicate chemical curing and ultimate hardness.
Why Humidity Slows Water‑Based Paint Drying
When humidity is high, you’ll notice water evaporates from the paint much more slowly because the air is already holding a lot of moisture.
That reduced evaporation pushes the system toward water vapor equilibrium, so solvent leaves the film at a much lower rate.
As a result, the paint’s film formation is delayed and drying times stretch out.
Slower Evaporation Rates
Because water-based paints dry by losing water to the air, higher humidity slows that process by reducing the air’s ability to accept more moisture. You’ll notice the Humidity impact mainly through slower evaporation rates at the paint surface, which prolongs tackiness and increases dust pickup.
You can manage expectations by controlling airflow and temperature, but moisture-rich air still limits how fast water leaves the film.
- Reduced vapor pressure gradient between paint and air
- Longer liquid-phase persistence before film formation
- Increased chance of surface defects from delayed curing
You’ll plan schedules knowing humidity directly slows drying speed.
Water Vapor Equilibrium
If air already holds a lot of moisture, it can’t easily take up the water evaporating from your paint film, so drying slows as the system moves toward vapor‑pressure equilibrium.
You’ll notice that when ambient humidity rises, the humidity impact becomes immediate: vapor gradients flatten, cutting evaporation driving force. Your paint and surrounding air reach a moisture balance where net mass transfer stalls.
That balance depends on temperature, film thickness, and ventilation, but mainly on relative humidity. To speed drying, you must restore a stronger vapor gradient—lower room humidity or increase airflow—so water leaves the film faster.
Film Formation Delay
Lowered vapor gradients don’t just slow evaporation—they change how water‑based paints actually form their film. You’ll notice a clear Humidity impact: slower solvent loss keeps particles dispersed longer, so coalescence and binder fusion are delayed. This film delay alters tack, leveling, and final hardness.
- Particle packing stays looser, extending dry-to-touch time.
- Plasticizer migration and surfactant retention modify sheen and adhesion.
- Microvoids can persist, increasing recoat time and soft film risks.
You can counteract effects by controlling airflow, reducing ambient relative humidity, or using coalescing additives to promote film formation.
How Humidity Affects Oil‑Based and Alkyd Paints
When you’re working with oil-based or alkyd paints, humidity plays a different role than it does with water‑based finishes. These paints cure by oxidation and solvent evaporation, so high moisture slows solvent release and can extend tackiness.
Very dry air speeds evaporation and may cause surface skinning or blistering. You should practice humidity regulation and moisture control to balance curing: aim for moderate relative humidity and good ventilation.
Avoid extreme swings during application and initial cure. Temperature, film thickness, and solvent blend also influence drying, so follow manufacturer guidance and adjust conditions to promote even oxidation without trapping solvents.
Why High Humidity Creates Tacky or Soft Paint
When humidity is high, solvents in oil‑based and alkyd paints evaporate much more slowly, so you’ll notice the surface staying wet longer.
That trapped solvent keeps the paint soft and tacky instead of hardening.
High moisture also interferes with the polymers’ ability to coalesce into a solid film, preventing proper film‑formation and finish.
Slowed Solvent Evaporation
Because water vapor raises the air’s moisture content, it slows the solvent molecules in paint from escaping into the atmosphere, so your coat stays tacky or soft longer than expected. You’ll notice the humidity impact as drying times lengthen and solvents linger near the surface, reducing evaporation rates and delaying curing.
Watch for these consequences:
- Reduced solvent diffusion: trapped molecules take longer to leave the film.
- Surface tackiness: residual solvent keeps polymers mobile and soft.
- Dust and contamination: sticky surfaces attract particles, compromising finish.
To manage solvent slowdown, control ventilation, lower ambient humidity, or choose faster-evaporating formulations.
Impeded Polymer Film-Formation
Slowed solvent escape also interferes with how polymer particles in latex and waterborne paints come together to form a continuous film, so you’ll often end up with a soft, tacky surface.
High humidity traps water, delaying particle coalescence and reducing polymer adhesion to itself and to the substrate. You’ll see incomplete fusion, weak interparticle bonds, and lower film strength, so film integrity suffers.
That compromised structure stays soft, attracts dirt, and resists abrasion. To avoid tacky finishes, paint in recommended humidity ranges, allow extended drying times, or use coalescing agents and ventilation to promote solvent evaporation and proper film formation.
Why Low Humidity Leads to Cracking and Poor Leveling
If the air’s too dry, paint skins over fast and traps solvents underneath, which makes the surface brittle and prone to cracking. You’ll see poor leveling because rapid solvent loss prevents proper flow and coalescence; the humidity impact on drying kinetics interacts with paint formulation to determine film integrity.
You should slow evaporation or adjust technique to avoid defects. Consider:
- Using slower-evaporating solvents or additives to improve flow and reduce surface tension.
- Applying thinner coats so each layer can coalesce without trapping solvents.
- Increasing ambient moisture temporarily to promote even film formation and flexibility.
Ideal Indoor Humidity Range for Painting
When you’re painting indoors, aim for a relative humidity between about 40% and 60% to get reliable drying, good leveling, and fewer adhesion problems. You’ll control humidity impact by using dehumidifiers or humidifiers and ventilating appropriately; that steadies drying time and reduces tackiness or blistering.
Paint manufacturers often list ideal ranges—check labels and adjust room conditions accordingly. Maintain indoor comfort for occupants while the paint cures: moderate temperature and airflow help. Avoid extreme swings that cause poor flow or trapped moisture.
Consistent midrange humidity yields the best balance of drying speed, finish quality, and long-term adhesion.
Best Humidity for Exterior Painting Projects
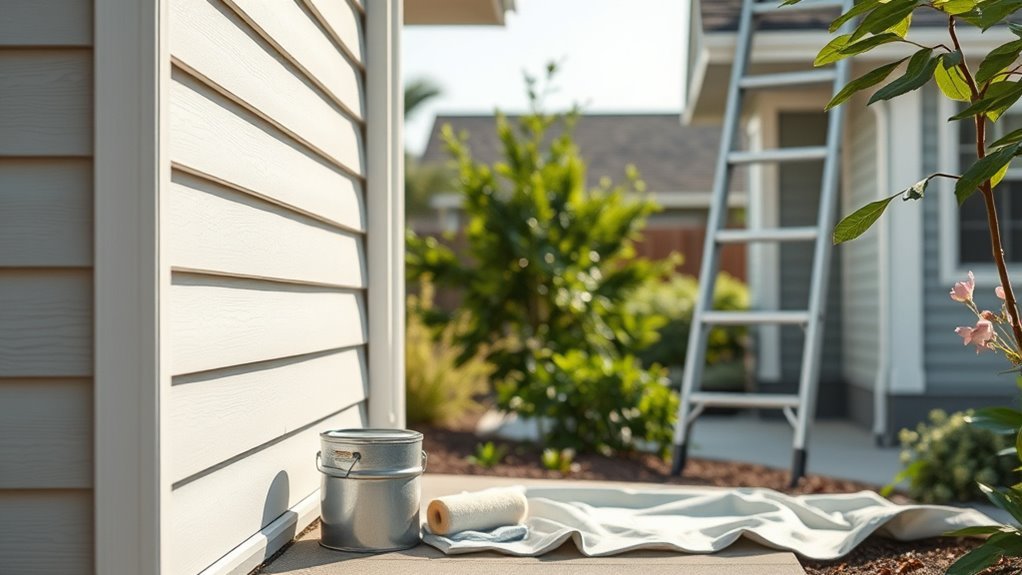
For exterior painting, aim for a humidity range between about 40% and 70% so paint can cure without trapping moisture or drying too quickly.
You’ll want to schedule work for days when humidity is steady and temperatures are within the paint manufacturer’s recommended window.
Check short-term forecasts and avoid painting right before rain or during heavy dew to protect your finish.
Ideal Humidity Range
Although humidity isn’t the only factor that controls drying, keeping it between about 40% and 70% gives exterior paint the best chance to cure evenly and adhere properly. You’ll want to monitor Humidity effects because moisture alters drying time and can compromise finish quality depending on paint formulation.
Aim for stable conditions—avoid rapid swings—and choose products rated for exterior use. Consider these practical tips:
- Paint when humidity is steady within the range to reduce blistering and sagging.
- Use low-VOC or specialized formulations if you expect marginal humidity.
- Allow extended curing time if humidity leans toward the upper end.
Timing And Weather
If you’re planning an exterior paint job, pick days with steady humidity between about 40% and 70% and mild, consistent temperatures so the paint can dry and cure predictably.
You should monitor short-term Weather variations—avoid days with impending rain, heavy dew, or big temperature swings that amplify Humidity effects. Early morning or late afternoon often offers stable conditions, but check forecasts for humidity trends across drying periods.
If humidity spikes unexpectedly, pause or protect fresh paint to prevent blistering or prolonged tackiness.
Plan weekends around reliable forecasts and use a moisture meter or app to confirm conditions before you start.
How Temperature and Humidity Together Affect Drying
When temperature and humidity change together, they alter both the chemical and physical stages of paint drying, so you’ll see differences in tack time, film formation, and final hardness.
You’ll notice humidity impact and temperature interaction shift solvent evaporation and polymer crosslinking rates, so plan application accordingly.
High humidity with low temperature slows curing and can cause blushing; high temperature with low humidity speeds surface skinning but may trap solvents.
High humidity and cool temps slow curing and cause blushing; hot, dry conditions speed skinning and risk trapped solvents.
Balance conditions for even films.
- Monitor dew point to avoid condensation.
- Adjust thinner or catalyst to match conditions.
- Allow extra flash time before recoating.
How Substrate Moisture Changes Drying Times
Because substrates can hold and release moisture, they change how fast paint dries by altering solvent evaporation and film formation at the interface. You’ll see wet or damp substrates slow drying because absorbed water raises local humidity, delays solvent escape, and can cause fisheye or blushing.
Proper substrate preparation matters: dry, clean surfaces promote consistent drying. Use moisture barriers where needed to block vapor migration from below, especially on masonry or new plywood.
Measure substrate moisture before painting and wait for recommended levels. If you don’t control substrate moisture, surface curing and adhesion will be unpredictable and coating performance may suffer.
How Primer Choice Changes Humidity Sensitivity
The primer you pick changes how sensitive your paint job is to humidity because different primer types interact with moisture in unique ways.
Water-based primers dry faster in low-humidity conditions but can absorb moisture and slow curing in high humidity.
Oil-based primers resist moisture but take longer to dry.
Choosing the right primer boosts adhesion and helps control drying time when the air’s damp.
Primer Type Matters
Although you might think all primers behave the same, their base chemistry and formulation change how humidity affects drying. You’ll notice Humidity impact varies with primer selection: waterborne primers absorb moisture and remain tacky in high humidity, while solvent-based ones repel moisture but emit more odor. Choose based on conditions and substrate.
- Waterborne primers: higher moisture sensitivity, good adhesion on porous surfaces.
- Solvent-based primers: lower humidity absorption, better for humid environments if ventilation’s possible.
- Shellac/alkyd primers: fast sealants that resist moisture but need proper temperature control.
Match primer type to job and local humidity for reliable results.
Drying Time Differences
When you pick a primer, you’ll also be choosing how sensitive its drying time will be to humidity—waterborne primers slow dramatically as moisture rises, while solvent-based and shellac/alkyd primers hold their schedule better in damp air.
You’ll notice humidity effects show up as tackiness, extended recoat windows, or sagging if paint consistency is thin. Thicker, fast-evaporating primers resist softness in moist rooms, while acrylics and latex absorb ambient moisture and cure slower.
Work windows shift: plan longer waits with waterborne products in humid conditions, thin coats to improve drying, and test small areas to confirm when you can safely topcoat.
Adhesion And Moisture
Having picked a primer with the right drying behavior for your humidity conditions, you should also consider how moisture alters adhesion. You’ll want primers that tolerate damp air or create moisture barriers to prevent peeling. Primer choice changes sensitivity: some absorb moisture and weaken bonds, others repel water and improve hold.
For effective humidity control, pick primers formulated for the expected relative humidity and substrate.
- Use acrylic primers for flexible adhesion in variable humidity.
- Choose oil-based or shellac primers where strong moisture barriers are needed.
- Test adhesion after application in the actual environment before topcoating.
How Latex, Acrylic, and Enamel Paints Respond to Humidity
Because water is the main carrier in latex and acrylic paints, humidity has a direct, often immediate effect on how they dry.
Because latex and acrylic carry water, humidity directly and immediately affects their drying behavior.
While solvent-based enamels respond differently. You’ll notice humidity effects vary by paint formulation: latex and acrylic slow their water evaporation in high humidity, extending tack time and increasing sag or runoff risk.
Low humidity speeds drying, risking poor leveling and brush marks. Enamel paints, relying on solvents, cure by solvent evaporation and chemical crosslinking, so they’re less sensitive to moisture but can trap humidity, causing blushing or delayed curing.
Adjust conditions and application techniques to match each paint’s behavior.
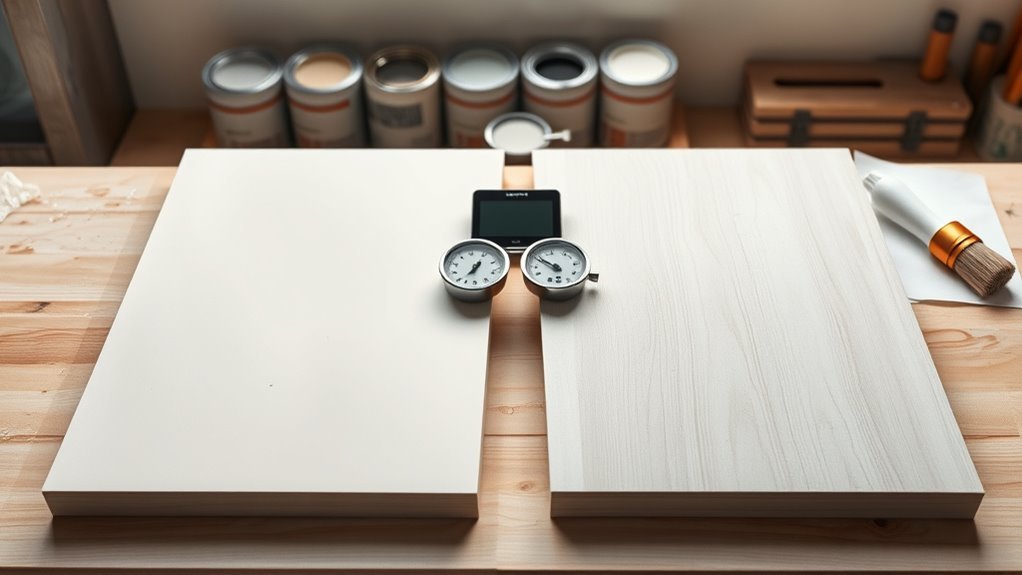
How to Check Current Humidity Before You Paint?
Before you start painting, check the humidity with a hygrometer so you have an accurate indoor reading.
If you’re painting outdoors or want a quick check, use local weather apps for current relative humidity.
Adjust your timing or ventilation based on those readings to help paint dry properly.
Check With A Hygrometer
If you want reliable humidity readings before you paint, use a hygrometer to check current conditions—it’s the quickest way to know whether the air is within the ideal range for paint to dry.
You’ll get concrete numbers that dispel humidity myths and help anticipate paint color effects tied to drying time.
Place the device at painting height, let it stabilize, then record the relative humidity.
Aim for manufacturer-recommended ranges.
- Calibrate periodically for accurate readings.
- Use both indoor and near-open-window spots.
- Compare multiple rooms if you’re painting several areas.
Act on readings: delay or ventilate as needed.
Use Local Weather Apps
When you’re prepping to paint, check a local weather app to get quick, up-to-the-minute humidity readings for your area—most apps show current relative humidity, hourly forecasts, and short-term trends so you can pick the best window for drying.
Use apps that pull data from nearby humidity sensors or official stations to guarantee accuracy. Compare the app’s humidity readings with broader weather forecasts to gauge whether levels will drop or rise during your project.
Tap hourly graphs, alerts, and radar to avoid sudden humidity spikes. Relying on real-time app data helps you plan painting when conditions favor faster, cleaner drying.
Which Tools to Use: Hygrometers and Smartphone Apps
Because humidity directly affects how paint cures, you’ll want reliable tools to monitor it—hygrometers for precise readings and smartphone apps for quick checks and tracking.
You’ll see how moisture can alter paint color and slow drying, affecting how brush strokes settle. Use a hygrometer placed at painting height for accuracy, and sync readings with an app to log trends.
- Buy a digital hygrometer with calibration and fast response.
- Choose an app that maps indoor/outdoor RH and stores history.
- Cross-check app alerts with your hygrometer before starting work.
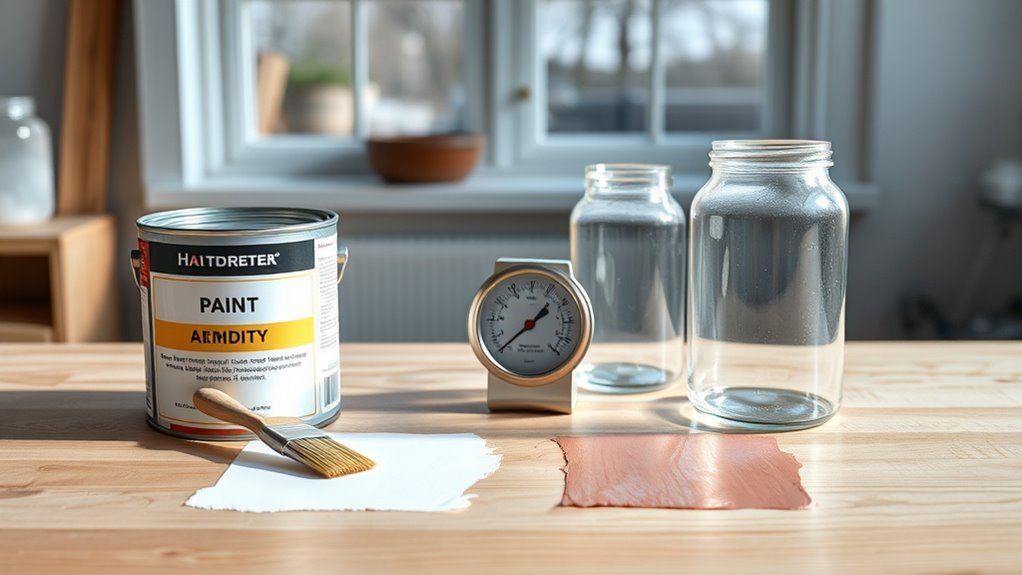
What Humidity Readings Are Safe for Painting?
You should aim for a relative humidity between about 40% and 60% for most paints, since that range lets them dry evenly without trapping moisture.
Avoid painting when humidity is consistently above 70% or below 30%, because high humidity slows curing and very low humidity can cause premature surface drying and cracking.
Check your hygrometer and postpone the job if readings fall outside those limits.
Ideal Humidity Range
Wondering what humidity levels are safe for painting? You’ll want to aim for a consistent, moderate range so paint adheres and cures properly. Maintain humidity control between about 40–60% for most interior jobs; it prevents blistering and slow drying.
For colder conditions, keep it toward the lower end to avoid condensation. Use dehumidifiers, HVAC settings, and moisture barriers in basements or damp rooms. Monitor with a reliable hygrometer and adjust as needed.
- 40–60%: ideal for latex and oil-based paints
- <40%: speeds drying but risks poor leveling
- >60%: increases tackiness and mildew risk
Humidity Limits For Paint
Although paint can tolerate some variation, knowing specific humidity cutoffs helps you avoid common problems like blistering, sagging, or extended tackiness. You should paint when relative humidity sits between 40% and 50% for best results; latex tolerates up to about 70% if temperatures are warm and airflow is strong. Below 30% you risk rapid skinning and visible brush marks. Ignore common humidity myths that claim any level works if you add more coats. Also consider paint color—dark hues absorb heat and change drying behavior. Use the guide below to pick safe conditions.
| Condition | Recommended RH |
|---|---|
| Ideal | 40–50% |
| Acceptable | 30–70% |
| Avoid | <30% or >70% |
Preparing Surfaces for Painting in High Humidity
When humidity’s high, prepping surfaces takes extra care because moisture can prevent primer and paint from bonding properly. You’ll assess the Humidity impact and adjust Surface preparation steps: dry the area, scrape loose material, and test for dampness.
Use fans or dehumidifiers to lower humidity before painting. Choose mildew-resistant primer and wait for a fully dry substrate; don’t guess. If condensation forms, pause and recondition the space.
Keep tools, sheets, and paint cans in a dry spot. Follow manufacturer’s recommended dew point and temperature ranges to guarantee adhesion and avoid blistering or peeling later.
Preparing Surfaces for Painting in Low Humidity
Because low humidity speeds evaporation, you’ll need to take steps that keep substrates from drying too quickly and compromising adhesion. First, lightly mist porous surfaces or dampen a rag to modestly raise surface moisture so primer and paint bond; don’t soak.
Sand and clean to guarantee uniform surface texture, removing dust so coating spreads evenly.
Use primers suited for rapid drying conditions and allow proper tack times.
Work in smaller sections to maintain wet edges for smooth blending and accurate color matching.
Store paint containers closed between passes to slow skinning, and follow manufacturer recoat intervals closely.
How to Lower Indoor Humidity: Dehumidifiers and HVAC
If indoor humidity’s running high, you can control it with dehumidifiers and by adjusting your HVAC settings to keep paint drying predictably. Choose approaches that suit a humid climate and maintain good indoor ventilation.
Use a dehumidifier sized for the room, empty or plumb its reservoir, and set a target RH around 40–50%. Coordinate with your HVAC: lower fan runtime, use AC to remove moisture, and check condensate drains.
Use a properly sized dehumidifier (emptied or plumbed) and coordinate with HVAC—aim for 40–50% RH and check drains.
Monitor with a hygrometer.
Consider these steps:
- Place dehumidifier where airflow’s best
- Optimize HVAC temperature and fan schedules
- Seal leaks that let moist outdoor air in
When to Use Fans or Ventilation vs. Dehumidifiers
If you just need to move air and cool a room, use fans or open windows to speed evaporation and make the space more comfortable.
If humidity is high and paint feels tacky or drying stalls, run a dehumidifier to remove moisture from the air.
You’ll often combine both—ventilate while a dehumidifier controls the actual moisture level.
Use Fans For Quick Cooling
When you need faster surface cooling rather than moisture removal, use fans or open windows to increase airflow and speed evaporation. You’ll choose ventilation when ambient humidity is moderate and you want quicker tack-free times without altering room moisture; consider climate adaptation and paint formulation limits.
Position fans to draw air across painted surfaces and avoid blowing dust.
- Aim airflow parallel to the surface for even drying.
- Combine window intake and exhaust to create directional flow.
- Use low-speed fans to prevent ripple marks and solvent trapping.
You’ll monitor temperature and humidity to guarantee drying stays within recommended ranges.
Use Dehumidifiers For Humidity
Fans help move air for faster surface drying, but high indoor humidity can still stall solvent evaporation and extend tack times — that’s where dehumidifiers come in.
You should use ventilation or fans when humidity is moderate and you just need surface airflow. Switch to a dehumidifier for prolonged high relative humidity, enclosed spaces, or when paint remains tacky despite fans.
For effective humidity control, monitor RH with a hygrometer and aim for manufacturer-recommended levels.
Consider dehumidifier selection based on room size, capacity (pints/day), and continuous drainage. Position units for even drawdown and combine with fans when possible for best results.
How to Slow Paint Drying Intentionally for Smoother Finishes
Because slower drying gives you more time to level brush marks and eliminate lap lines, deliberately extending paint open time is a key technique for smoother finishes. You can control Humidity effects and choose products whose paint formulation favors longer open time.
Slowing paint drying increases open time, letting you level brush marks and avoid lap lines for smoother finishes
Try these practical methods to slow curing without compromising adhesion:
- Add manufacturer-approved retarder or extender to water-based paint, following recommended ratios.
- Work in slightly higher humidity or lower temperature (safely), which lengthens drying naturally.
- Use longer-nap rollers and keep tools loaded to maintain wet edges and consistent film thickness.
Test techniques on scrap before final application to ensure desired results.
How Long to Wait Between Coats at Different Humidity Levels
If humidity is high, you’ll need to wait longer between coats because moisture slows solvent evaporation and film formation. Aim for tack-free touch times from the manufacturer, but adjust:
At 30–50% relative humidity, wait the minimum 1–2 hours for most latex paints.
At 50–70%, expect 2–6 hours.
Above 70%, plan for 12+ hours or overnight.
Oil-based paints generally need longer to dry.
Use temperature and ventilation to restore moisture balance, and avoid common humidity myths that claim fixed times for all conditions.
When in doubt, test a small area before recoating to prevent trapping moisture and causing adhesion problems.
How to Tell If Paint Hasn’t Cured Because of Humidity?
After waiting the recommended time between coats, you still might find the finish feels soft, tacky, or takes much longer to harden than expected — those are signs humidity may be preventing proper curing.
You’ll want to distinguish true curing issues from common humidity myths and assess likely impacts on paint durability. Check symptoms methodically:
- Surface tack: light press leaves residue or indent; implies trapped moisture.
- Extended cure time: solvent odor or softness persists beyond label times.
- Patchy sheen or color change: uneven drying where moisture concentrated.
If several signs match, humidity is a probable cause; document conditions before choosing remediation.
Fixes for Humid‑Induced Defects: Blistering, Wrinkling, Bloom
When humidity causes blisters, wrinkles, or bloom, you’ll need targeted fixes that match the specific defect and its severity.
For blisters, dry the area thoroughly, pop and flatten bubbles, sand smooth, then prime with a moisture-tolerant primer before recoating.
For wrinkling, strip loose paint, sand to sound edges, allow substrate to dry fully—avoid recoating during humidity fluctuations—and apply thinner, slower-drying coats.
For bloom (blushing), improve ventilation, wait for full drying, lightly scuff, and repaint with a low-VOC formula formulated for high humidity to restore paint color stability.
Always test a small area before full-scale repair.
Fixes for Low‑Humidity Defects: Cracking and Poor Leveling
High humidity isn’t the only problem—too little moisture can cause cracking and poor leveling that need different fixes. You’ll address humidity effects by adjusting environment and material choices to preserve paint consistency and film formation.
Try these targeted steps:
- Raise ambient moisture slightly with humidifiers or misting, and slow drying with lower heat.
- Thin or modify the paint per manufacturer guidance to improve flow and avoid brittle films.
- Apply thinner, multiple coats rather than one heavy coat; sand lightly between coats to ensure adhesion.
Follow these fixes to reduce cracks and improve leveling when working in low‑humidity conditions.
Timing Outdoor Projects Around Humidity Forecasts
If you’re planning outdoor painting, check humidity forecasts before you schedule work so you can pick days that let coatings dry evenly without trapping moisture or drying too fast.
You’ll avoid painting right before rain or during high overnight humidity that can stall curing and cause sagging.
Aim for moderate daytime humidity to balance solvent evaporation and film formation; that minimizes runs and bonding issues.
Monitor hourly forecasts and pick mid-afternoon windows when relative humidity typically drops.
Adjust paint consistency and thinning per maker guidance for the expected Humidity effects you’ll face.
Pause if forecasts show prolonged high humidity within 24 hours.
Seasonal Humidity Tips for Common Climates
Because seasons shift humidity patterns, you should adjust painting plans and product choices for your local climate—hot-humid summers need fast-drying formulas and extended cure times, while cold-dry winters call for slower application and warmed storage of materials.
You’ll manage Humidity effects by timing coats, using dehumidifiers or humidifiers, and selecting paints rated for seasonal conditions. Practice Climate adaptation by testing small areas and checking manufacturer recommendations.
Consider these quick seasonal actions:
- Summer: pick quick-flash times, watch dew points, allow longer cure intervals.
- Winter: store cans warm, apply when temps climb, use slow-evaporating formulas.
- Transitional seasons: monitor forecasts, adjust ventilation.
Humidity Tips for Wood, Metal, and Drywall
Seasonal adjustments matter, but different surfaces react to moisture in distinct ways, so you’ll want specific strategies for wood, metal, and drywall.
For wood, monitor humidity impact closely: avoid painting when wood is swollen or damp, sand and seal with a primer designed for moisture control, and allow extra drying time in high humidity.
For metal, remove rust and use a corrosion-inhibiting primer. Condensation can undermine adhesion, so keep metal warm and dry before coating.
For drywall, let joint compound fully cure—humidity slows curing. Use ventilation and dehumidifiers for consistent moisture management to ensure an even paint finish.
How Humidity Affects Spray Painting and Professional Finishes
When you’re spray painting or commissioning a professional finish, humidity can make the difference between a smooth, durable coat and runs, blistering, or extended cure times. You’ll notice humidity fluctuations change how solvents evaporate and how layers level.
High moisture slows cure, increases tack, and boosts paint absorption into porous substrates. Low humidity can flash-dry, causing orange peel.
- Keep humidity steady to maintain consistent atomization and film formation.
- Use dehumidifiers or controlled booths to prevent moisture-induced defects.
- Monitor surface temperature and dew point to avoid condensation that wrecks adhesion.
Manage conditions, and your finish will resist blemishes and last longer.
Should You Reschedule Painting Because of Humidity?
If humidity is high enough to slow drying, encourage tackiness, or cause condensation on surfaces, you should consider rescheduling or delaying painting until conditions improve. You’ll avoid adhesion failures, blistering, and extended tack times that compromise paint durability.
Don’t rely on common humidity myths that suggest you can always “just wait” without consequences; excessive moisture can trap solvents and promote mildew. Check forecasts and indoor hygrometers; aim for manufacturer-recommended ranges.
For critical jobs or sensitive finishes, postpone rather than risk rework. When you can’t delay, use dehumidifiers, heat, or faster-curing products to mitigate risks and protect the finish.
Quick Checklist: Prep, Painting, and Curing in Any Humidity
Because humidity can change how paint behaves at every step, you’ll want a short, actionable checklist that keeps prep, application, and curing on track no matter the moisture level. You’ll bust Humidity myths by testing conditions first, and remember Paint color can affect dry time. Follow these steps:
Because humidity alters every painting step, use a concise checklist: test conditions, control moisture, prep thoroughly, apply thin coats, and confirm cure.
- Check and control: measure humidity and temperature; use dehumidifiers or heaters to reach manufacturer recommendations.
- Prep and apply: dry surfaces fully, use primers suited for moisture, apply thin coats, allow recommended flash times between coats.
- Cure and confirm: maintain stable conditions during cure, avoid humidity spikes, inspect finish before full use.
Frequently Asked Questions
Can Humidity Affect Paint Color or Sheen After Drying?
Yes — you’ll notice humidity can alter color or sheen after drying; high moisture slows drying times and can cause uneven gloss, while fluctuating humidity hurts color consistency, so you should control conditions for reliable results.
Can High Humidity Promote Mold Growth Under Paint?
Yes — high humidity can promote mold growth under paint; ironically, the more you try to seal surfaces, the more trapped moisture feeds spores. You should focus on mold prevention and moisture control to avoid hidden infestations.
Do Additives or Retarders Change Humidity Sensitivity?
Yes — additives and retarders alter humidity interaction and additive effectiveness; you’ll slow film formation, reducing sensitivity to high humidity but risking longer tack times and sagging, so you’ll need precise dosing and testing for each coating and condition.
Will Humidity Impact VOC Emissions and Indoor Air Quality?
Yes — you’ll see higher VOC emissions and poorer indoor air quality when humidity’s high; use humidity measurement tools to monitor levels, improve dehumidifier efficiency, and ventilate to reduce VOC buildup and protect occupants’ health.
Can Elevated Humidity Affect Paint Adhesion to Previously Painted Surfaces?
Like sticky tape on a wet leaf, you’ll find humidity impact reduces paint adhesion; moisture softens underlying coats, traps water and prevents proper bonding, so you’ll get peeling, blistering or poor durability on previously painted surfaces.
Conclusion
Humidity can both stall and safeguard your paint: high moisture slows water‑based drying but eases brush marks, while low humidity speeds drying yet risks cracks. You’ll balance patience with momentum—wait for ideal conditions or adapt with dehumidifiers, slow‑dry additives, ventilation, or altered techniques. When you choose wisely, a tricky climate becomes an advantage rather than an obstacle; you’ll end up with a smoother finish by respecting science, not fighting it.