How Long Should Paint Dry Before Applying Polyurethane
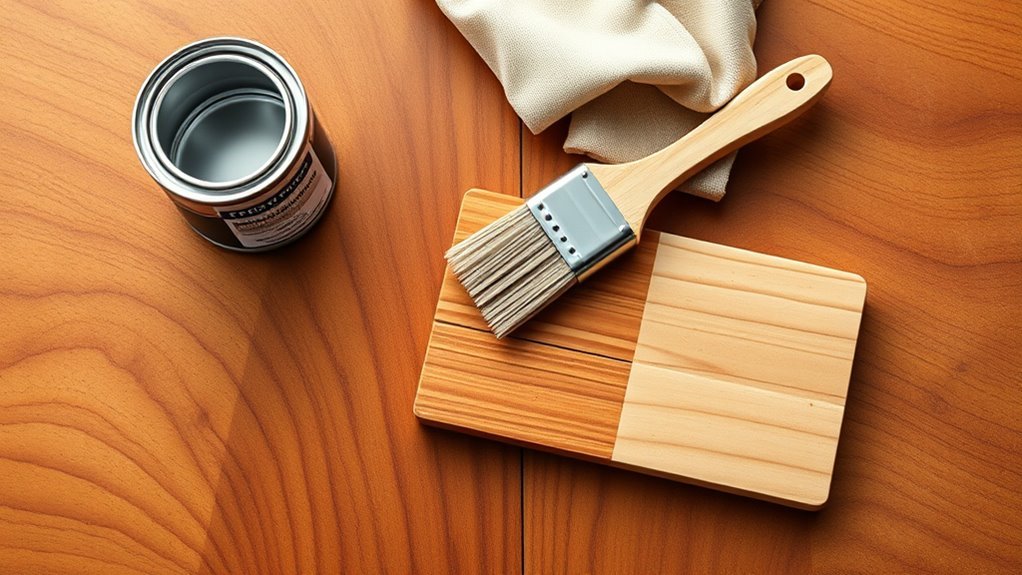
You should wait until paint is dry to the touch and preferably fully cured before applying polyurethane; for latex or acrylic expect about 24–48 hours, and for oil-based paints plan 48 hours or more. Check for tackiness, solvent smell, and surface softness—if any remain, give it more time. Adjust for temperature, humidity, paint thickness, and ventilation since cool or humid conditions slow curing. Follow manufacturer times and test discreet spots; keep going for tips on tests and sealer choice.
Quick Answer: How Long to Wait Before Applying Polyurethane
If you’ve just finished painting, wait until the paint’s dry to the touch and the tackiness is gone—typically 24 hours for latex and 48 hours for oil-based paints—before applying polyurethane.
You’ll then confirm dryness by lightly touching hidden areas; no residue means you can proceed.
Consider how Color matching affects final appearance—polyurethane may deepen hues, so test a small swatch.
Use proper Brush techniques for polyurethane application: long, even strokes, minimal bristle splay, and light pressure to avoid bubbles.
If you follow these steps and test first, you’ll get a smooth, durable finish without compromising the painted surface.
Why Drying ≠ Curing (And Why It Matters for Polyurethane)
Although the paint may feel dry to the touch, that surface dryness isn’t the same as full curing—the chemical reactions that strengthen and harden the finish take much longer. You shouldn’t seal a merely dry film with polyurethane because incomplete cure risks poor paint adhesion, yellowing, or ruined color matching.
Surface-dry paint isn’t fully cured—sealing too soon risks adhesion failure, yellowing, and altered color.
Curing continues beneath the surface, and solvents or reactive groups need time to finish bonding. Wait until the manufacturer’s cure window finishes for reliable results.
Consider these scenarios to visualize the difference:
- Soft, tacky surface after a day
- Solvent smell lingering
- Slight color shift over weeks
- Poor adhesion under stress
- Finish dents easily
Wait Times by Paint Type: Latex, Acrylic, and Oil-Based Paints
When you’re planning to seal painted surfaces, know that recommended wait times vary a lot by paint chemistry.
For latex (water-based) paints, wait at least 24–48 hours before applying polyurethane. Latex dries fast but needs time for color blending to settle and for finish sheen to stabilize.
Acrylics, technically a subset of water-based paints, often mirror latex timing but can benefit from 48–72 hours on dense coats or deep colors.
Oil-based paints need the longest cure—typically 7–30 days—because solvents must evaporate for a durable bond.
Always test an inconspicuous area to confirm dryness and adhesion before sealing.
How Temperature, Humidity, and Ventilation Affect Drying Before Polyurethane

Because paint cures through chemical reactions and solvent evaporation, temperature, humidity, and airflow have a big impact on how long you should wait before applying polyurethane. You’ll want a stable drying environment to protect paint adhesion and avoid trapping moisture under the finish.
Because paint cures chemically and by evaporation, stable temperature, humidity, and airflow are essential before applying polyurethane.
Cooler temps slow curing; high humidity prolongs tackiness; poor ventilation stalls solvent escape. Adjust wait times based on conditions, not just label times.
- Warm, dry rooms speed evaporation but can cause skinning.
- High humidity keeps paint soft longer.
- Low temps slow chemical cure rates.
- Good airflow removes solvents efficiently.
- Rapid shifts cause blistering and adhesion loss.
Surface Prep & Paint Thickness: When to Sand Before Sealing
After you’ve managed temperature, humidity, and airflow to let the paint set properly, it’s time to evaluate surface prep and paint thickness before sealing with polyurethane.
Check surface texture: smooth, even coats promote better paint adhesion and a uniform finish. If brush marks, drips, or orange peel remain, lightly sand with fine-grit paper to level peaks without cutting through.
Thick, uneven paint can trap solvents and slow curing, so feather high spots and remove runs. Wipe dust with a tack cloth and feel the film; if it’s fully firm and uniform, a light scuff sand readies it for polyurethane.
Testing Painted Surfaces for Polyurethane Readiness
If you’re unsure whether paint has cured enough for polyurethane, run a few simple tests to confirm readiness. You’ll check surface hardness, tack, and appearance before sealing.
Use the same brush technique you used for the final coat when testing edges, and judge color matching under normal light so sheen differences don’t mislead you.
Lightly press, scratch, and smell to detect softness or solvent. If anything feels off, wait longer.
- Fingernail press for tackiness
- Gentle scuff with fine sandpaper
- Tape adhesion pull test
- Color matching check in daylight
- Smell test for lingering solvent
Water‑ vs Oil‑Based Polyurethane: Which to Choose and Why?
Which polyurethane should you pick: water- or oil-based? You’ll choose water-based for clarity, faster drying, and minimal yellowing, ideal when color matching light paints.
Pick water-based for clear, fast-drying protection with minimal yellowing—perfect for matching light paints.
Oil-based gives richer depth and durability on darker or high-traffic finishes, but it amberifies over time. Consider odor, cure time, and the surface: water-based suits quick recoats; oil-based tolerates imperfections better.
Match your brush techniques to the product—use synthetic brushes for water-based and natural-bristle or high-quality synthetic for oil-based to avoid streaks.
Test a small area to confirm appearance and compatibility before committing to a whole piece.
Troubleshooting Common Problems After Sealing
If you notice a bubbling finish, don’t panic—you can often sand out the bubbles and apply a thin, even coat to fix it.
For dust imperfections, lightly sand and recoat in a dust‑free area while keeping humidity and airflow steady.
If the sheen turns yellow, identify whether it’s oil‑based yellowing or contamination, then strip or sand and refinish with a non‑yellowing product as needed.
Tackling Bubbling Finish
When you see tiny bubbles forming in the polyurethane, don’t panic — they’re usually fixable and often caused by trapped air, contamination, or brushing too vigorously. You’ll want to stop, assess, and correct quickly to protect the color matching and desired finish sheen.
Lightly sand the affected area with fine grit, remove dust with a tack cloth, and reapply thin, even coats while avoiding overworking the surface. Control temperature and humidity, use a good-quality brush or foam applicator, and strain the polyurethane if it’s old or lumpy.
- Tiny surface bubbles clustered
- Isolated pinholes
- Brush-stroke disturbance
- Cloudy micro-foam
- Edge beading
Handling Dust Imperfections
Although you’ve sealed the piece, tiny dust specks can still mar the finish, and you’ll want to deal with them before they cure fully. Work quickly: wait until the topcoat is tacky but not hard.
Gently remove specks with a clean, fine-grit sanding pad or 0000 steel wool, using light, circular motions to avoid visible brush strokes. Wipe with a lint-free cloth and a mild solvent if needed, then let the surface re-dry.
If sanding alters color consistency, spot-prime and feather in matching paint before recoating. Reapply polyurethane in thin coats to minimize future imperfections.
Fixing Yellowing Sheen
Since polyurethane can sometimes yellow over time or react with certain paints, you’ll want to identify the cause before trying fixes. Inspect lighting, age, and product compatibility; test a small area.
For color correction, lightly scuff and clean, then try a non-yellowing water-based polyurethane. For severe discoloration, remove the finish and reapply a compatible sealer.
For sheen restoration, use a fine abrasive pad and a polishing compound designed for finishes. If doubt remains, consult the product tech sheet or a pro.
- Check product labels and age
- Test an inconspicuous spot
- Lightly scuff for adhesion
- Use non-yellowing sealer
- Strip and refinish if needed
Frequently Asked Questions
Can I Apply Polyurethane Over Chalk Paint Without Extra Priming?
Yes — you can. You’ll skip priming if the chalk paint’s sealed and dry; focus on paint preparation, sanding lightly, and using proper brush techniques to apply thin, even polyurethane coats for durable, smooth protection.
How Long Before Re-Coating Polyurethane Layers Themselves?
I waited overnight like baking bread; you’ll usually wait 2–4 hours between polyurethane coats. Follow the product’s drying time and re coating schedule; thinner coats dry faster, humidity and temperature affect curing.
Will Polyurethane Yellow Clear White Paints Over Time?
Yes, it can yellow white paints over time, especially oil-based polyurethanes; you’ll affect paint adhesion and appearance. Choose water-based poly for minimal yellowing and follow proper drying time to guarantee durable, clear protection.
Is Wipe-On Polyurethane Suitable for Vertical Surfaces?
Yes — you can use wipe-on polyurethane on vertical surfaces; think of a curtain of sheen. You’ll need diligent surface preparation and gentle application techniques, working top-down with thin coats to avoid drips and runs.
Can I Use a Heat Gun to Speed Paint Drying Before Sealing?
You can use a heat gun cautiously to shorten paint drying time, but you shouldn’t blast high heat; keep it low, move constantly, and test a small area to avoid bubbling, cracking, or scorching the finish before sealing.
Conclusion
So you’ve waited the “recommended” time, sanded like a monk, and now you’re ready to slap polyurethane over your masterpiece—hold your horses. Don’t confuse “dry to the touch” with “actually cured”; otherwise you’ll trap tacky paint like a time capsule of regret. Let paint fully cure, test with gentle pressure, and pick oil or water-based poly wisely. Rush it and enjoy bubbles, peeling, and the slow heartbreak of ruined finish.