Can I Sand Latex Paint? Proper Sanding Guide
Yes — you can sand latex paint to dull gloss, smooth imperfections, or prep for a new coat, but you’ll need the right grit, tools, and safety steps. Wait until paint is fully cured, test whether the coating is latex or oil, and check for lead if the home’s older. Use hand blocks or an orbital sander, control dust with HEPA vacuums or wet sanding, and wear a respirator; keep going and you’ll learn the proper grits, techniques, and alternatives.
Can You Sand Latex Paint? Quick Answer and When to Do It

Can you sand latex paint? Yes—you can, and you’ll use sanding techniques to dull glossy finishes, remove minor flaws, and prep surfaces for new coats.
Start with fine-grit paper, work evenly, and avoid heavy pressure that gouges. Clean dust, inspect for adhesion, and choose sanding methods matched to the paint’s sheen and the project’s scale for best results.
When to Sand Latex Paint: And When Not to
You’ll sand latex paint when you need to reduce gloss, smooth imperfections, or create a tooth for new coatings.
However, you should skip sanding in some cases—like fresh paint that hasn’t fully cured, surfaces with loose or flaking layers that need stripping, or delicate finishes that will be damaged by abrasives.
Use appropriate sanding techniques to improve paint adhesion, but avoid sanding until repairs or stripping are done.
Test Paint Type and Check for Lead Before Sanding
Before you start sanding, identify whether the coating is latex or oil-based so you can choose the right prep and abrasives.
Use a simple solvent or scuff test and, if the home was painted before 1978, test the surface for lead with a certified kit or lab test.
If lead is present, stop and follow lead-safe work practices or hire a certified contractor.
Identify Paint Type
How do you know what’s under that topcoat? You’ll identify paint type by noting paint characteristics and planning surface preparation.
Check labels, test with solvent on a small area, and observe sheen and flexibility. Follow these steps:
- Read manufacturer labels and remnants.
- Do a solvent patch test (water vs. mineral spirits).
- Inspect finish sheen and hardness for sanding approach.
Test For Lead
Want to be sure the paint’s safe to sand? You should do paint testing to check for lead before you sand. Purchase a reliable kit or hire a pro; avoid DIY sanding if tests show lead to prevent lead exposure. Follow abatement guidelines and use HEPA containment and PPE if removal’s required.
| Test type | Action |
|---|---|
| DIY kit | Quick check |
| Lab/pro | Confirm results |
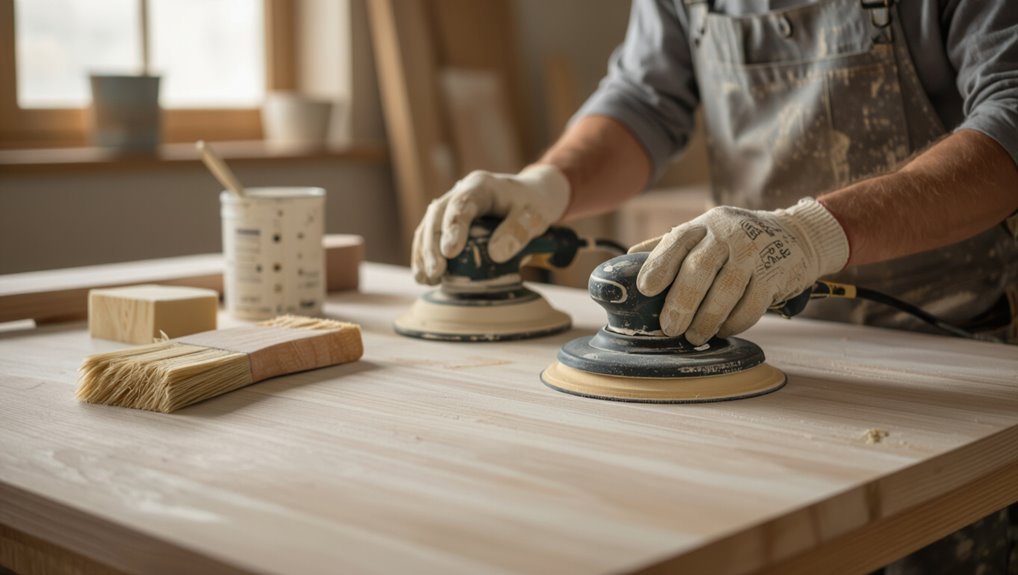
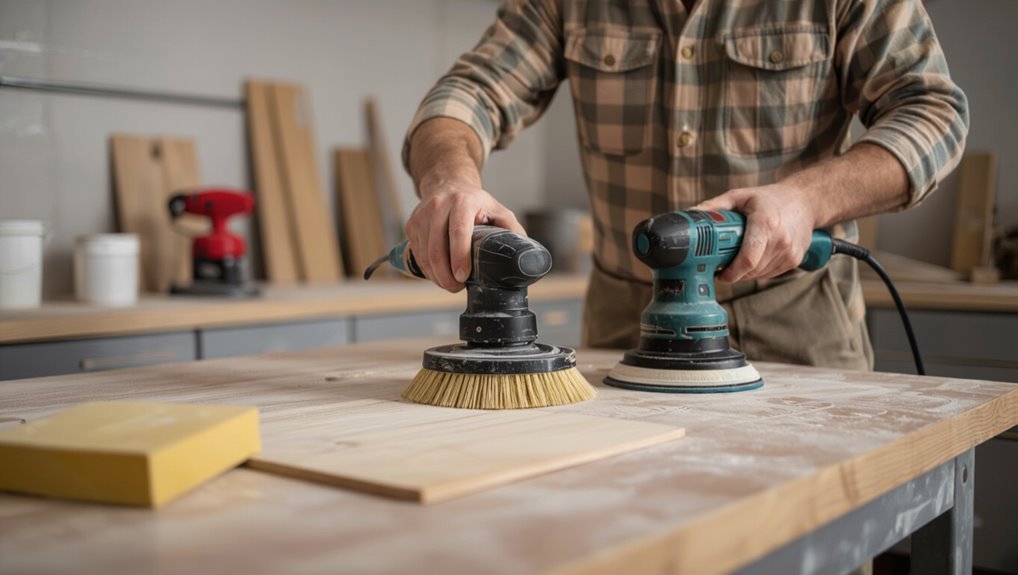
Tools for Sanding Latex Paint: Hand Blocks, Orbital, and Belt
Choosing the right sanding tool makes the job faster and gives you a smoother finish, so you’ll want to match the tool to the surface and the job size.
You’ll use hand sanding for delicate spots and edges, power sanding for larger areas, and choose belt or orbital based on aggression versus control.
- Hand sanding: precision
- Orbital: balance
- Belt: speed
Sandpaper Grits and Sanding Goals: What to Use When
Decide on grit based on your goal: coarser grits for stripping or leveling, medium grits for smoothing between coats, and fine grits for a polished finish.
When prepping between coats you’ll usually use 220–320 to remove dust nibs without cutting through the paint.
For final smoothing and touch-ups, step up to 400–600 grit to get a silky surface before topcoat or buffing.
Choosing Grit By Goal
Start by matching the sandpaper grit to the job you want done: coarse grits remove paint and shape edges, medium grits smooth roughness and blend repairs, and fine grits refine the surface for a satin or glossy finish.
Use proper sanding techniques and grit selection to get predictable results.
Choose:
- Coarse — strip or reshape.
- Medium — blend and level.
- Fine — finish and polish.
Preparing Between Coats
Between coats you’ll want to sand just enough to remove dust nibs, level brush strokes, and give the next layer something to bite without cutting through the paint. Use gentle sanding techniques to boost paint adhesion and avoid visible scratches.
| Grit | Goal |
|---|---|
| 220–320 | Smooth nibs |
| 400 | Light keying |
Finishing Smooth Surfaces
When you’re ready to finish a latex surface, pick grits that remove imperfections without creating visible scratches. Coarser papers fix major flaws, mid-range grits level and blend, and very fine grits polish for a glass-like finish.
Use proper surface preparation and finishing techniques to avoid rework.
- 80–120 grit: shape
- 150–220 grit: smooth
- 320–600 grit: polish
Sanding Latex Paint by Surface: Wood, Drywall, Metal, MDF
Different surfaces demand different sanding approaches, so you’ll want to match grit, pressure, and technique to wood, drywall, metal, or MDF to get a smooth, durable finish.
For wood surfaces start with 120–150 grit and finish finer; for drywall finishes use light sanding with 220–320 grit; metal preparation needs degreasing and 220–400 grit; for MDF sanding use fine grits and minimal pressure to avoid swell.
Techniques to Avoid Clogging and Extend Sandpaper Life
To keep your sandpaper cutting efficiently, brush or blow off buildup frequently and switch grits before the abrasive dulls.
You can use sandpaper with anti-clog coatings, pads with holes for dust extraction, or a rubber cleaning stick to knock paint out of the pores.
Those simple steps will extend abrasive life and save time and money.
Prevent Sandpaper Clogging
Clogged sandpaper slows your work and leaves a patchy finish, so you’ll want to use techniques that keep grit clear and cutting efficiently.
Identify clogging causes and apply prevention techniques:
- Brush off dust often with a stiff brush to prevent buildup.
- Use a rubber cleaning stick to lift paint residue during sanding.
- Switch to open-coat or higher-grit paper for tacky surfaces.
Extend Abrasive Lifespan
When you take a few simple steps—like choosing the right paper, keeping it clean, and matching grit to the job—you’ll dramatically extend an abrasive’s life and keep sanding efficient.
For abrasive maintenance, tap or brush debris off, use a rubber cleaning stick, and alternate pads to cool surfaces.
Smart sandpaper selection and light, even pressure prevent clogging and reduce waste.
Dust Control, PPE, and Lead‑Safe Safety Practices
Although sanding seems routine, controlling dust and protecting yourself are essential — especially if the paint may contain lead.
You’ll prioritize dust management and wear appropriate safety equipment. Follow these steps:
- Use HEPA vacuums and wet sanding to limit airborne dust.
- Wear NIOSH‑rated respirators, gloves, and disposable coveralls.
- Contain the area, test for lead, and follow local lead‑safe disposal rules.
Alternatives to Sanding: Chemical Strippers and Heat Tools
If you’d rather skip abrasive sanding, chemical strippers and heat tools offer efficient ways to remove latex paint while reducing airborne dust; each method has trade-offs in speed, surface impact, and safety precautions you’ll need to follow.
| Method | Notes |
|---|---|
| Chemical alternatives | Good for detail, use PPE, dispose properly |
| Heat application | Fast, watch for scorch or surface damage |
Troubleshooting Common Mistakes and Fixes
Because mistakes happen even with careful prep, you’ll want a clear plan for diagnosing and fixing the most common sanding and paint-removal problems.
Use proper sanding techniques, inspect surfaces, and avoid common pitfalls like clogging, over-sanding, or missed adhesion.
Follow this quick checklist:
- Clogging: switch grit/clean pad.
- Over-sanding: feather edges, test primer.
- Poor adhesion: clean, degloss, use bonding primer.
Frequently Asked Questions
Can You Sand Latex Paint Between Coats for Better Adhesion?
Yes — you should sand between coats to improve latex paint adhesion. Use gentle sanding techniques with fine-grit paper, remove dust thoroughly, and you’ll create a slightly roughened surface that helps the next coat bond better.
How Long Should Painted Latex Surfaces Cure Before Sanding?
Like clockwork, you should wait 24–48 hours for light sanding and 7–14 days for full cure time before aggressive sanding; this guarantees proper surface preparation, so you won’t gum up sandpaper or damage the finish.
Does Humidity Affect Sanding Times or Results?
Yes — humidity affects sanding times and results: you’ll adjust sanding techniques when humidity levels are high because paint cures slower, becomes gummy, and clogs abrasives, so wait longer or use finer grit and gentle pressure.
Can You Sand Latex Paint Over Wallpaper Safely?
You can, but it depends on wallpaper type and condition; you’ll want gentle sanding tools like fine-grit sandpaper or a sanding sponge, and you’ll test a small area first to avoid damaging paper or adhesive beneath.
Will Sanding Latex Paint Change Its Color or Sheen?
Yes — sanding can alter sheen more than color. For example, a renovator used fine sanding to dull glossy paint; using proper sanding techniques you’ll affect paint finishes’ reflectivity, not pigment, unless you sand through the topcoat.
Conclusion
So yes, you can sand latex paint—when it’s flaking, rough, or you need better adhesion—but don’t sand glossy finishes unless you want a surprise. Test for lead first; safety’s not optional. Use the right grit, keep dust in check, and swap to chemical or heat methods if sanding fights back. If you ignore this, enjoy your DIY confetti of dust and regret—because nothing says “satisfaction” like sanding the same wall twice.