Will Paint Get Darker as It Dries? Paint Color Facts
Yes — paint often shifts as it dries, and you’ll usually see a slight darkening or sheen change. Wet paint reflects light differently and solvents evaporating reveal the true pigment and binder, so finish, humidity, and temperature all alter the outcome. Water- and oil-based formulas behave differently, and low pigment or matte sheens can look paler when wet. Test larger, primed swatches and allow full cure before judging the color to avoid surprises; keep going to learn practical fixes and tips.
Quick Answer: Does Paint Get Darker as It Dries?
Does paint get darker as it dries?
You’ll usually see subtle shifts during the drying process, but color perception varies with sheen, lighting, and surface.
You’ll notice some paints look slightly deeper as water or solvents evaporate, yet the pigment stays the same.
Some paints appear richer as solvents evaporate, even though the pigment itself remains unchanged.
Trust samples on your walls and allow full cure before judging final shade; small changes are normal.
Why Wet Paint Can Look Different From Dry Paint
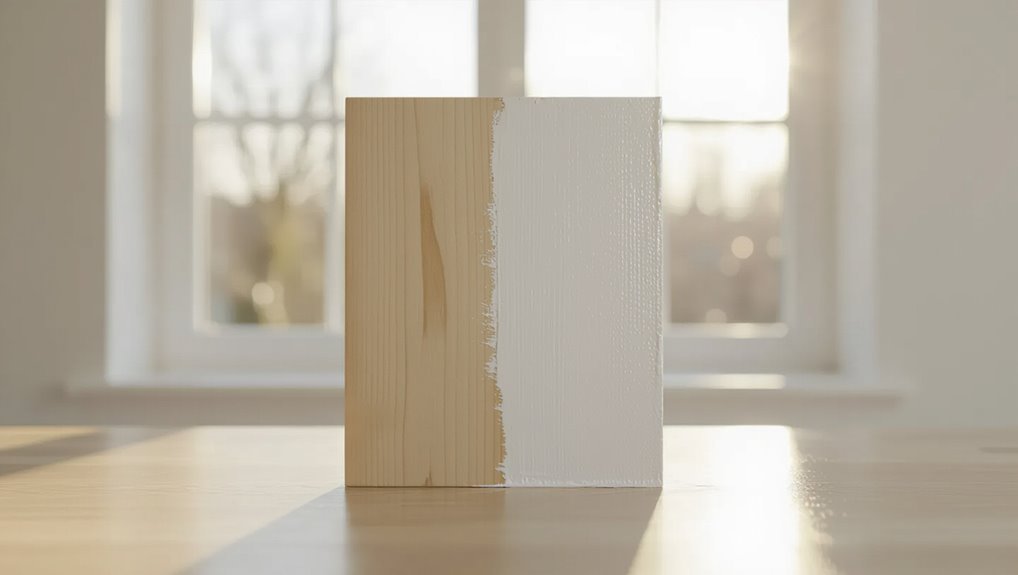
When paint is wet, light interacts with its surface differently than after it dries, so what you see in the can or just-applied on the wall can look noticeably different once the coating cures.
You’ll notice wet appearance changes during the drying process: finish differences and light reflection shift color perception and visual contrast.
Drying time, application method, environmental factors and color stability all influence the result.
How Water-Based vs. Oil-Based Paints Change Color
Although both water-based and oil-based paints start with the same pigment, they can shift in hue and sheen differently as they dry. You’ll often see a noticeable change depending on the binder.
You’ll notice drying process, drying times, and sheen effects differ, altering visual perception and light interaction.
Proper surface preparation and paint application guarantee color consistency; paint finish and color theory guide choices.
How Pigment Concentration and Opacity Affect Drying Color
Because pigment load determines how much color actually sits on the surface, higher concentration usually yields a truer, deeper hue as the paint dries.
Lower pigment levels can make the binder’s color and sheen dominate, causing a paler or more washed-out appearance.
You’ll notice pigment variation alters saturation and drying shift; opacity influence dictates how underlying layers and substrate affect perceived final color.
How Sheen Level Changes Perceived Color
If you pick a higher-sheen paint, you’ll notice colors look crisper and slightly deeper because the glossy surface reflects more light and enhances contrast.
Lower sheens scatter light, softening tones and muting saturation.
- Sheen impact alters light reflection and visual perception.
- Surface finish interacts with color theory in rooms.
- Paint layers and drying process affect color consistency.
- Test finishes to predict final appearance.
How Binders and Film Formation Affect Color
When you look closely at paint, the binder is the invisible backbone that holds pigments together and forms the continuous film that ultimately determines how color reads on a surface.
You’ll notice different binder types (acrylic, alkyd, oil) affect gloss, refractive index, and drying behavior.
Film formation changes pigment spacing and light scattering, so color depth and uniformity shift as the coat cures.
How Substrate Color and Texture Alter Final Tone
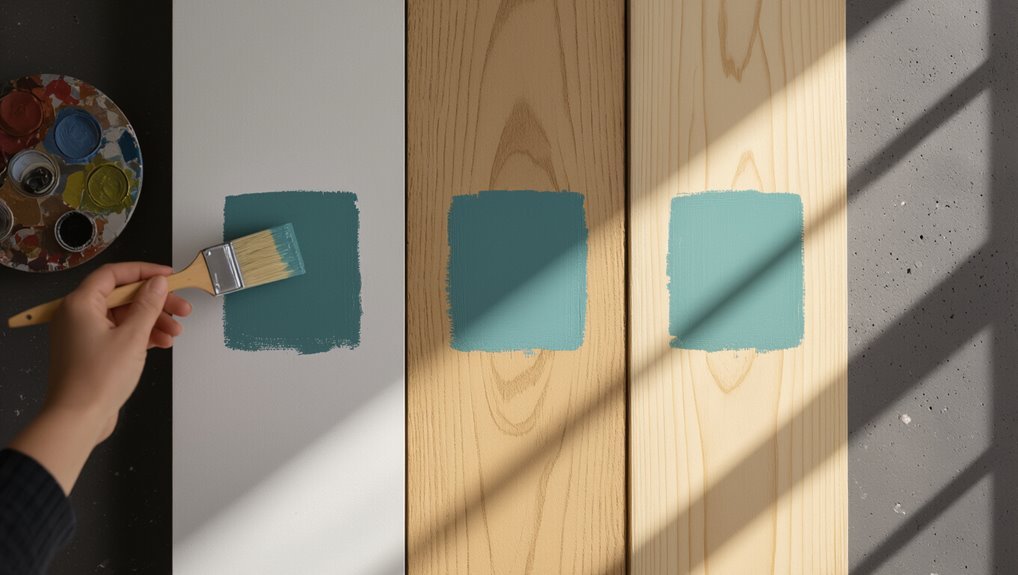
Remember that the hue of the surface beneath your paint can shift the final color, especially if it’s strong or contrasting.
Rough or porous textures change how light is absorbed and reflected, altering perceived tone.
Use proper priming and sufficient coverage to mask underlying hues and achieve a truer result.
Underlying Surface Hue
Because the surface beneath your paint changes how light bounces back, the substrate’s color and texture can shift a chosen hue noticeably.
You should use surface preparation and testing methods to secure color consistency. Consider finish selection, sheen variations, and light conditions when planning paint layering, application technique, and drying environment.
Apply color theory to predict outcomes.
- Prime appropriately
- Test swatches
- Adjust layers
- Note lighting
Texture And Light Absorption
Although subtle, the substrate’s texture and underlying hue directly change how much light a painted surface absorbs or reflects.
So you’ll see shifts in tone even with the same paint formula. You’ll notice texture impact on surface reflection and color perception: roughness increases visual depth, altering light interaction during the drying process.
Finish effects, coating thickness, application technique, and environmental factors all influence final appearance.
Priming And Coverage Effects
When you apply paint over a colored or textured substrate, the primer and the number of coats you use will noticeably change the final tone, so choose them to control how much the underlying surface shows through.
Use primer types and coverage methods, consider pigment selection and finish variations, and test for drying times and environmental factors with testing samples after substrate preparation.
- Application techniques
- Color theory
- Coverage methods
- Testing samples
How Humidity and Temperature Influence Drying and Color
When you paint in high humidity, drying slows and colors can appear dull or milky until the finish cures.
Warmer temperatures speed solvent evaporation and can deepen sheen and pigment appearance, while colder conditions prolong tackiness and may mute tones.
Keep humidity and temperature consistent to get predictable drying and true color.
High Humidity Effects
Because moisture slows solvent evaporation, high humidity can noticeably extend drying times and alter the way paint levels and cures.
So you’ll see differences in sheen, texture, and sometimes color.
- Check humidity levels and adjust paint application for proper drying conditions.
- Improve air circulation to reduce moisture impact on the curing process.
- Expect longer drying time under adverse climate effects.
- Prioritize surface preparation considering environmental factors.
Temperature Speed Impact
1 key factor that shapes drying and final color is temperature—paired with humidity it controls how fast solvents evaporate and how pigments and binders settle. You’ll see temperature effects on drying speed: warm, dry air speeds cure and preserves true hue; cool, humid conditions slow drying and can deepen shade or cause blotching.
| Temp | Humidity | Effect |
|---|---|---|
| High | Low | Fast drying |
| Low | High | Slow drying |
| Moderate | Moderate | Balanced drying |
How Much Paint Color Shifts By Type and Finish
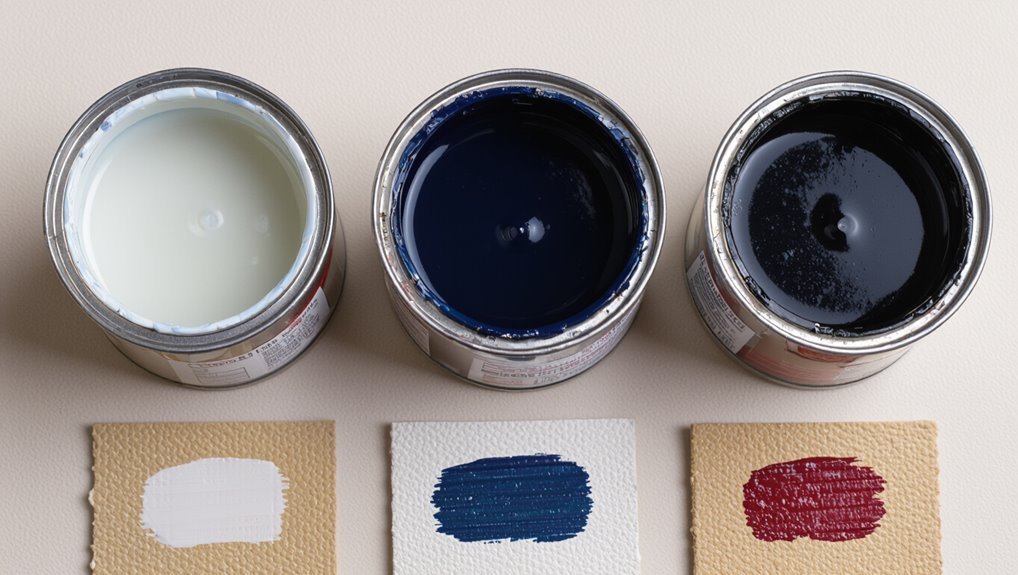
Although paint formulas share the same colorants, the base and finish change how you’ll perceive a hue—different pigments, binders, and sheens alter light reflection and depth.
Same pigments, different bases and sheens—binders and finish shift how color, light, and depth read on your walls.
You’ll notice shifts by sheen and type; consider color psychology and paint layering when choosing finishes.
- Flat: matte depth, hides blemishes.
- Eggshell: subtle richness.
- Satin/semi: increased gloss, brighter.
- High gloss: vivid, reflective.
How Swatch Size and Lighting Change the Final Color
When you hold a tiny swatch up to a wall, your eye can’t judge how the color will behave across a whole room, so always test larger painted areas and view them in the light you’ll live with.
Small chips tend to look more saturated and uniform, while larger samples reveal undertones, texture effects, and how color shifts from one wall to another.
Position samples thoughtfully: swatch placement near windows, corners, and light sources alters color perception, so check at different times of day to see true behavior.
How to Test Drying Darkening With Home Swatches
Because paint often deepens as it cures, you’ll want to test drying darkening by painting multiple 12×12–inch or larger swatches directly on your wall and checking them over several days; small paper samples won’t show the same change.
Follow precise swatch preparation and monitor color consistency:
- Clean wall, mark swatch boundaries.
- Apply two coats, note times.
- Photograph under consistent light daily.
- Compare edges and center for uniform change.
Pick a Paint Chip That Matches the Final Color
Want the chip to reflect the color you’ll actually live with? Hold chips next to your tested swatches under the same light, at different times of day.
Trust color matching from the same paint line and finish, and avoid comparing chips from different brands.
For consistent paint selection, choose the chip that mirrors the dried swatch, not the wet sample.
Primer Choices That Prevent Unexpected Darkening
When you choose a primer, pay attention to sheen and any tint, because they can shift how the finish reads once paint is applied.
You’ll also want to control application thickness—too heavy a coat can make colors look darker or muddier.
Test a small area so you can adjust primer sheen or thickness before committing to the whole wall.
Primer Sheen And Tint
If you’ve ever watched a fresh paint job look darker after drying, the primer’s sheen and tint are often the culprits you didn’t consider.
You’ll control outcomes by choosing primer types with appropriate tint variations and sheen levels, considering application methods, drying times, surface preparation, color mixing, paint layers, finish options, and adhesion factors.
- Match tint to topcoat
- Pick low sheen
- Test small area
- Note drying time
Application Thickness Effects
Because primer thickness changes how light reflects and absorbs, you’ll see significant color shifts if you apply too much or too little.
You should adjust application techniques and choose application tools to match paint viscosity and surface preparation.
Monitor drying conditions, environmental factors, and time intervals to control layering effects.
Use compatible paint additives to stabilize color perception and prevent unexpected darkening.
When Drying Darkening Is Temporary vs. Permanent
Although you’ll often notice paint looks darker while it’s drying, that shift can be either temporary or permanent depending on the paint’s chemistry and the surface conditions.
You’ll judge temporary darkening from moisture and drying process; permanent darkening links to pigments, finish variations, or poor surface preparation.
Consider:
- paint chemistry
- environmental factors
- application techniques
- color perception and color matching
What to Do If Paint Dries Darker Than You Wanted
If your paint dries darker than you wanted, first check the lighting and finish to make sure the change isn’t just perception.
You can lighten the look with translucent glazes or a thin wash, or repaint with a lighter tint if needed.
To tone it down without a full repaint, consider adding a mid-tone accent or a semi-opaque scumble to soften the contrast.
Check Lighting And Finish
1 simple test can save you from living with a room that feels darker than you expected: view your painted sample at different times of day and under the fixtures you’ll actually use.
Check lighting effects and finish types; they change perceived depth. Do this before committing.
- Observe morning light
- Observe evening light
- Test fixture bulbs
- Inspect sheen under lamp
Lighten With Glazes
When your paint dries darker than you expected, don’t panic—you can lighten the look with a glaze.
You can mix a translucent glaze tinted with a lighter shade, then apply thin coats to adjust tone.
Use glazing techniques that build subtle layering effects, working wet-on-wet or waiting between coats.
Test on a small area until you reach the desired lightness.
Repaint Or Tone Down
Although you can often tweak a too-dark finish with glazes, sometimes the best move is to repaint or tone down the surface.
You’ll want to choose the method that fits your timeline and budget. You can fix it by precise color matching or gradual tone adjustments.
Consider:
- Full repaint for consistency
- Add lighter topcoat
- Use translucent glaze
- Test samples first
Pro Tips for Matching Trim, Ceilings, and Accents When Drying Shifts Occur
Because paint can shift a shade as it dries, you’ll want a few practical checks in place before committing to trim, ceiling, or accent choices so your final look stays cohesive.
Test swatches for trim color harmony and accent color balance, note ceiling paint considerations and light reflection effects, use texture matching tips and color layering strategies, and pick contrasting features selection with sheen coordination techniques to guarantee unity.
Quick Checklist to Avoid Color Surprises When Paint Dries
You’ve already learned how trim, ceilings, and accents can change as paint dries, so now get a quick checklist to catch surprises before they happen.
Use this to control color perception during paint application and drying.
Use these steps to manage how color reads during painting and as coatings dry and settle.
- Test swatches in different light.
- Note sheen differences.
- Wait full cure before final judgment.
- Record batch and mixing ratios.
Frequently Asked Questions
Can Sunlight Fade Paint After It Fully Cures?
Yes — sunlight can fade paint after it fully cures. You’ll see color fading over time from UV exposure, especially on exterior surfaces; using UV-resistant coatings or shades will slow the process and extend color life.
Will Paint Smell Indicate Color Change or Drying Issues?
Smell signals stuff: you’ll sense odor intensity changes, but scent won’t show color shifts. Strong, persistent odors can indicate solvent issues or slow drying process, so address ventilation and product choice to prevent finish problems.
How Long Before I Can Apply a Second Coat Safely?
You can usually apply a second coat after the recommended drying time on the can—typically 2–4 hours for latex, 24 hours for oil—once the first coat’s dry-to-touch and not tacky, ensuring even finish and adhesion.
Do Metallic or Specialty Paints Behave Differently When Drying?
Right off the bat, yes: you’ll notice metallic sheen and specialty finishes dry differently, they shift color and reflectivity as binders settle, so don’t rush recoats — take it slow and test a patch first.
Can Aging or Yellowing Alter Paint Color Over Years?
Yes — paint aging and environmental exposure can cause yellowing or fading over years, and you’ll notice shifts in hue. You’ll monitor color stability by choosing quality formulations, UV inhibitors, and proper maintenance to slow change.
Conclusion
Quick Answer: yes — but not always. You might notice paint darkening as it dries because solvents and water evaporate, changing sheen and hiding the light-scattering wet surface. Water-based paints often lighten slightly as they fully cure; oils can deepen. Pigment load, opacity, and sheen influence the shift. If it dries darker than you wanted, test samples, adjust primer or sheen, or choose a lighter tint. Pro tip: always dry-test before committing.