How to Remove Dried Spray Paint From Plastic Easily
Start by working outdoors or in a ventilated area with gloves and eye protection, then wash the plastic with warm soapy water to remove dirt and loose flakes. If paint stays, test a hidden spot and try isopropyl alcohol or a citrus-based remover, rubbing gently with a soft cloth and plastic scraper. For stubborn bits, use fine sanding or low heat carefully, then polish or repaint as needed. Keep going for step-by-step tips and troubleshooting.
Quick Answer: Safest Way to Remove Spray Paint From Plastic
Start by testing a small, hidden spot to make sure your plastic won’t soften or discolor.
Use mild soap and warm water, then try isopropyl alcohol or a citrus-based remover on stubborn spray paint.
Work gently with a soft cloth or plastic scraper to avoid scratches.
Different plastic types react differently, so stop if surface changes and try a gentler method.
How to Tell What Kind of Plastic You’re Working With
Start by checking for a recycling code or resin identification number stamped on the item — that’ll tell you if it’s PET, HDPE, PVC, etc.
If there’s no code, feel the texture and test flexibility: brittle, hard plastics usually need gentler methods than soft, pliable ones.
Knowing the type helps you pick a removal technique that won’t melt or warp the plastic.
Identify Plastic Recycling Codes
1 simple label can save you a lot of guessing: the recycling code stamped on the plastic tells you what type it’s and how it will react to solvents and heat.
Check recycling symbols to match plastic types so you choose safe cleaners.
- Look for numbers 1–7
- PET, HDPE, PVC, LDPE, PP
- PS, Others
- Note manufacturer marks
- Test a hidden spot first
Assess Texture And Flexibility
Recycling codes tell you the material, but feeling the plastic will tell you how it behaves when you clean it. You’ll do a quick texture assessment and note flexibility considerations before testing a solvent. Lightly press, bend, and rub to judge softness, porosity, and springback; softer or porous plastics need gentler methods.
| Surface feel | Cleaning tip |
|---|---|
| Smooth | Solvent test |
| Textured | Gentle brush |
| Flexible | Low-strength solvent |
Which Spray Paints Stick to Plastic : And Why
Not all spray paints will bond to plastic, so you’ll want to choose one formulated for low-energy surfaces or use a primer that promotes adhesion.
You’ll improve spray paint adhesion by matching paint chemistry to plastic surface compatibility and prepping properly.
Consider:
- Acrylic enamel for rigid plastics
- Plastic-specific spray paints
- Adhesion-promoting primers
- Etching primers for polyolefins
- Flexible urethane sprays
Set Up Safety Gear and Your Workspace
Before you start scraping or solvent-wiping, put on long sleeves, sturdy gloves, and eye protection to keep chemicals and flakes off your skin.
Work in a well-ventilated area or outdoors and use a fan to blow fumes away from your face.
Make sure you have bright, direct lighting so you can spot paint edges and avoid accidental damage.
Protective Clothing And Gloves
Safety gear keeps you safe and lets you work with confidence, so put on long sleeves, pants, and a chemical-resistant apron to protect skin from solvents and paint particles.
Use proper protective gear and follow safety precautions:
- Nitrile gloves for solvent resistance
- Cut-resistant liners if needed
- Chemical-resistant outer gloves
- Closed-toe shoes
- Disposable sleeve covers for splatter control
Ventilation And Lighting
While you work, set up good ventilation and bright, shadow-free lighting so you can see paint edges and fumes won’t build up in the room. Open windows, run fans to create directed airflow importance, and position lights to eliminate glare.
Keep tools, solvents, and rags organized for quick access—workspace organization reduces spills and lets you focus on careful paint removal without distractions.
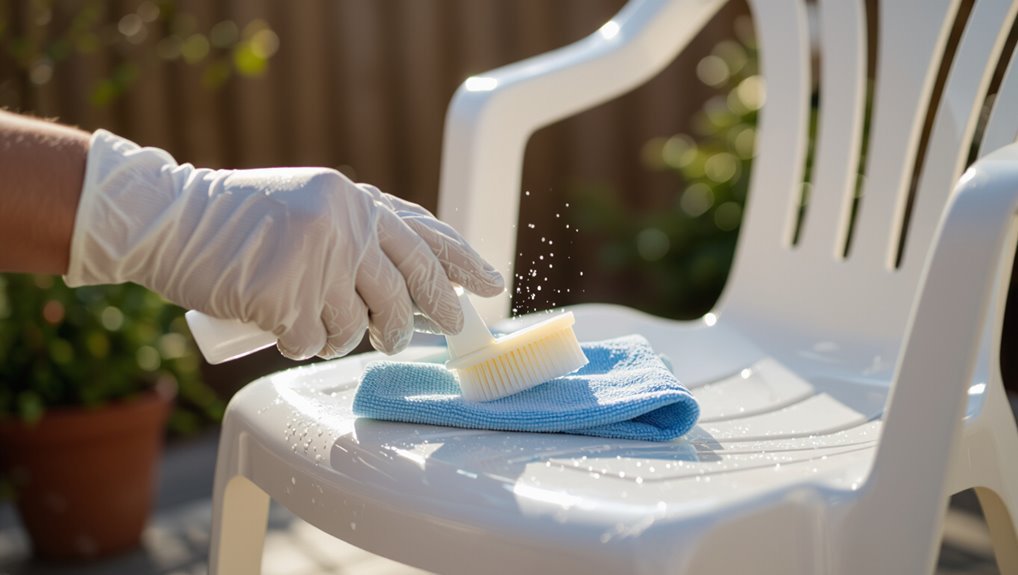
Pre-Cleaning: Remove Dirt, Wax, and Loose Paint Flakes
If you want paint removers or solvents to work, start by clearing away dirt, wax, and any loose flakes so they don’t interfere with the process.
Use basic pre cleaning techniques and simple paint removal tools to prep the surface. Clean, dry, and inspect before applying solvents.
Prep surfaces with simple cleaning and inspection—clean, dry, and remove loose debris before using solvents.
- Soft brush
- Microfiber cloth
- Mild detergent
- Plastic scraper
- Compressed air
Test a Method on an Unseen Spot First
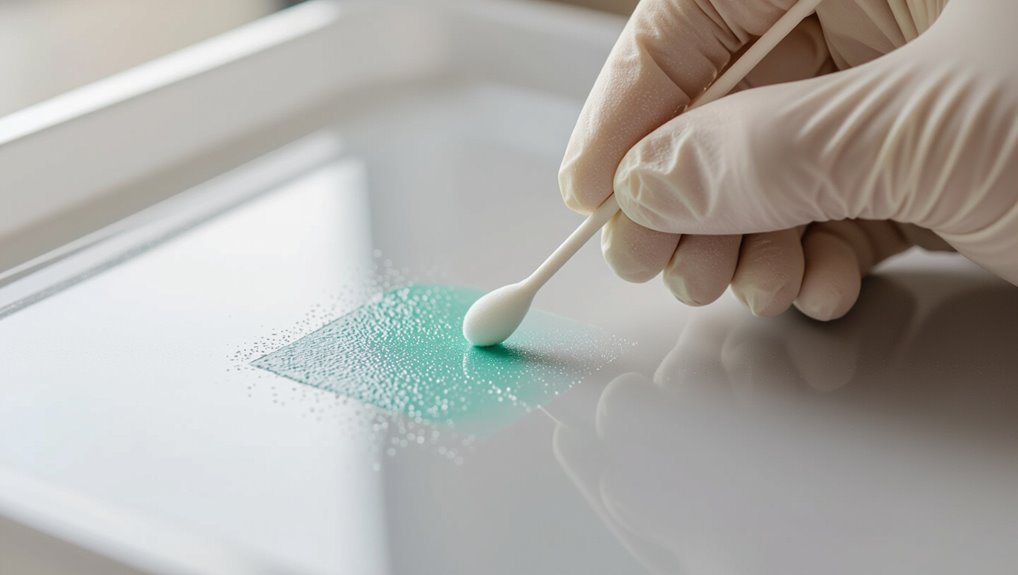
Before you apply any solvent or remover to a visible area, try it on an inconspicuous spot—like the underside or inside edge—so you can check for discoloration, softening, or warping.
Always use a small test spot and wait the recommended dwell time. That reveals paint sensitivity and how the plastic reacts, letting you choose a safer method without harming the visible surface.
Gentle First: Soap, Warm Water, and Soft Cloths
Start with mild soap and warm water to see if the paint loosens without harsh chemicals.
Use a soft cloth and gentle circular motions to avoid scratching the plastic.
If the paint doesn’t budge after a few minutes, move on to a stronger option.
Soap And Warm Water
Try a mild, hands-on approach first: mix warm water with a few drops of liquid dish soap, dampen a soft cloth, and gently rub the painted area in circular motions.
You’ll choose soap types suited to plastic and mind water temperature to avoid warping. If residue persists, repeat gently.
- Test a small hidden spot
- Use soft, lint-free cloths
- Avoid harsh cleaners
- Rinse thoroughly
- Dry completely
Soft Cloth Technique
Use a soft, lint-free cloth dampened with warm, soapy water and rub the spray-painted area in gentle circular motions to lift dried paint without scratching the plastic.
Keep using soft cloths and apply only gentle pressure, rinsing and re-wetting as needed.
If paint persists, repeat patiently; avoid scrubbing hard.
Dry and inspect, then consider stronger methods if necessary.
Isopropyl Alcohol: When and How to Use It on Plastic
Although isopropyl alcohol is a common household solvent, you should pick the right concentration and test it first before applying it to painted plastic.
You’ll appreciate isopropyl alcohol benefits for removing fresh spray paint, but watch plastic paint interaction to avoid damage.
Follow these steps:
- Start with 70% or lower
- Spot-test hidden area
- Apply gently with cloth
- Rinse and dry
- Repeat sparingly
Acetone vs. Paint Thinner: Which to Try and When
You’ll reach for acetone when you need a powerful solvent to break down stubborn dried spray paint quickly.
Use paint thinner as a gentler alternative on plastics that might craze, soften, or lose finish with acetone.
Start with the milder option and step up to acetone only if the thinner doesn’t work and the plastic can tolerate it.
Acetone: Strong Solvent
When you’re weighing options for stripping dried spray paint from plastic, acetone and paint thinner act very differently: acetone’s powerful solvent breaks down many paint binders quickly, while paint thinner (mineral spirits) works more slowly and is milder on some plastics.
- Use acetone for stubborn spots.
- Test on a hidden area.
- Wear gloves and goggles.
- Ventilate the space.
- Understand acetone properties and acetone safety.
Paint Thinner: Milder Option
Because paint thinner is gentler than acetone, it’s a good first choice for most plastics—you’ll reduce the risk of melting, clouding, or softening delicate surfaces while still breaking down many types of dried spray paint.
Test a hidden area, use soft cloths and gentle agitation, and follow safe application techniques.
Consider paint thinner alternatives if sensitivity or odor is a concern.
When To Use Which
If a spray-painted plastic item needs cleanup, choose acetone for stubborn, industrial or enamel paints and paint thinner for milder latex or acrylic coatings and more delicate plastics.
You’ll test small areas, protect finishes, and work in ventilation. Match solvent to plastic types and paint type, then rinse well.
- Test inconspicuous spot
- Use gloves
- Ventilate area
- Time brief contact
- Rinse thoroughly
Using a Plastic-Safe Scraper Without Scratching
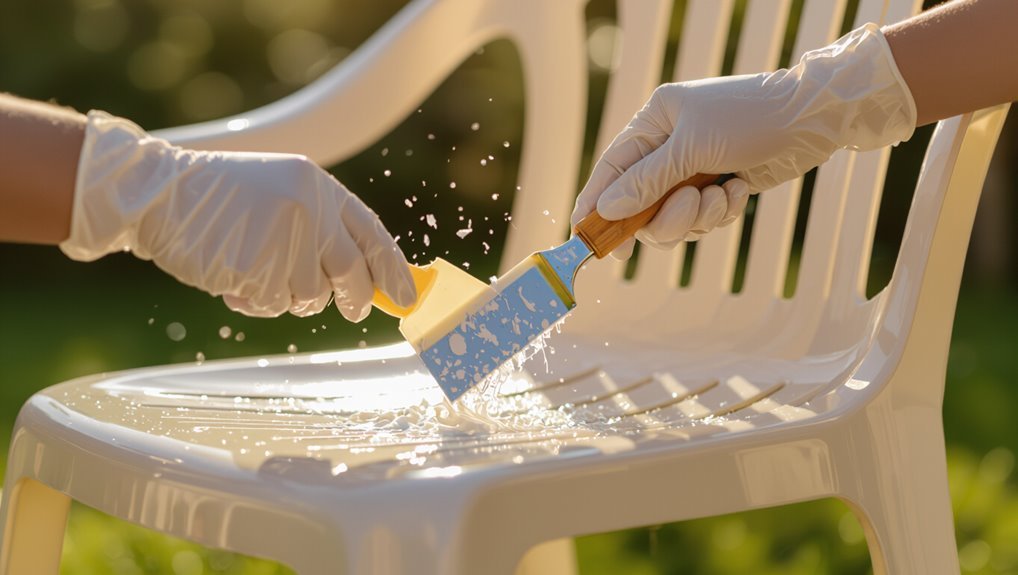
Before you start scraping, pick a tool designed for plastic—like a plastic razor blade, nylon scraper, or an old credit card—so you can pry off dried paint without gouging the surface. Use gentle pressure, angle low, and test scraper techniques on a hidden spot to confirm plastic compatibility.
| Tool | Tip |
|---|---|
| Plastic razor | Low angle |
| Nylon scraper | Gentle stroke |
| Credit card | Flex slightly |
| Soft cloth | Wipe residues |
Safe Mechanical Options: Sanding and Heat-Gun Tips for Plastic
When choosing a mechanical approach for dried spray paint on plastic, pick the gentlest method that will do the job and work slowly to avoid warping or melting the surface.
- Test sanding techniques on a hidden spot with fine grit.
- Use light pressure and progress grits.
- Keep the heat gun moving.
- Maintain safe distance and low settings for heat gun safety.
- Cool and inspect frequently.
Commercial Paint Removers That Are Safe for Plastics
Though you can often remove dried spray paint mechanically, commercial paint removers give you a faster, less abrasive option for plastics—provided you choose products labeled safe for plastics and follow the instructions closely.
Look for formulations marked non-caustic or plastic-safe, test a hidden spot, and wear gloves.
Consider eco friendly alternatives or DIY solutions like citrus-based gels for gentler results and less odor.
Removing Paint From Textured and Flexible Plastics
Textured and flexible plastics need a gentler, more deliberate approach because their contours and give trap paint and react differently to solvents.
Textured, flexible plastics demand a gentle, measured touch—test cleaners, avoid harsh scrubbing, and proceed slowly.
You’ll work slowly, test cleaners, and avoid harsh scrubbing to protect textured surfaces and flexible materials.
- Test small area first
- Use mild solvent or soap
- Soft-bristle brush only
- Blot, don’t rub
- Rinse thoroughly and air-dry
Repair and Restore: Polishing and Repainting Plastic Parts
Start by evaluating the damage to decide whether polishing or repainting will restore the part; small scratches and haze usually buff out, while deep gouges or widespread paint failure need prep and a fresh finish.
You’ll choose polishing techniques like fine abrasives and compound buffing for minor defects.
For larger areas, follow repainting options: proper sanding, plastic primer, and thin, even coats for durable results.
Troubleshooting Stubborn Paint: Combine or Repeat Methods
If a single method won’t budge the dried spray paint, combine techniques and repeat steps until the plastic is clean; you’ll get better results by alternating chemical softening, gentle abrasion, and targeted scraping rather than relying on one approach alone.
- Start with a mild solvent
- Gently abrade with a soft pad
- Scrape with a plastic tool
- Reapply solvent as needed
- Finish with a protective polish
Keywords: paint removal techniques, stubborn paint solutions
When to Stop: Consult a Pro or Replace the Part
When repeated scraping, solvents, and polishing still leave paint or start to damage the plastic, it’s time to reassess and consider calling a professional or replacing the part.
If you’re unsure, get a professional assessment to weigh repair versus cost.
Choose part replacement when structural integrity, finish, or safety’s compromised.
Don’t risk worsening damage; act promptly and decisively.
Frequently Asked Questions
Can Dried Spray Paint Damage the Structural Integrity of Plastic?
Yes — you can damage plastic’s structural integrity if paint adhesion is strong and solvents or harsh removers attack certain plastic types; you’ll want gentle methods and tests first to avoid cracking, warping, or embrittling the material.
Will Sunlight or UV Exposure Affect Paint Removal Results?
Yes — UV exposure can change paint adhesion and make removal harder; you’ll see brittle, chalky layers that flake unevenly. If paint’s UV-exposed, you’ll need gentler, more persistent methods to avoid damaging the plastic.
Can I Safely Remove Paint From Painted Plastic Toys Used by Children?
Yes — you can, but 72% of household cleaners risk degrading finishes; you’ll want non-toxic methods because paint toxicity matters, so prioritize child safety by testing mild soap, baking soda paste, or isopropyl on hidden area first.
How Long After Removal Must I Wait Before Repainting Plastic?
You should wait at least 24–48 hours for paint curing before repainting; longer’s better for full hardness. You’ll also need proper surface preparation—cleaning, light sanding, and a primer—so the new coat bonds and lasts.
Are There Eco-Friendly Disposal Methods for Paint-Soaked Rags and Solvents?
Think of a sealed jar as a promise: you should bag paint-soaked rags and store solvents in labeled containers, use eco friendly alternatives like water-based products, then take them to hazardous waste sites for proper paint disposal.
Conclusion
You’ve got options—soap, heat, rubbing alcohol, or a gentle scraper—and you’ll know which to use once you identify the plastic, like a mechanic reading a car’s pulse. Be patient; don’t force it or you’ll scar the part. If a stubborn patch won’t budge, stop and get help before you turn a small fix into a bigger problem. Think of it like gardening: prune carefully, then nurture or replace what won’t recover.