Should You Remove Baseboards Before Painting Walls?
You should only remove baseboards when it’s worth the effort: if they’re historic, ornate, damaged, or you want the absolute cleanest wall-to-floor line, pull them carefully; otherwise save time and paint with them in place using good prep and tape. Check for rot, thick paint, or big gaps that need behind-the-trim repairs before deciding. Removal adds labor and repair work but gives flawless edges; keep them on for speed and lower risk, and below you’ll find how to decide and proceed.
Quick Answer: Remove Or Keep Baseboards?
Wondering whether to remove your baseboards before painting? You’ll usually keep them if they’re ornate or match historic baseboard styles, since removal risks damage.
Remove simpler, cheap boards for cleaner edges and easier painting techniques. If you don’t remove them, use careful taping and angled cutting-in.
Decide based on condition, time, and your comfort with prep work.
Quick Decision Checklist : Remove vs. Paint in Place
Now that you know the basic pros and cons of removing baseboards, use this quick checklist to decide fast:
assess board condition (damaged or ornate = leave),
wall finish (new drywall or uneven floors = remove),
time and skill (limited time or low confidence = paint in place),
and paint goals (perfect seams or color change on both wall and trim = remove).
Consider baseboard styles and painting techniques to match results.
How To Assess Walls and Trim (When To Remove Baseboards)
When should you remove baseboards? You’ll check baseboard materials, wall conditions, gaps, paint layers, and damage. Remove if repairs or caulking need full access, or if trim design requires separate finishing. If walls are smooth and trim is intact, you can often paint in place.
| Issue | Remove? | Why |
|---|---|---|
| Rot | Yes | Replace trim |
| Gaps | Yes | Access for caulk |
| Minor dirt | No | Clean and paint |
| Thick paint | Yes | Prevent mess |
| Smooth wall | No | Paint in place |
Tools & Skill: Who Should Remove Baseboards?
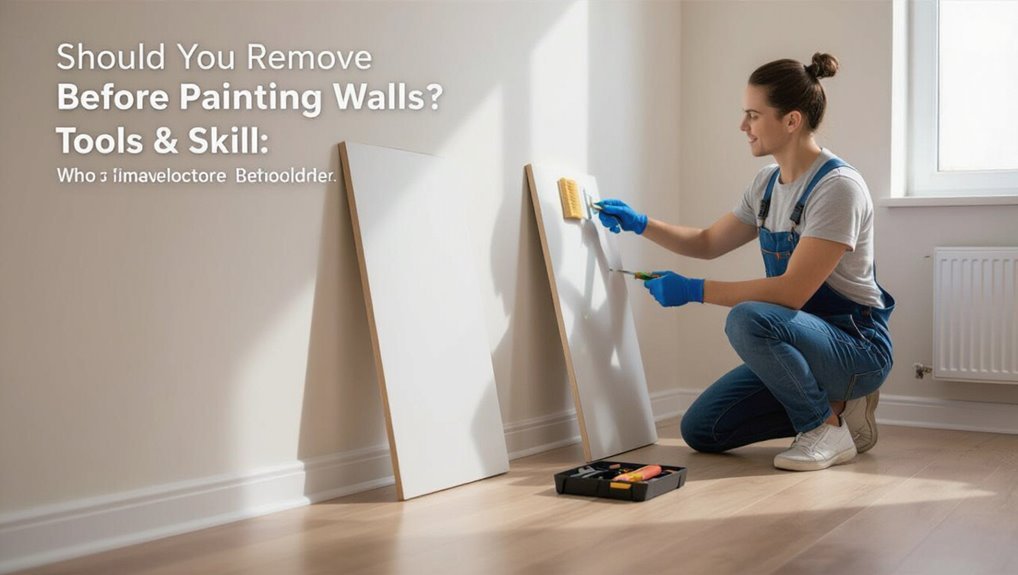
After you’ve decided whether to remove baseboards based on condition and repair needs, consider who should handle the removal and what tools they’ll need.
If you’re comfortable with basic removal techniques and have pry bars, putty knives, and a nail puller, you can do it.
Hire a pro for complex trim, uneven walls, or higher skill levels required to avoid damage.
Benefits of Removing Baseboards Before Painting
Removing baseboards gives you cleaner paint lines because you can paint right up to the wall without masking.
You’ll cover the wall more easily and avoid awkward cutting-in around trim.
It also protects the baseboard finish by keeping paint and roller splatter off the molding.
Cleaner Paint Lines
Anything that helps you get crisp, professional-looking edges is worth doing, and taking baseboards off gives you that advantage.
When you remove them, you control paint preparation and use precise edge techniques without tape gaps or bleed. You’ll avoid jagged lines and retouches, producing cleaner paint lines that make rooms look finished.
It’s a small step that pays off in visible quality.
Easier Wall Coverage
If you take the baseboards off before you paint, you can roll and cut in without awkward gaps or having to awkwardly feather paint around trim.
This way, you’ll cover walls faster and with fewer passes. Removing trim streamlines wall preparation, lets you overlap coats cleanly, and improves paint adhesion along edges.
You’ll finish rooms quicker with more consistent coverage and fewer touch-ups.
Protects Baseboard Finish
Taking the trim off doesn’t just speed up wall work — it also shields your baseboards from accidental paint, drips, and scuffs that often happen during rolling and sanding.
You’ll preserve the original finish and avoid costly touch-ups. Removing trim gives controlled edges for paint adhesion on the wall without contaminating the baseboard finish, ensuring long-lasting baseboard protection and a cleaner overall result.
Risks and Downsides of Removing Trim First
If you pull trim off first, you can accidentally gouge or tear drywall and create more repair work than you’d planned.
It also adds labor and time—removing, labeling, and storing pieces slows the job down.
Plus, reinstalling trim can be tricky if nails or miters get damaged or measurements shift.
Potential for Wall Damage
Because trim often sits tight against the drywall and has paint or caulk bridging the joint, pulling baseboards can easily chip drywall paper, gouge plaster, or tear off chunks of wall where the fasteners or adhesive are anchored.
You’ll need to repair damaged areas to restore wall integrity and guarantee proper paint adhesion; otherwise new paint may flake or show uneven texture.
Increased Labor And Time
Repairing ripped drywall can eat up time, and removing baseboards adds its own hefty labor cost: you’ll be prying nails, scraping caulk, pulling old adhesive, filling holes, sanding, and possibly repainting the trim before reinstalling it.
Factor labor considerations into your schedule—this increases total project duration.
Good time management means weighing added effort against cleaner paint lines and your willingness to spend extra hours.
Trim Reinstallation Challenges
Expect surprises when you put trim back—misaligned corners, warped boards, and missing or damaged fasteners can turn a straightforward reinstall into a fiddly, time-consuming task.
When you do baseboard removal, you may split paint, tear drywall, or lose clips. Trim installation then demands shims, careful sanding, touch-up paint, and extra caulking.
That adds cost and frustration you mightn’t expect.
Benefits of Painting Walls With Baseboards Attached

If you leave baseboards in place while painting, you’ll save time and avoid the hassle of removing, labeling, and reinstalling trim—especially in older homes where nails and paint bonds can make detachment difficult.
Leaving baseboards in place speeds painting and avoids the hassle and risk of removing, labeling, and reinstalling trim.
You’ll also protect floors, maintain clean sightlines for color choices and paint finishes, and simplify cleanup.
- Faster project completion
- Lower risk of damage
- Consistent edge lines
- Easier color testing
- Reduced labor cost
Prep Steps for Painting With Baseboards in Place
Before you pick up a brush, clear and tape the area so paint goes only where you want it: move furniture away from walls, vacuum or sweep baseboard tops and floors, wipe down trim and wall surfaces with a damp cloth to remove dust and grime, and apply painter’s tape along the top edge of the baseboard (pressing it firmly to seal).
Use prep techniques like caulk for gaps, sand rough spots lightly, and lay drop cloths for wall protection and easy cleanup.
Step-by-Step: Removing Baseboards Safely
Before you start, gather the right tools—putty knife, pry bar, hammer, utility knife, and a few scrap blocks to protect the wall.
Work methodically: score caulk, loosen nails or adhesive, and pry the board away gently using blocks to spread the force.
Keep screws and trim labeled so you can reinstall everything cleanly.
Tools You’ll Need
When you’re ready to remove baseboards safely, gather a few specific tools that’ll protect the wall, trim, and yourself: a utility knife, pry bar or flat bar with a wide putty knife to back it up, a hammer, wood or scrap blocks to prevent denting, a stud finder or small flashlight to locate nails, and safety gear like gloves and eye protection.
- Utility knife for clean caulk cuts
- Pry/flat bar with shim protection
- Hammer and nail tools
- Blocks to avoid marring trim
- Stud finder informs how baseboard types affect painting techniques
Safe Removal Steps
Now that you’ve got the right tools and protective pieces in place, it’s time to remove the baseboards carefully to avoid drywall damage and warped trim.
Score caulk seam, slide putty knife behind trim, pry with a wide pry bar using blocks to protect wall, and pull nails with pliers.
Adjust for different baseboard types and use gentle removal techniques to preserve trim for reinstall.
Step-by-Step: Painting Walls With Baseboards Attached
Start by prepping the room so you can paint efficiently with the baseboards in place: remove furniture away from walls, clean and lightly sand the baseboards and wall where paint will meet, fill gaps or nail holes with caulk or wood filler, and apply painter’s tape along the top edge of the baseboard to protect it—this setup keeps your lines clean and speeds up the actual painting.
Prep the room: clear furniture, clean and sand baseboards, fill gaps, and tape edges for clean paint lines
- Choose appropriate paint types
- Use proper wall preparation
- Cut in with an angled brush
- Roll in sections for even coverage
- Remove tape before full dry for crisp edges
Repairing Gaps and Drywall After Baseboard Removal
If you’ve pulled off the baseboards, you’ll likely see gaps, rough drywall edges, or old caulk that need fixing before repainting; address these issues now to guarantee a smooth, professional finish.
Clean debris, scrape loose paper, and sand edges. Use joint compound for drywall repair, then sand smooth.
For gap filling, apply painter’s caulk or foam backer rod where needed, then prime before painting.
Caulking and Finishing Tips for Crisp Paint Lines
With gaps filled and drywall smoothed, focus on caulking and finishing to create crisp paint lines that make the room look professionally done.
You’ll choose caulk types and use finishing techniques that suit trim and paint. Prep, apply, tool, wipe, and dry carefully to avoid smudges.
- Prep edges
- Select caulk types
- Smooth beads
- Use proper finishing techniques
- Clean excess immediately
Time, Cost, and Mess: Remove vs. Keep Comparison
Because removing baseboards can shave time from taping and touch-ups but adds labor and potential wall repairs, weigh the trade-offs before you decide.
If you remove them, you’ll gain time efficiency during painting and cleaner edges but face higher upfront labor and possible repair costs.
Keeping baseboards lowers immediate expenses; use careful taping to minimize mess.
Consider a clear cost comparison.
When To Hire a Pro for Removal or Painting?
When should you call a pro for baseboard removal or painting?
You should hire painting pros or pro removal services if the job risks damage, involves intricate trim, or you lack time or tools.
Consider professionals when you want flawless edges, quick completion, or insurance-backed work.
- Damage-prone removal
- Complex profiles
- Time constraints
- No proper tools
- Want guaranteed finish
Common Mistakes to Avoid and Quick Troubleshooting
If you decide to tackle baseboard removal or painting yourself rather than hiring pros, know the common mistakes that trip people up and how to fix them fast. Watch for underprepping, damage when prying, and paint overlap. Use preparation tips: score caulk, label trim, and test adhesives.
| Mistake | Cause | Quick Fix |
|---|---|---|
| Paint bleed | No tape | Re-cut caulk |
| Trim chip | Wrong pry tool | Use pry bar |
| Uneven finish | Poor prep | Sand/repaint |
| Missing nails | Hidden fasteners | Locate/staple |
| Warped trim | Moisture | Replace |
Frequently Asked Questions
Can Baseboard Removal Damage Hardwood Floors?
Yes — you can damage hardwood floors removing baseboards if you’re careless. You should use proper baseboard installation techniques, pry gently, and apply floor protection like cardboard or rosin paper to prevent gouges, scratches, or finish abrasion.
Will Removing Baseboards Affect My Home’s Resale Value?
Yes — it can, but probably subtly. If you’re careful, removal can boost resale value by showing crisp finishes; if sloppy, buyer perception shifts negative. Handle, repair, and reinstall neatly to keep buyers impressed.
How Long Should Paint Cure Before Reinstalling Baseboards?
Wait at least 48–72 hours for paint drying before baseboard installation; full paint curing can take up to 30 days, but reinstalling after a few days prevents sticking, scuffing, and guarantees cleaner seams and better adhesion.
Are Baseboard Removal Techniques Different for Plaster Walls?
Yes — you’ll delicately pry like a museum thief: plaster wall techniques demand gentler taps, wider shims and patched lath, while baseboard installation on plaster needs extra adhesive, backing and slower screws to avoid cracking the wall.
Do Baseboard Removal Tools Scratch Painted Trim?
Yes — baseboard tools can scratch painted trim if you’re careless, so you’ll want to use proper trim protection like a putty knife, pry bar with pad, or wood shim, and tape or felt to prevent damage.
Conclusion
Deciding whether to remove baseboards before painting comes down to condition, skill, and goals. If you want flawless edges, easy wall repairs, and don’t mind the extra time, pull them off — but if they’re fragile, you’re short on time, or you’ll accept taped edges, paint in place. Will a little prep now save you hassle later? Choose the option that matches your patience, tools, and desired finish.