
How to Clean Textured Walls Without Removing Paint
You can safely clean textured walls without removing paint by starting with dry dusting using a microfiber or soft brush, then spot-test a mild soap-and-water solution in an inconspicuous spot. Gently wash with a soft sponge or brush, rinse with a clean damp cloth to avoid residue, and pat dry to protect the finish. Avoid harsh chemicals and aggressive scrubbing; focus on high-traffic spots and annual deep cleaning. Keep going to learn specific tips for different textures and stains.
What This Guide Covers: Cleaning Textured Walls Safely
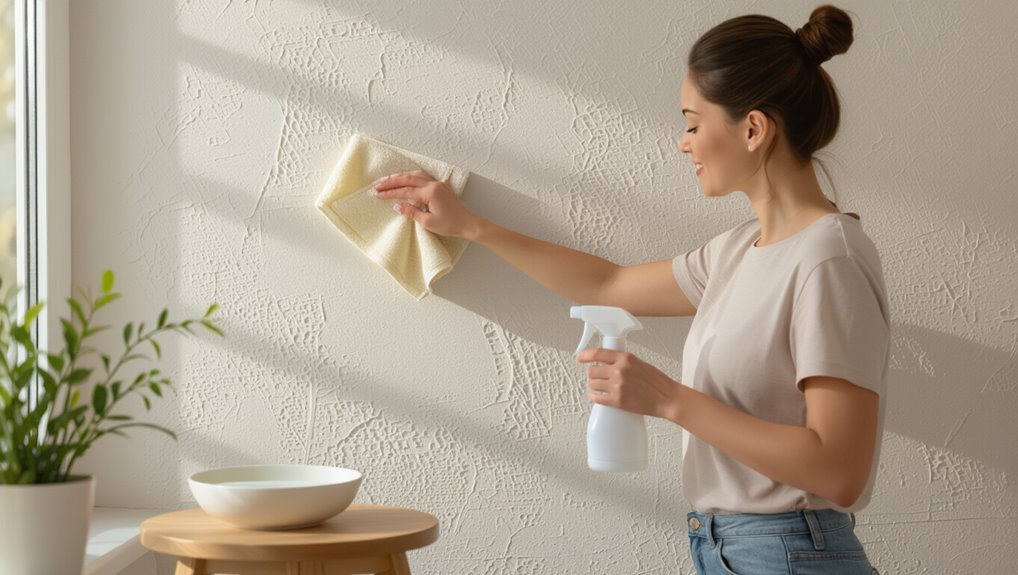
Before you grab a sponge, know what this guide covers: safe, effective ways to clean textured walls without damaging the finish.
You’ll learn practical wall care steps—dusting, spot testing, gentle cleaning solutions, and proper drying—to protect texture and guarantee paint preservation.
Follow simple techniques and timing to remove grime without scrubbing, over-wetting, or using harsh chemicals that strip or dull paint.
Identify Your Texture: Popcorn, Knockdown, Orange‑Peel, or Stucco
Wondering which texture you’re dealing with? Look closely: popcorn is bumpy and loose, knockdown spreads flattened peaks, orange-peel has fine dimpled spray, stucco is coarse and rugged.
You’ll identify textured wall types by touch and sight before cleaning. Knowing the surface helps you choose appropriate cleaning texture techniques and avoid damage—so inspect seams, relief depth, and paint sheen carefully.
Quick Safe Method: Dust → Wash → Rinse
Because textured walls trap dust and grime in crevices, start with a simple three-step routine: dust, wash, rinse.
You dry-dust with a microfiber or soft brush, wet-wash using mild soap and lukewarm water, then rinse with a clean damp cloth.
This gentle process preserves textured finishes, prevents paint stripping, and makes wall maintenance quick and safe without harsh scrubbing.
Spot‑Test Paint Fast and Safely
1 simple spot-test will save you time and prevent costly mistakes when repainting textured walls.
You’ll test a small hidden area with your chosen cleaner or paint, wait for drying, then inspect adhesion and color.
This quick check reveals paint durability across different texture types and prevents damage.
If issues appear, adjust product or method before treating larger areas.
Supplies You’ll Need for Cleaning Textured Walls
Gather a few key supplies before you start—mild detergent, soft-bristled brush or sponge, microfiber cloths, a bucket, painter’s tape, a step ladder, and a gentle degreaser for kitchens—to clean textured walls effectively without damaging the surface. Use appropriate cleaning solutions suited to your wall textures. Quick reference:
| Item | Purpose |
|---|---|
| Detergent | General cleaning |
| Degreaser | Kitchen grime |
| Microfiber | Drying/polishing |
| Tape | Protect trim |
| Ladder | Reach high areas |
Best Tools for Textured Surfaces: Vacuums, Brushes, Sponges
Start with a vacuum fitted with a soft brush attachment to remove loose dust and cobwebs from textured walls without grinding dirt into crevices.
Follow with a soft-bristled brush or sponge to loosen stubborn grime, working top to bottom so debris falls to areas you haven’t cleaned yet.
Choose vacuum types with adjustable suction, and pick brush materials like nylon or natural fiber to protect paint.
Dry‑Dust Textured Walls Without Damaging Paint
When you dry-dust textured walls, start with a soft microfiber duster to lift surface dust without abrading the paint.
Use a vacuum on low power with a soft brush attachment to remove settled particles along the texture.
For tight crevices, reach in gently with a feather duster to avoid scrubbing or scraping the finish.
Use Soft Microfiber Dusters
Because textured paint traps dust in nooks and ridges, using a soft microfiber duster lets you remove particles without scraping or dulling the finish. You’ll glide along texture types, enjoying microfiber benefits like static lift and gentle contact. Move top-to-bottom, shake outside, and replace heads when worn to protect paint.
| Tool | Use | Tip |
|---|---|---|
| Microfiber duster | Dust | Shake outside |
| Soft cloth | Detail | Fold for edges |
| Extendable handle | Reach | Gentle strokes |
Gentle Vacuum With Brush
Grab a vacuum with a soft-bristle brush attachment to lift dust from textured walls without scraping the paint.
You’ll use gentle vacuuming in slow, overlapping strokes, keeping the brush flat to avoid catching edges.
Focus on small sections, maintain light pressure, and angle the hose so debris evacuates smoothly.
The brush technique preserves finish while removing settled dust efficiently.
Feather Duster For Crevices
After vacuuming larger areas, reach into crevices and textured grooves with a soft feather duster to lift remaining dust without abrading the paint.
You’ll use feather duster benefits and targeted crevice cleaning techniques to protect finish while loosening debris. Move lightly, follow grain, and tip out dust into a bin.
- Narrow feather tips
- Gentle sweeping motion
- Tilt to release trapped dust
How to Wash Textured Walls With Mild Soapy Water
Before you wet the wall, clear the area and test a small hidden patch with your mild soapy solution to make sure the paint won’t lift.
Use a soft sponge or microfiber cloth, wrung out so it’s damp rather than dripping, and work from top to bottom in gentle, overlapping strokes.
Rinse with a clean damp cloth and dry spots promptly to avoid water marks.
Prep The Wall
1. Prep the wall by clearing furniture and dusting thoroughly so cleaning solutions work best.
Check wall types to avoid damage. Tape off trim and protect floors.
- soft-bristled brush sweeping dust from crevices
- drop cloth catching drips along baseboards
- painter’s tape shielding edges and switches
Wipe with a damp cloth to remove loose grit before washing.
Gentle Cleaning Technique
Start by mixing a few drops of mild dish soap into a bucket of warm water—enough to create gentle suds without leaving a residue—and work in small sections so the solution stays fresh.
Dip a soft sponge, wring well, and wipe using gentle pressure along texture lines. Rinse frequently with clean water, change cleaning solutions as needed, and dry with a microfiber cloth.
Remove Grease and Fingerprints From Textured Walls
Grease and fingerprints stand out on textured walls because oils cling to the raised surfaces, so you’ll want a method that lifts grime without flattening the texture.
Use a dab of mild dish soap diluted in warm water, blotting gently. For grease removal and fingerprint prevention:
- Soft microfiber to reach crevices
- Gentle circular blotting
- Rinse with clear water and pat dry
Remove Stains and Scuffs Without Abrasives
When stains and scuffs mar textured walls, you can lift them without scrubbing or harsh chemicals by using gentle, targeted methods that preserve the finish and pattern. You’ll try mild solutions, a soft sponge, or a magic eraser held lightly. Focus on spot treatment and blotting to avoid damage; these stain removal cleaning techniques work fast and safely.
| Method | Purpose |
|---|---|
| Mild soap | Surface dirt |
| Vinegar mix | Organic stains |
| Baking soda paste | Scuffs |
| Magic eraser | Tough marks |
| Soft sponge | Final rinse |
Clean High‑Traffic and Hard‑To‑Reach Textured Areas
Because high-traffic and hard-to-reach textured areas collect more grime and dust, you’ll want a focused routine that uses the right tools and gentle techniques to protect the finish.
Focus on high-traffic and hard-to-reach textured areas with gentle tools to protect the finish.
Target high traffic areas and hard to reach spots with small motions. Try lightweight tools and spot cleaners:
- Telescoping soft-bristle brush for ceilings
- Microfiber duster on poles for corners
- Cotton swabs for crevices
Rinse and Dry to Protect the Paint Finish
After you’ve lifted dirt and spot-cleaned stained areas, rinse with clean water to remove residue that can dull or streak the paint.
Use gentle rinsing techniques—low-pressure spray or a damp microfiber cloth—to avoid abrasion.
Blot excess moisture, then employ quick drying methods like soft towels or a fan to prevent water marks and mildew, protecting the finish without scrubbing.
How Often to Clean Textured Walls (Maintenance Schedule)
You should do quick visual checks of textured walls daily to spot smudges or damage early.
Do a light dusting each week to prevent buildup in crevices.
Plan an annual deep cleaning to remove stubborn grime and refresh the finish.
Daily Visual Checks
How often should you scan your textured walls for spots, scuffs, or moisture?
Use simple visual inspection techniques daily in high-traffic rooms to catch texture damage signs early.
Walk the room, look at corners and near vents, and note discoloration.
- Check eye level and lower areas
- Inspect around fixtures and switches
- Scan ceilings and crown molding
Weekly Light Dusting
Once a week, give textured walls a quick, light dusting to prevent buildup and keep texture detail visible; grab a microfiber duster or a vacuum with a soft brush attachment and work from top to bottom, focusing on crown molding, vents, and high-traffic areas.
Use gentle dusting techniques, vary strokes to reach crevices, and make texture maintenance part of your routine to avoid stubborn grime.
Annual Deep Cleaning
After keeping up with weekly light dusting, plan for a deeper annual scrub to remove embedded dirt, stains, and accumulated oils that regular upkeep won’t catch.
You’ll schedule spring cleaning focused on wall maintenance, tackle textured crevices, and refresh room appearance. Use gentle cleaners, soft brushes, and spot-test paint first.
- vinegary solution for grease
- soft-bristled brush for crevices
- microfiber rinse and dry
When to Call a Pro or Consider Repainting
If stains, dents, or water damage won’t come out with gentle cleaning, it’s time to contemplate calling a pro or repainting.
You shouldn’t keep wrestling with problems that signal deeper issues like mold, structural moisture, or failing finishes.
You should schedule a wall damage assessment to decide when to repaint, weigh hiring professionals against DIY, and factor cost considerations, timelines, and warranty implications.
Frequently Asked Questions
Can Textured Walls Be Pressure-Washed Outdoors or in Garages?
Yes — you can pressure wash textured walls outdoors or in garages, but you should use low pressure, a wide spray tip, and keep distance to avoid damage; test a small area first and protect nearby fixtures during outdoor cleaning.
Will Cleaning Textured Walls Remove Wallpaper Adhesive or Residue?
Ironically, you’ll bravely scrape only to reveal stubborn glue—yes, gentle cleaning can lift some wallpaper residue, but you’ll need targeted adhesive solutions or wallpaper removal techniques for full cleanup without damaging textured surfaces.
Can I Use Vinegar or Other Natural Cleaners on Painted Textures?
Yes — you can use vinegar and other natural cleaners gently on painted textures, but dilute them, test a hidden spot, and try vinegar alternatives like baking soda paste or mild castile soap to avoid paint damage and residue.
How Do I Prevent Mold on Textured Walls in Bathrooms?
Right off the bat, nip mold prevention in the bud: you’ll install reliable bathroom ventilation, wipe surfaces weekly, fix leaks promptly, use mildew-resistant paint, run a dehumidifier if needed, and keep towels hung to dry.
Are Steam Cleaners Safe for Painted Textured Walls?
Yes — you can use steam cleaners on painted textured walls, but check steam cleaner types and wall paint compatibility first; gentler handheld models suit latex or enamel, avoid high heat on delicate or poorly adhered paint to prevent damage.
Conclusion
You’ve learned how to rescue textured walls without stripping paint—so go ahead and pretend it was effortless. Dust, spot-test, wash gently, rinse and dry: the steps aren’t dramatic, but they’ll save you from a repainting saga. If a stubborn stain laughs at your sponge, call a pro before you escalate to demolition-level heroics. Clean regularly, and your walls will keep looking deliberate instead of accidentally neglected.
